
Créer un message de rétention
Les messages de rétention vous permettent de toucher les abonnés sur le point de se désabonner pendant le processus d’annulation. Lorsqu’un client accède à l’écran iOS Annuler l’abonnement, Apple lui affiche le message correspondant à son produit et à sa langue.
Il existe deux types de messages de rétention :
- Default : Un message de reconquête simple avec un titre, un corps de texte et une image facultative. Utilisé comme solution de secours lorsqu’aucun message promo n’est disponible.
- Promo : Un message de reconquête qui propose aux abonnés une offre spéciale ou un plan différent. Vous ne pouvez créer des messages promo que pour des produits auxquels un message Default est déjà assigné.
Avant de commencer
- Créez au moins un produit que le message doit couvrir.
- Testez la messagerie de rétention en mode sandbox.
Créer un message
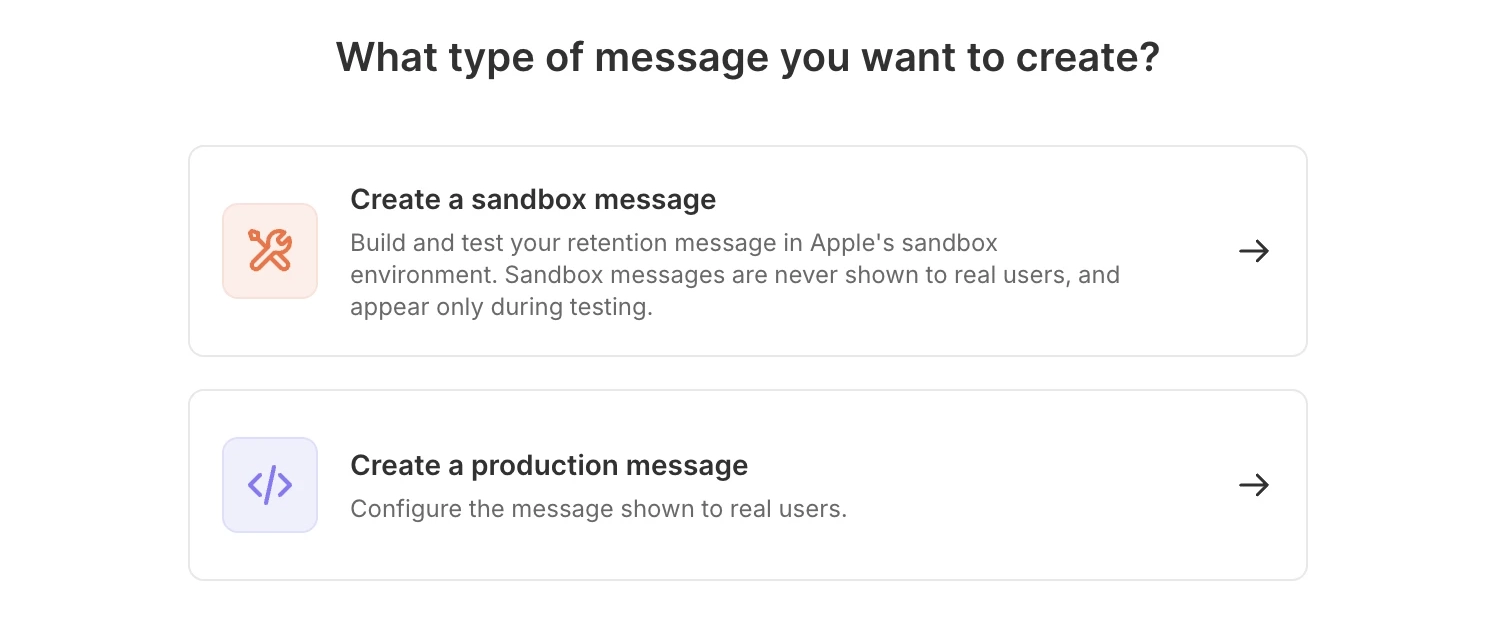
Ouvrez la page Retention Messaging dans l’Adapty Dashboard. Cliquez sur Create Default pour un message par défaut, ou sur Create Message pour un message promo.

Sélectionnez l’environnement — un message sandbox pour les tests, ou un message de production pour les vrais utilisateurs. L’option de production reste désactivée tant que vous n’avez pas configuré l’URL de production et réussi le test de performance en sandbox.
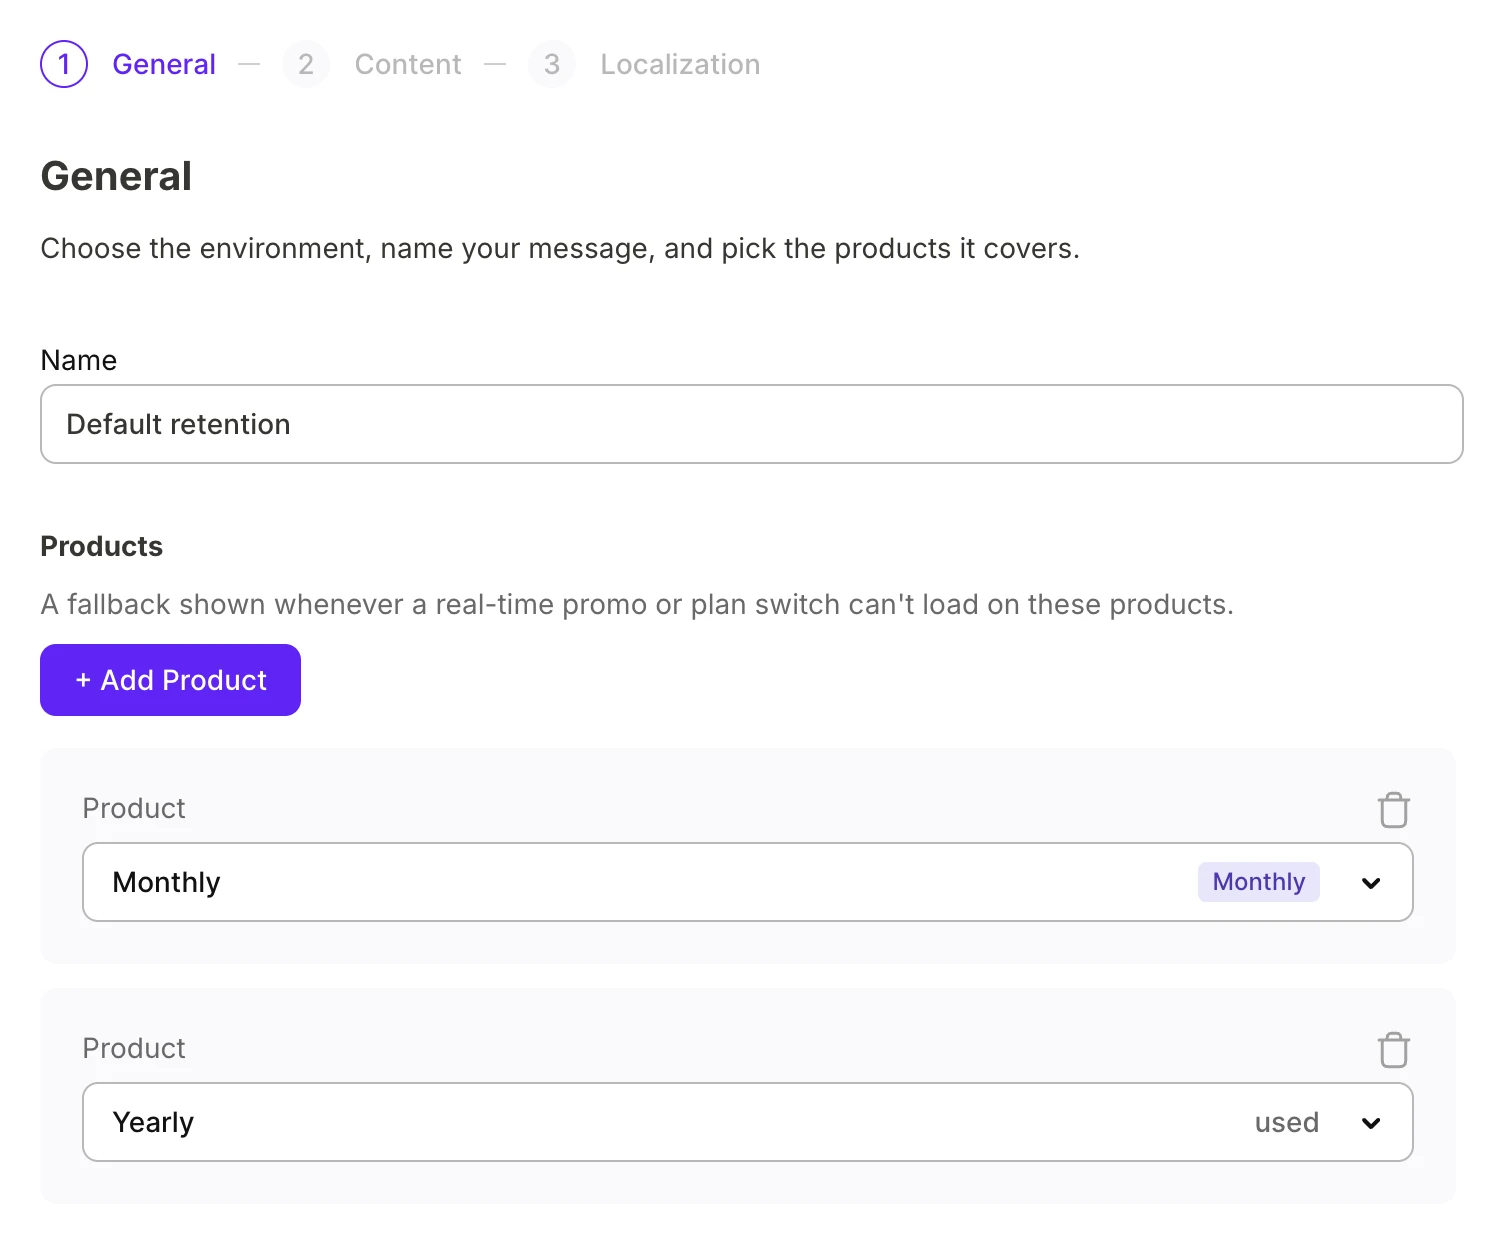
Général
Nommez le message et ajoutez les produits dont l’annulation déclenchera le message.
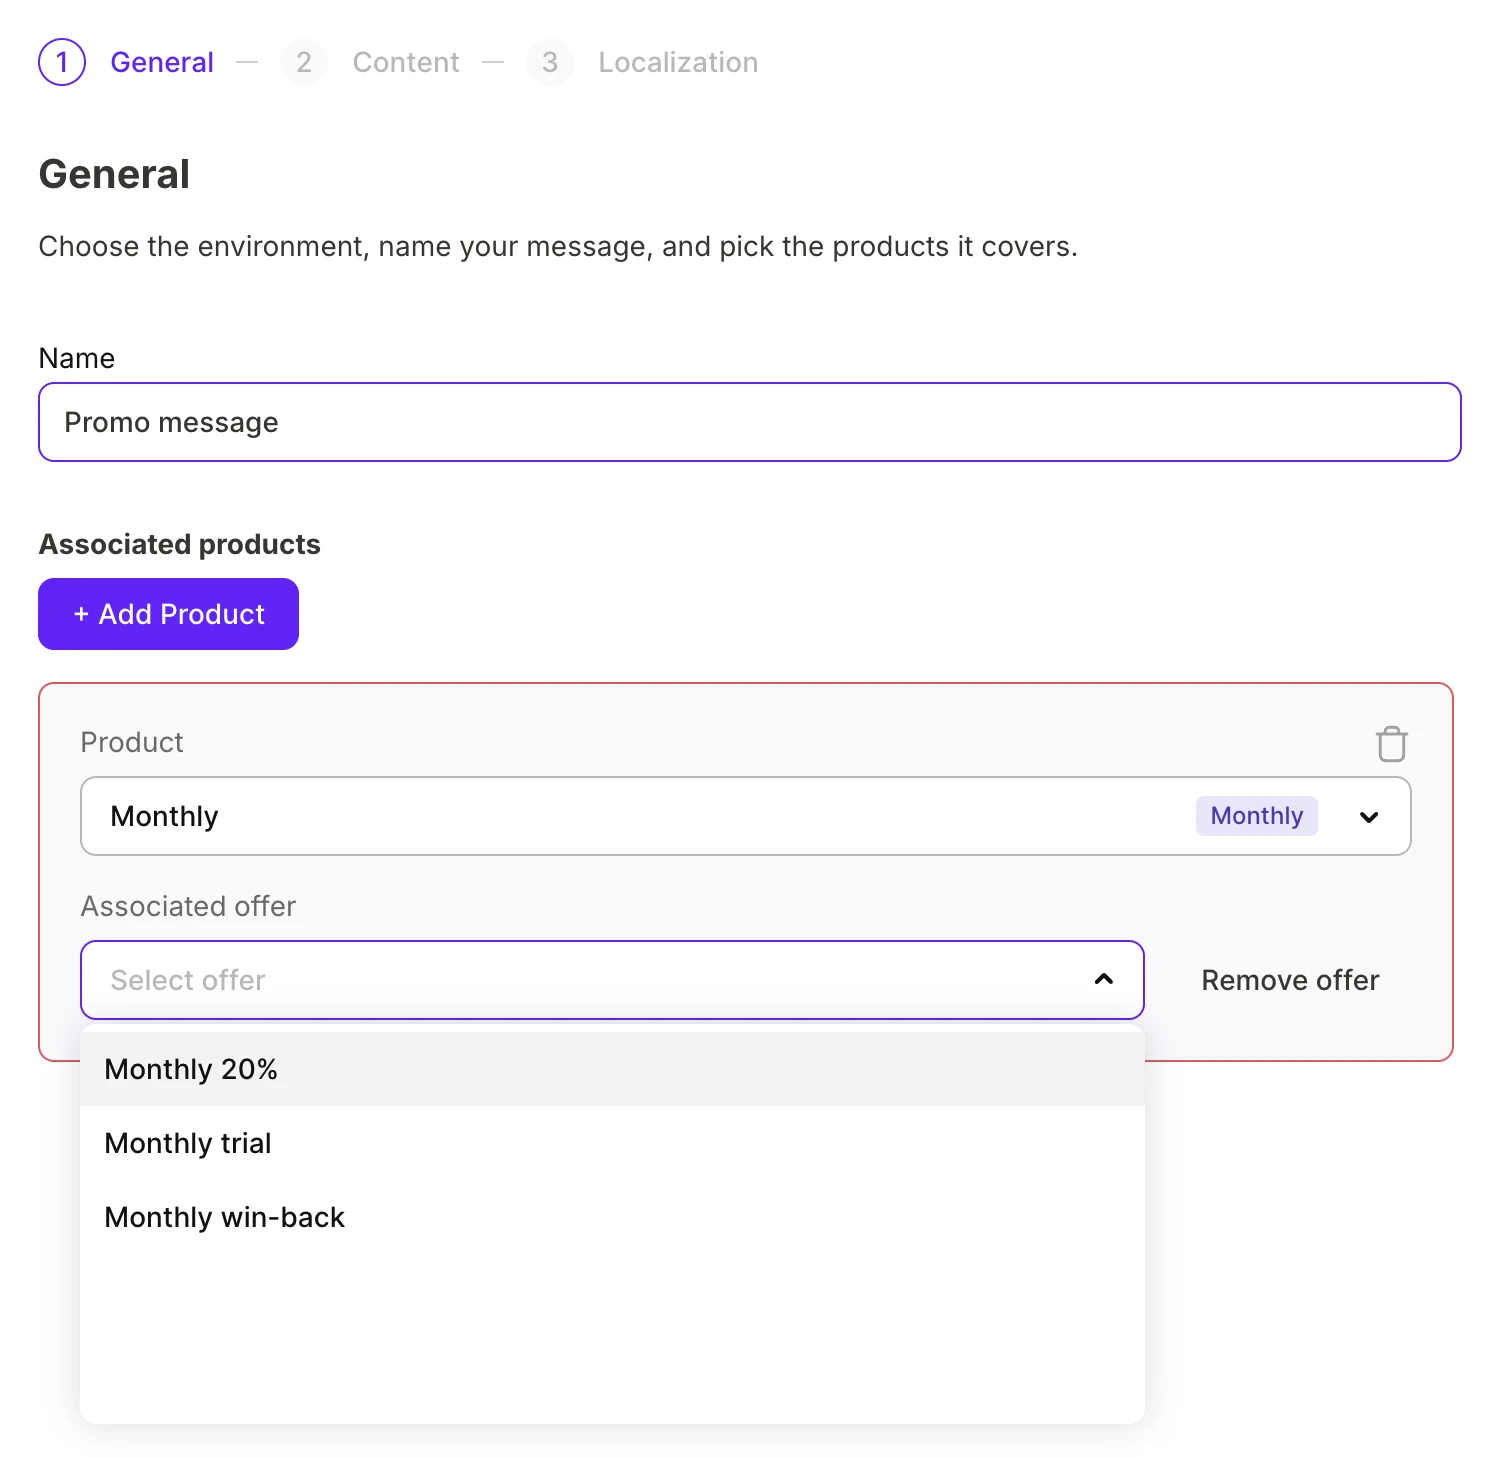
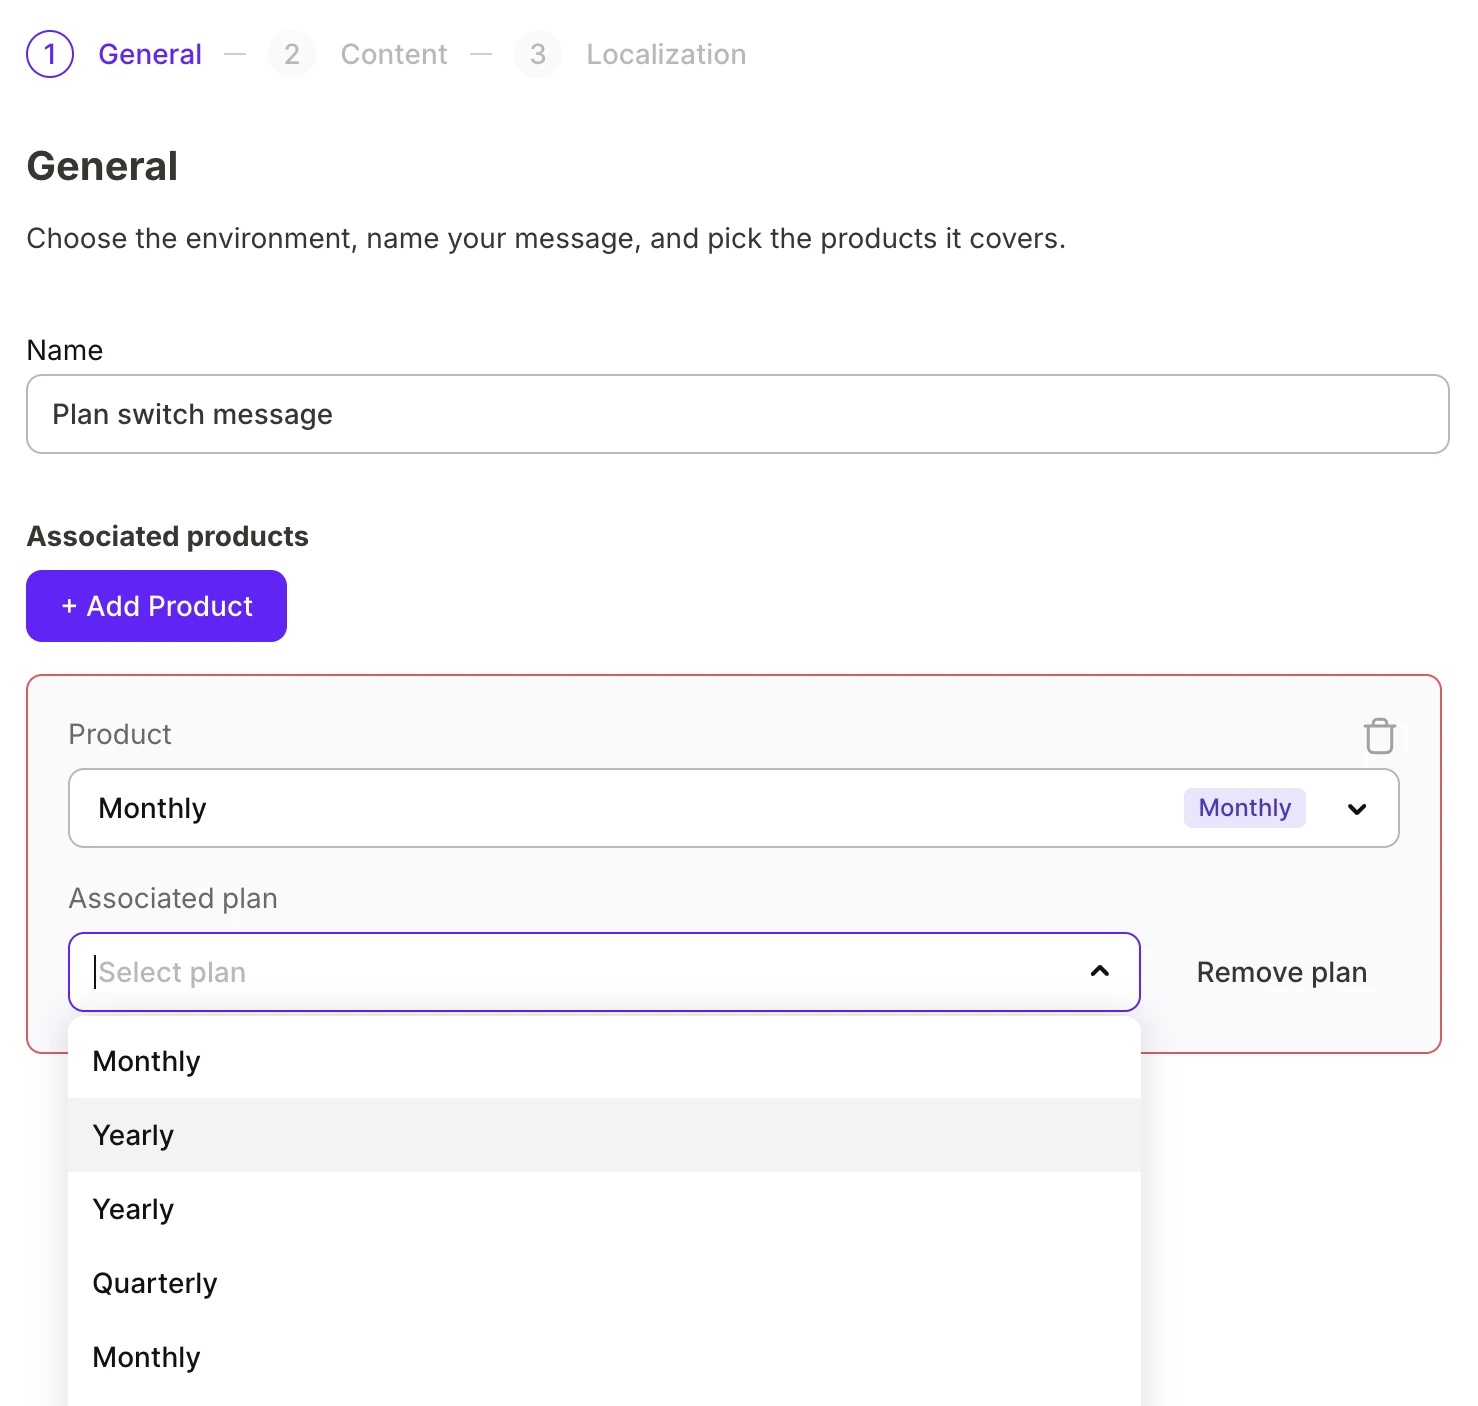
Pour un message de type promo, configurez l’incentive qui persuadera l’abonné de rester :
-
Promo offer : une offre promotionnelle que vous avez configurée au préalable pour le produit.
-
Plan switch : Un produit différent de votre catalogue.
Contenu
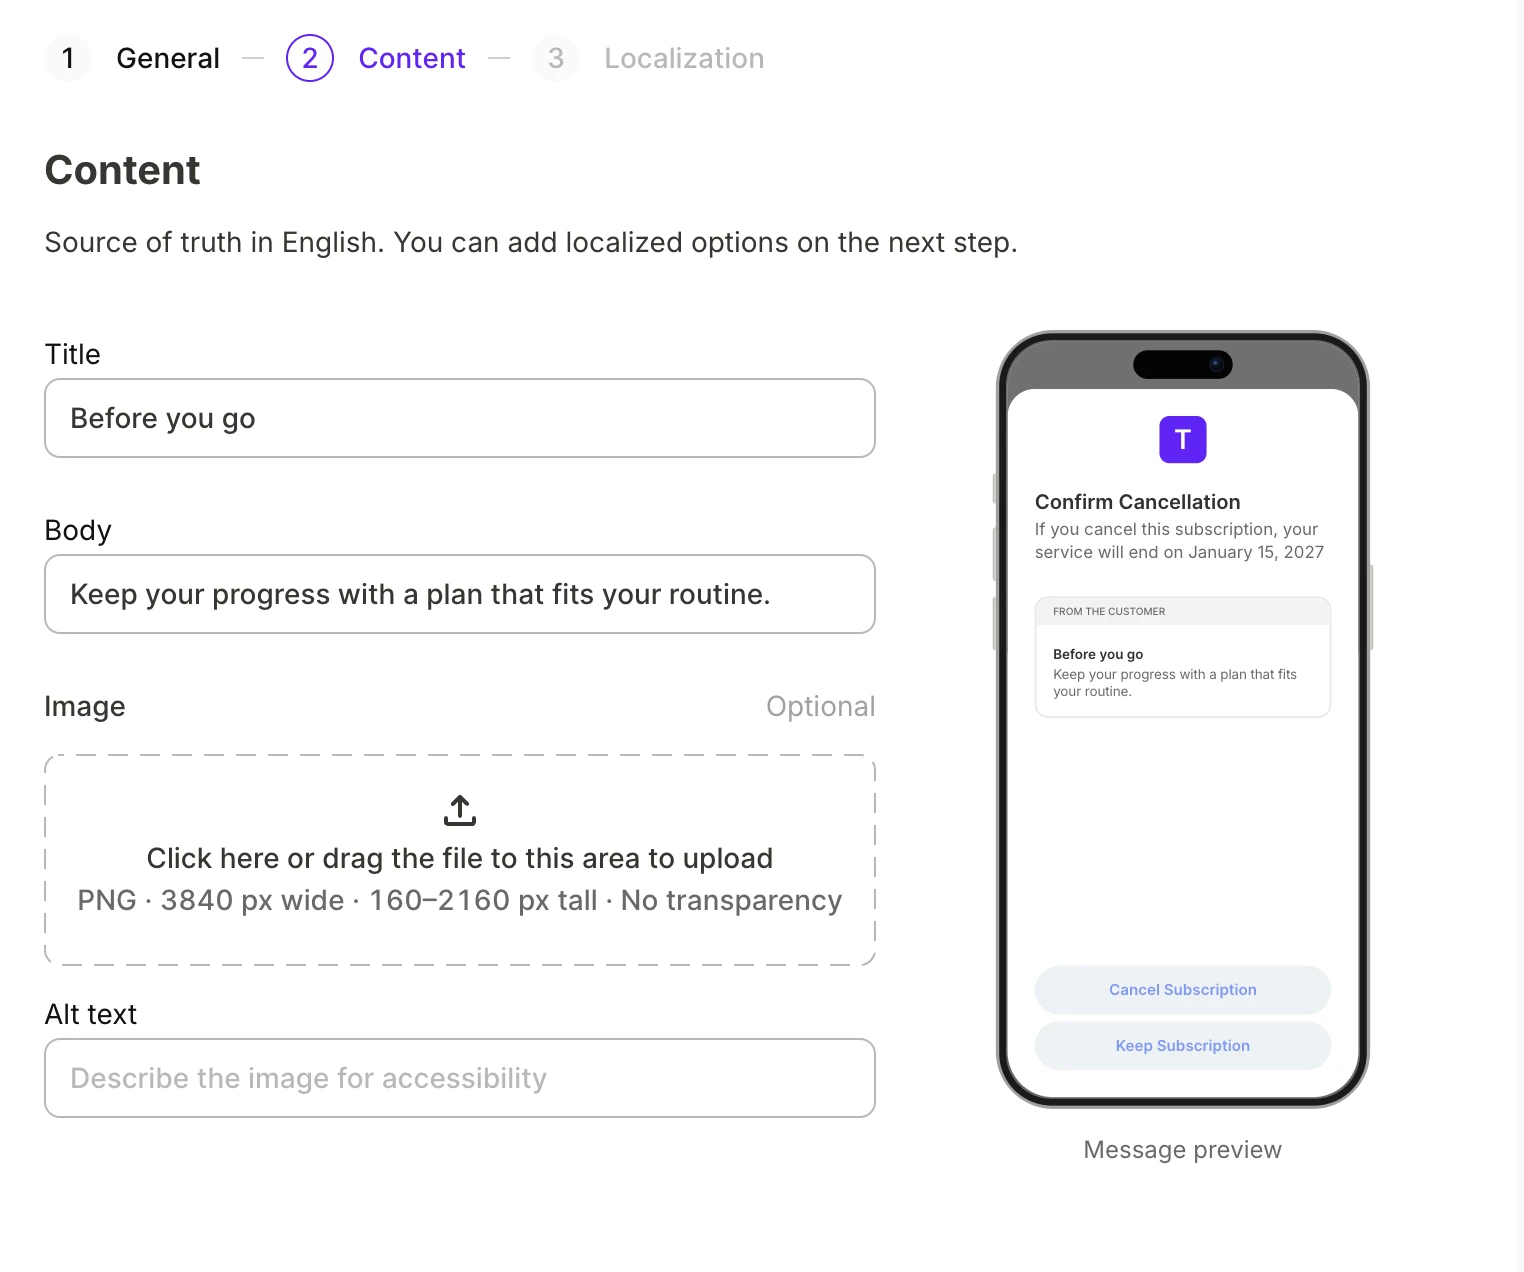
Rédigez le message en anglais. Un aperçu sur la droite affiche le message sur l’écran d’annulation d’abonnement au fur et à mesure de votre saisie.
Le message Default peut inclure une image.
Localisation
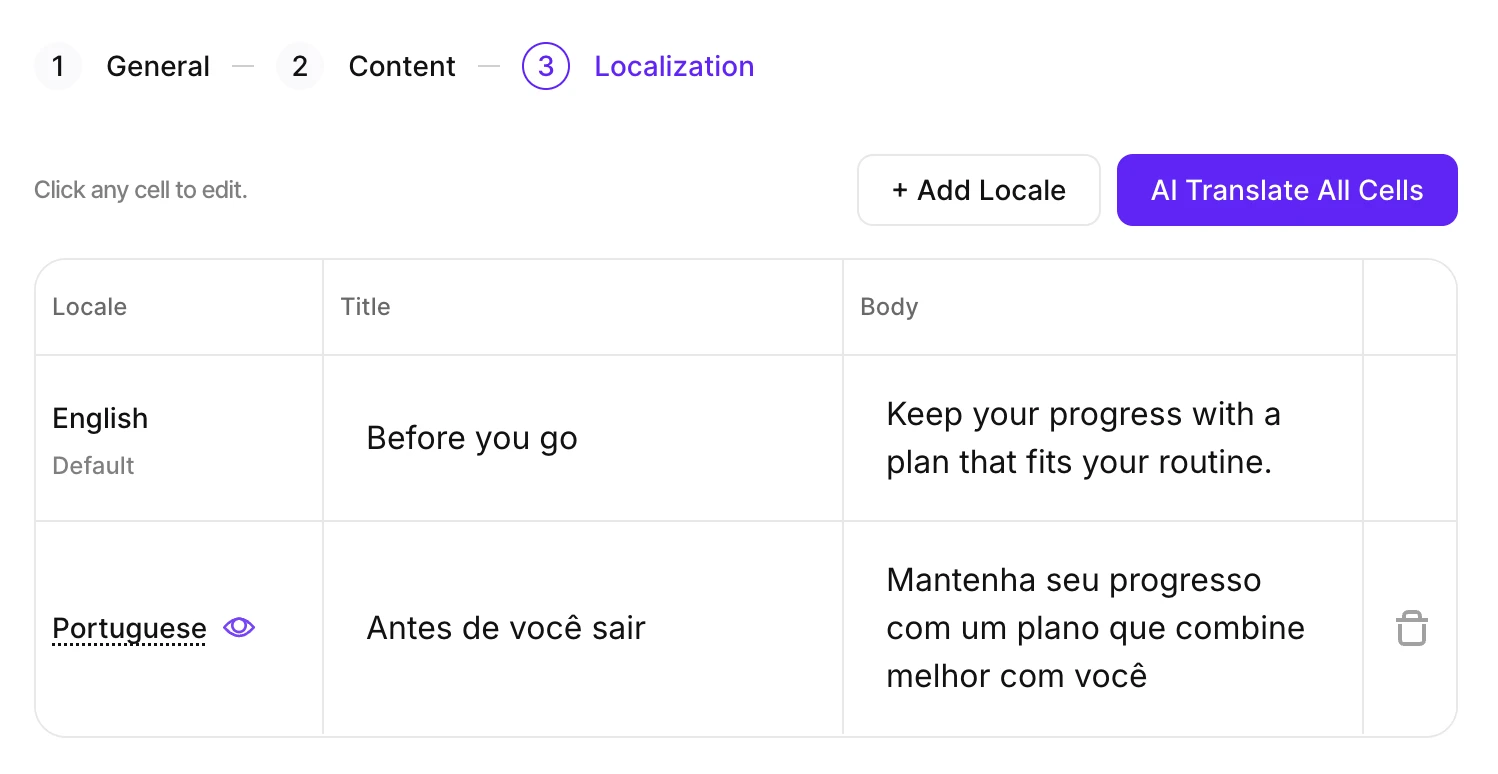
L’anglais est la langue source. Ajoutez les autres langues utilisées par vos abonnés, puis traduisez le contenu.
- Cliquez sur Add Locale et choisissez les locales à prendre en charge.
- Cliquez sur AI Translate All Cells pour traduire automatiquement le contenu.
- Cliquez sur n’importe quelle cellule pour modifier une traduction.
Chaque locale doit respecter les mêmes limites que la source anglaise : 66 caractères pour le titre, 144 pour le corps. Une traduction trop longue bloque Submit To Review tant que vous ne la raccourcissez pas.
Survolez une locale pour en avoir un aperçu sur l’écran Annuler l’abonnement.
Adapty utilise la version en-US si Apple n’a pas encore approuvé de traduction pour la locale cible.
Soumettre pour examen
Lorsque le message est prêt, cliquez sur Submit To Review. Adapty téléverse le message vers Apple dans chaque locale que vous avez ajoutée, et Apple commence son examen. Suivez l’état de votre soumission sur la page Retention Messaging.
Adapty enregistre le message uniquement au moment de la soumission.
États des messages
Une fois le message soumis, Apple examine chacune de ses variantes linguistiques séparément. Le message n’est publié qu’une fois toutes les variantes approuvées. La colonne State de la page Retention Messaging vous permet de suivre l’avancement du message :
| État | Signification |
|---|---|
| In review | Apple n’a pas encore reçu le message, ou n’a pas terminé la vérification pour toutes les langues. |
| Live | Apple a approuvé le message, et Adapty le diffuse aux abonnés qui souhaitent se désabonner. |
| Rejected | Apple a refusé la soumission pour au moins une langue — essayez de soumettre une version alternative. |
| Inactive | Vous avez désactivé le message. Vous pouvez maintenant en créer un nouveau pour les mêmes produits. |
Vous pouvez modifier n’importe quel message à tout moment — y compris les messages actuellement servis à vos clients. Si vous modifiez un message Live, ou si vous y ajoutez un nouveau locale, le message perd instantanément son statut live et redevient un message In review.
Désactiver et réactiver
Pour retirer un message d’Apple sans le supprimer d’Adapty, ouvrez le menu dans la ligne du message et cliquez sur Deactivate.
Pour le remettre en ligne, cliquez sur Activate. La réactivation ne passe pas par la revue d’Apple, et le message peut prendre quelques minutes à atteindre tous les abonnés.
Un produit peut avoir au maximum un message par défaut et un message promo. Si un autre message du même type a revendiqué le produit pendant que celui-ci était inactif, la réactivation échoue.
Prochaines étapes
- Suivez les performances du message une fois qu’il est en ligne.