Create and manage flow rows in Adapty Mail
Each flow is a prioritized list of segment → campaign rows inside a fixed trigger view. This guide covers how to add, reorder, edit, and delete those rows. For the concepts behind triggers, priorities, and content types, see Flows.
Add a row
-
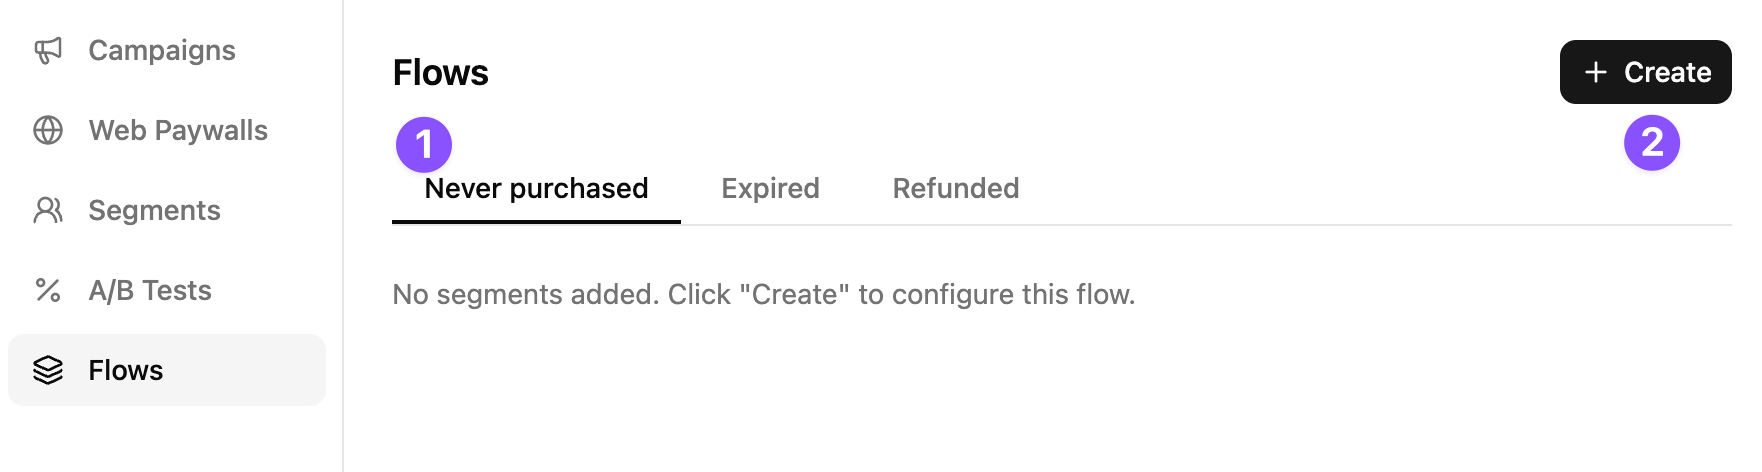
In Adapty Mail, go to Flows and open the trigger you want to configure.
-
Click Create to open the dialog.
-
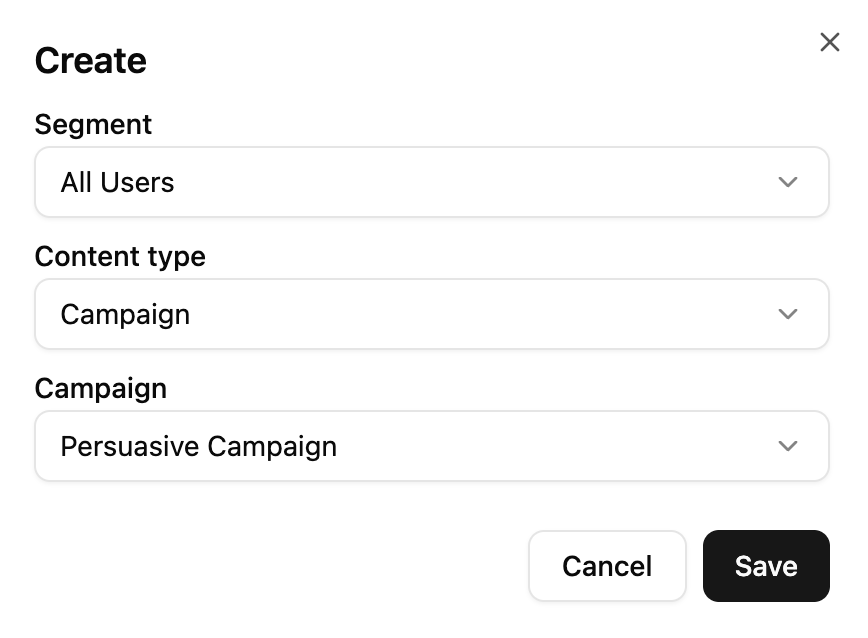
In the dialog:
- Segment: Pick a segment, or All Users as a catch-all.
- Content type: Campaign for a single campaign, or A/B Test to compare multiple — see A/B testing.
- Campaign: Select the campaign to send.
-
Click Save.
The row is live immediately. Users who hit the trigger and match the segment start receiving the campaign from that point on.
Reorder rows
Drag the handle on the left of a row to change its priority. Adapty Mail auto-assigns priority: 1, 2, 3… based on the saved order.
An All Users row must stay in the last slot — dragging it above another row is blocked on save.
Edit a row
Click Change content on a row to reopen the dialog with its current values pre-filled. You can change the segment, content type, and campaign, then click Save to apply.
A row that uses an A/B test can only be edited while the test is in the draft state. Once the test is launched, its content is locked until you finish it.
Delete a row
Open the row’s actions menu and click Delete. There’s no confirmation dialog — the row is removed immediately.
- Campaign rows: Can be deleted at any time.
- Rows with a live A/B test: Can’t be deleted. Finish the test first using Finish A/B test, then delete the row.
Deleting a row stops new users from entering the sequence. Users already mid-sequence may continue receiving their scheduled emails — there’s no automatic cancellation.