Web paywall
Before you begin, make sure you have the required Adapty SDK version installed:
- Paywall Builder or custom paywalls: 3.6.1 or later (iOS), 3.15 or later (Android and cross-platform)
- Flow Builder: 4.0 or later (all platforms)
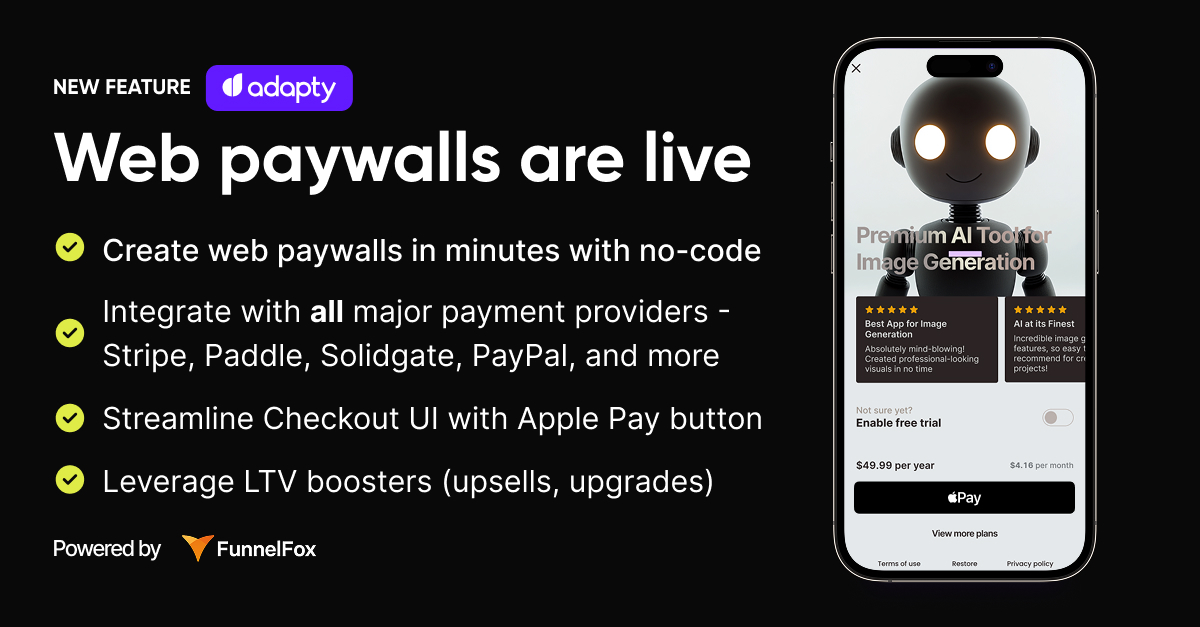
With Adapty, you can create a paywall or flow with a button that redirects your app users to their browser for payment. Then, when they return to your app after a successful purchase, the subscription activates. This allows you to bypass store fees while tracking user payments.
The App Store allows external payment options only in the USA and Japan.
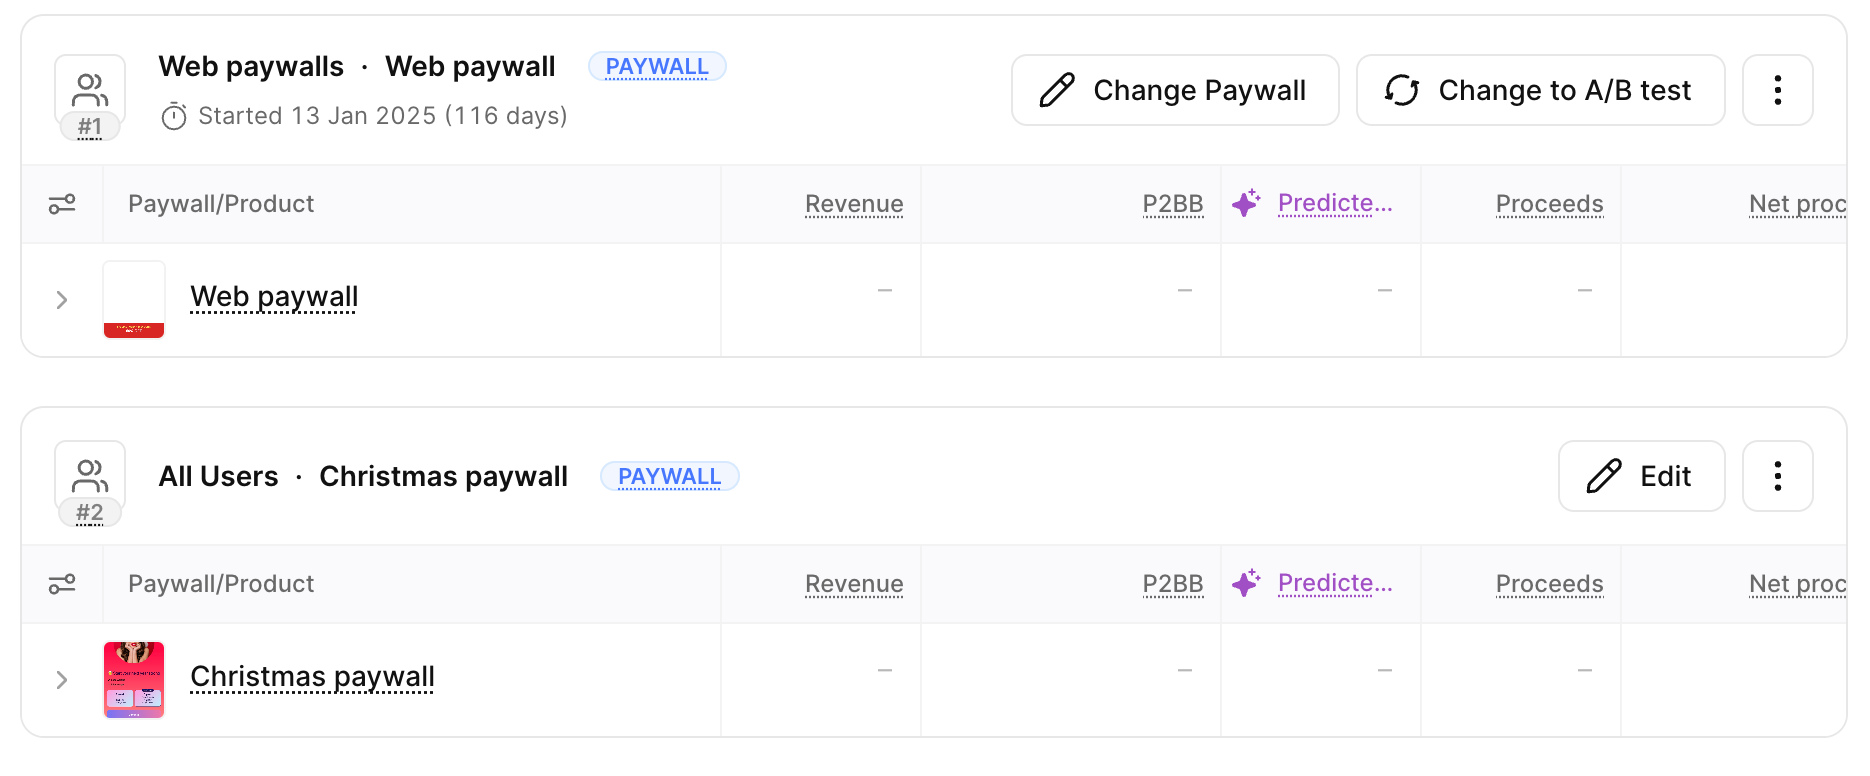
To use a paywall exclusively for these markets, duplicate your current paywall and set up a web paywall. This way, you will have two almost identical paywalls in use: one for the USA and Japan, and another for everybody else.
How it works
A web paywall is a unique URL generated for each of your in-app paywalls. It opens in the browser for payment and works with different payment providers (Stripe, Paddle, and others), supporting both a simple page with an Apple Pay button and more complex flows with additional offers.
Web paywalls work in the following way:
- Configure how the web paywall page will look and work in the web paywall editor.
- Link the web paywall in the paywall settings.
- In your app paywall, add a button redirecting users to the browser.
- Once users tap the button, Adapty SDK generates a unique URL.
- Users go to the web paywall page and pay for a subscription using an external payment method.
- When they return to the app, Adapty SDK polls for profile updates to confirm the subscription activated.
- Adapty records the purchase and monitors the subscription for status changes, such as renewals or cancellations.
Step 1. Create a web paywall
- Get a paywall to work with:
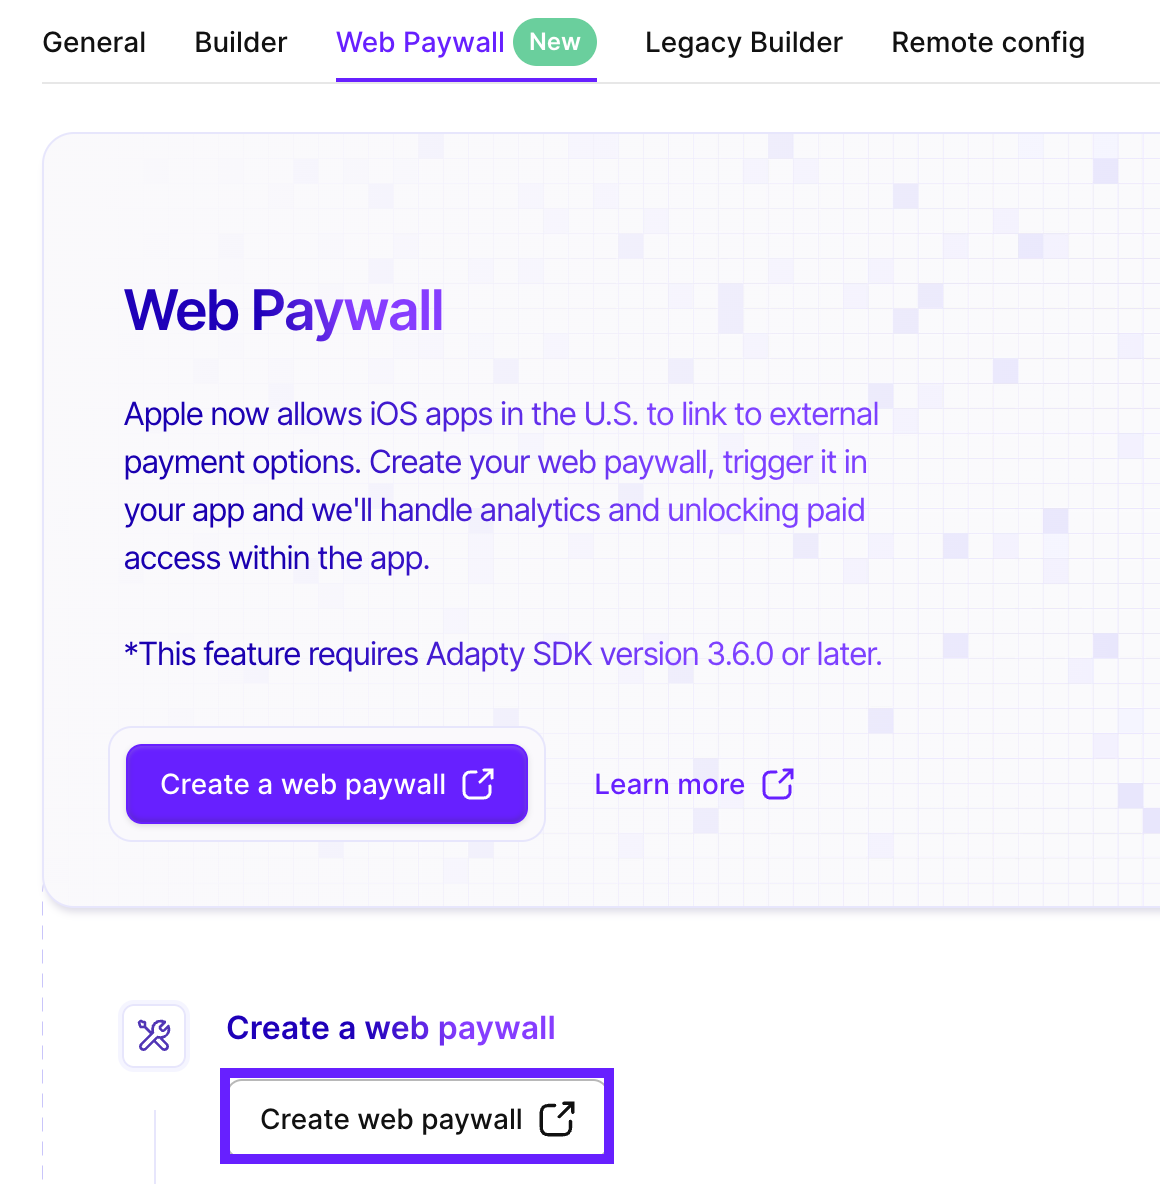
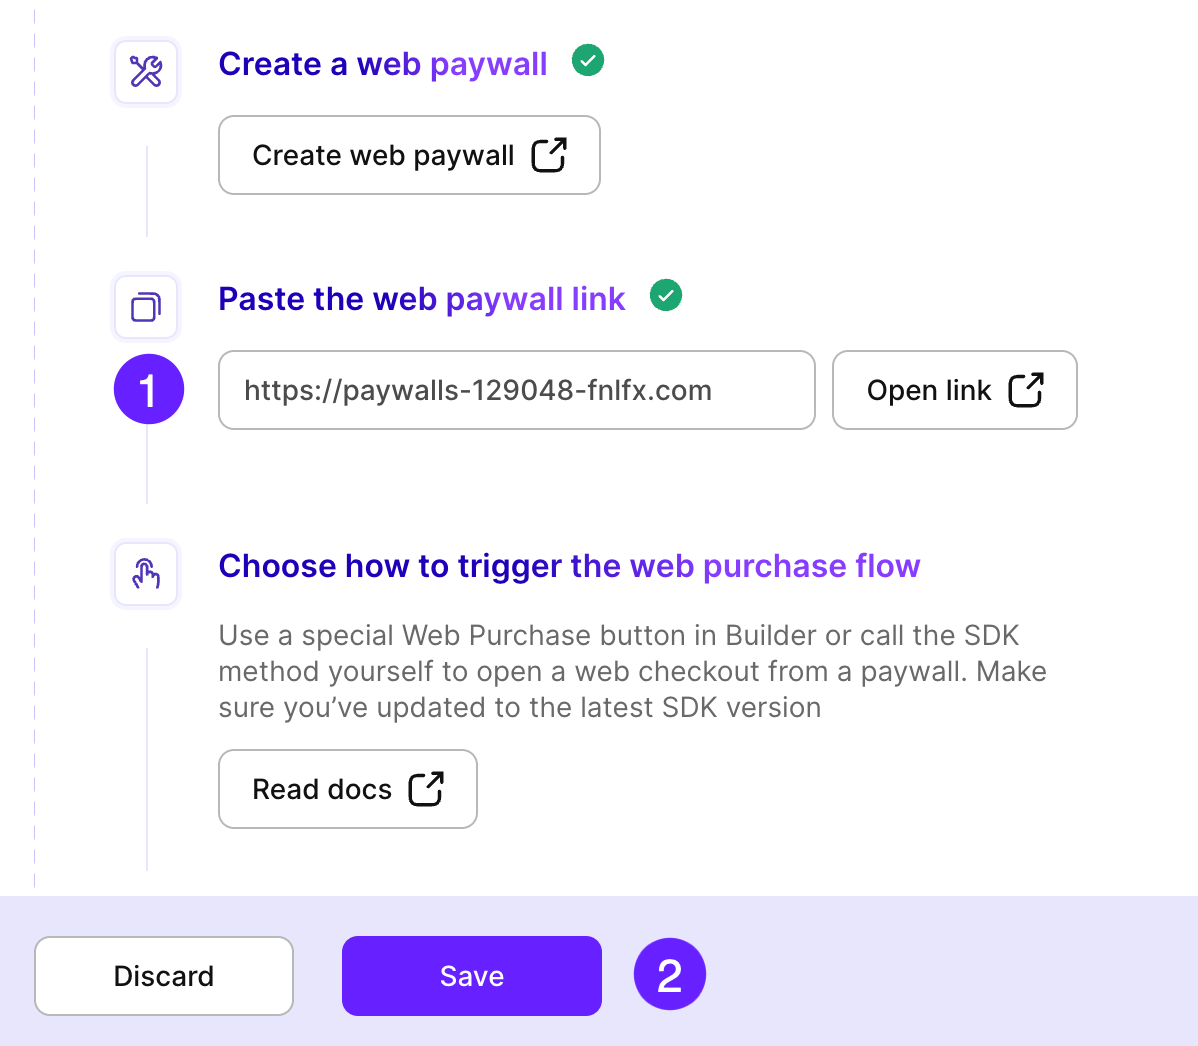
- On the Paywall page, switch to the Web paywall tab and click Create web paywall. You will be redirected to a new page.
- Set up the web paywall and connect a payment method.
For help setting up the external editor and connecting a payment provider, see the quickstart guide.
- Return to the Web paywall page and paste the paywall link.
When launching your paywall to the production environment, make sure you use the correct link generated after publishing your web paywall. The link format is paywalls-....fnlfx.com.
- Click Save.
Step 2. Trigger the paywall
To use your web paywall, you need to trigger it, and the way you do it depends on your setup:
- If you are using the Flow builder, you only need to add a new button that will use the link you’ve provided to track purchases and send the data back to Adapty.
- If you are using the SDK, you must set up the
openWebPaywallmethod to handle web paywalls.
Step 2a. Add a web purchase button
If you are using the Flow Builder, you need to add a web paywall button. The button will use the link you’ve provided to track purchases and send the data back to Adapty.
-
Open the flow and add a button.
If you are using a template or an existing paywall, add a web paywall button alongside the existing purchase button. You can configure it the same way.
-
In the Interactions panel on the right, click Add trigger. Then, assign the Purchase action to this trigger.
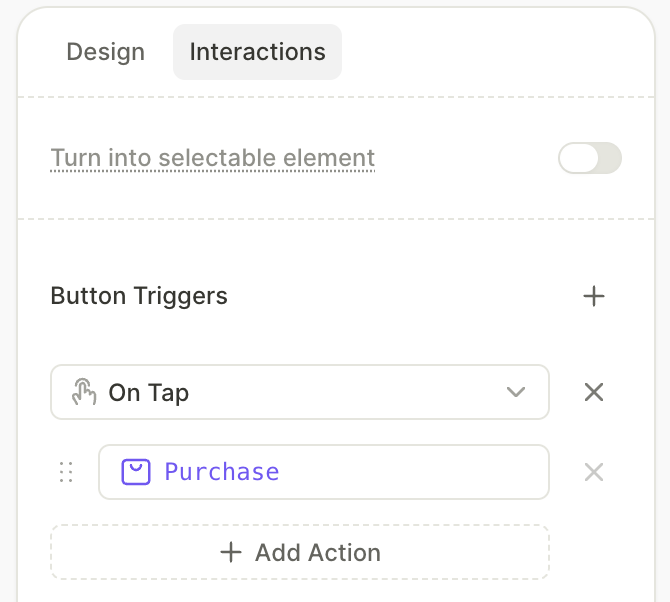
-
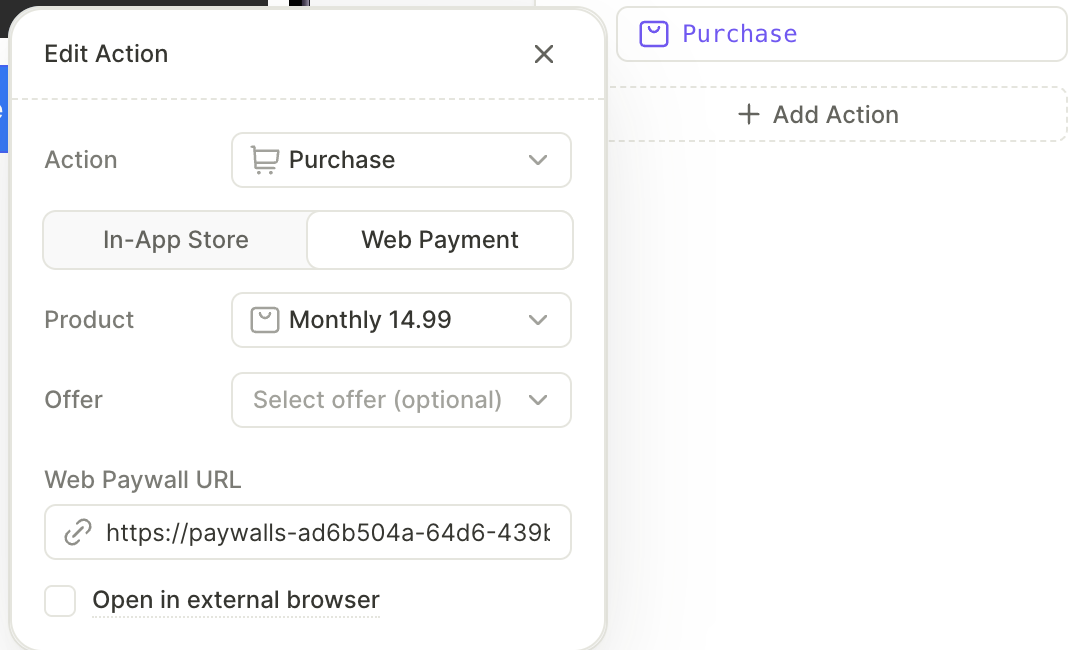
In the action settings, switch to the Web payment tab. There, select a product and—optionally—an offer to associate with the web purchase button.
-
Paste the web paywall link to the Web paywall URL field.
-
By default, web paywalls open in an in-app browser so that users don’t need to leave your app. If you want to open them in an external browser, select Open in external browser.
Step 2b. Call the SDK method
If you are working with a paywall you developed yourself, you need to handle web paywalls using the SDK method. Read the framework-specific guides:
Step 3. Set up a placement
Since the App Store only allows external payment options in the USA and Japan, create a separate user segment for iOS users in those markets and set up a placement to target different paywalls at different segments. For Android users, no geographic restriction applies — create a separate Android segment without a country filter.
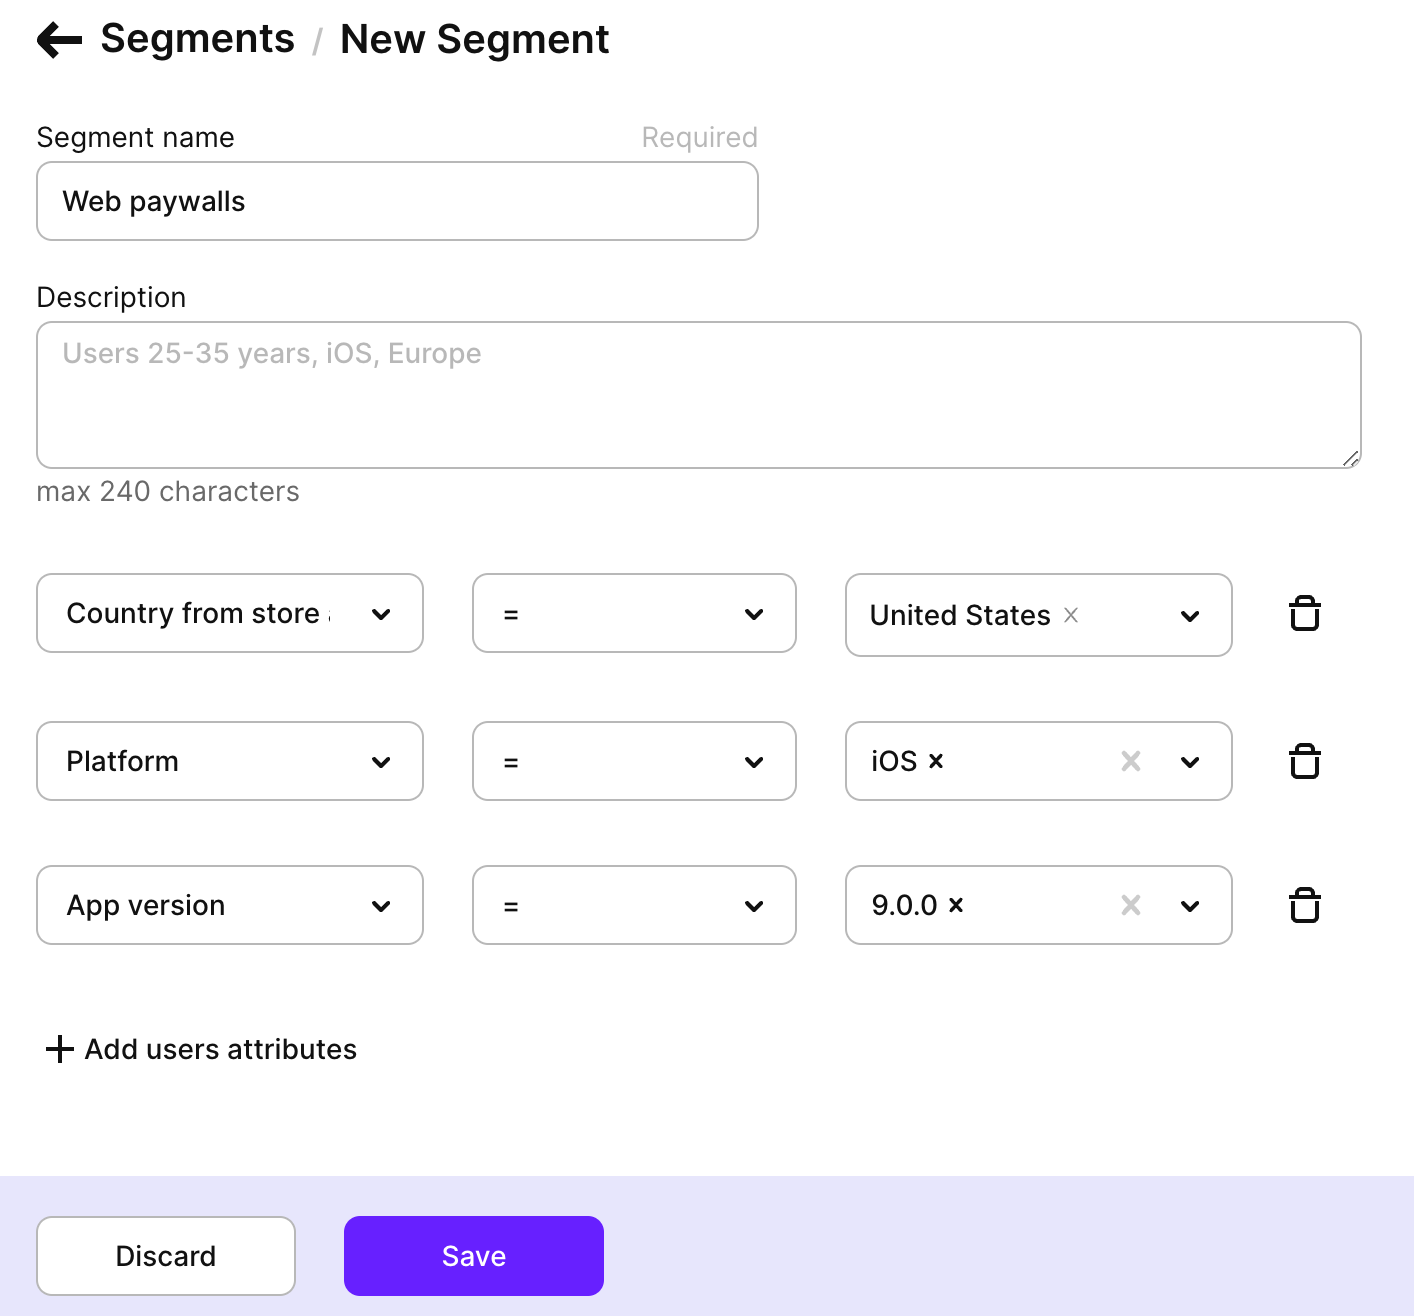
- Create a new segment that will have the following attributes:
- Country from store account: United States, Japan
- Platform: iOS and iPadOS
- App version: The latest one that uses the Adapty SDK.
- Create a placement or edit an existing one. Add a new audience with the web paywall and the segment created.