A/B test
Boost in-app purchases and subscription revenue by running A/B tests in Adapty. You can experiment with pricing, subscription lengths, trial periods, and more—no code changes needed.
This guide shows how to create A/B tests in the Adapty Dashboard and how to read the results so you can make data-driven decisions about monetization.
Be sure you send paywall views to Adapty using the .logShowPaywall(). Without this method, Adapty wouldn’t be able to calculate views for the paywalls within the test, which would result in irrelevant conversion stats.
A/B test types
Adapty offers three A/B test types:
- Regular A/B test: An A/B test created for a single paywall placement.
- Onboarding A/B test: An A/B test created for a single onboarding placement.
- Crossplacement A/B test: An A/B test created for multiple paywall placements in your app. Once a variant A/B test variants are alternative versions of the paywall or onboarding to test. is assigned by the A/B test, it will be consistently shown across all selected sections of your app.
Crossplacement A/B tests are only available for Adapty SDKs starting from v3.5.0.
Onboarding A/B tests require the SDK version 3.8.0 or higher.
Users from previous versions skip them.
A/B test types use cases
Each A/B test type is useful if:
- Regular and Onboarding A/B/ tests:
- You have only one placement in your app.
- You want to run your A/B test for only one placement even if you have multiple placements in your app and see economics changes for this one placement only.
- You want to run an A/B test on old users (those who have seen at least one Adapty paywall).
- Crossplacement A/B test:
- You want to synchronize variants used across multiple placements—e.g., if you want to change prices in the onboarding flow and in your app’s settings the same time.
- You want to evaluate your app’s overall economy, ensuring that A/B testing is conducted across the entire app rather than just specific parts, making it easier to analyze results in the A/B testing statistics.
- You want to run an A/B test on new users only, i.e. the users who have never seen a single Adapty paywall.
- You want to use multiple paywalls within a single variant:

Key differences
| Feature | Regular A/B Test | Crossplacement A/B Test |
|---|---|---|
| What is being tested | One paywall/onboarding | Set of paywalls belonging to one variant |
| Variant consistency | Variant is determined separately for every placement | Same variant used across all paywall placements |
| Audience targeting | Defined per paywall/onboarding placement | Shared across all paywall placements |
| Analytics | You analyse one paywall/onboarding placement | You analyze the whole app on those placements that are a part of the test |
| Variant weight distribution | Per paywall/onboarding | Per set of paywalls |
| Users | For all users | Only new users (those who haven’t seen an Adapty paywall) |
| Adapty SDK version | Any for paywalls. 3.8.0+ for onboardings | 3.5.0+ |
| Best for | Testing independent changes in a single paywall/onboarding placement without considering the overall app economics | Evaluating overall monetization strategies app-wide |
Each paywall/onboarding gets a weight that splits traffic during the test.
For instance, with weights of 70 % and 30 %, the first paywall is shown to roughly 700 of 1,000 users, the second to about 300. In cross-placement tests, weights are set per variant, not per paywall.
This setup allows you to effectively compare different paywalls and make smarter, data-driven decisions for your app’s monetization strategy.
A/B test selection logic
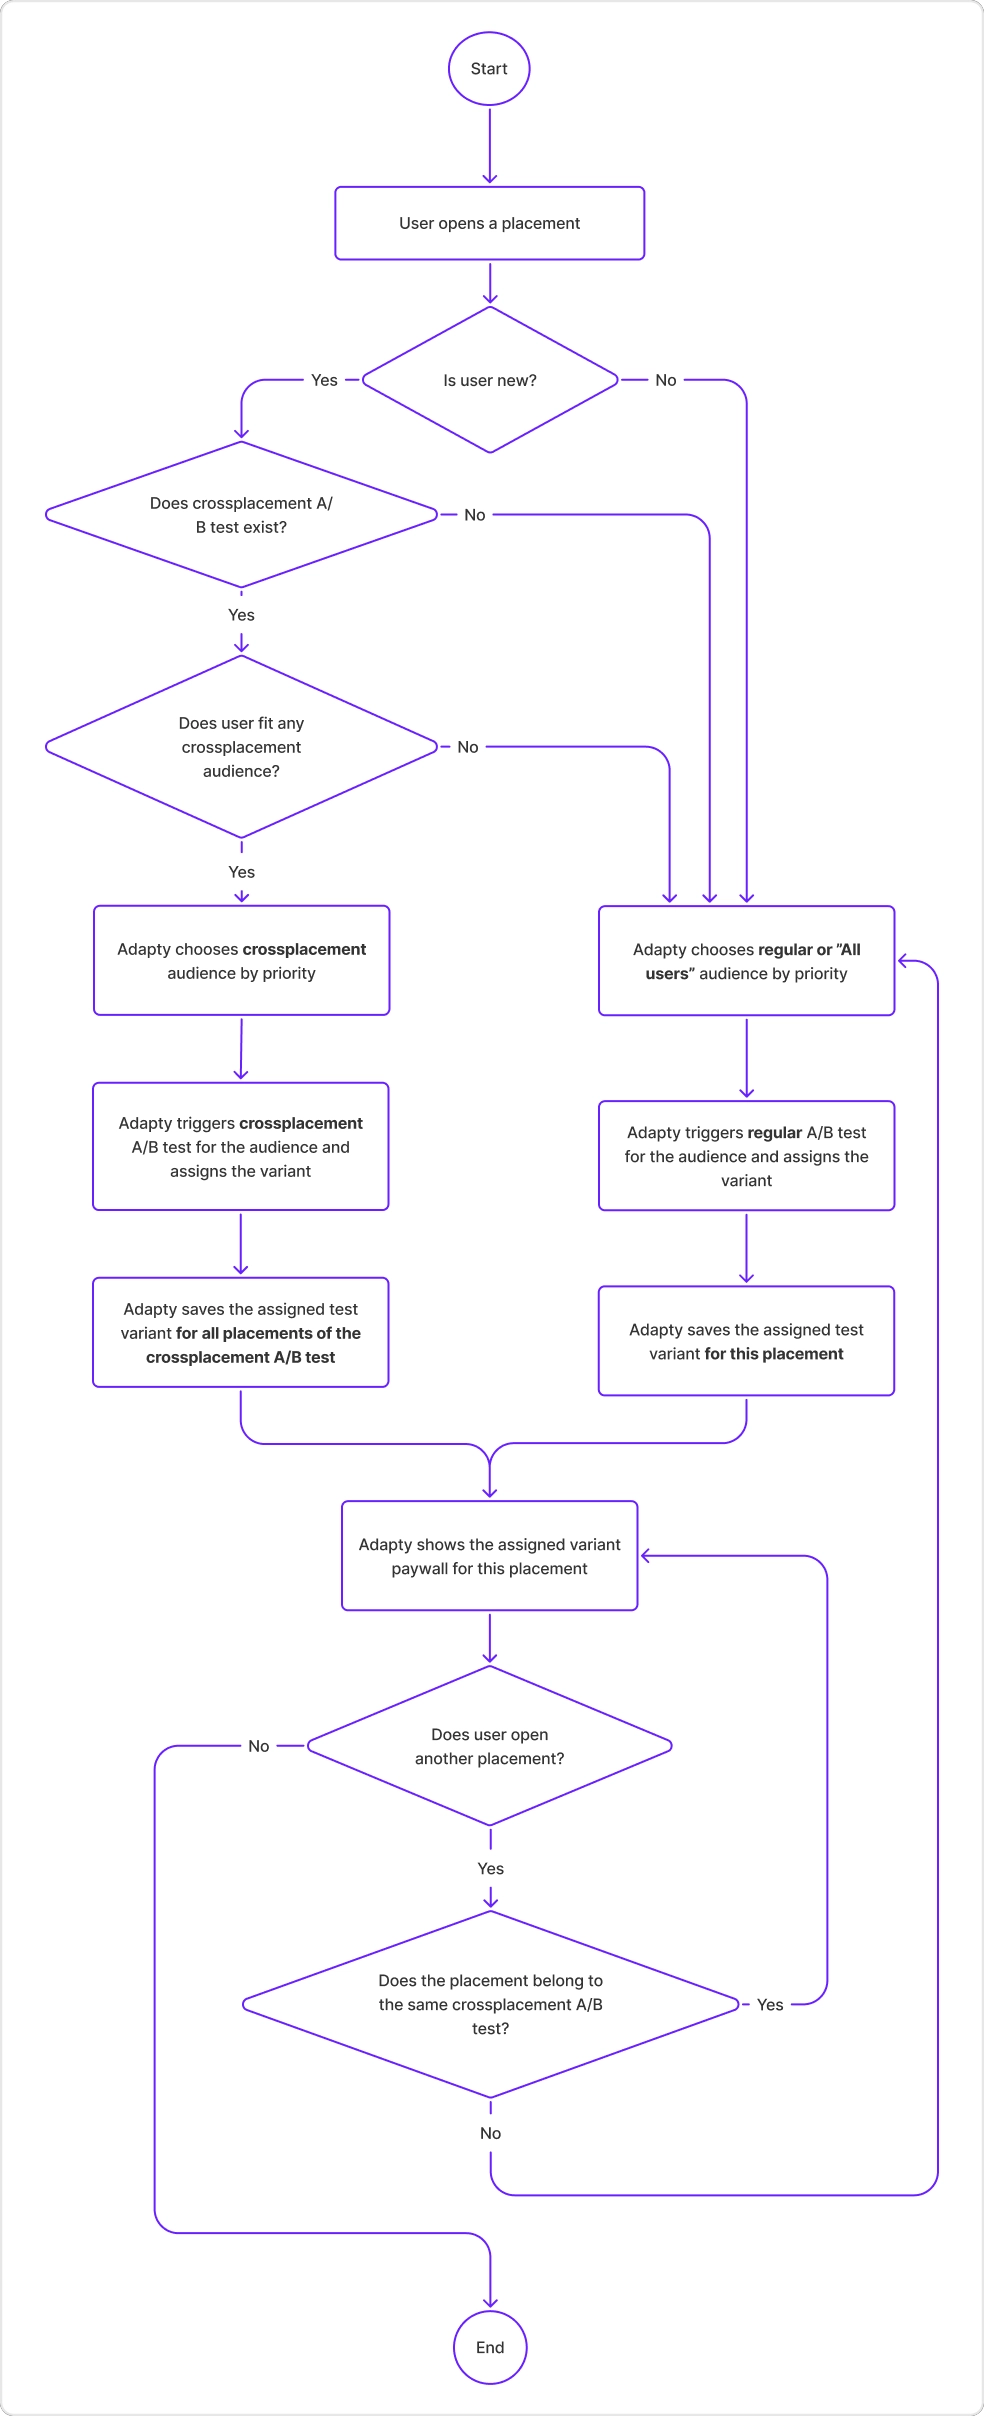
As you may have noticed from the table above, cross-placement A/B tests take priority over regular A/B tests. However, cross-placement tests are only shown to new users — those who haven’t seen a single Adapty paywall yet (to be precise, getPaywall SDK method was called). This ensures consistency in results across placements.
Here is an example of the logic Adapty follows when deciding which A/B test to show for a paywall placement:
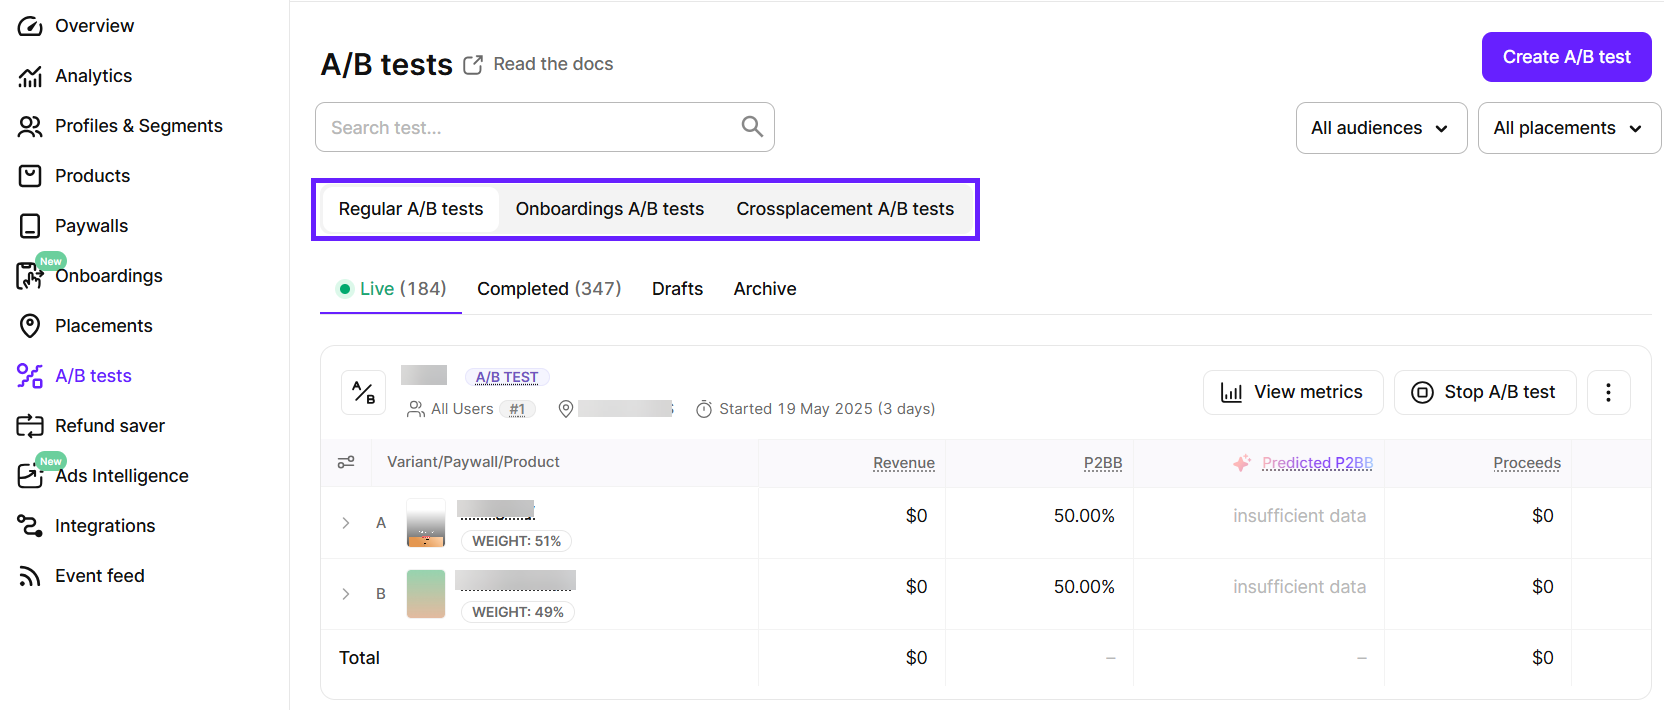
Regular, onboarding, and cross-placement tests appear on separate tabs that you can switch between.
Crossplacement A/B test limitations
Currently, crossplacement A/B tests cannot include onboarding placements.
Crossplacement A/B tests guarantee the same variant across all placements in the A/B test, but this creates several limitations:
- They always have the highest priority in a placement.
- Only new users can participate, i.e. the users who have not seen a single Adapty paywall before (to be precise,
getPaywallSDK method was called). That is done because it’s not possible to guarantee for the old users that they will see the same paywall chain, because an existing user could have seen something before the test has been started.
By default, once a user is assigned to a cross-placement test variant, they stay in that variant for 3 months, even after you stop the test. To override this behavior and allow showing other paywalls and A/B tests, configure the Cross-placement variation stickiness setting in the App settings. However, note that, even then, they won’t be able to be a part of any other cross-placement test ever.
Creating A/B tests
When creating a new A/B test, you need to include at least two paywalls or onboardings, depending on your test type.
To create a new A/B test:
-
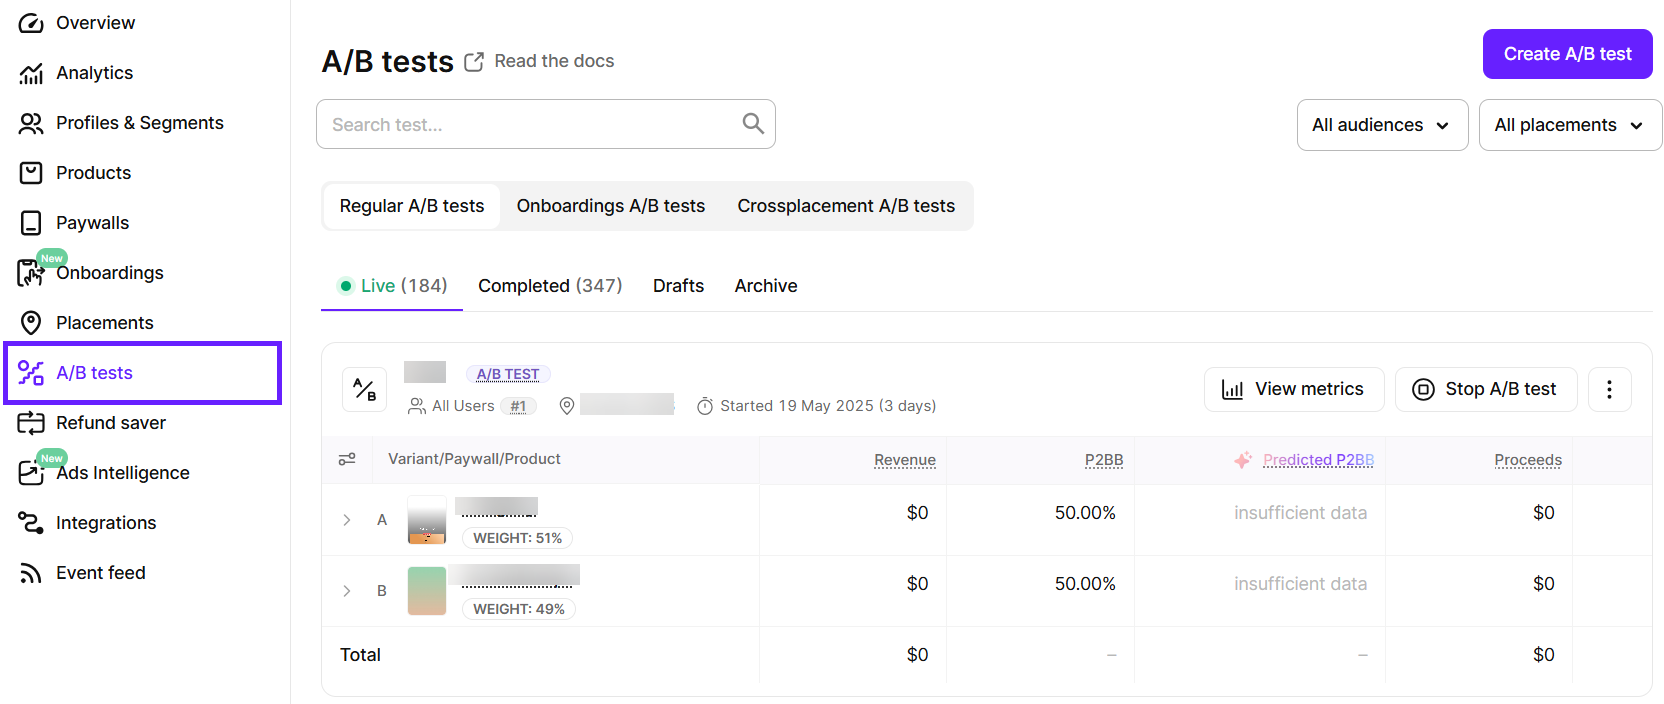
Go to A/B tests from the Adapty main menu.
-
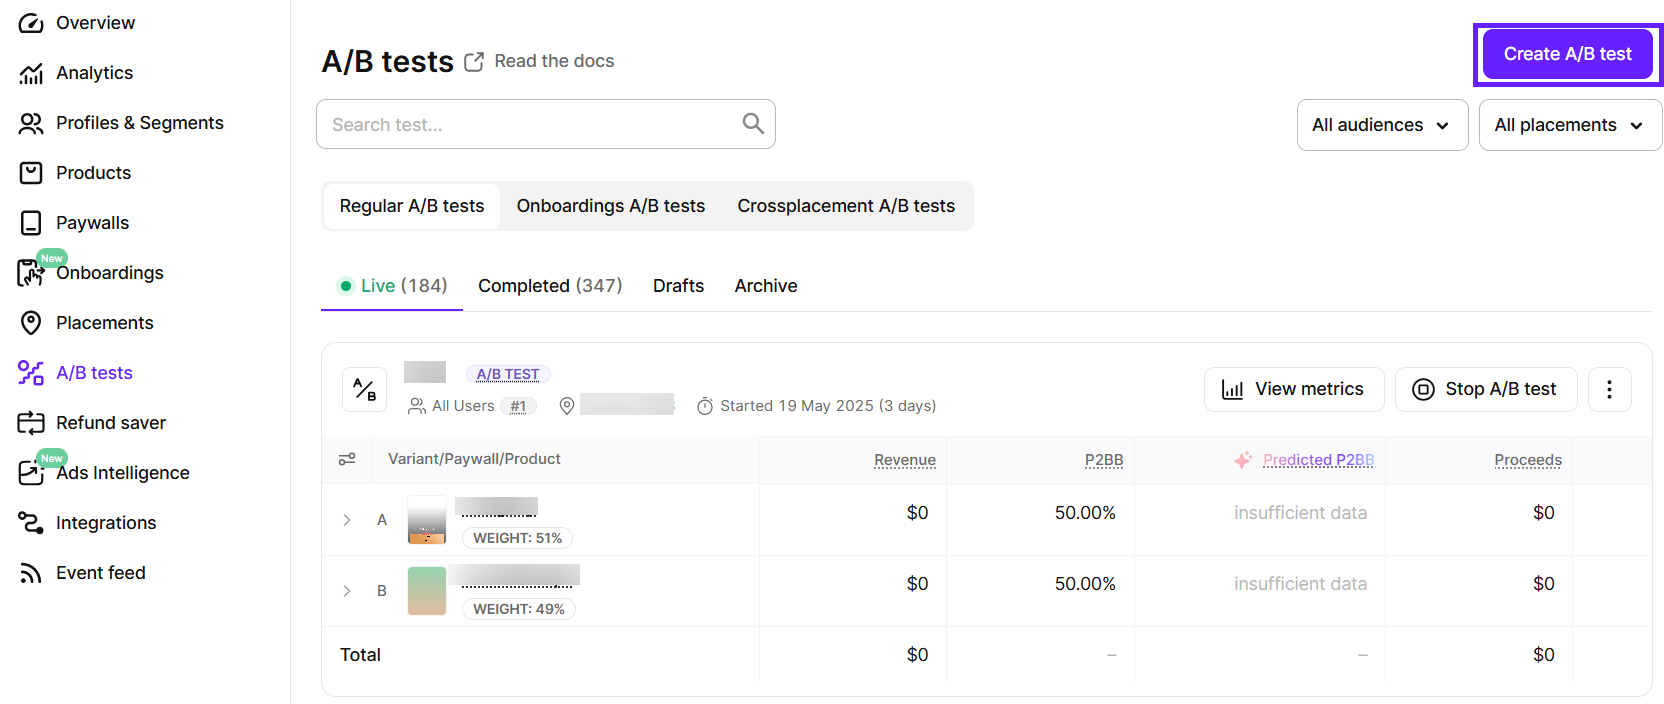
Click Create A/B test at the top right.
-
In the Create the A/B test window, enter a Test name. This is required and should help you easily identify the test later. Choose something descriptive and meaningful so it’s clear what the test is about when you review the results.
-
Fill in the Test goal to keep track of what you’re trying to achieve. This could be increasing subscriptions, improving engagement, reducing churn, or anything else you’re focusing on. A clear goal helps you stay on track and measure success.
-
Click Select placement and choose a paywall placement for a regular A/B test or an onboarding placement for an onboarding A/B test.
-
Set up the test content using the Variants table. Variants go in rows, placements go in columns, and paywalls are added where they intersect. By default, there are 2 variants and 1 placement, but you can add more of each.
Once you add a second placement, the test becomes a cross-placement A/B test.
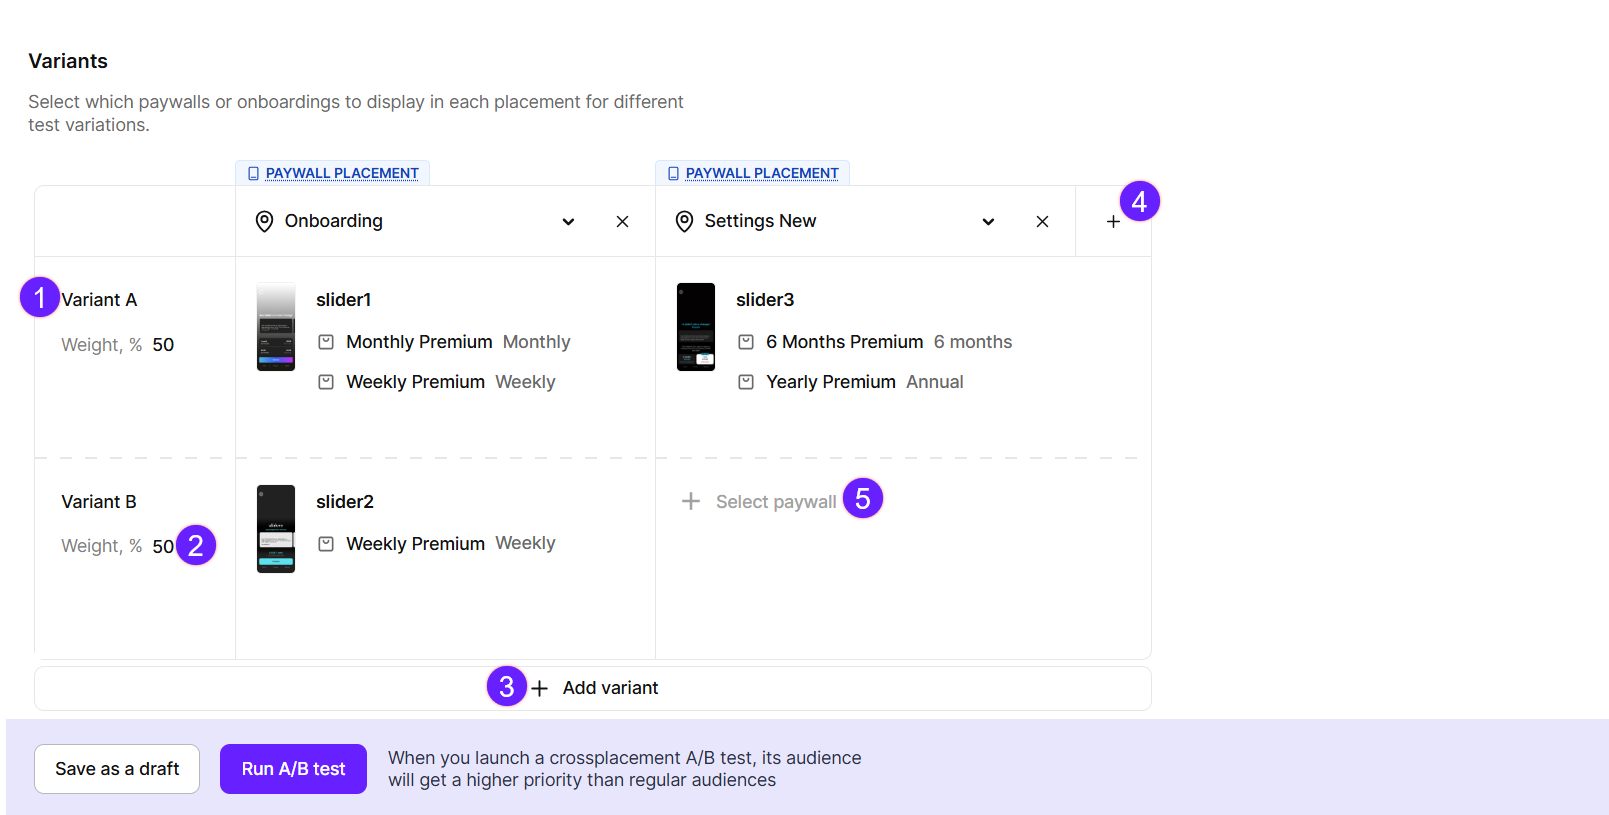
Key:
| 1 | Rename the variant to make it more descriptive for you. |
| 2 | Change the weight of the variant. Keep in mind that the total of all variants must equal 100%. |
| 3 | Add more variants if needed. |
| 4 | Add more placements if needed. |
| 5 | Add paywalls/onboardings to display in the placements for every variant. |
- Save your test. You have two options:
- Save as draft: The test won’t go live right away. You can launch it later from either the placement or A/B test list. This option is ideal if you’re not ready to start the test and want more time to review or make adjustments.
- Run A/B test: Choose this if you’re ready to launch the test immediately. The test will go live as soon as you click this button.
To learn more about launching A/B tests, check out our guide on running A/B tests. You can also track performance using a variety of metrics—see the metrics documentation for more details.
Editing A/B tests
You can only edit A/B tests that are saved as drafts. Once a test is live, it cannot be changed. However, you can use the Modify option to create a duplicate of the test with the same name and make your updates there. The original test will be stopped, and both the original and new versions will appear separately in your analytics.