Getting started
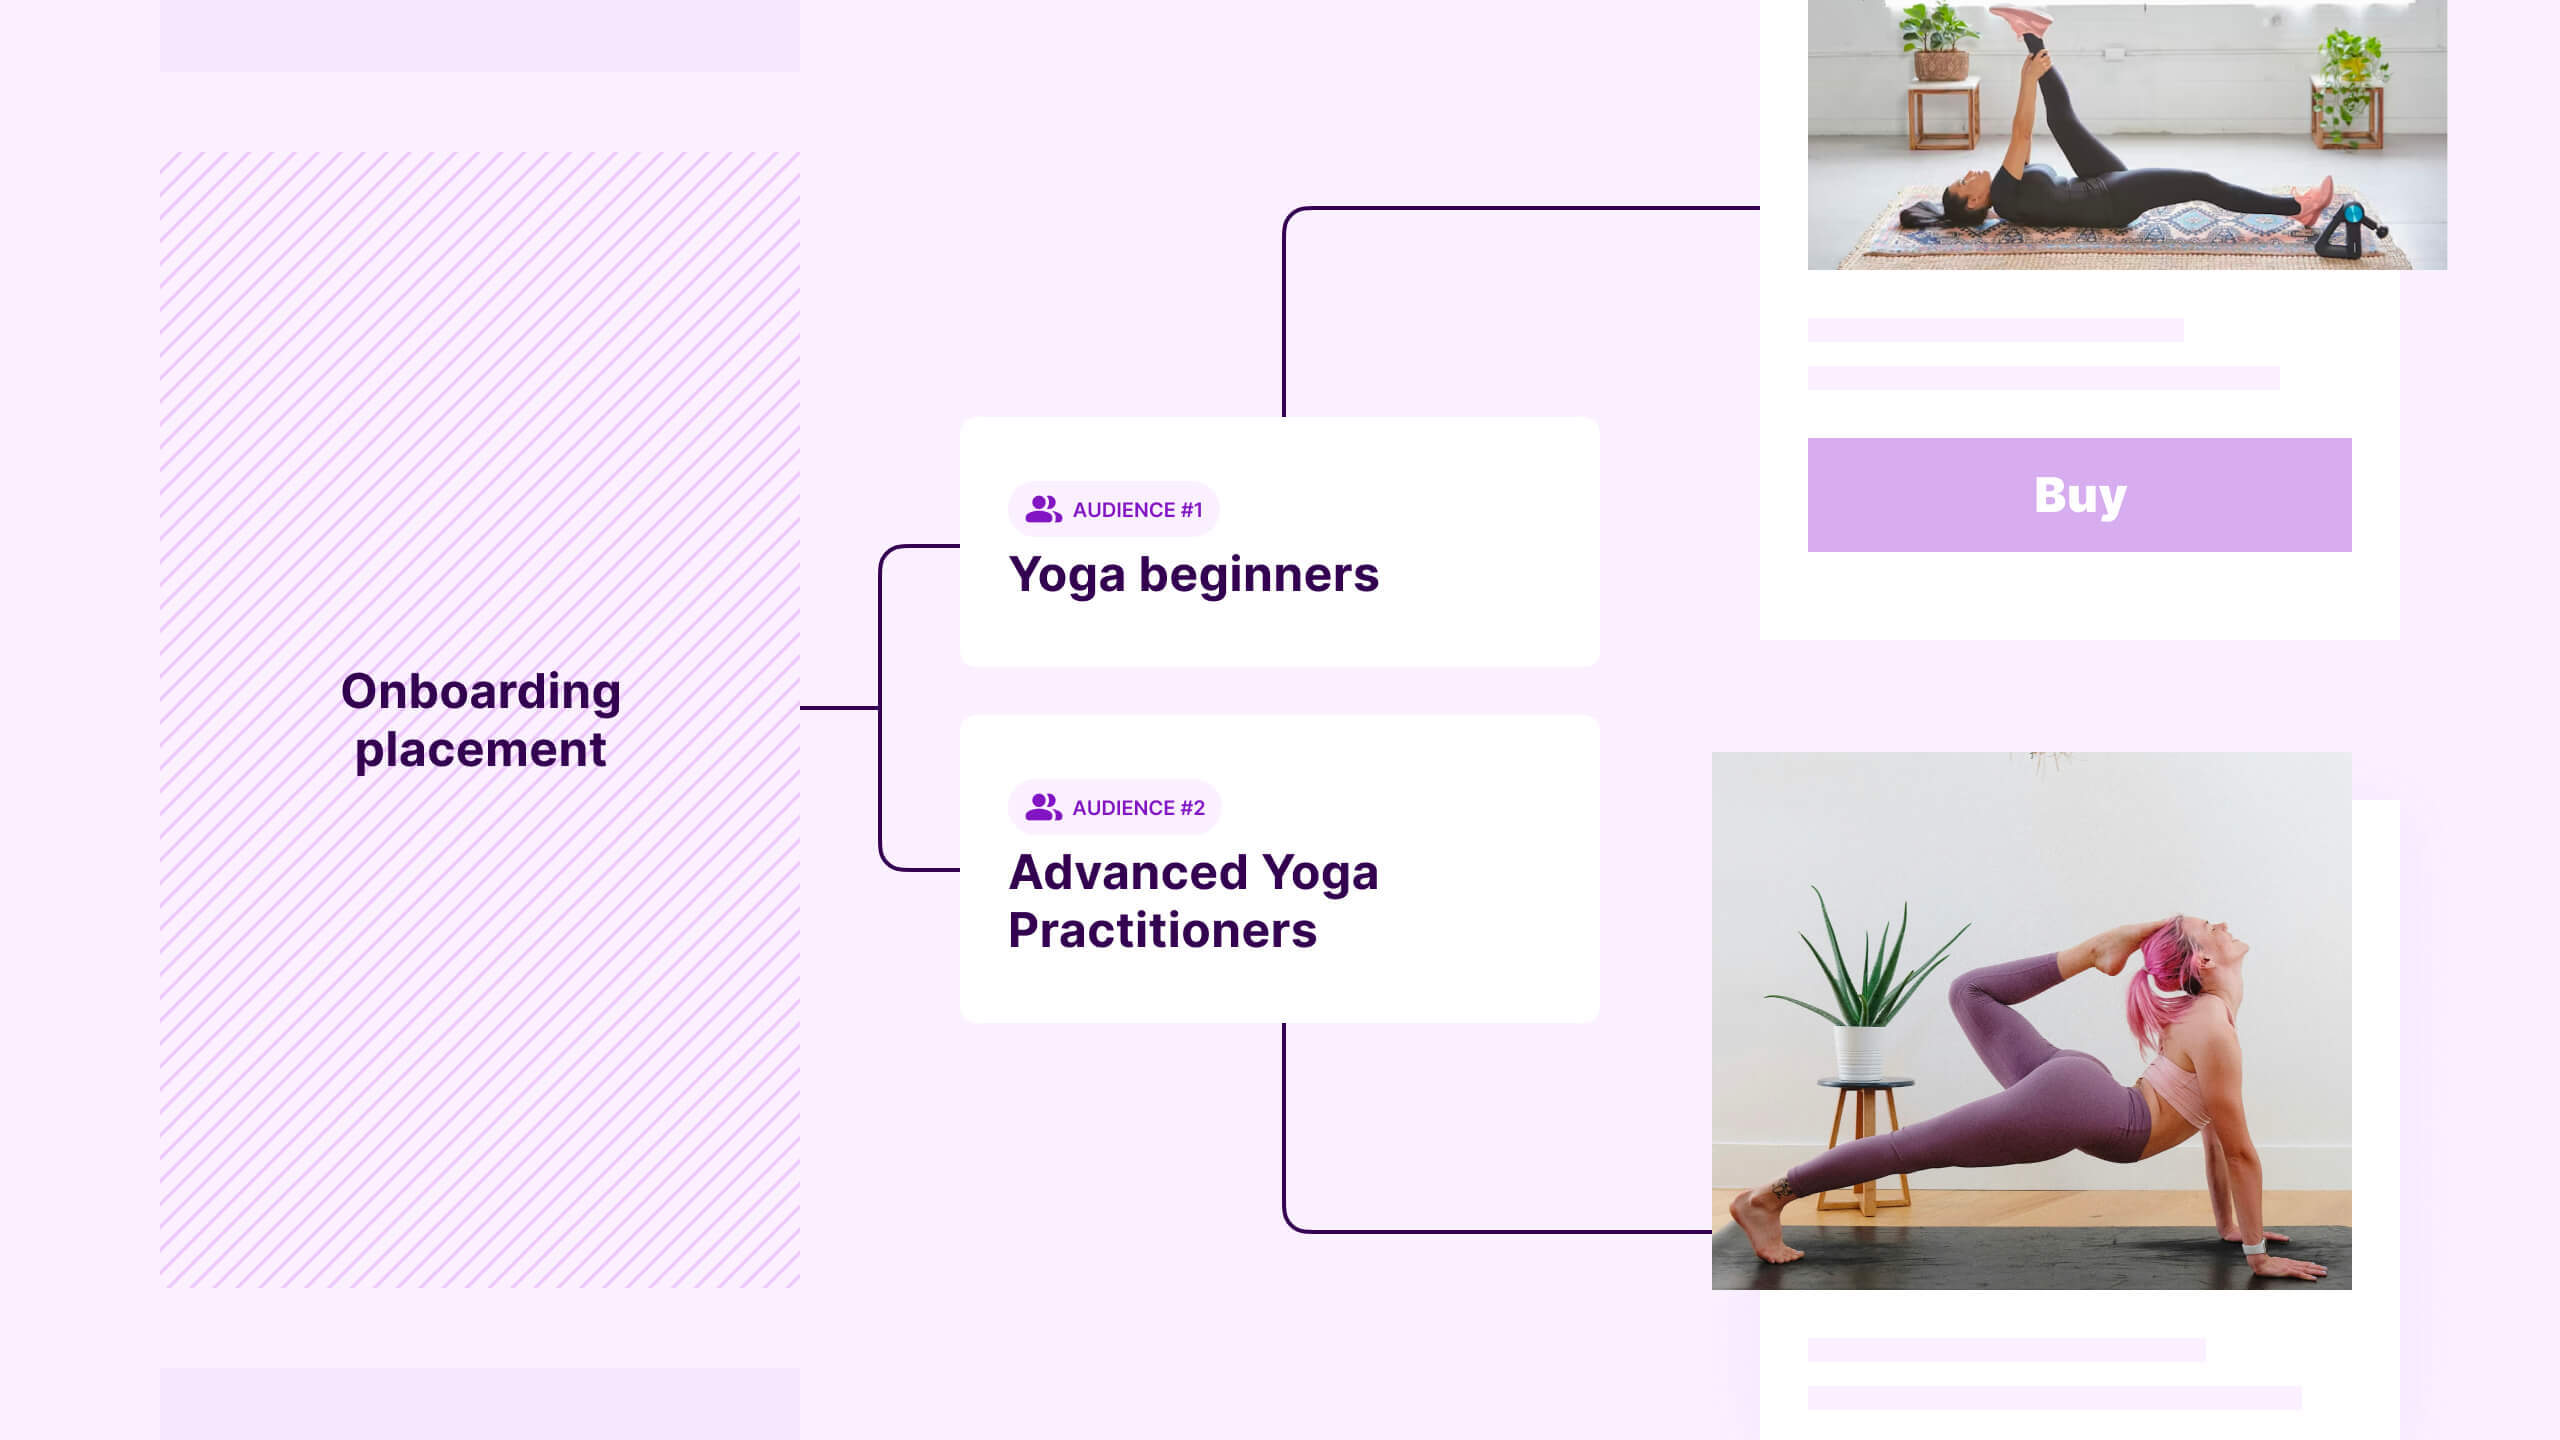
With Adapty, you can create and run paywalls and A/B tests at different points in your mobile app user’s journey, such as Onboarding, Settings, etc. These points are called Placements. A placement in your app can manage multiple paywalls or A/B tests at a time, each made for a certain group of users, which we call Audiences. Moreover, you can experiment with paywalls, replacing one with another over time without releasing a new app version. The only thing you hardcode in the mobile app is the placement ID.
The Adapty library keeps your paywall updated with the latest products from your Adapty Dashboard. It fetches the product data and shows it on your paywall, handles purchases, and checks the user’s access level to see if they should get paid content.
To get started, just add the Adapty library to your FlutterFlow project and initiate it as shown below.
Before you start, note the following limitations:
- The Adapty library for FlutterFlow doesn’t support web apps. Avoid compiling web apps with it.
- The Adapty library for FlutterFlow doesn’t support paywalls creating using the Adapty paywall builder. You need to design your own paywall in FlutterFlow before enabling purchases with Adapty.
Add the Adapty library as a dependency
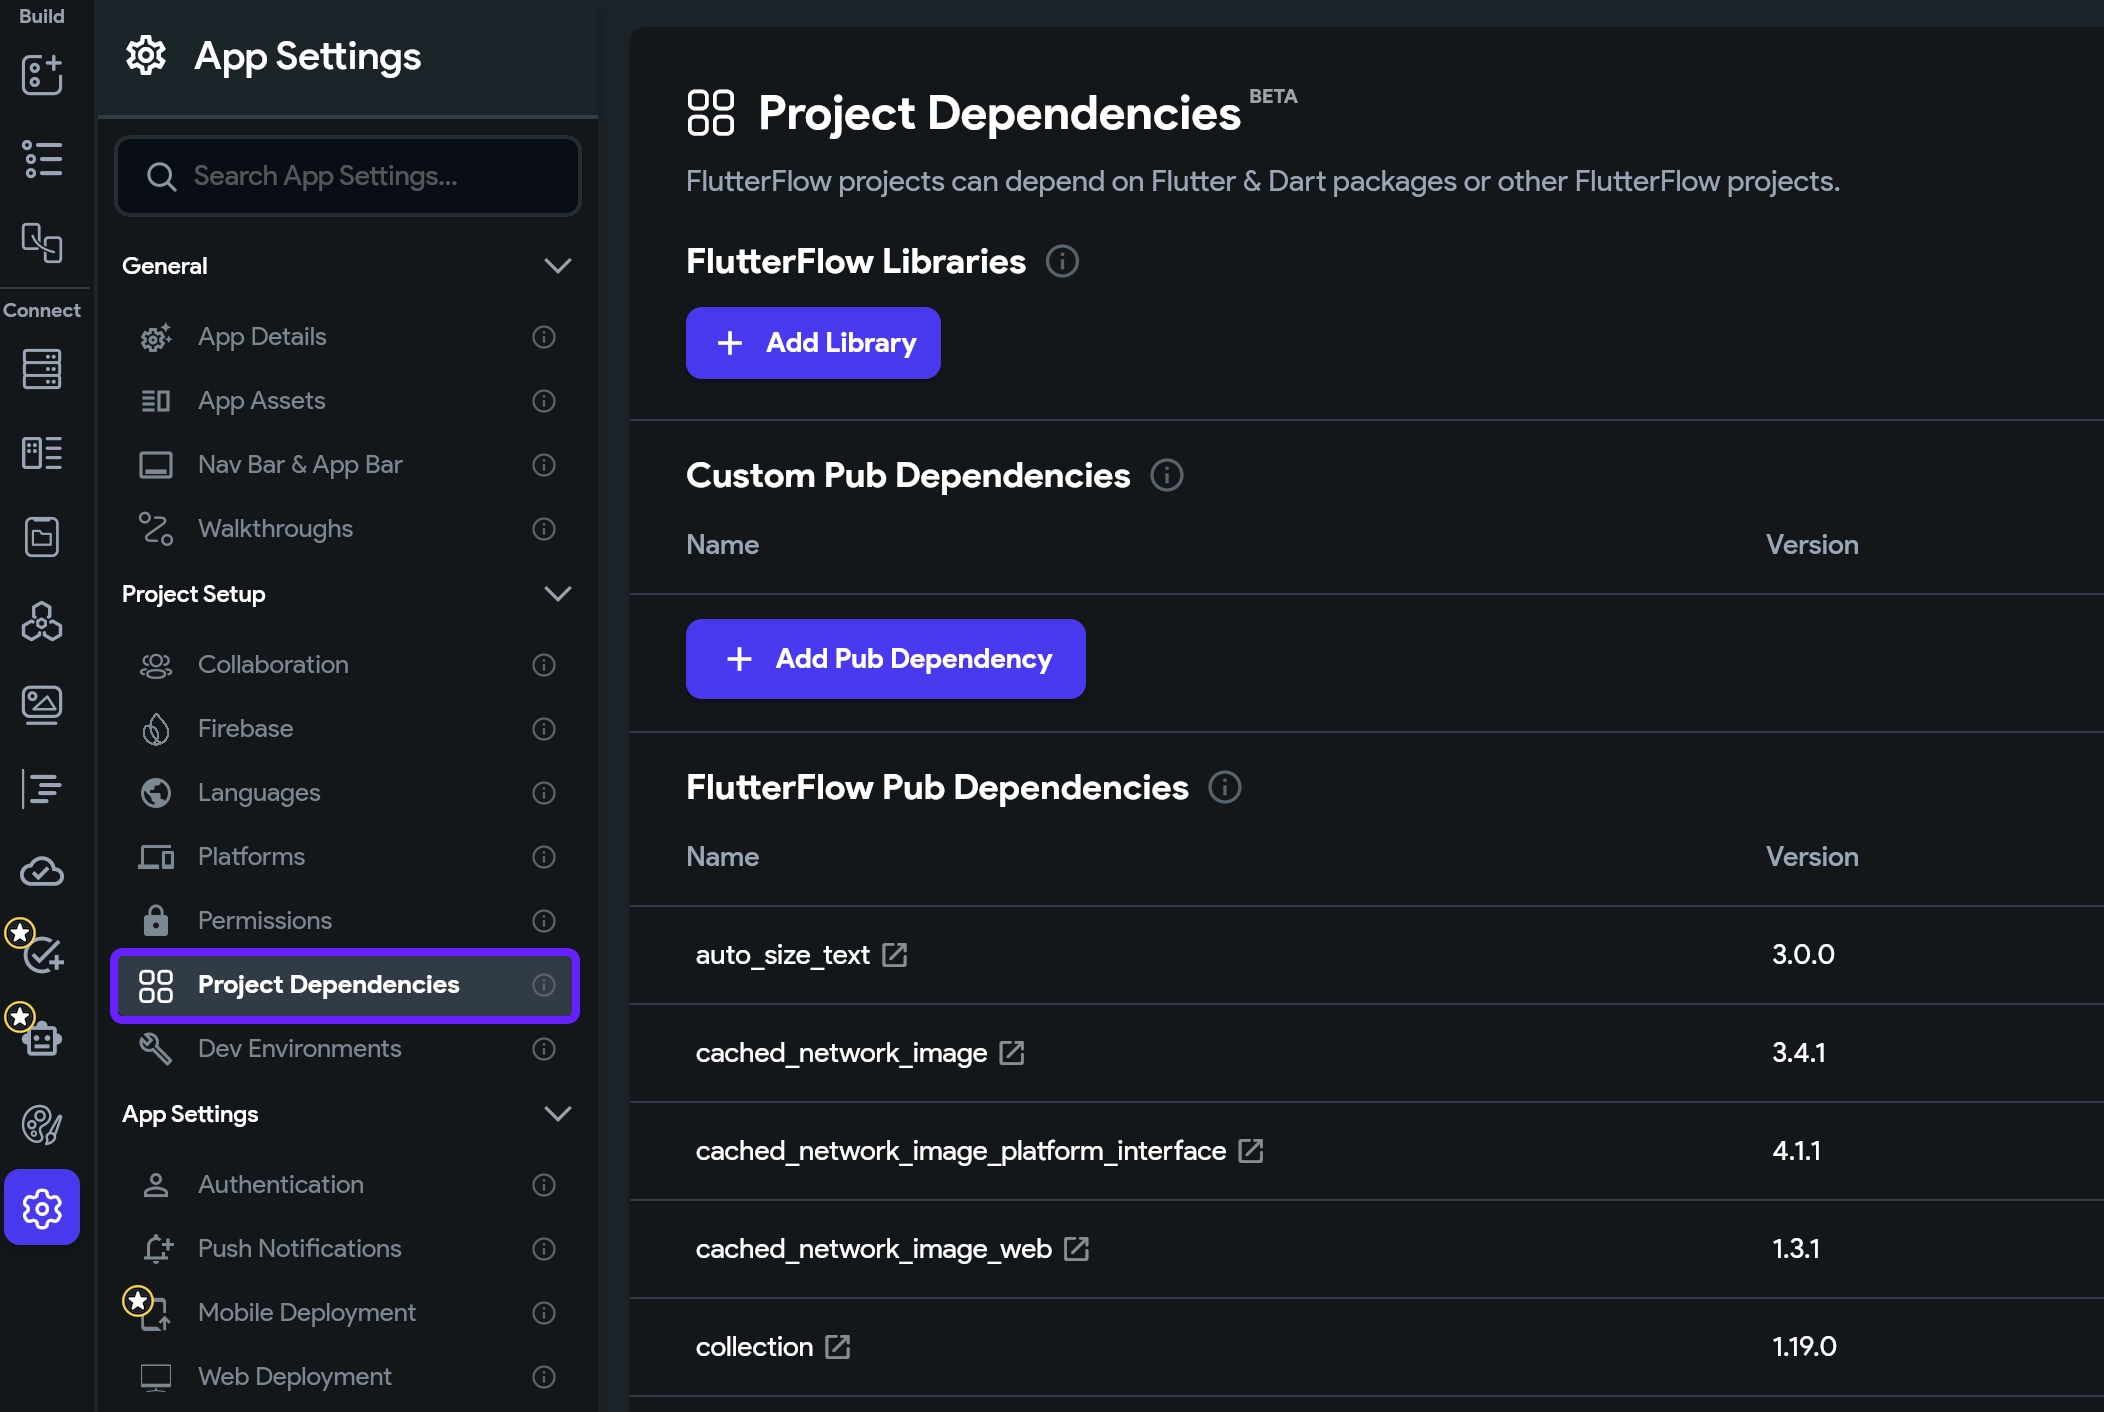
- In the FlutterFlow Dashboard, open your project, and then click Settings and Integrations from the left menu. In the Project setup section on the left, select Project dependencies.
-
In the FlutterFlow Libraries section, click Add Library and enter
adapty-xtuel0. Click Add. -
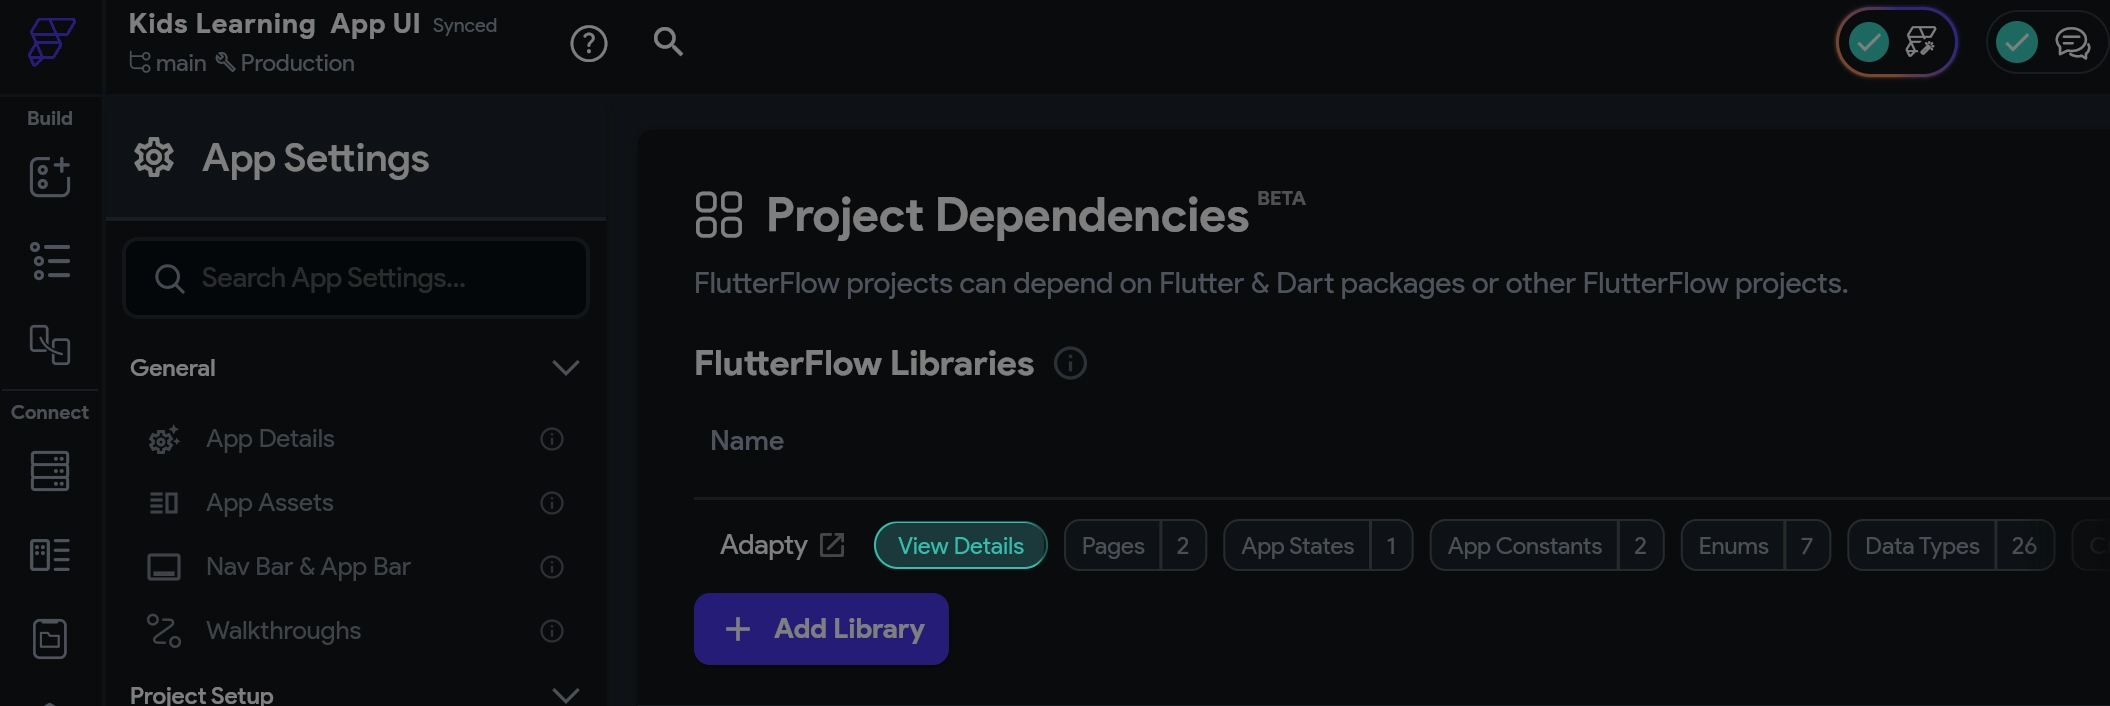
Now, you need to associate your SDK key with the library. Click View details next to the library.
-
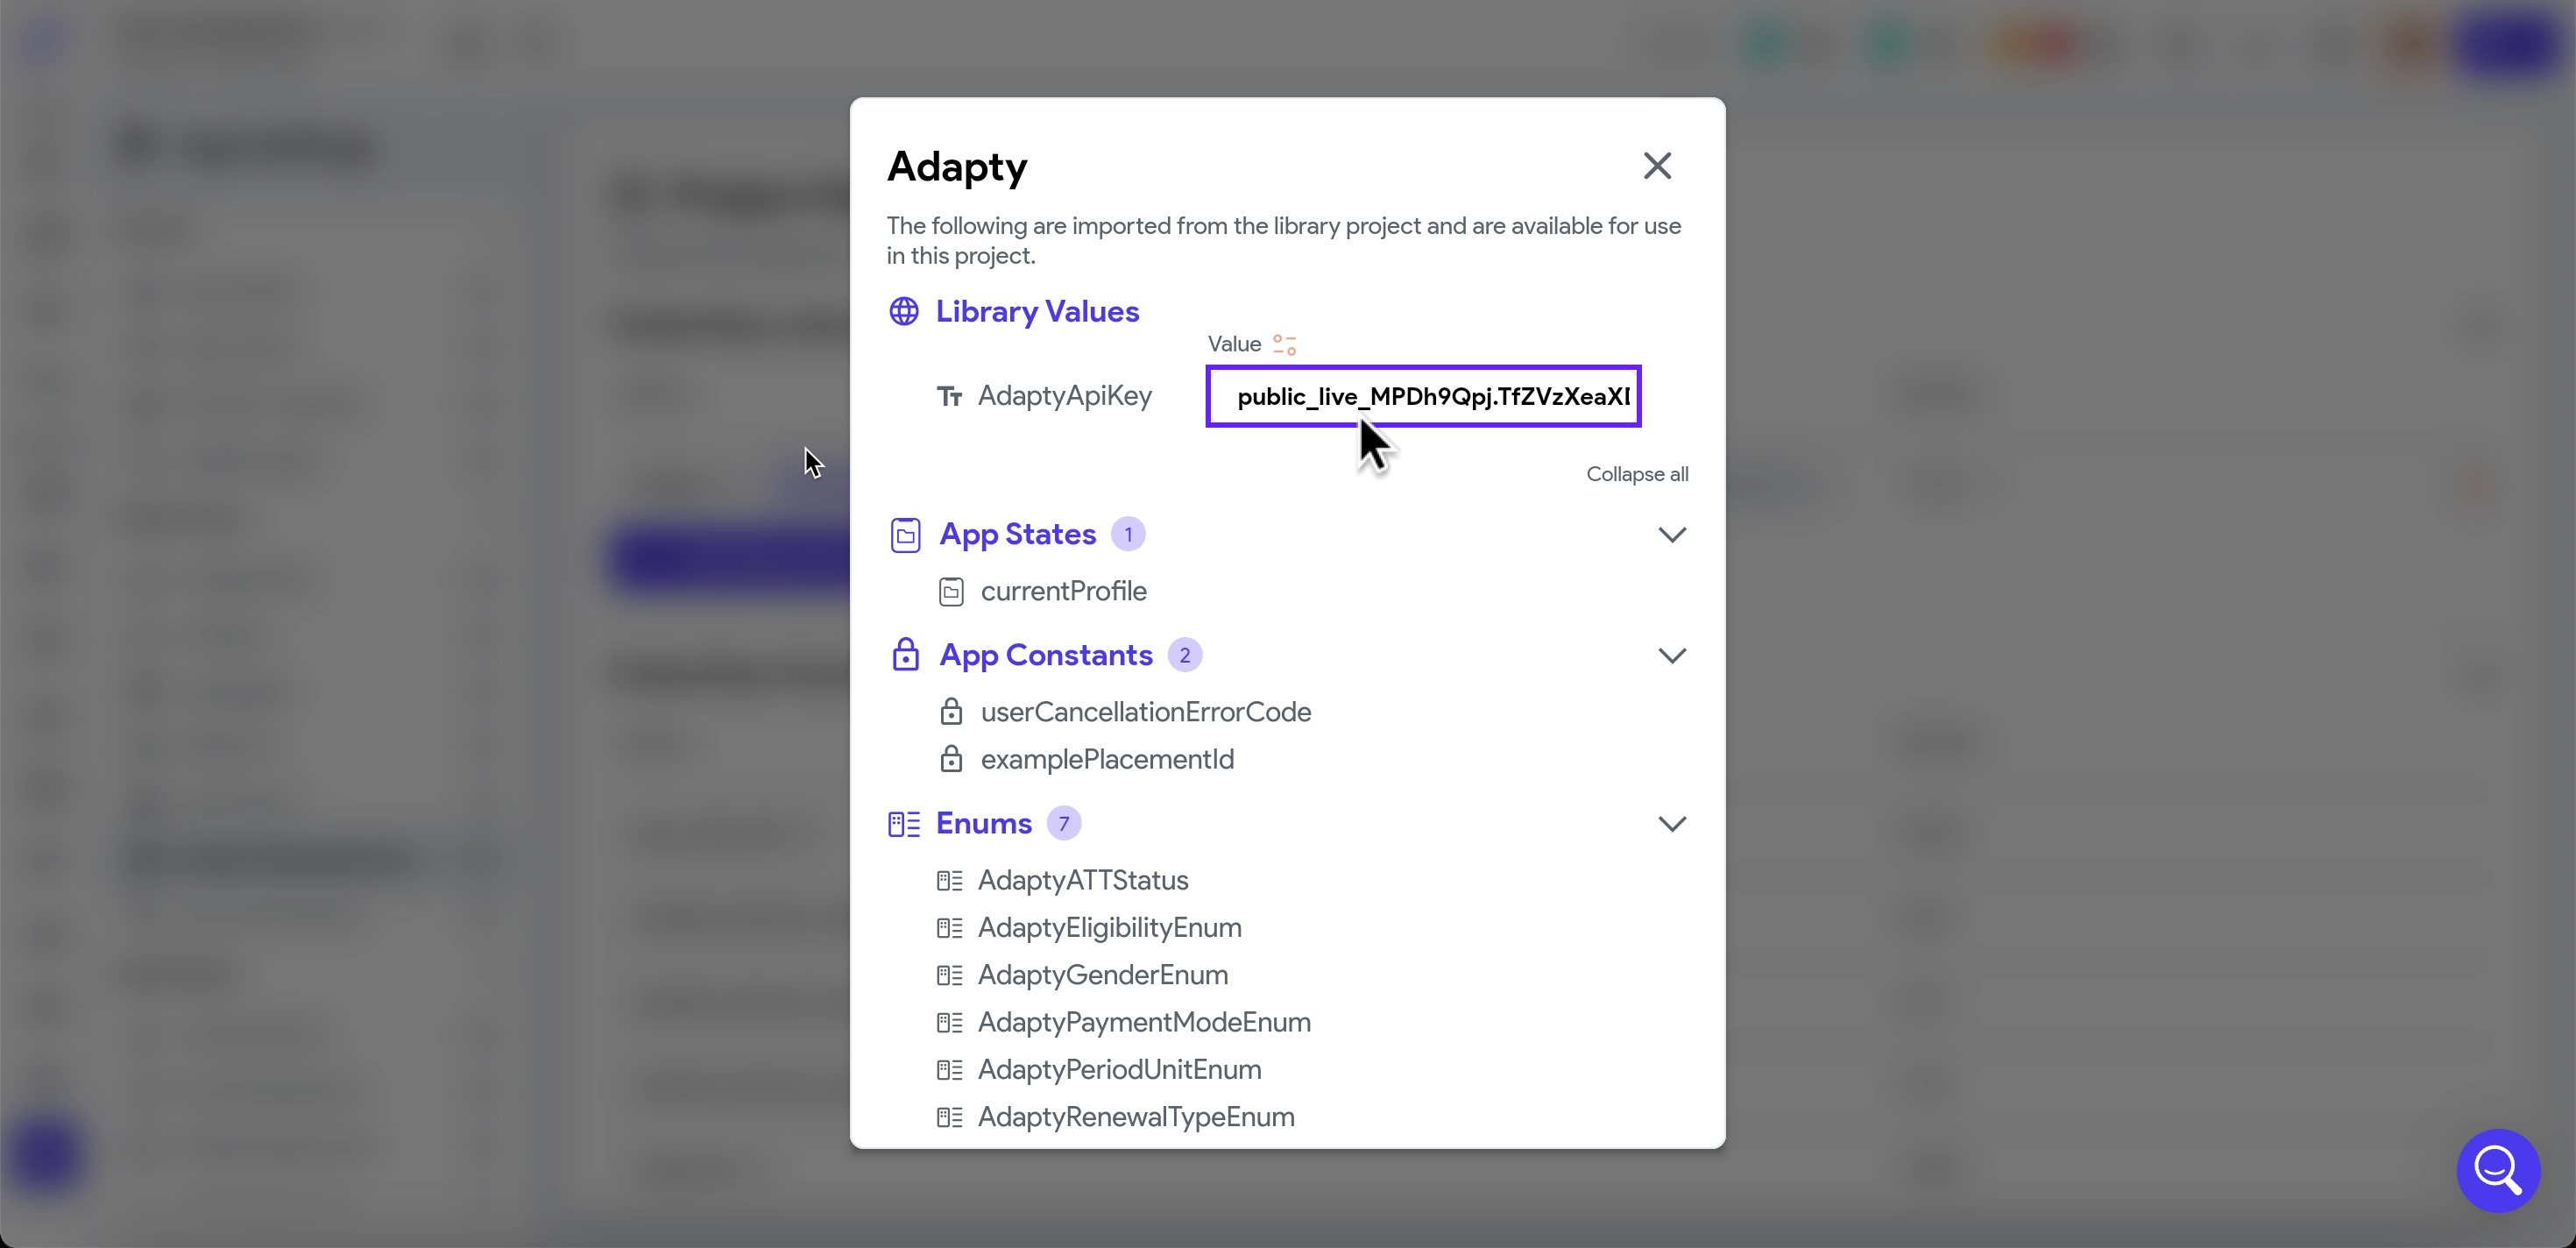
Copy the Public SDK key from the App Settings -> General tab in the Adapty Dashboard.
-
Paste the key to AdaptyApiKey in FlutterFlow.
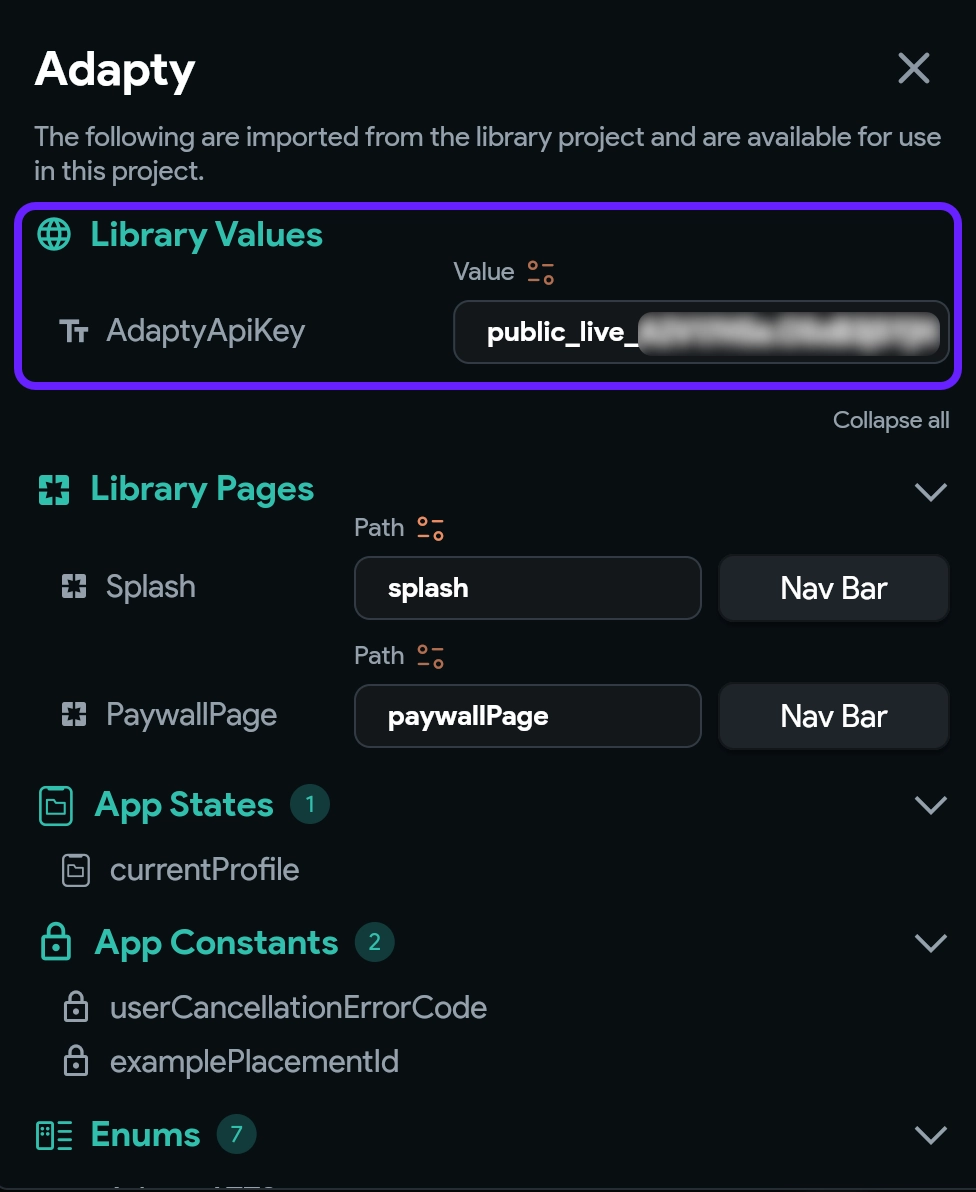
The Adapty FF library will now be added as a dependency to your project. In the Adapty FF library window, you’ll find all the Adapty resources that have been imported into your project.
Call the new activation action at application launch
-
Go to Custom Code section from the left menu and open
main.dart.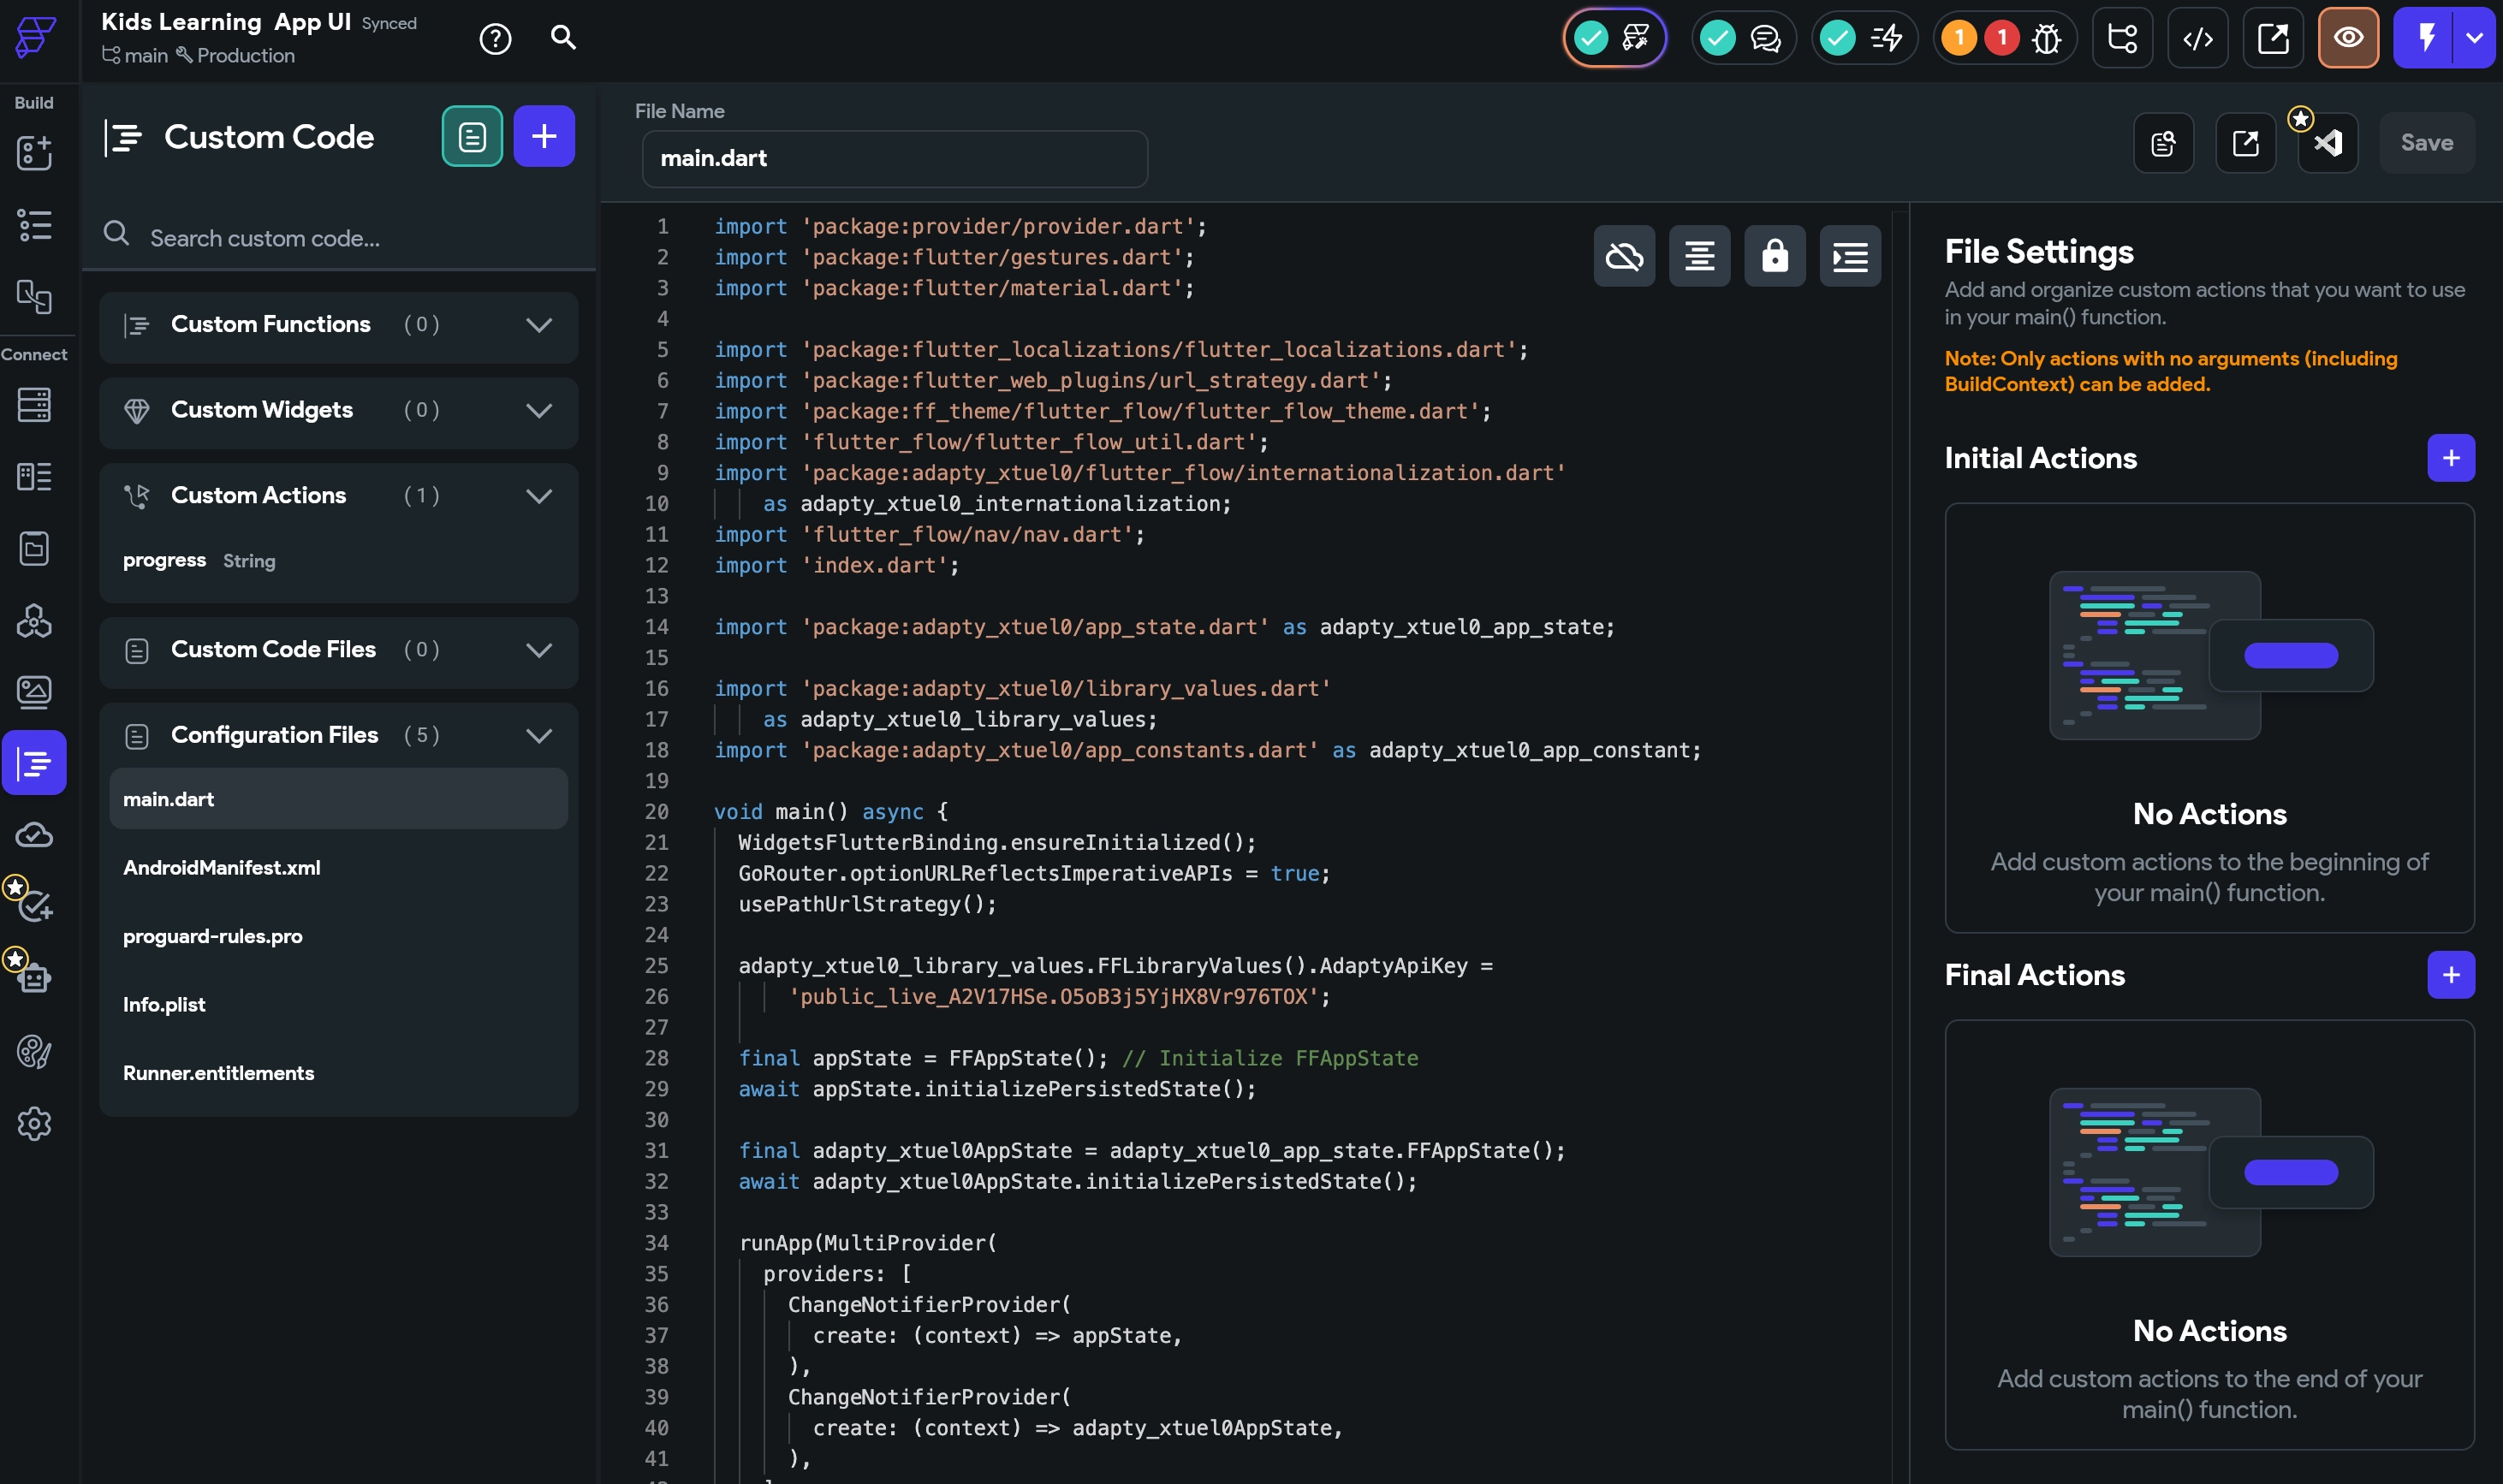
-
Click + and select
activate (Adapty).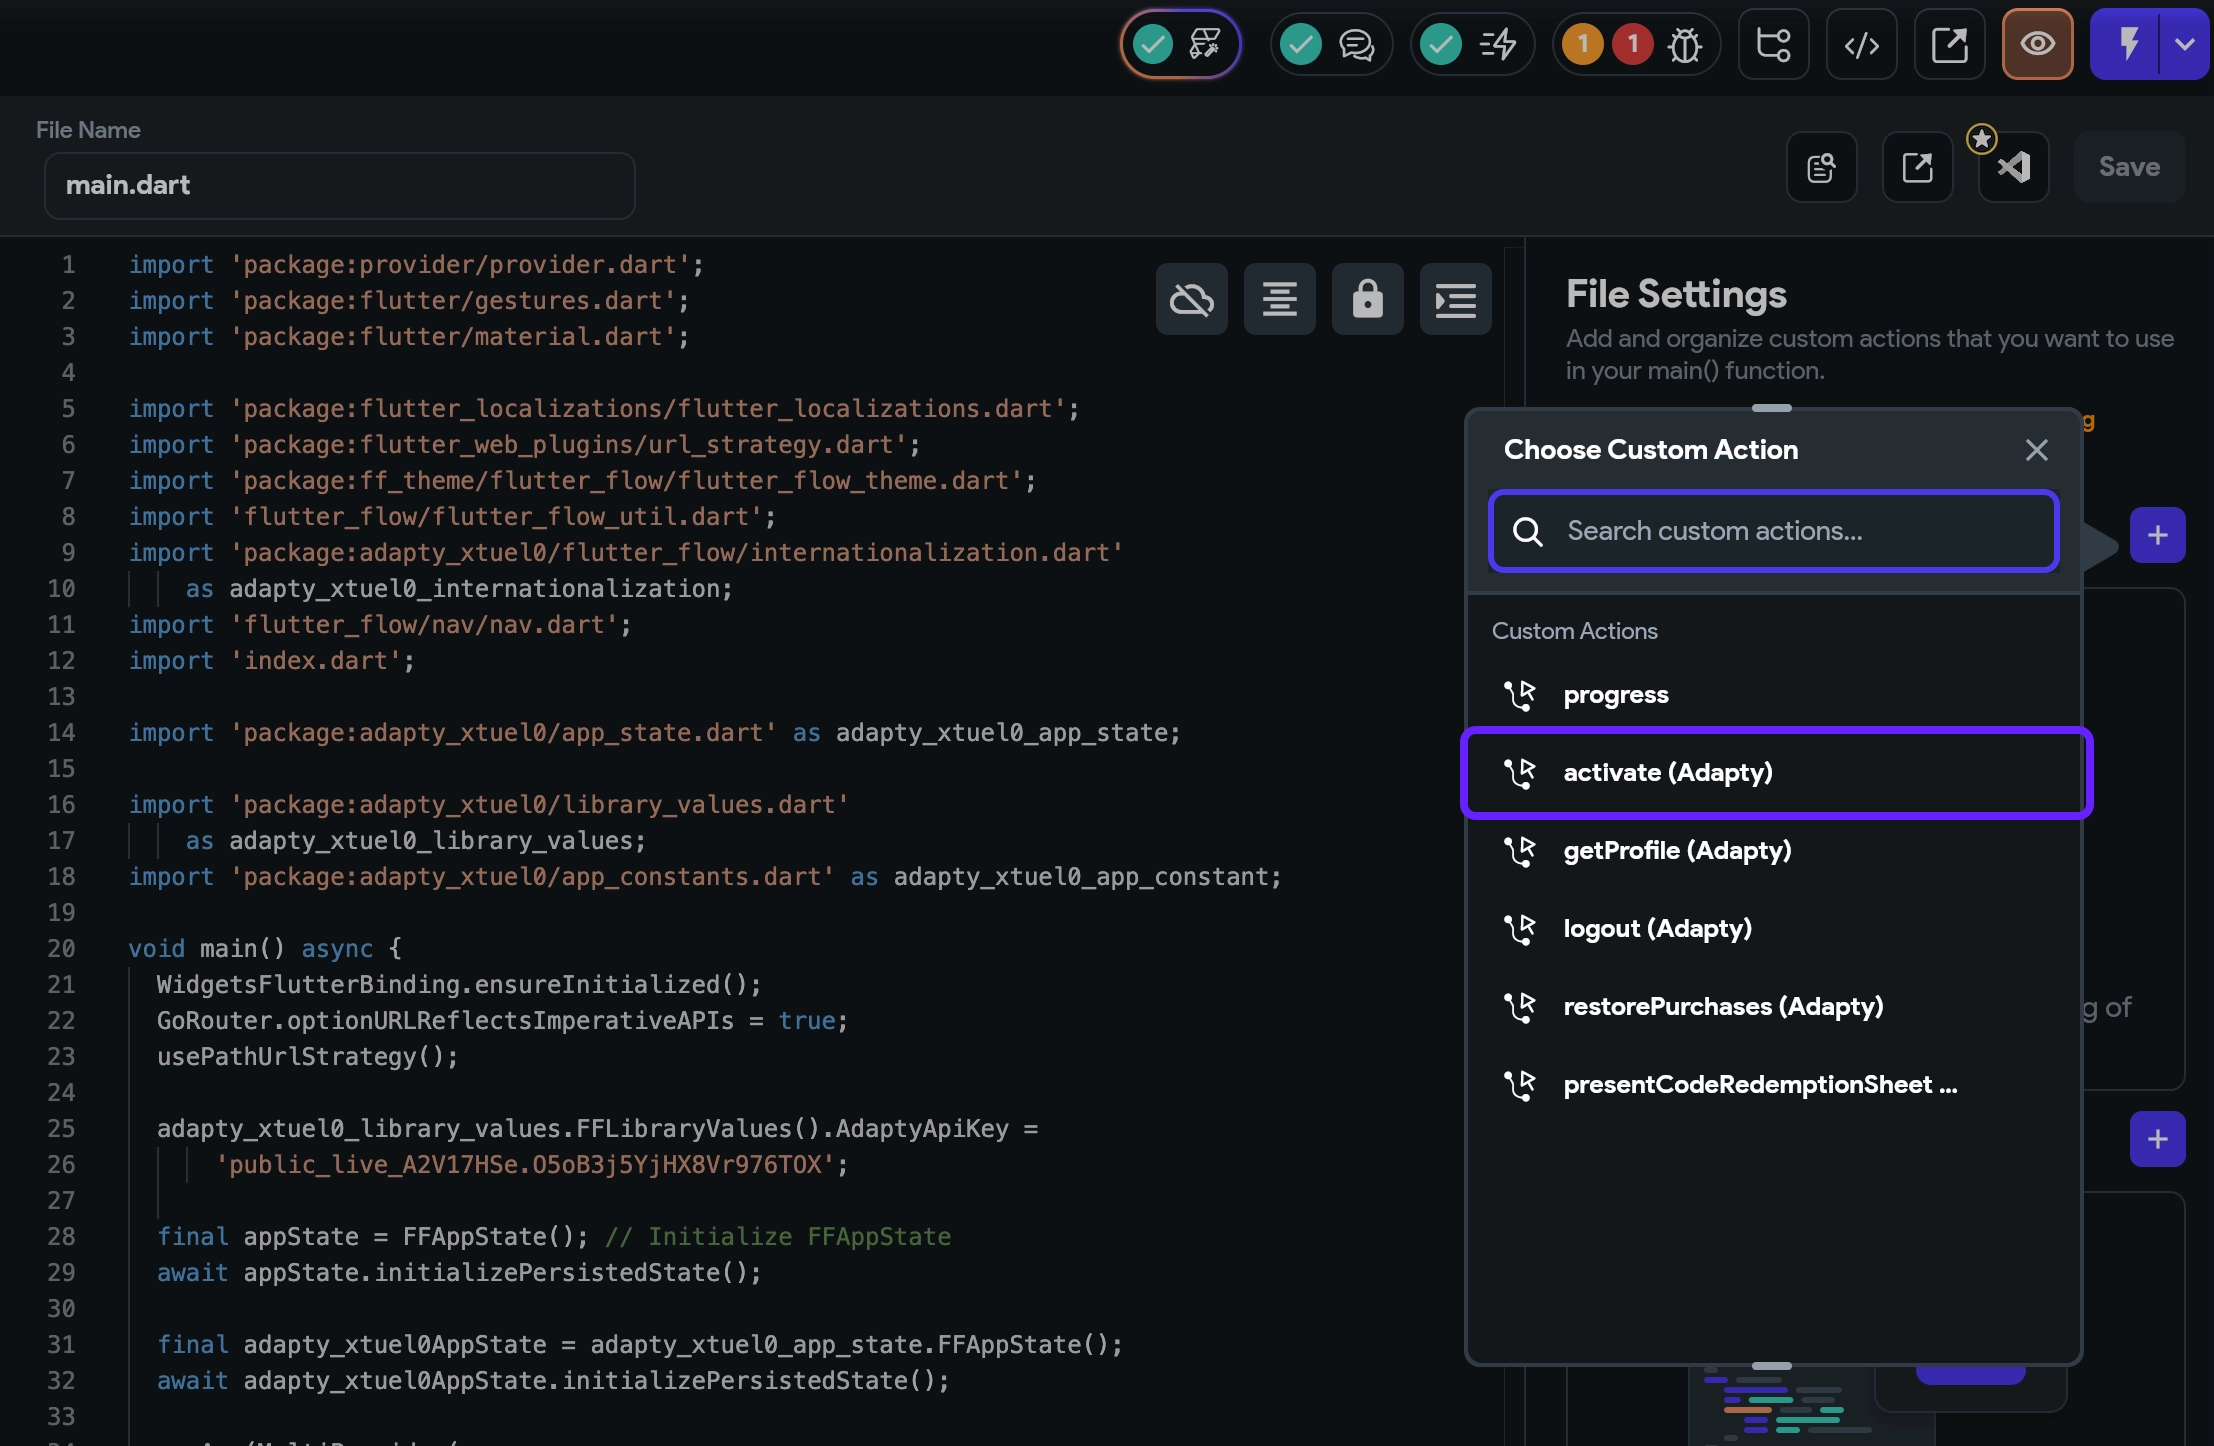
-
Click Save.
Initiate Adapty plugin
For the Adapty Dashboard to recognize your app, you’ll need to provide a special key in FlutterFlow.
-
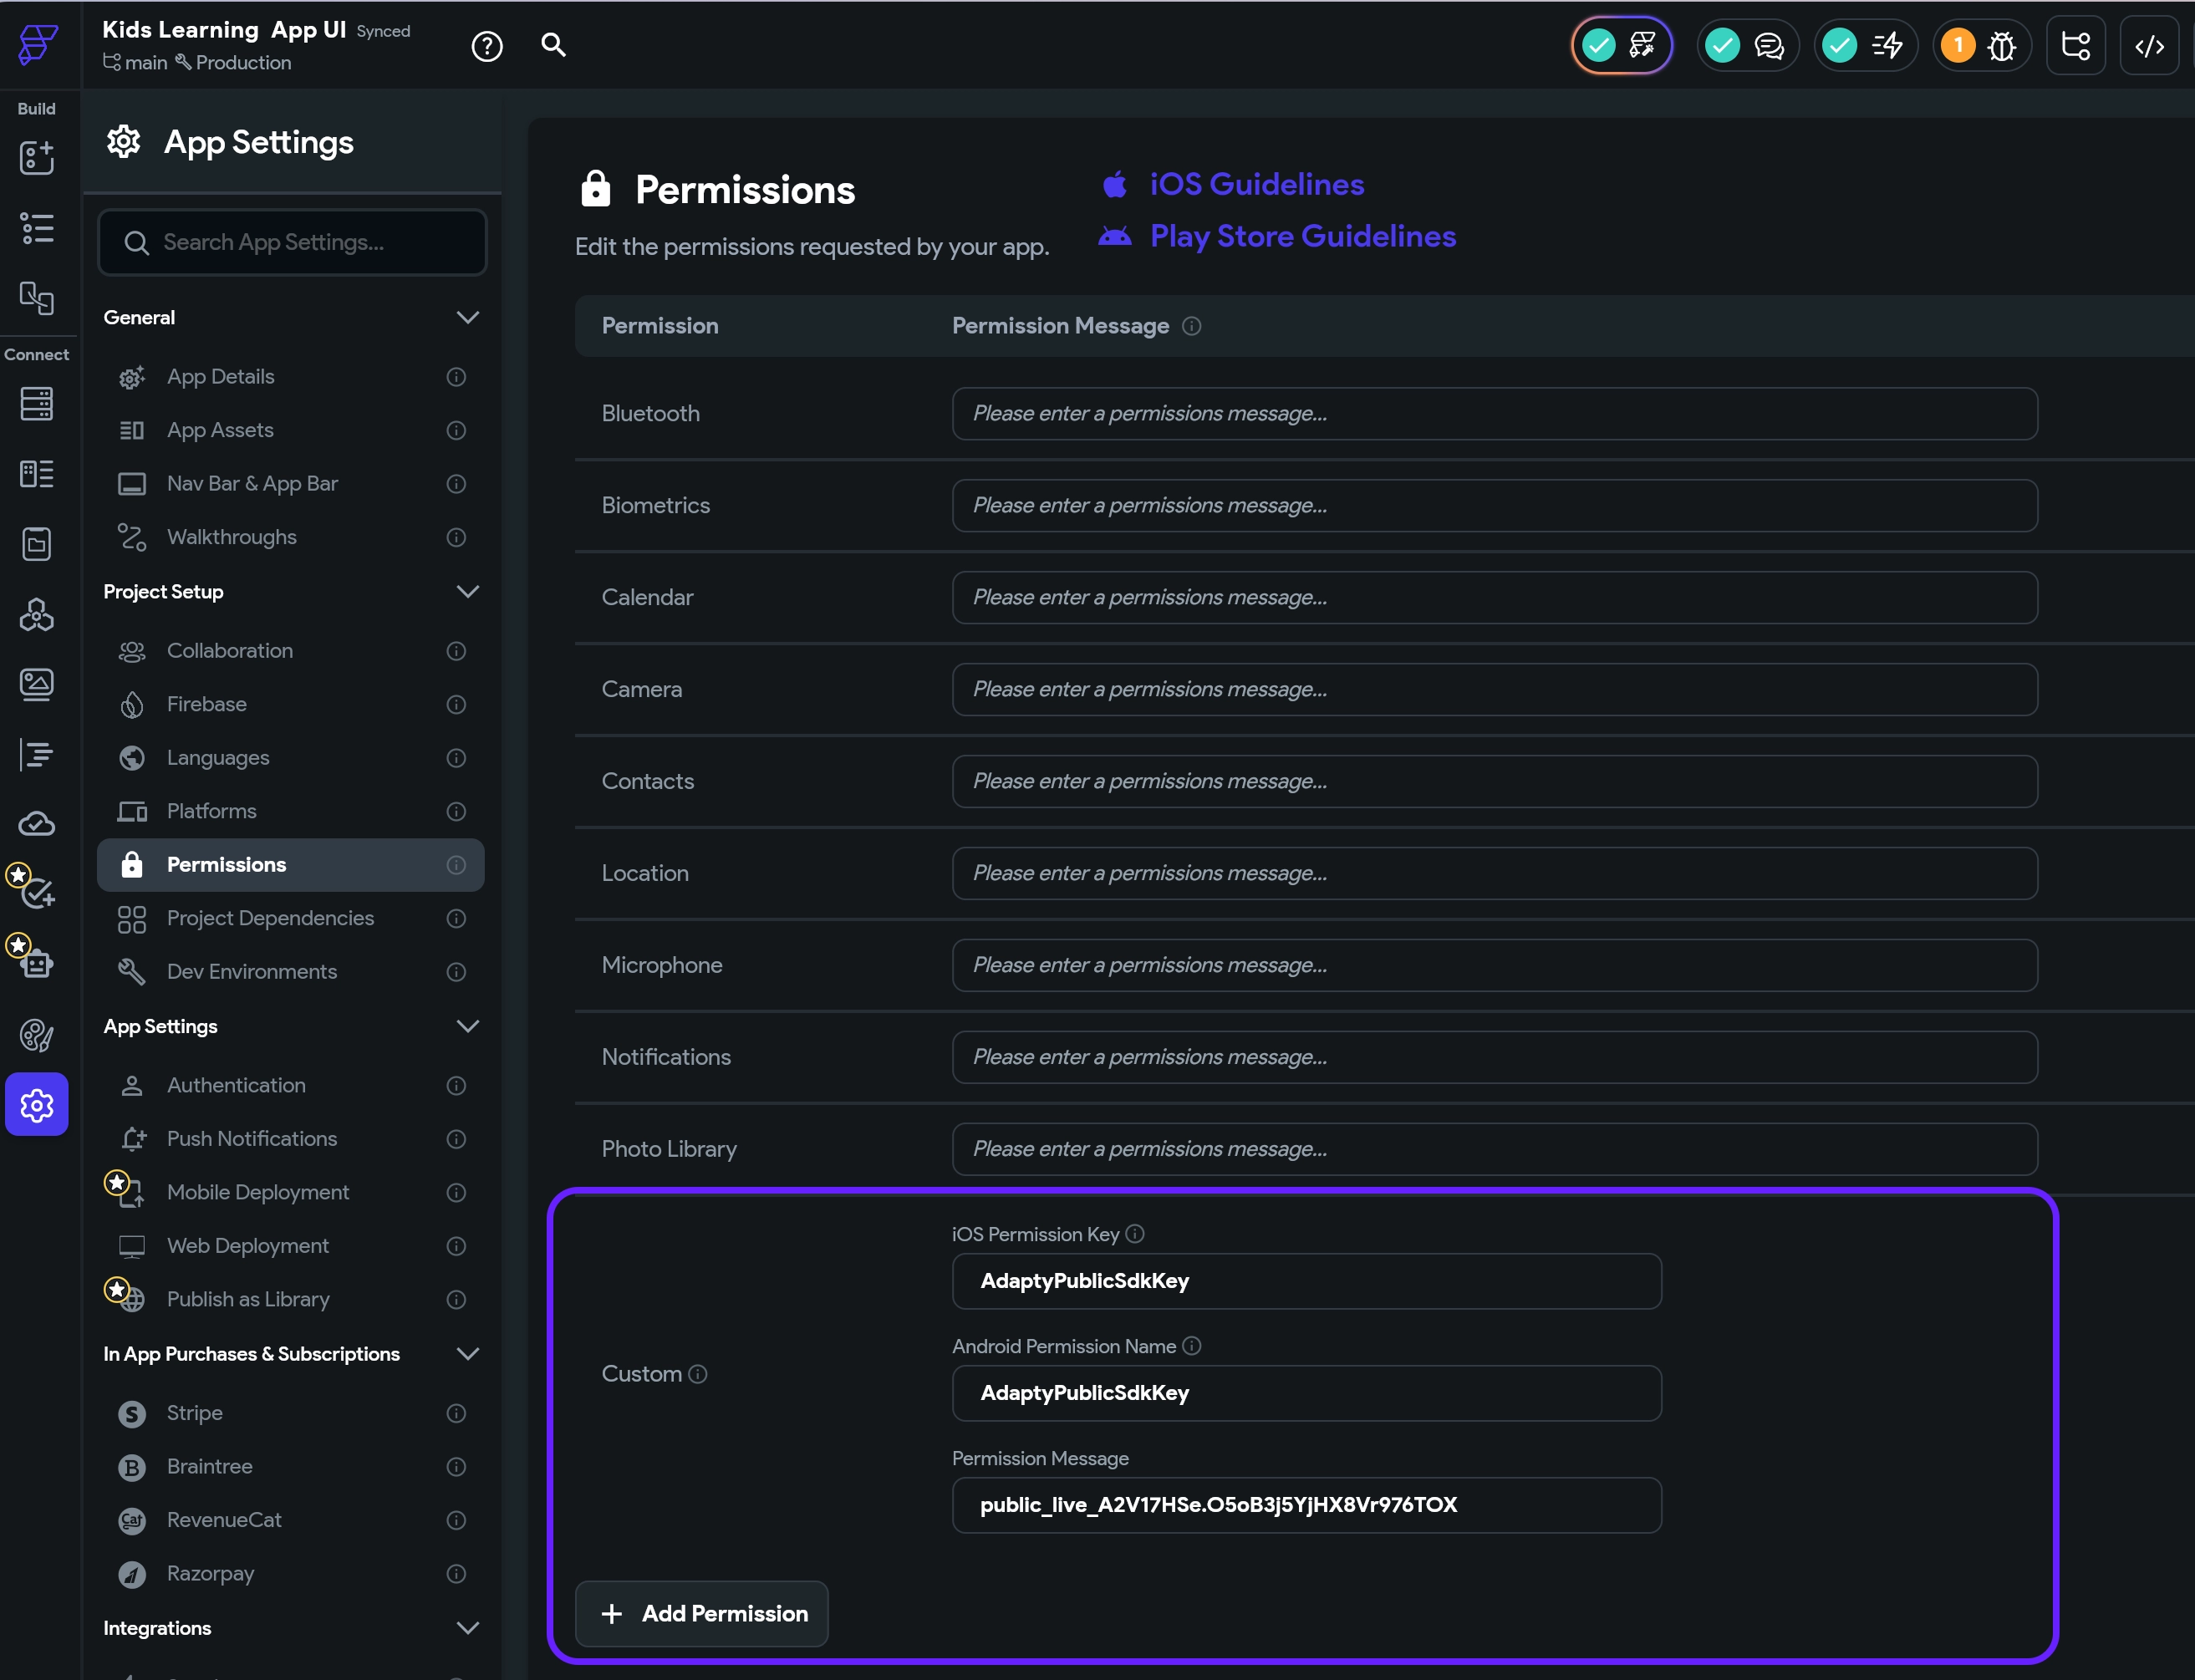
In your FlutterFlow project, go to Settings and Integrations > Permissions from the left menu.
-
In the opened Permissions window, click the Add Permission button.
-
In both the iOS Permission Key and Android Permission Key field, paste
AdaptyPublicSdkKey. -
For the Permission Message, copy the Public SDK key from the App Settings -> General tab in the Adapty Dashboard. Each app has its own SDK key, so if you have multiple apps, make sure you grab the right one.
After completing these steps, you’ll be able to call your paywall in your FlutterFlow app and enable purchases through it.
What’s next?
- Create an action flow for handling Adapty paywall products and their data in FlutterFlow.
- Map the received data to the paywall you designed in FlutterFlow.
- Set up the purchase button on your paywall to process transactions through Adapty when clicked.
- Finally, add subscription status checks to determine whether to display paid content to the user.