Advertise your app in Meta Ads
In this step-by-step guide, you will learn how to create and set up ads for your app in Meta, so you can optimize them and track their performance easily.
How ads in Meta are structured
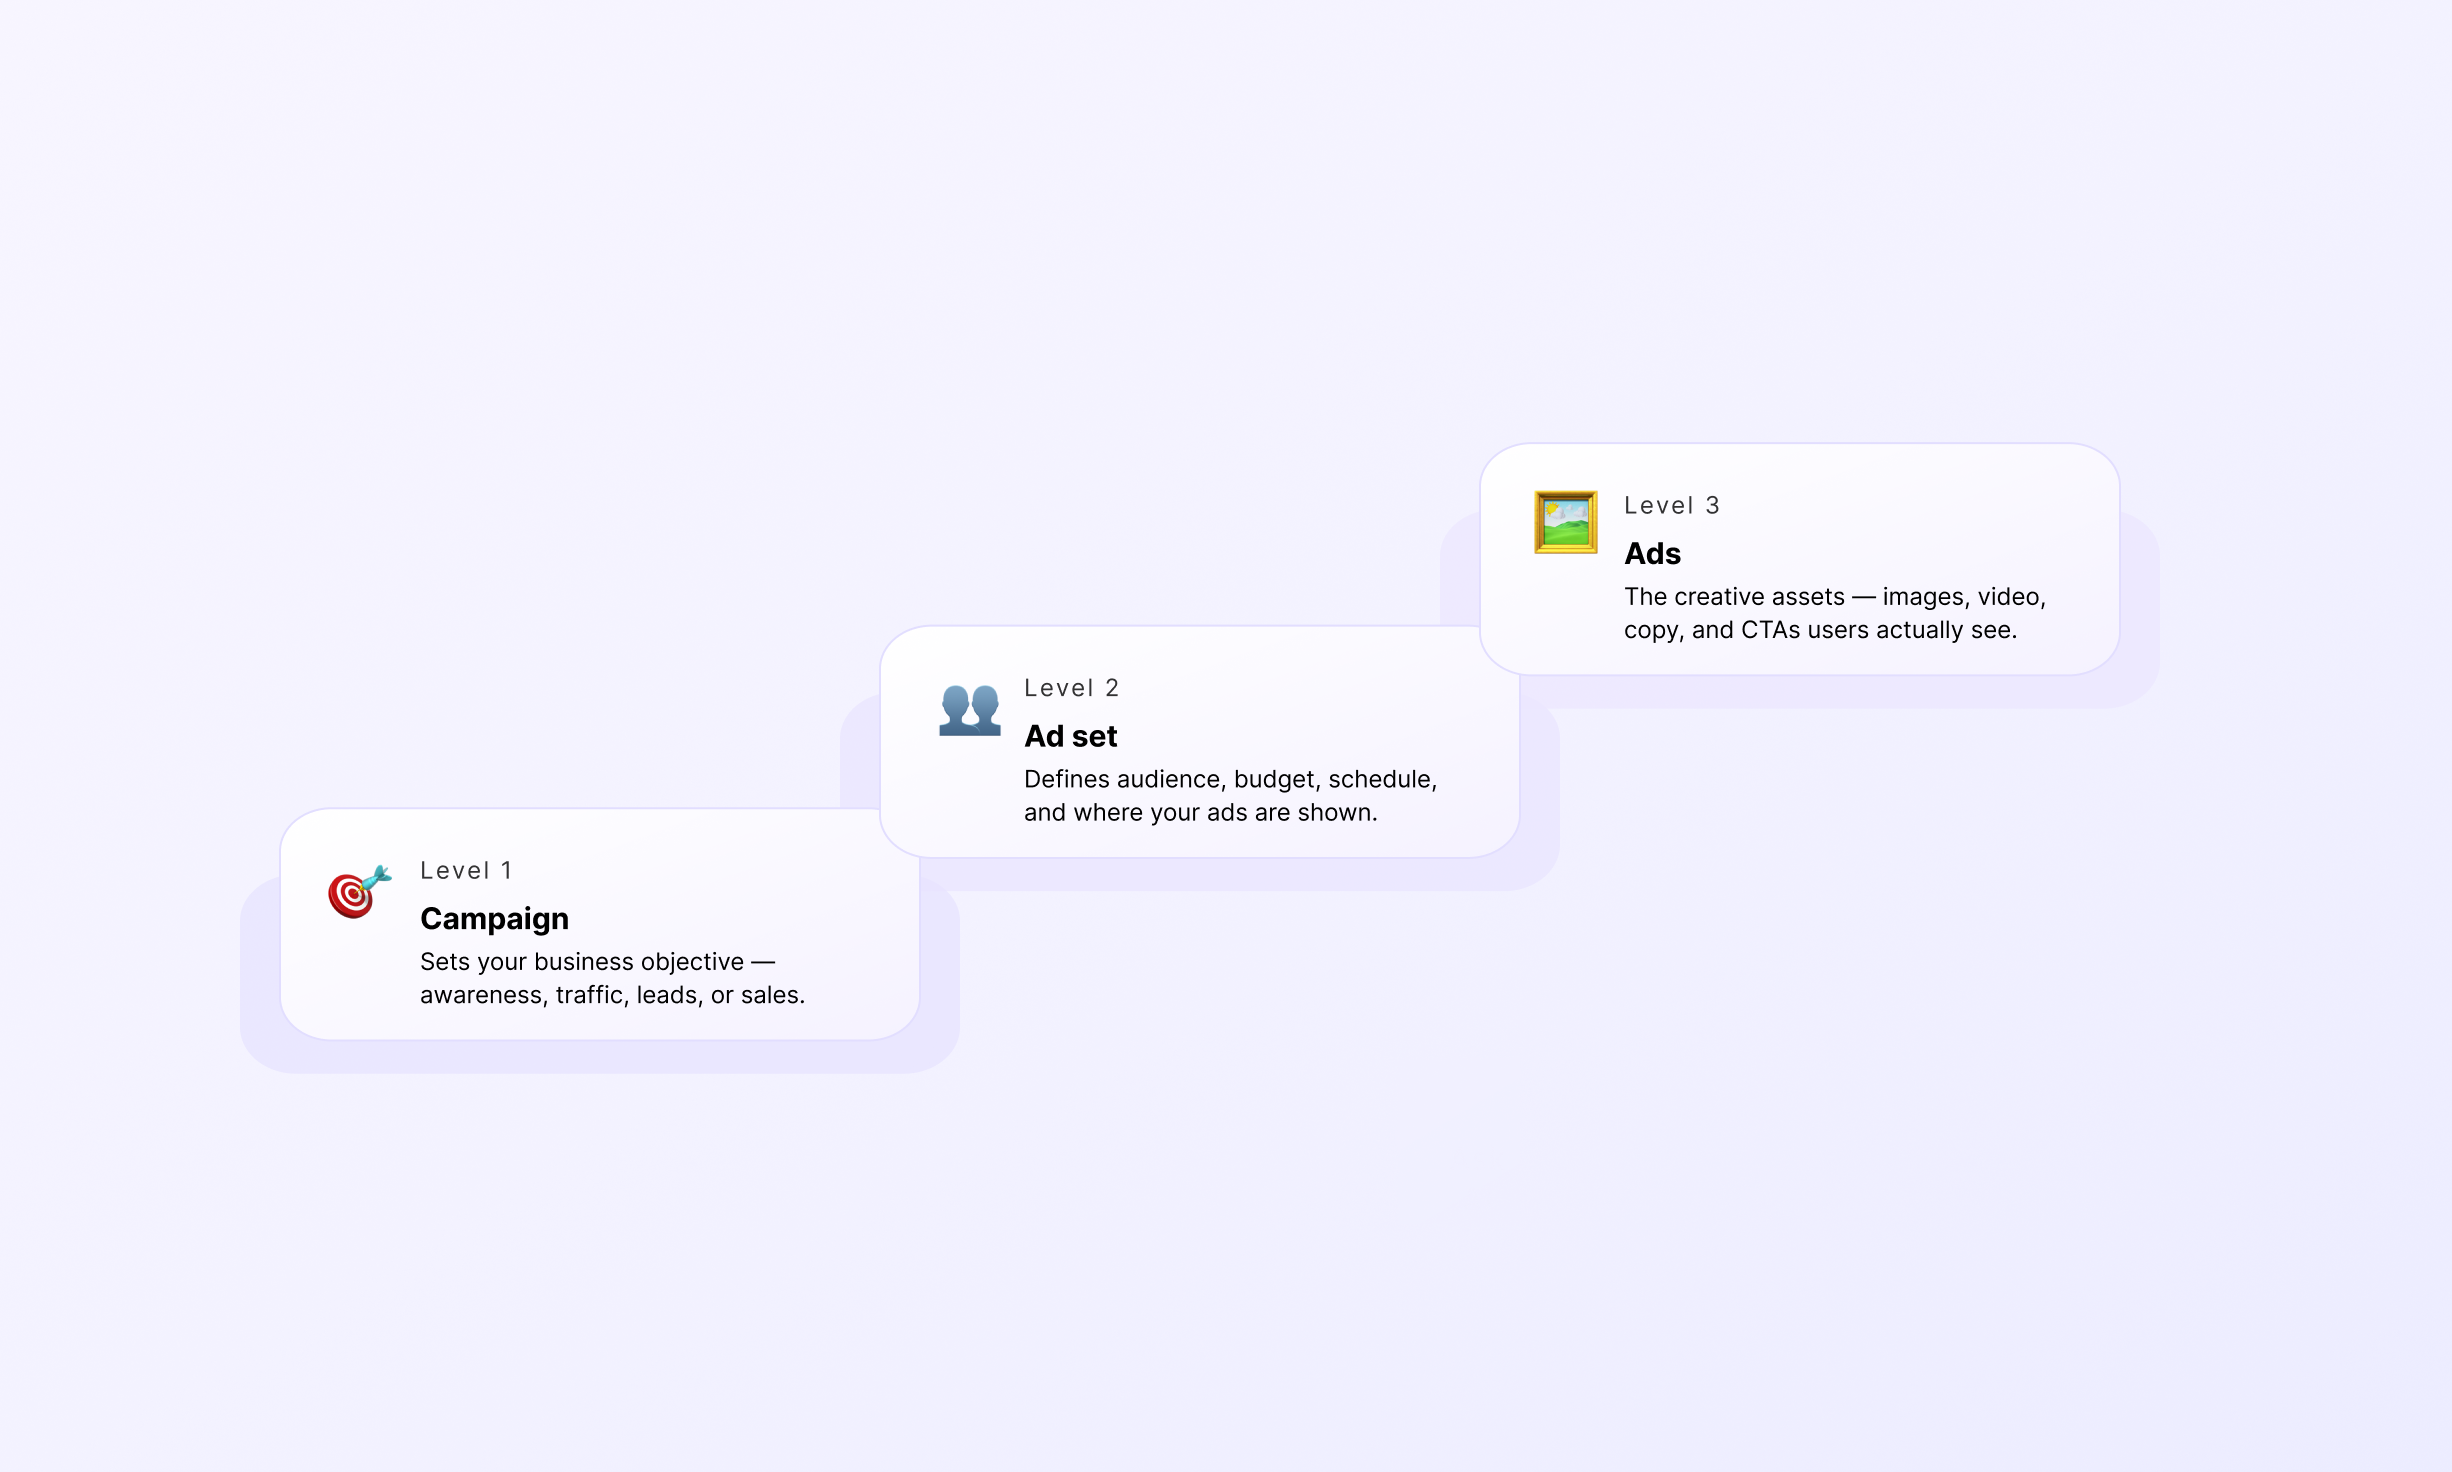
When advertising on Meta Ads, you need to configure three hierarchical levels:
- Campaign: Campaigns define your advertising objectives.
- Ad set: Ad sets specify your target audience and placements—determining where and to whom your ads will be displayed. Each campaign can contain multiple ad sets.
- Ads: Ads are the actual creatives that users see and interact with. Each ad set can contain several ads; however, it is recommended to limit this to no more than five ads per ad set for optimal performance.
Step 1. Create Meta Ads Manager Account
To get started with Meta Ads, you need to have a Facebook Business page because you can’t run ads from your personal one.
So, you need to link your business page to your Meta Ads business portfolio:
-
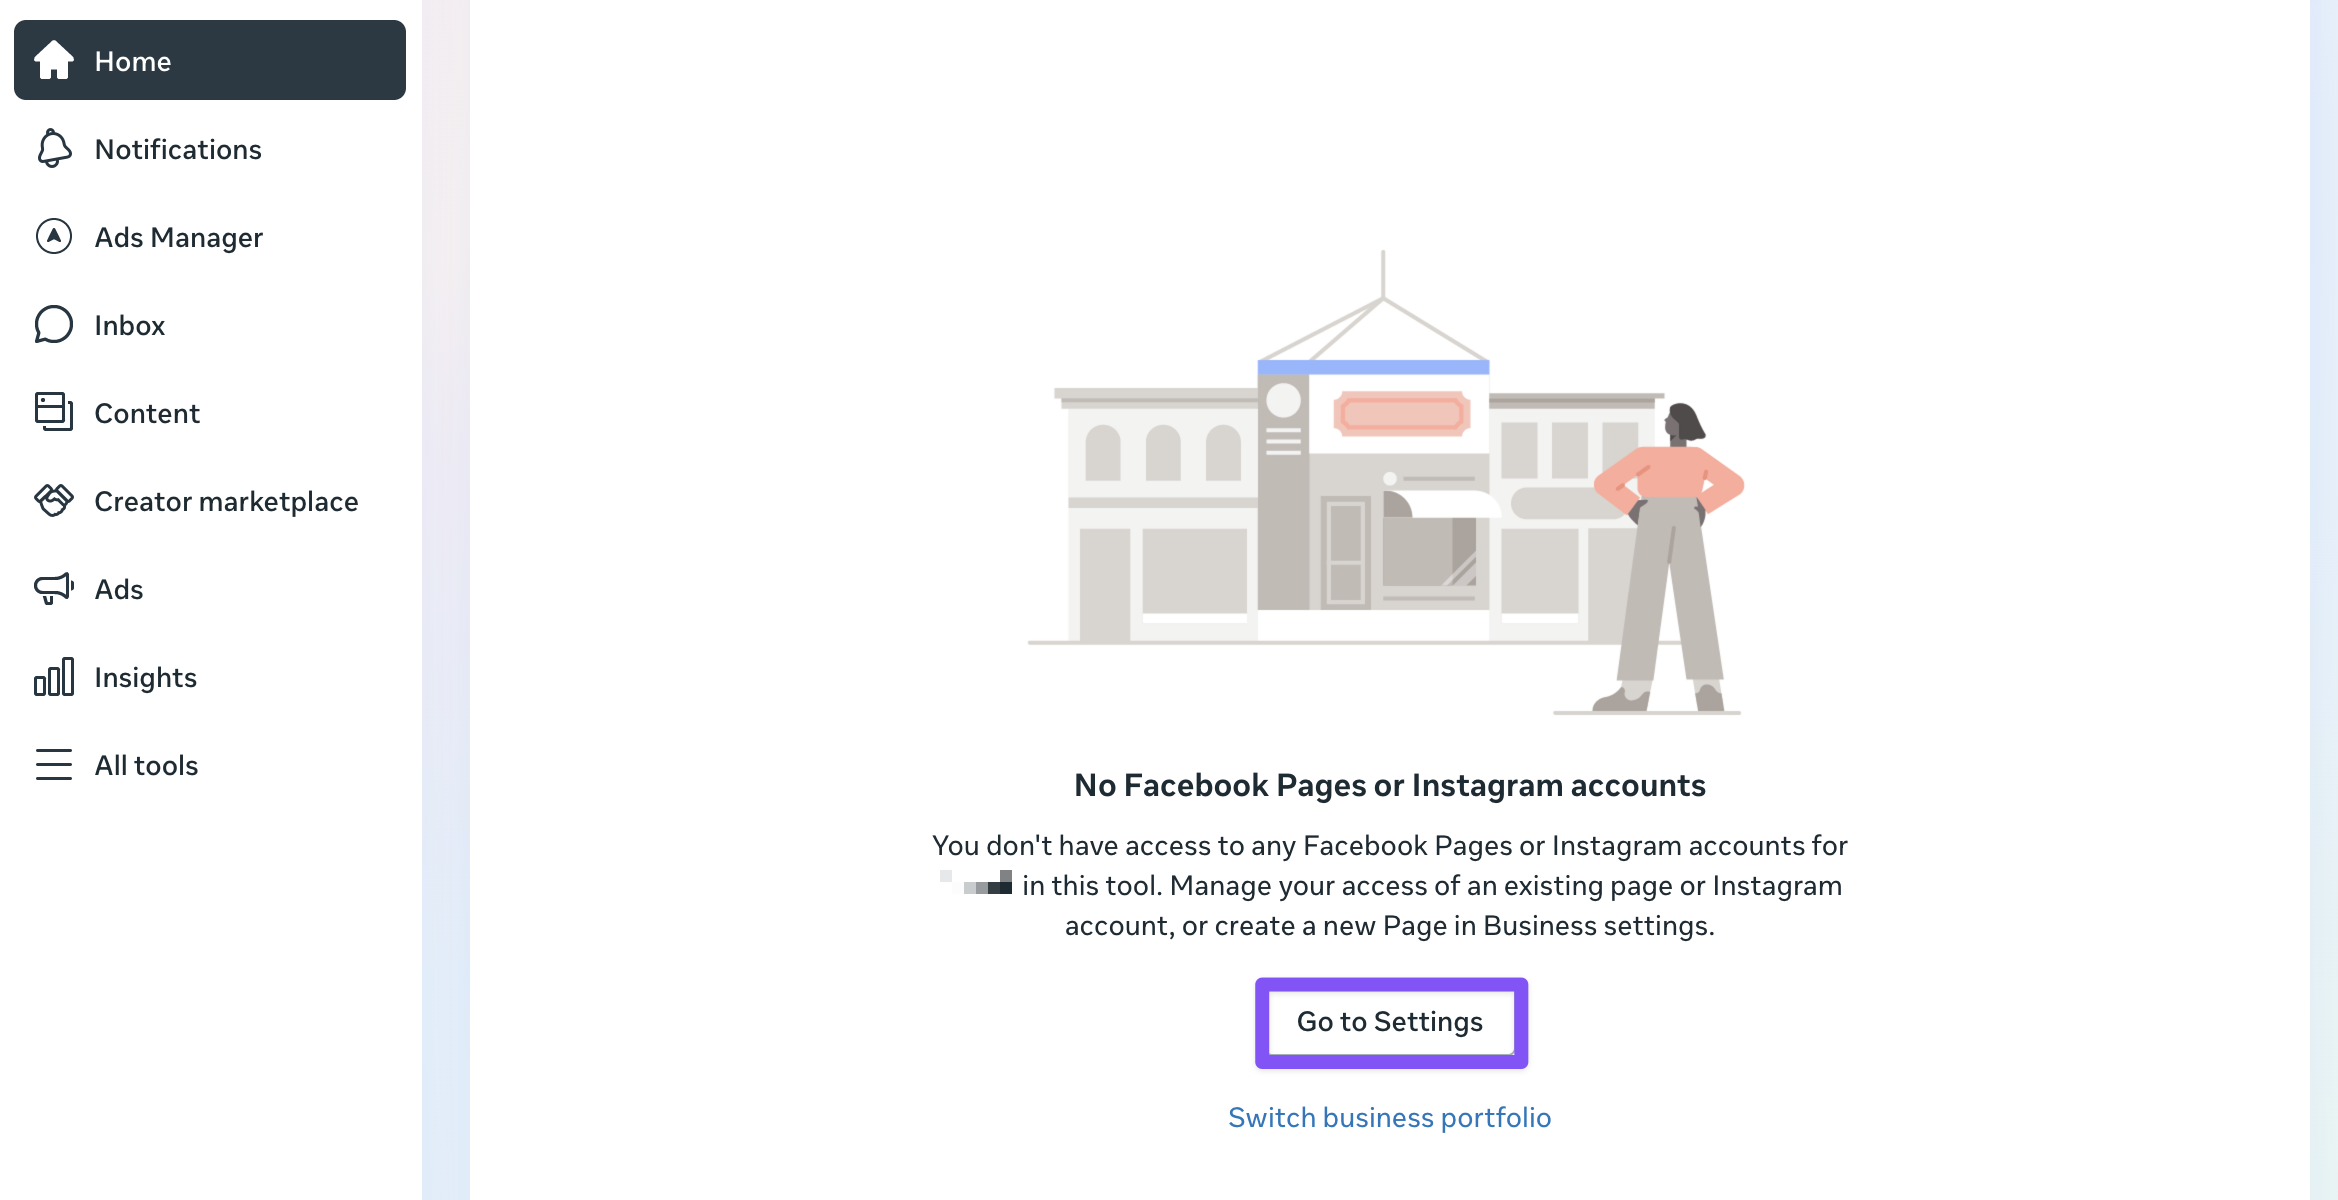
Go to business.facebook.com. If you don’t have a business page in the business portfolio yet, you need to add it. Click Go to settings.
-
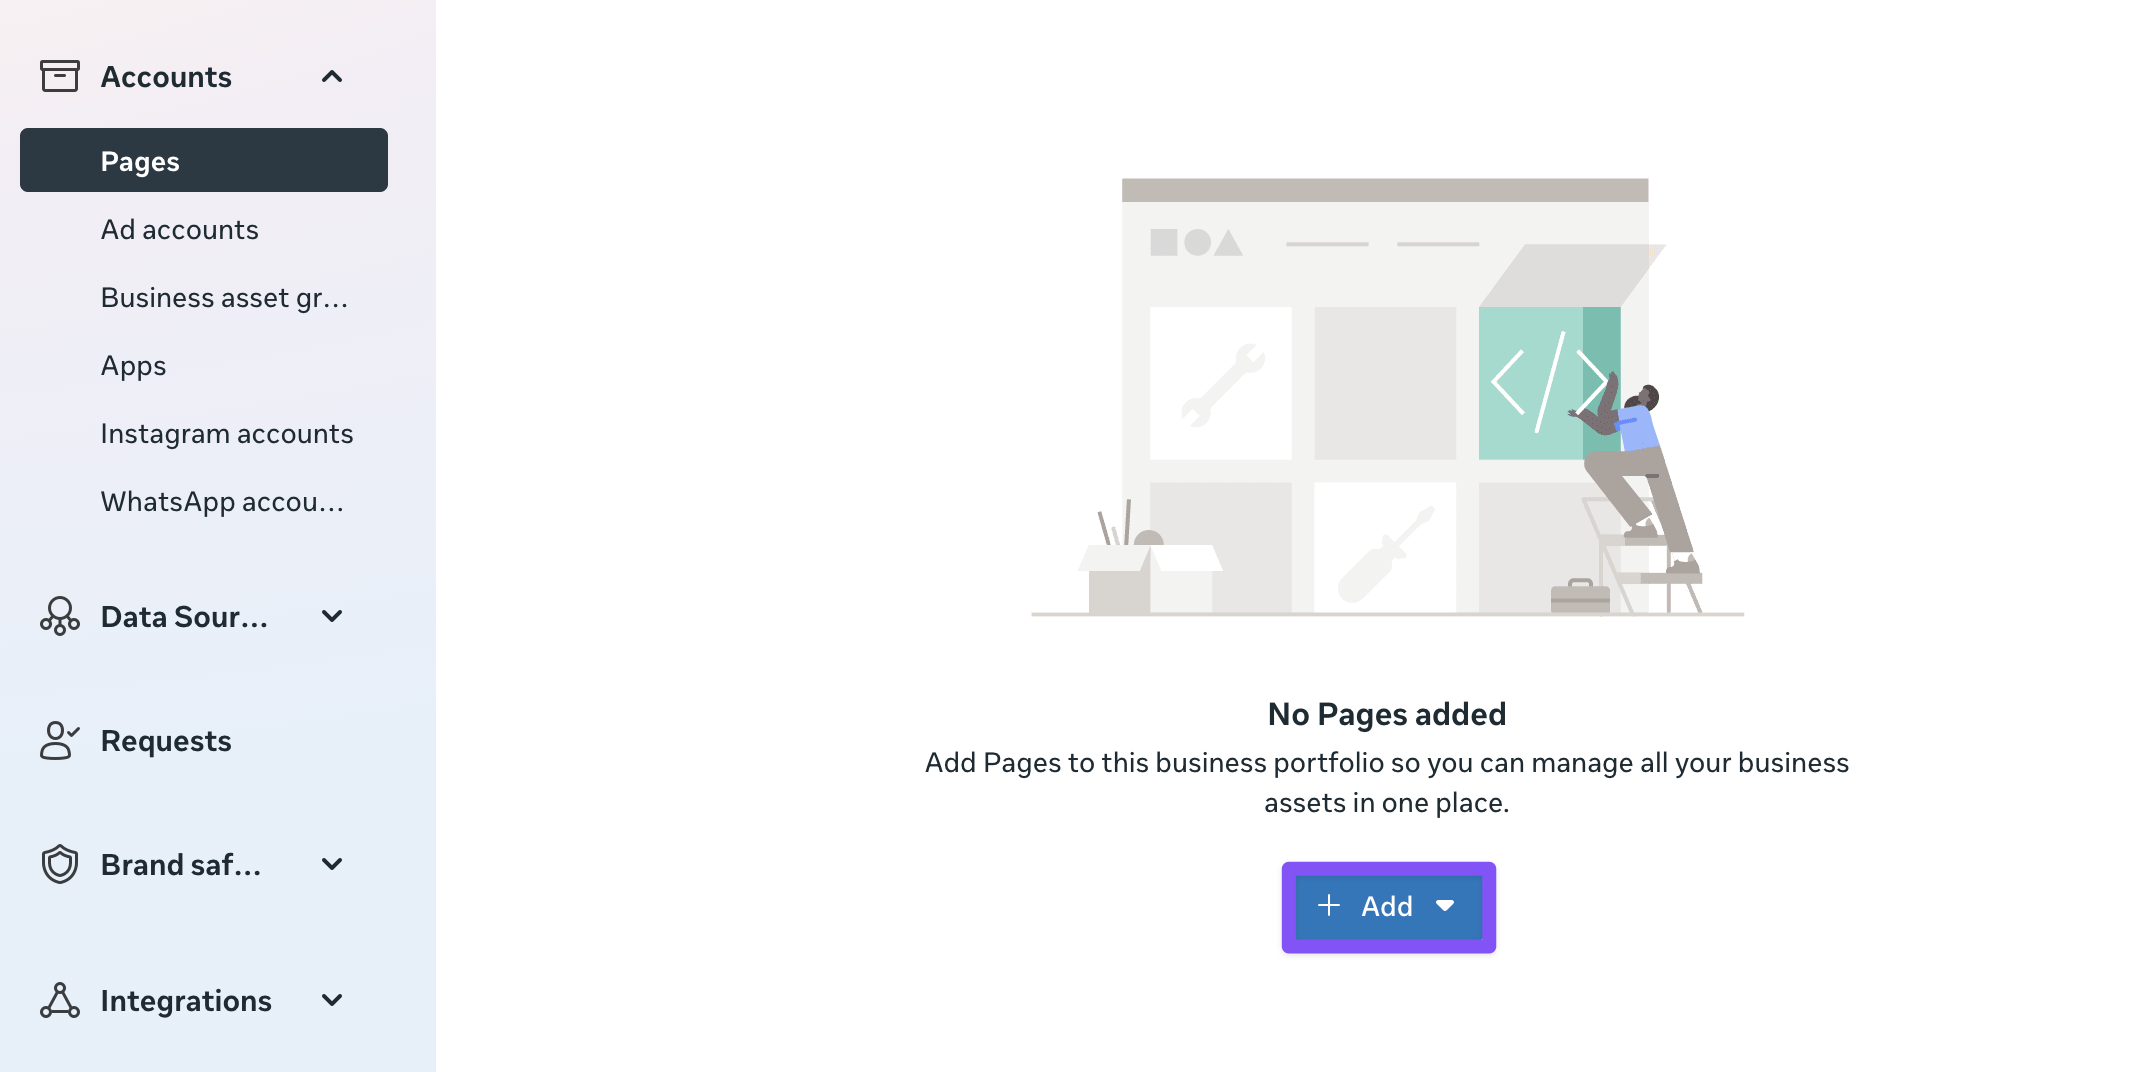
Go to Account > Pages from the left sidebar. Click Add and select Add an existing Facebook page or Create a new Facebook page. See the guide on creating a business page if you don’t have one yet.
-
Optionally, attach your Instagram account on the Account > Instagram accounts page in the settings.
Once you’ve connected your business page, you’re ready to move further.
Step 2. Add Meta pixel
You will need a Meta pixel to connect your campaign data to revenue and get better results.
Before you connect data and create a pixel, you will need:
- A business page – add it to your business portfolio in Settings > Accounts > Pages
- A business manager account – you must have full control over the business portfolio
- A business email – set in Settings > Business info
- An ad account – add it to your business portfolio in Settings > Accounts > Ad accounts
When you’re ready, create a pixel:
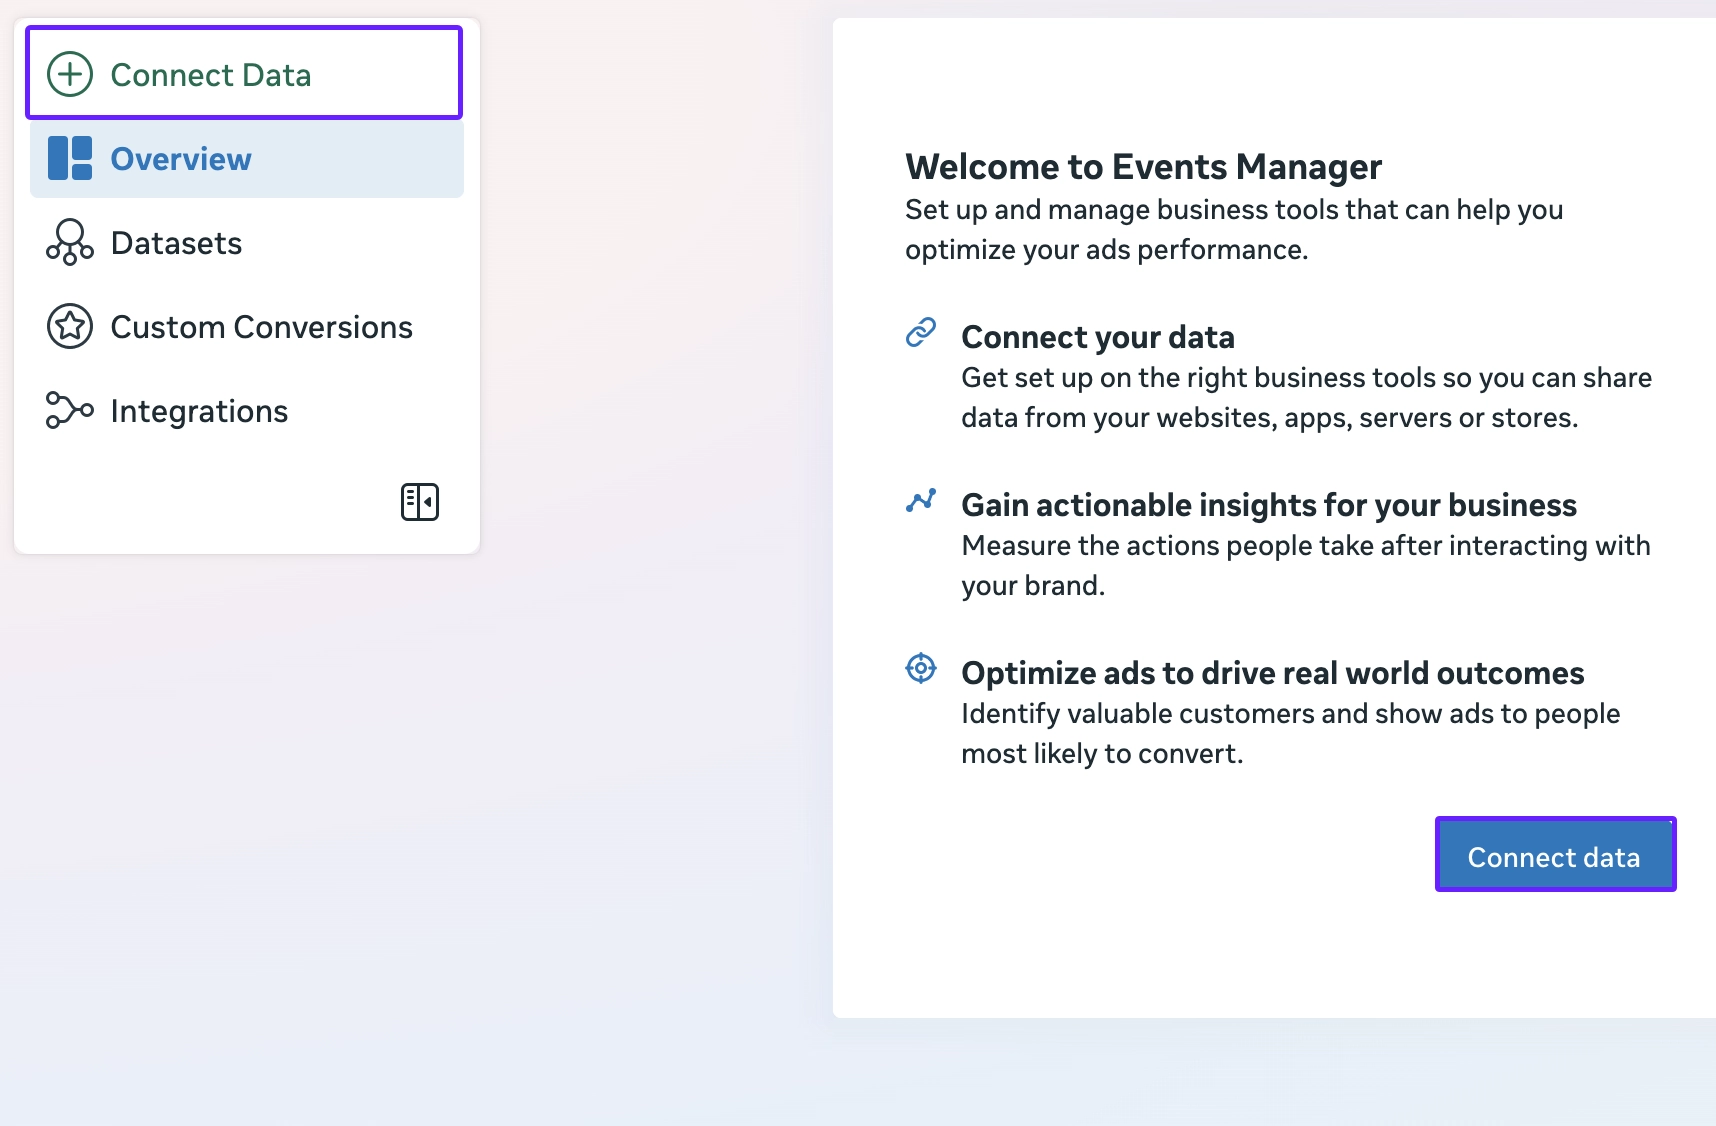
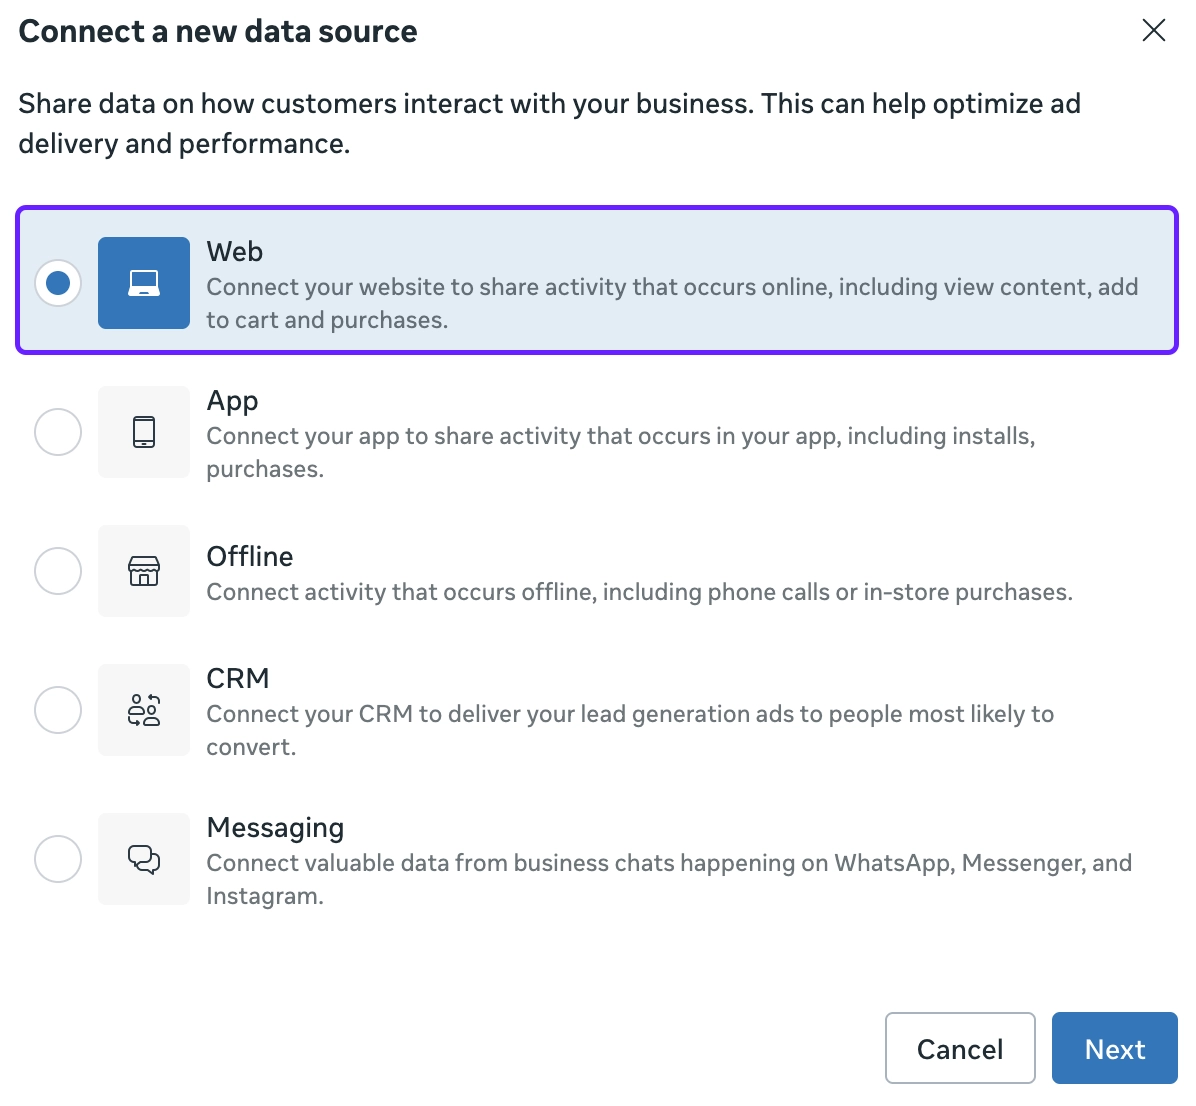
- Go to Events Manager. Click Connect data.
- Select Web as a data source type.
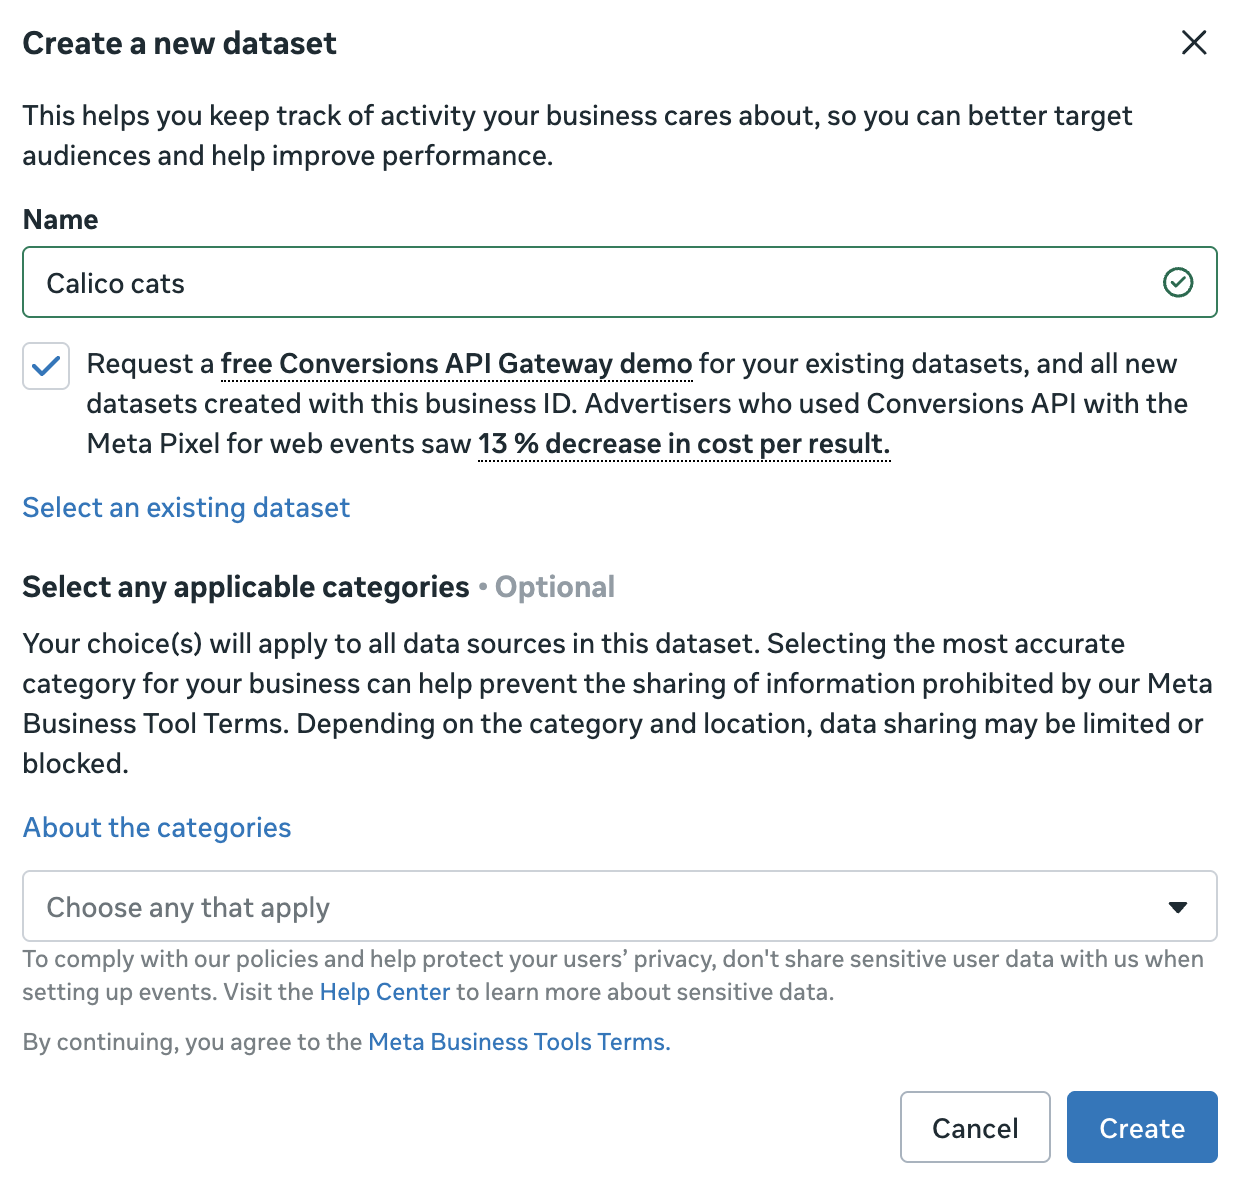
- Give your dataset a name and click Create.
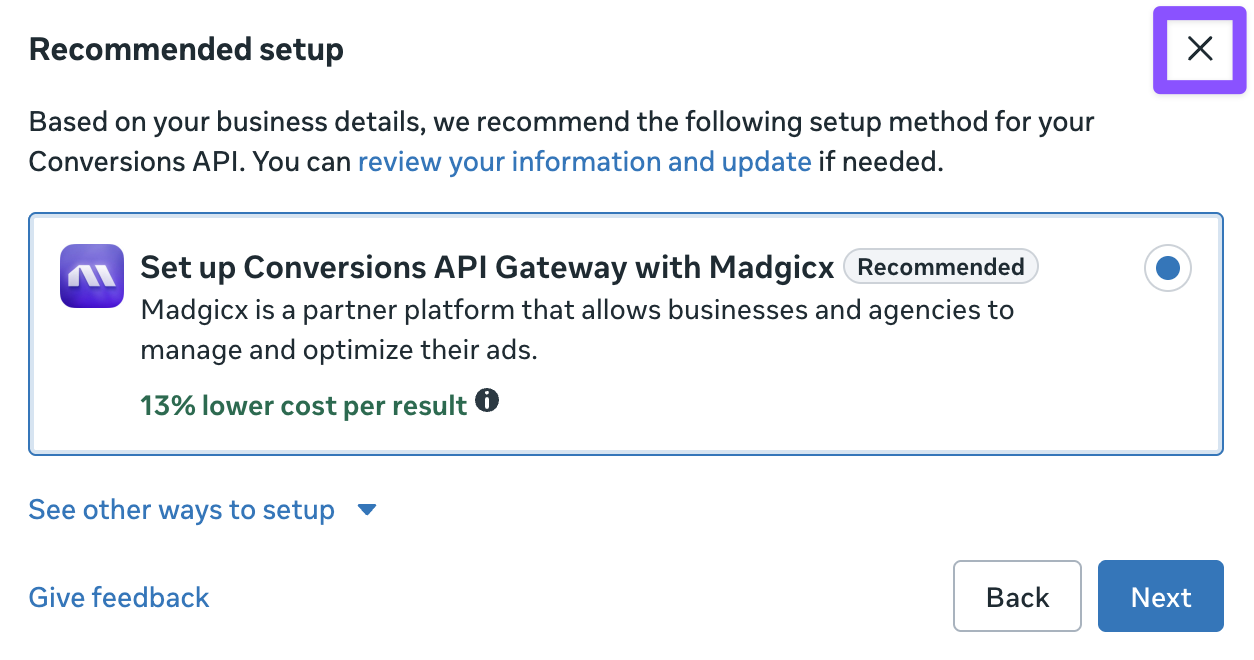
- For Adapty Attribution, you won’t need to complete the full installation of the pixel. So, when asked about the integration, you can just click x in the setup window, and your pixel will still appear on the list after you refresh the page.
- When your dataset appears on the list, you can proceed with creating a campaign.
Step 3. Create campaign
To create a campaign in Meta Ads Manager:
-
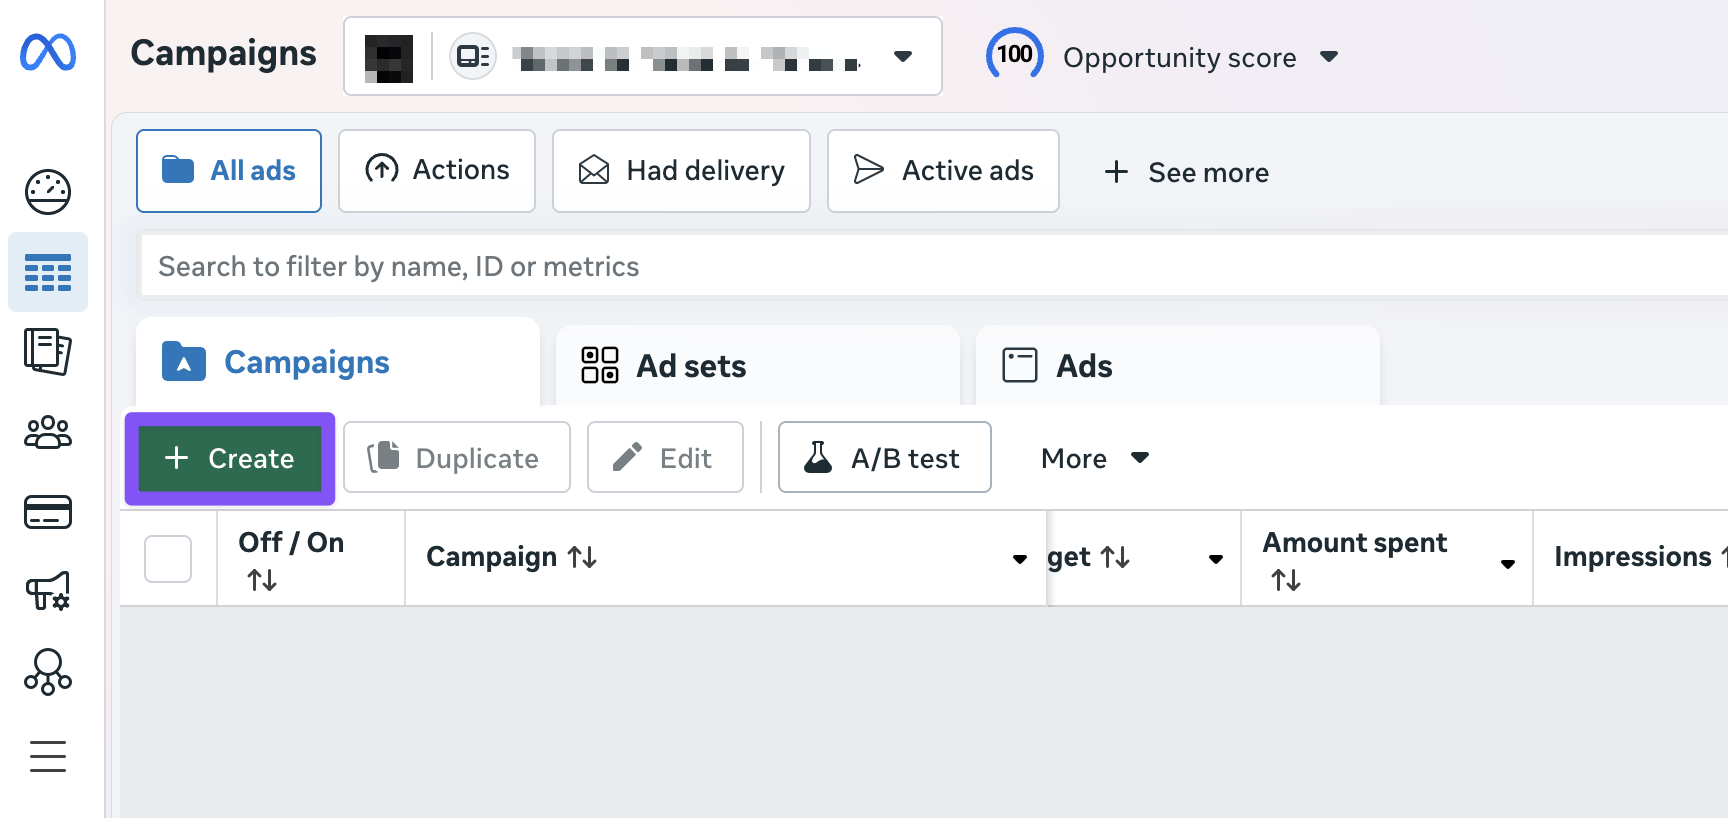
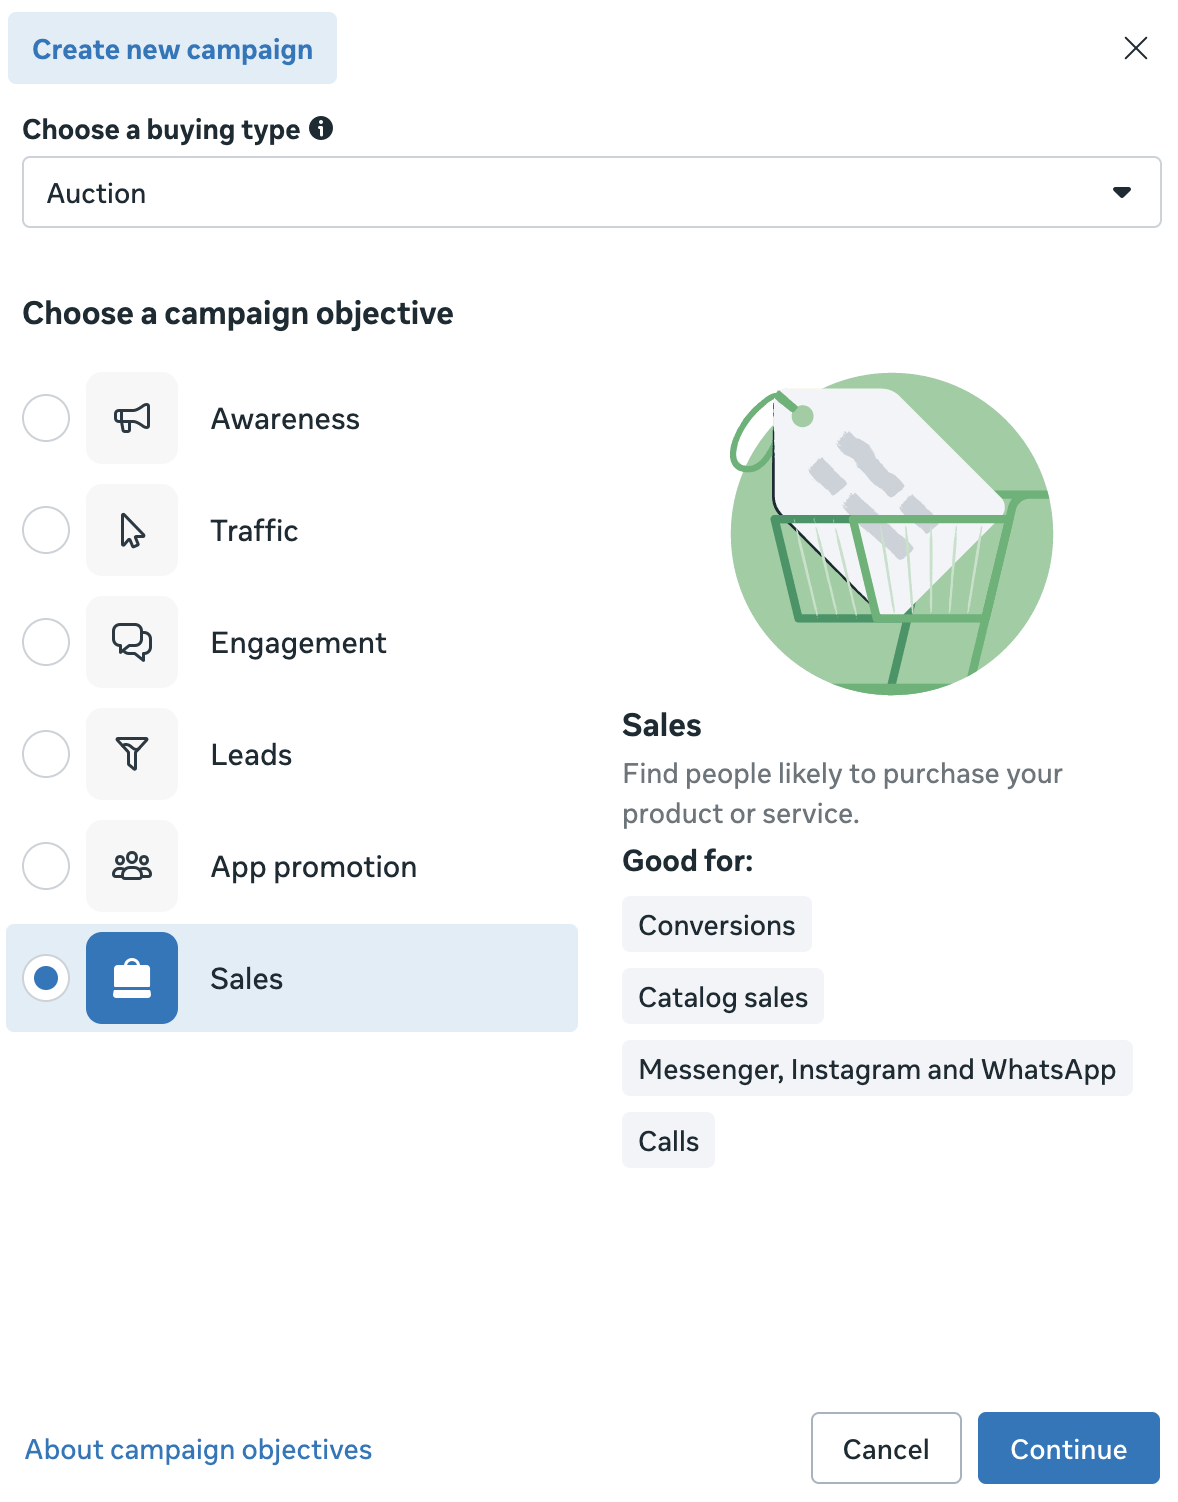
Go to Meta Ads Manager. On the Campaign tab, click Create.
-
Select Sales as a campaign objective and click Continue.
-
Name your campaign in the Campaign name section.
-
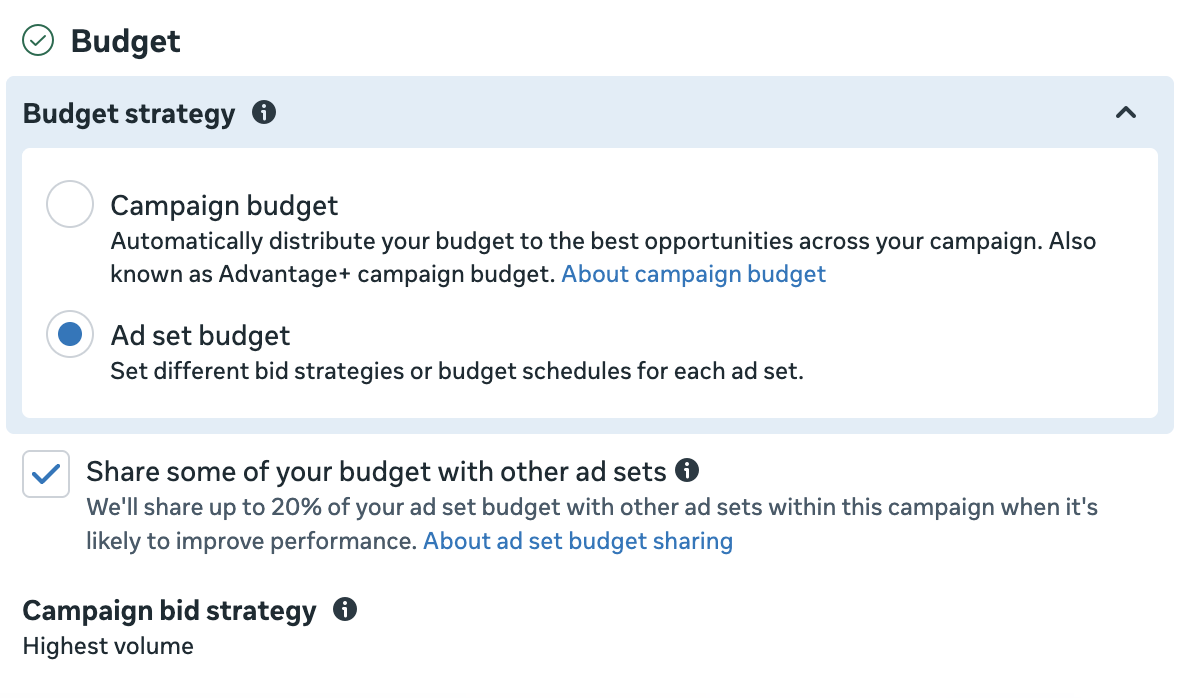
In the Budget section, in Budget strategy, select how you want to control the budget:
-
Campaign budget: The easiest option if you are not sure which opportunities would work best. If you select this, Meta Ads will automatically detect top performers to allocate more budget on better-performing ad sets.
Then, select whether you need Daily or Lifetime budget and enter the limit in your currency. Daily budget allows you more flexibility while you are still learning, so you can start with smaller amounts and gradually adjust them on the go. Or, you can select Schedule budget increase and set rules to automatically increase the budget by value amount or percentage.

-
Ad set budget: Select this option if you want to manually define which audiences will get more or less campaign budget. If not completely sure, you can select Share some of your budget with other ad sets to allow Meta to automatically adjust ad set budgets by up to 20% if it benefits the ad performance.
-
-
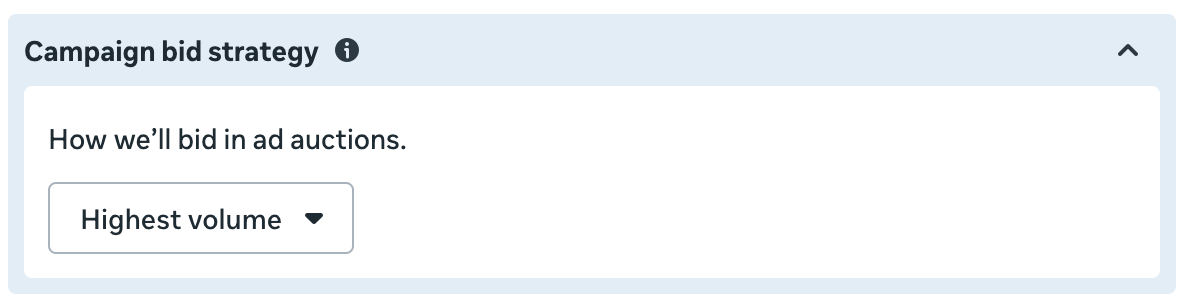
In Campaign bid strategy, select the best option for your goals:
- Highest volume (default): The easiest option to get started. If you select this, you let Meta optimize the click cost to get the best results for your budget.
- Cost per result goal: Aim for a certain cost per result if you know your benchmarks.
- Bid cap: Set the highest cost you are ready to bid.
-
Adapty lets you conduct comprehensive A/B tests. However, you can also enable A/B tests in Meta Ads if needed. Read more about A/B tests in Meta Ads Manager here.
-
Now, it’s time to add the first ad set to your campaign. Click Next to proceed.
Step 4. Create ad set
To create an ad set:
-
Give your ad set a name in the Ad set name field.
-
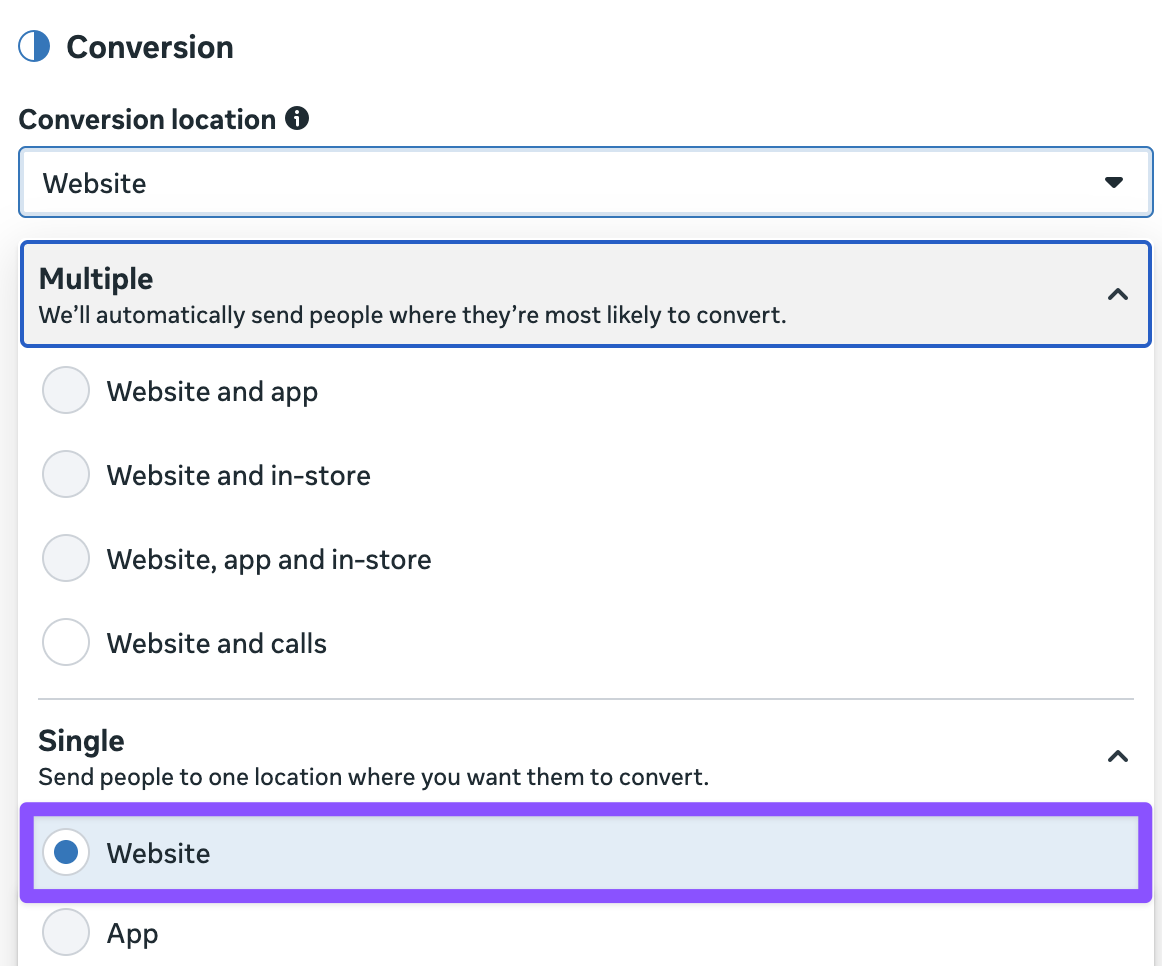
In the Conversion location dropdown, select Website.
-
In the Performance goal field, select Maximize number of landing page views if you have a landing page or Maximize number of link clicks if you use a smart link navigating users directly to the store.

-
In the Dataset field, select the dataset you’ve created on Step 2.
-
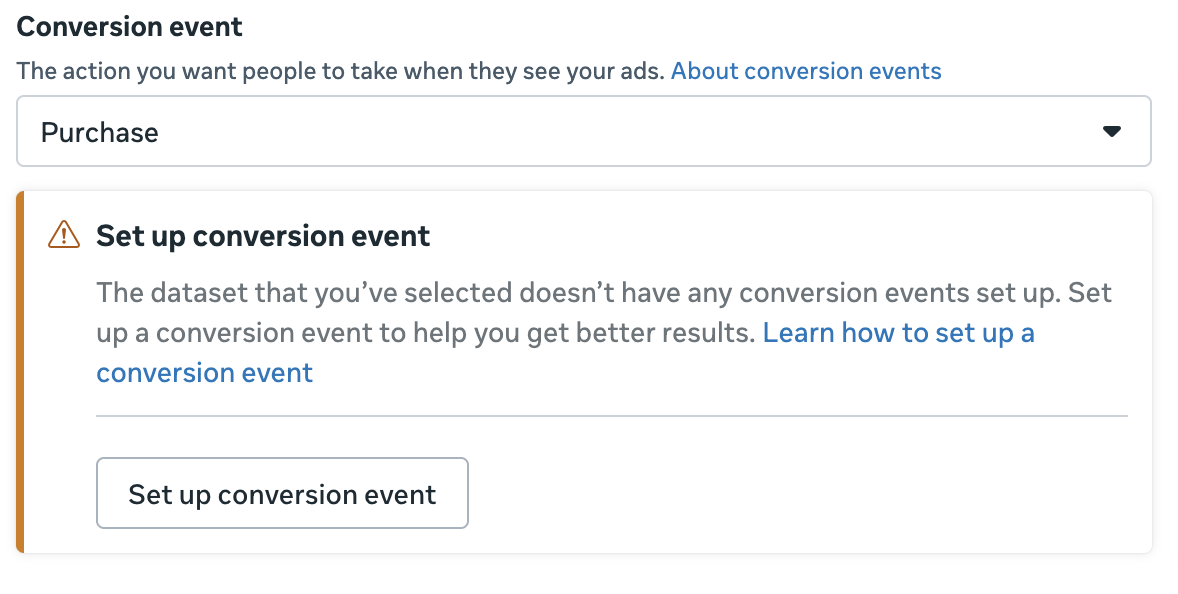
Select a Conversion event. In our case, it is probably going to be Purchase or Start trial. Don’t worry if you see a warning that your dataset doesn’t have any events yet – that just means that your dataset is new.
-
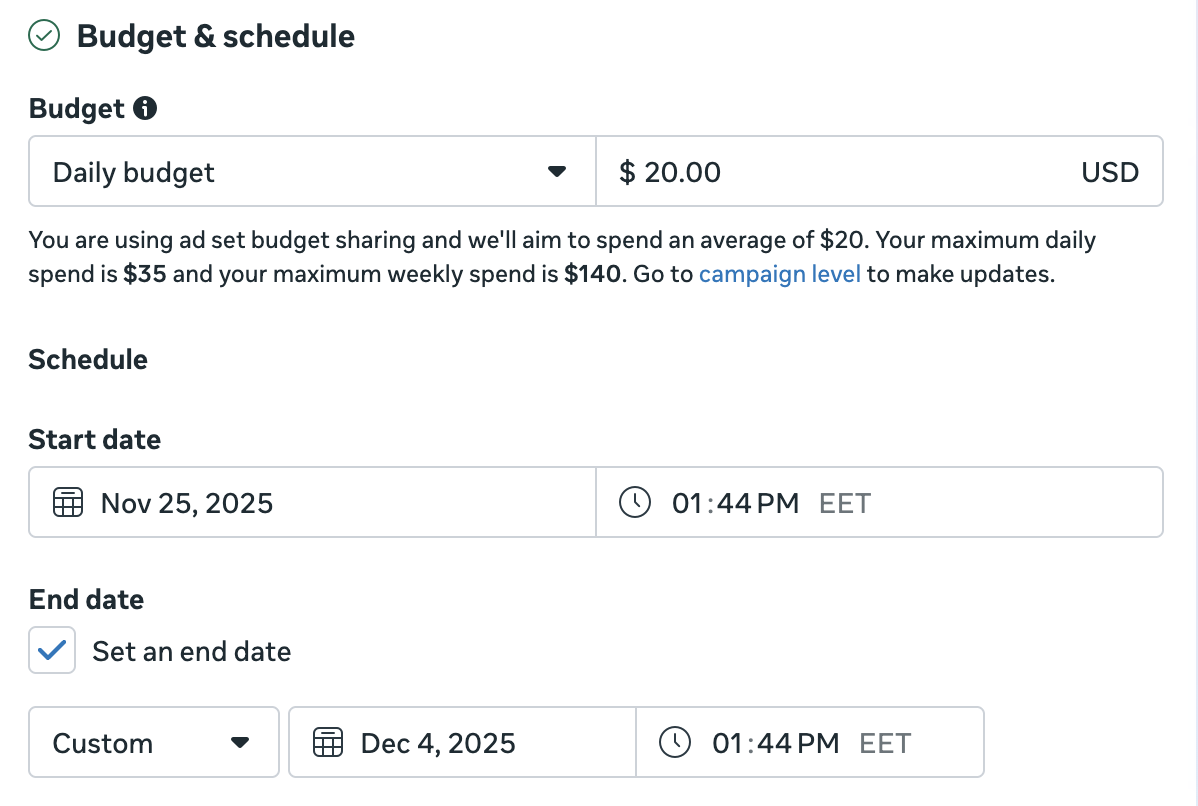
If, when setting up the campaign, you have selected Ad set budget, select whether you need Daily or Lifetime budget and enter the limit in your currency. Daily budget allows you more flexibility while you are still learning, so you can start with smaller amounts and gradually adjust them on the go.
Set the start and, if applicable, end dates for the ad set. For example, if you want to advertise a promotional offer in your app, it is crucial to align the ad set timeframe with the offer.
-
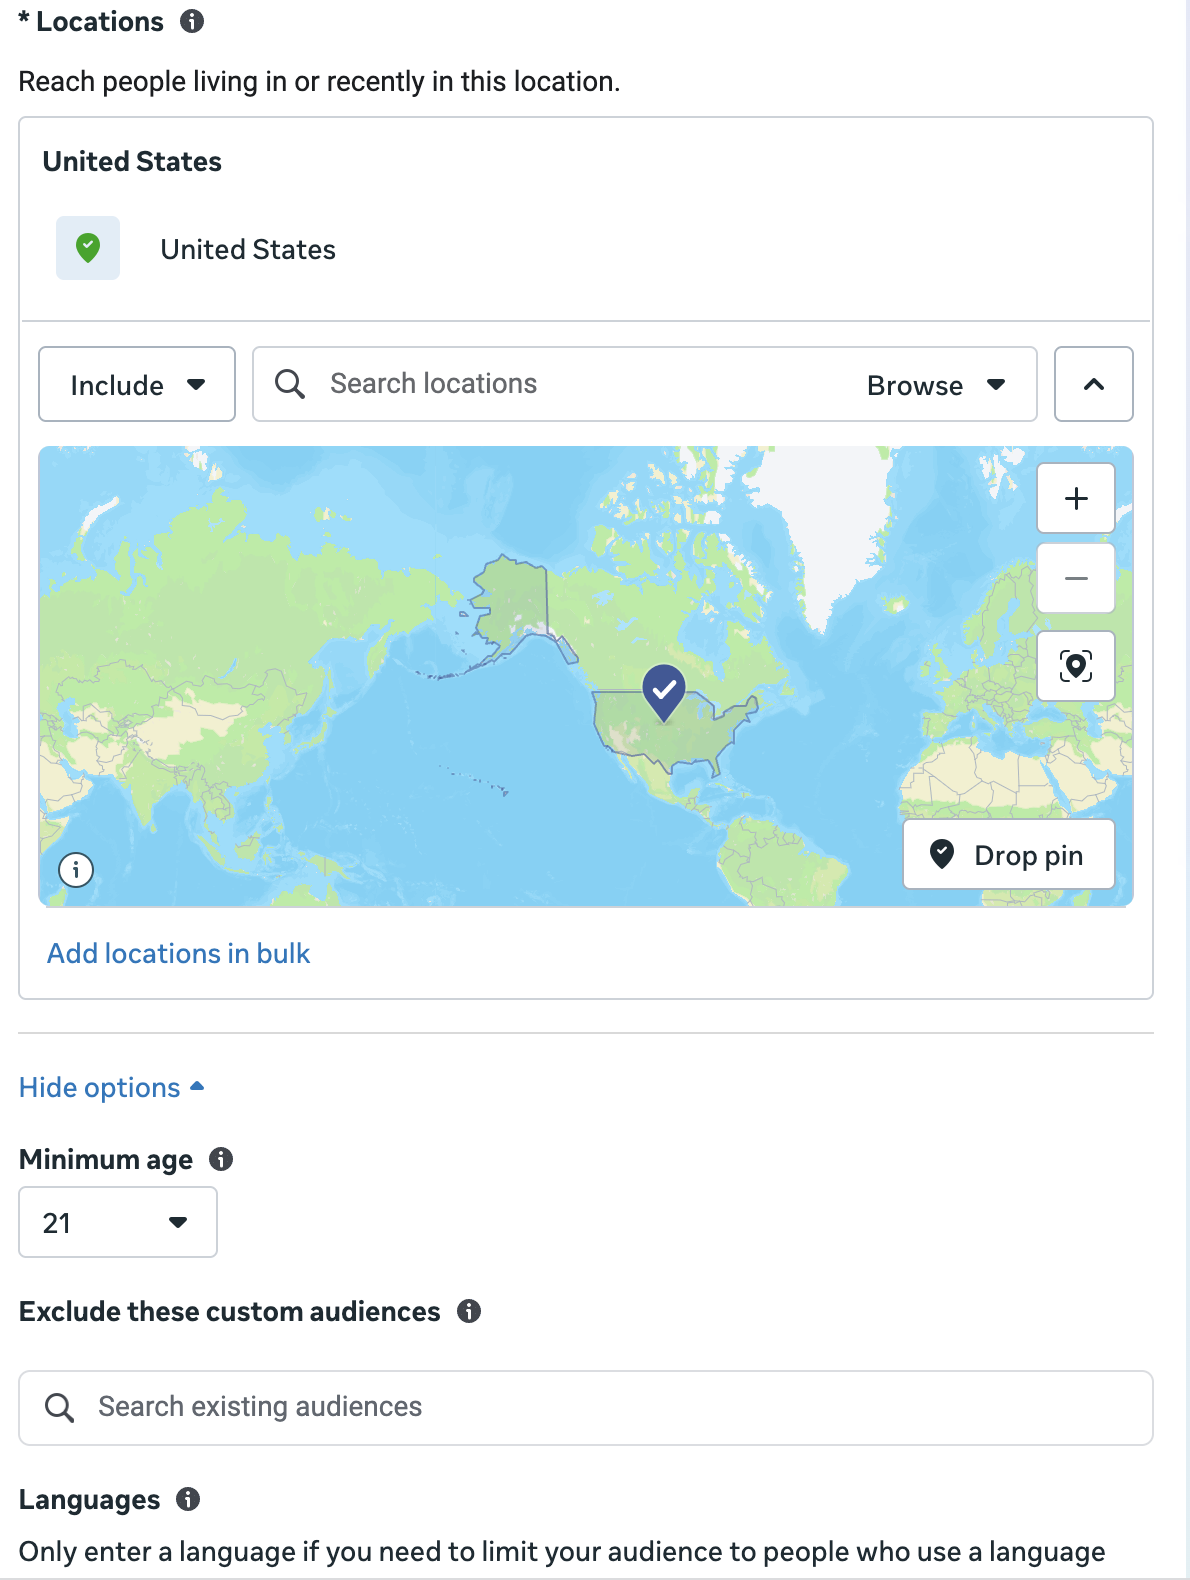
In the Audience controls section, set the audience settings:
- Location: Locations can be as broad or narrow as you need them to be. You can limit Locations in the ad set to work with the region specifics in your ads.
- Minimum age: Select the minimum age of users that will see your ad. For some ads, it may be legally required. You can’t select a minimum age below 18 globally or 20 in Thailand.
- Language: Set Language only if it is not the most common language in selected countries. For example, you won’t need to select English in the United States, but, if you target Spanish-speaking people living there, you might want to select Spanish.
-
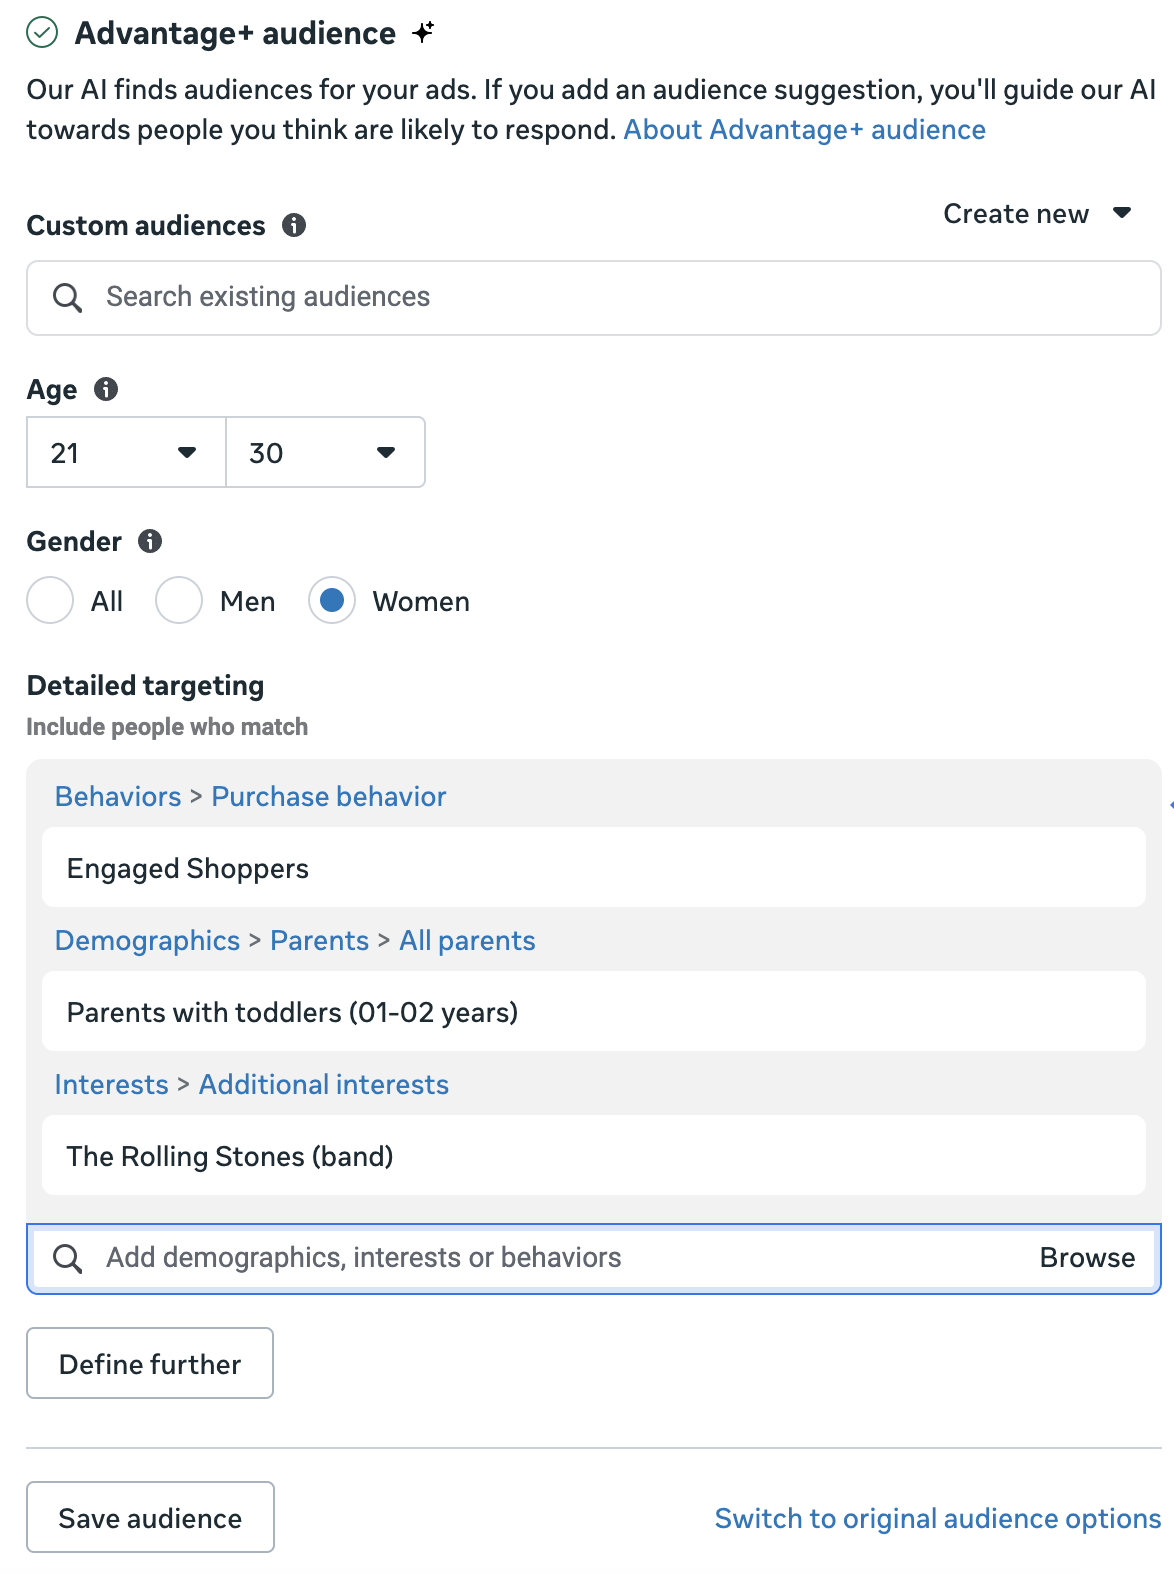
By default, Meta automatically finds smaller groups of people to whom your ad will be relevant. However, if you add an audience suggestion, you can guide Meta towards people you think are likely to respond. In the Advantage+ audience section, you can adjust:
- Age: Set a specific age range to target, so you better match specific of different age groups.
- Gender: Show your ad to all users or target them by their gender.
- Detailed targeting: This setting allows you the most specific control over the audience for your ad and/or app. Here, you can form groups based on Demographics, Interests, or Behaviors. Depending on what your app is doing, for example, you can focus on different professions, fans of specific music bands, parents of newborns, or those who tend to shop online a lot.
The Detailed targeting settings apply with the Or operator. If you want to apply conditions with the And operator, click Define further and select new conditions.
-
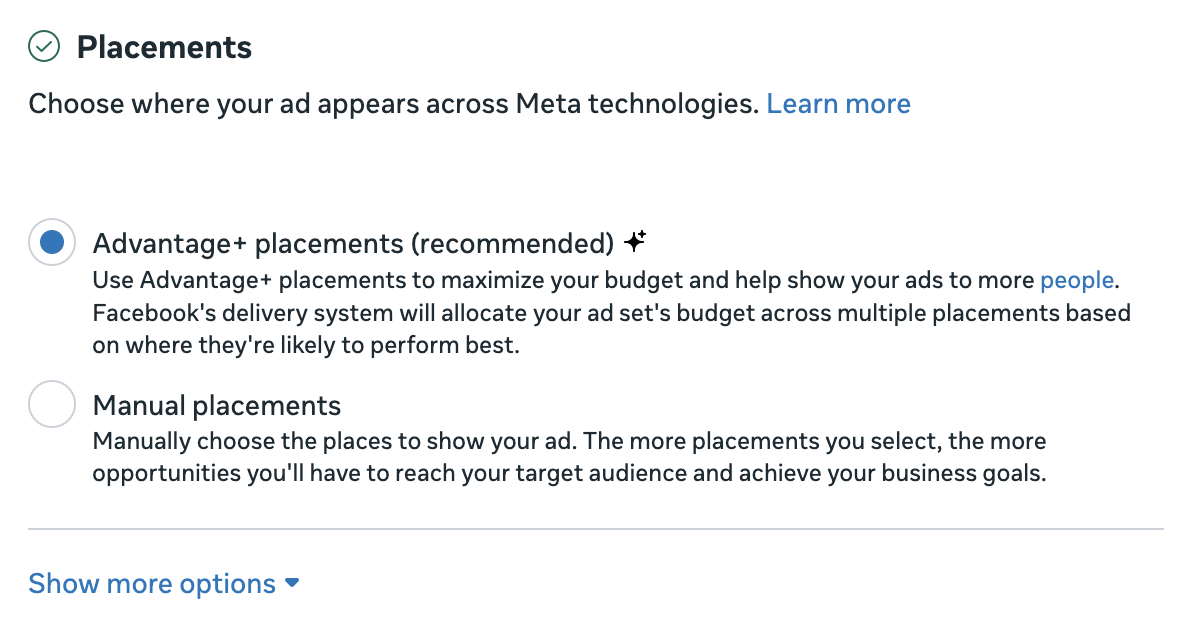
In the Placements section, you can select where your ad will appear. By default, the Advantage+ setting is selected, letting Meta allocate your ad set’s budget across multiple placements based on where they’re likely to perform best. We recommend you to use this option if you are not sure where to place your ad. If you want to select specific placements manually, select Manual placements and customize them. Read more here.
-
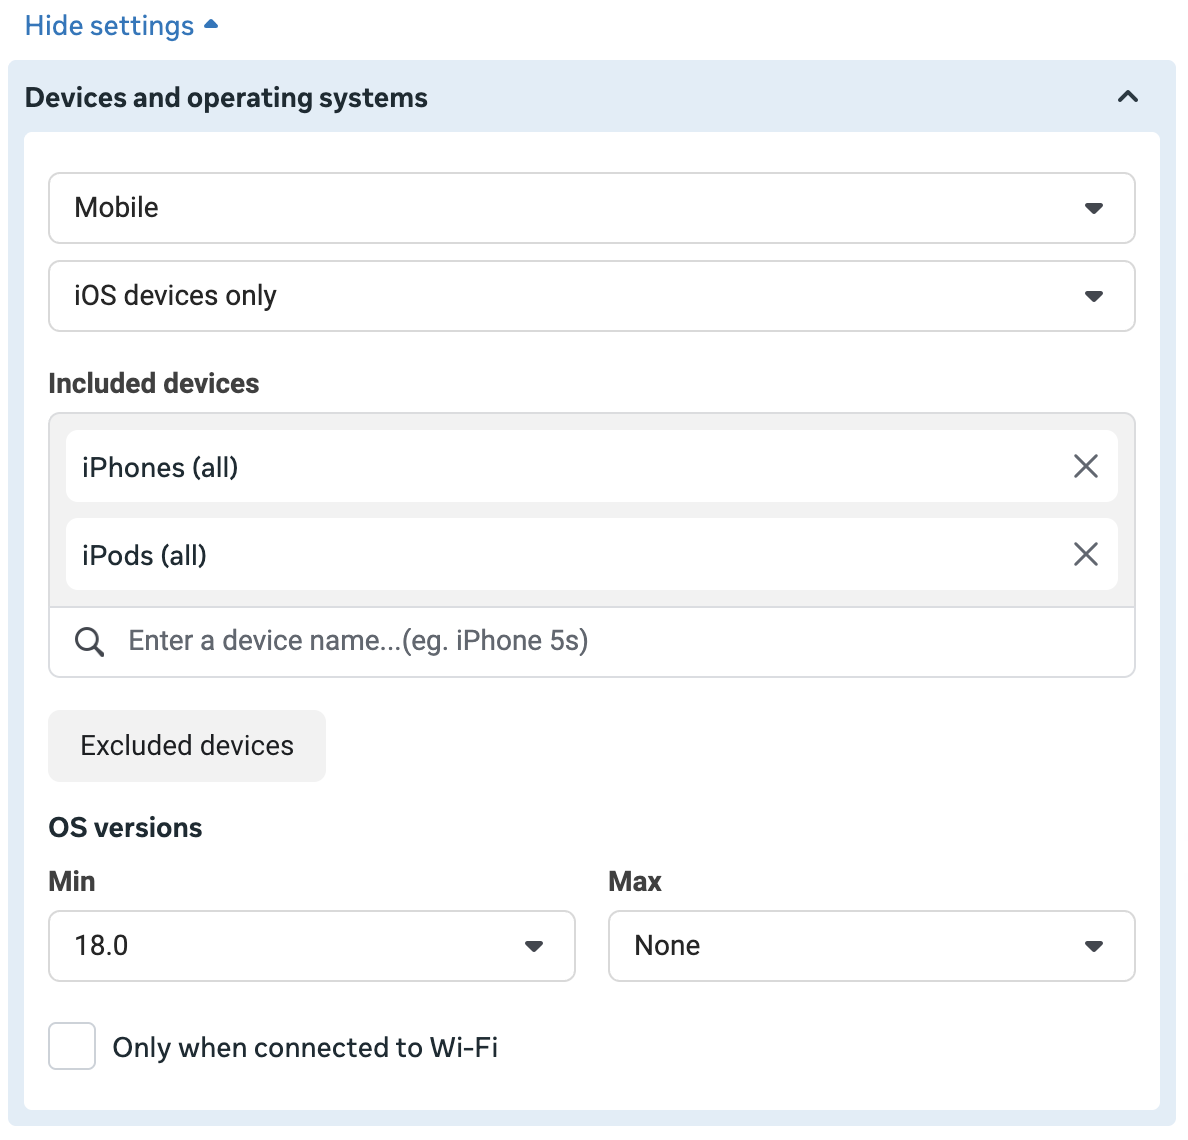
Recommended: Targeting by device helps you optimize your spending. In the Placements section, click Show more settings. In the Devices and operating system subsection, select which devices, operating systems, and OS versions should be included in your audience. This ensures your ads are shown only to relevant users. For example, desktop users won’t see your ad, and users with old OS versions that your app doesn’t support will be excluded.
-
When you’re ready, click Next to proceed.
Step 5. Create ads
To create an ad in Meta Ads Manager:
- Give your ad a name in the Ad name field.
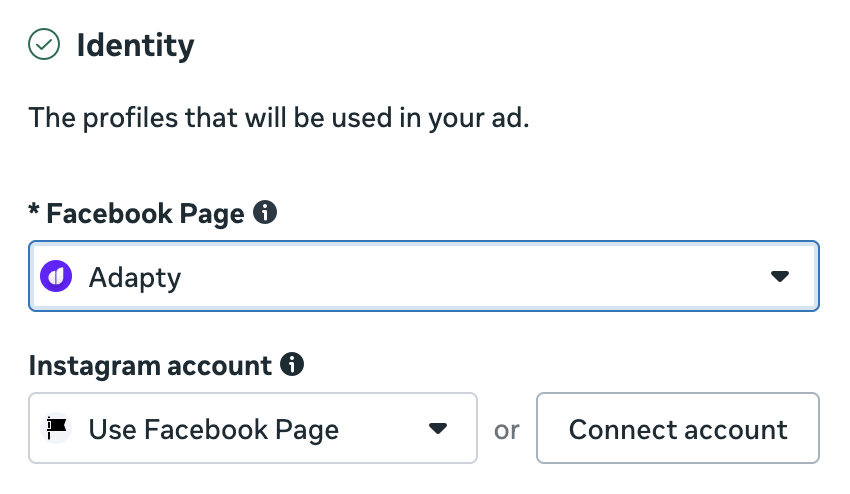
- In the Identity section, select the Facebook page that will be used for posting ads. If you have a separate Instagram account for your app and have connected it in Meta Business Suite at Step 1, select it in the Instagram account dropdown. Otherwise – select Use Facebook page, so Instagram ads are posted using the Facebook page.
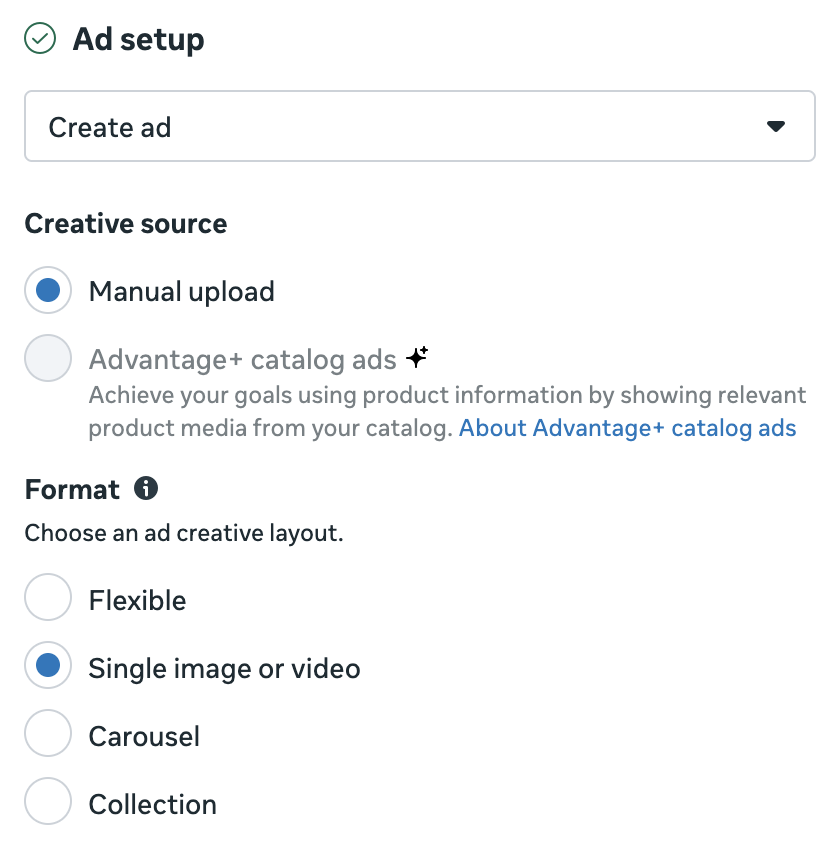
- In Ad setup, select how you want to post your ad. When advertising apps, we recommend selecting Create ad, so your post will redirect users to your app instead of the Facebook page. In the Format field, select an option depending on how many creatives you have and how you want to display them.
- In the Destination section, keep Website selected as Main destination. In the Website URL field, paste
https://api-ua.adapty.io/api/v1/attribution/click. In Adapty Attribution, create a web campaign and paste the Click link content afterhttps://api-ua.adapty.io/api/v1/attribution/clickto the URL parameters field in the Tracking section.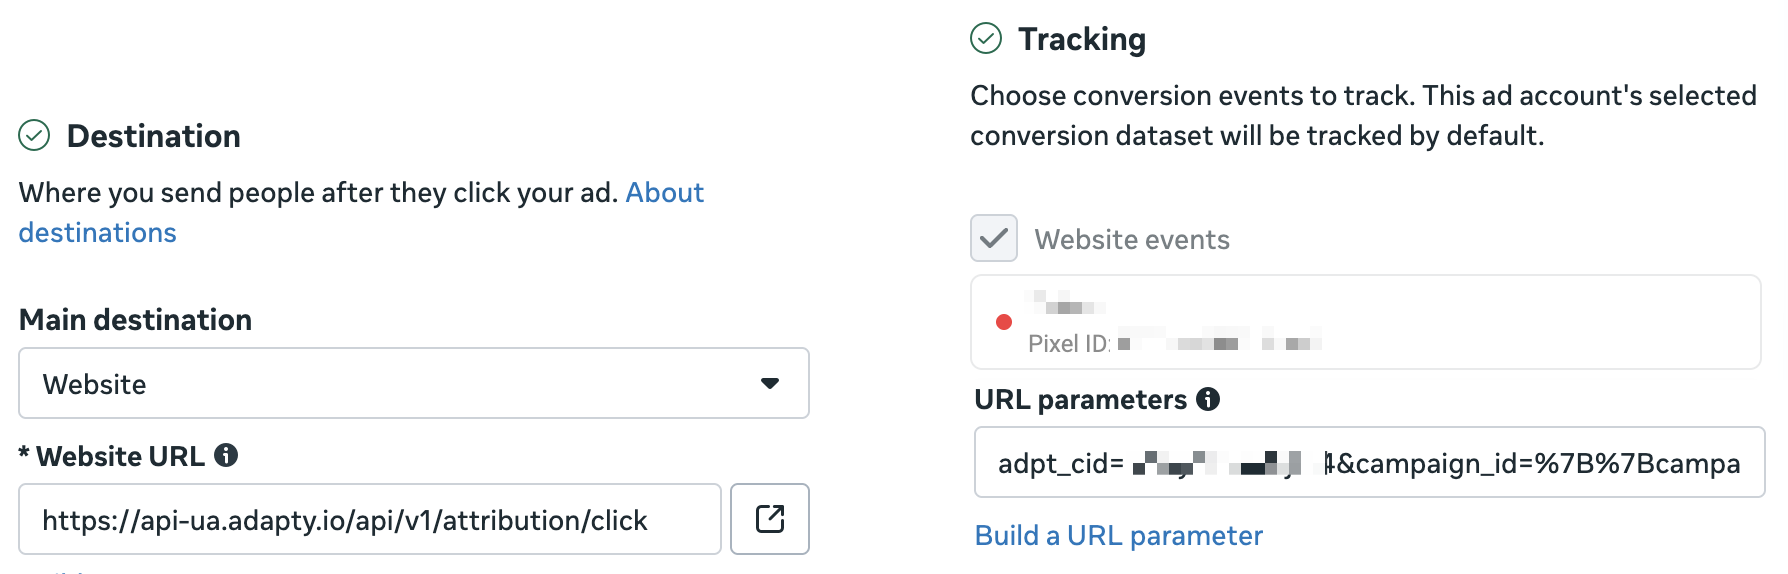
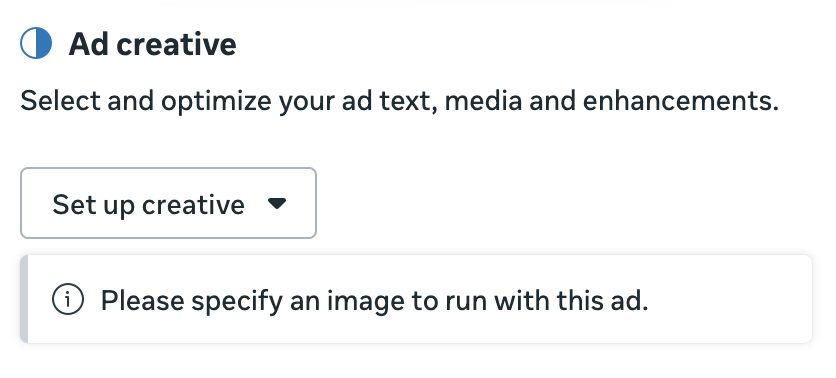
- In the Ad creative section, click Set up creative and select Image ad or Video ad. This will open a new window prompting you to upload media files, crop them, and add texts.
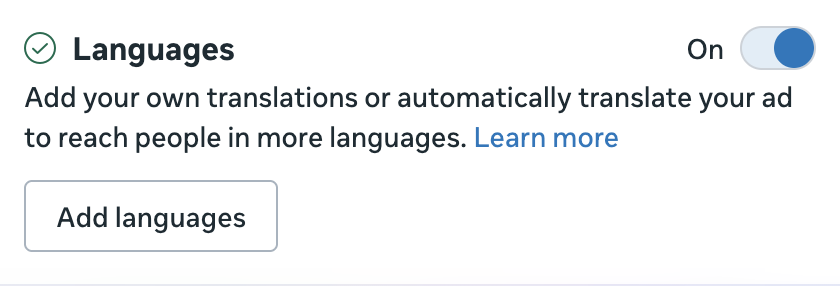
- If you want to automatically translate your ad texts, in the Languages section, click Add languages. Then, add a primary language – it will automatically pull texts from your creative. Then, add translation languages for automatic translation.
- When ready, click Publish to launch your ad.
What’s next
To activate your ad, you will need to add a payment method if you haven’t done it before.
Then, you can explore how the campaign affects your app revenue in the Adapty Attribution dashboard.
Not using Adapty Attribution yet? Book a call with us to learn how it can help you track and optimize your ad campaigns.