Localize onboardings
Localizations in onboardings are supported in the Adapty SDKs starting from SDK version 3.11. If your SDK version is below 3.11, the default locale will be used.
Localization can be a time-consuming process that requires careful attention to detail. When you use Onboarding Builder, Adapty handles most of the heavy lifting for you. This page explains how the localization process works.
Once you’ve finished configuring your onboarding in the default language and are satisfied with the result, you’re ready to add support for additional languages.
Add and set up localization
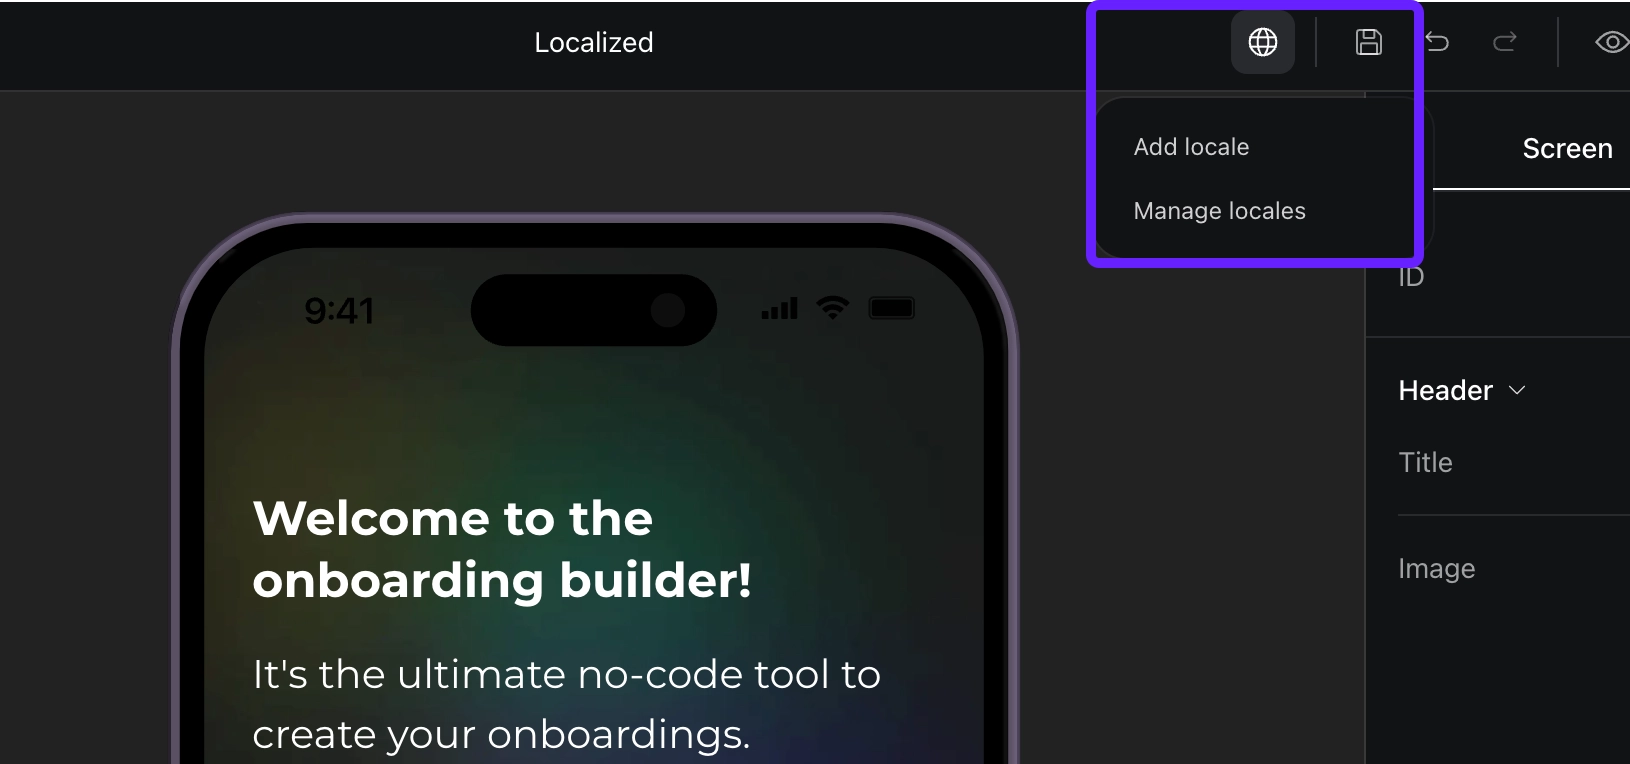
- In the Onboarding Builder, click the globe icon in the top-right and select Add locale.
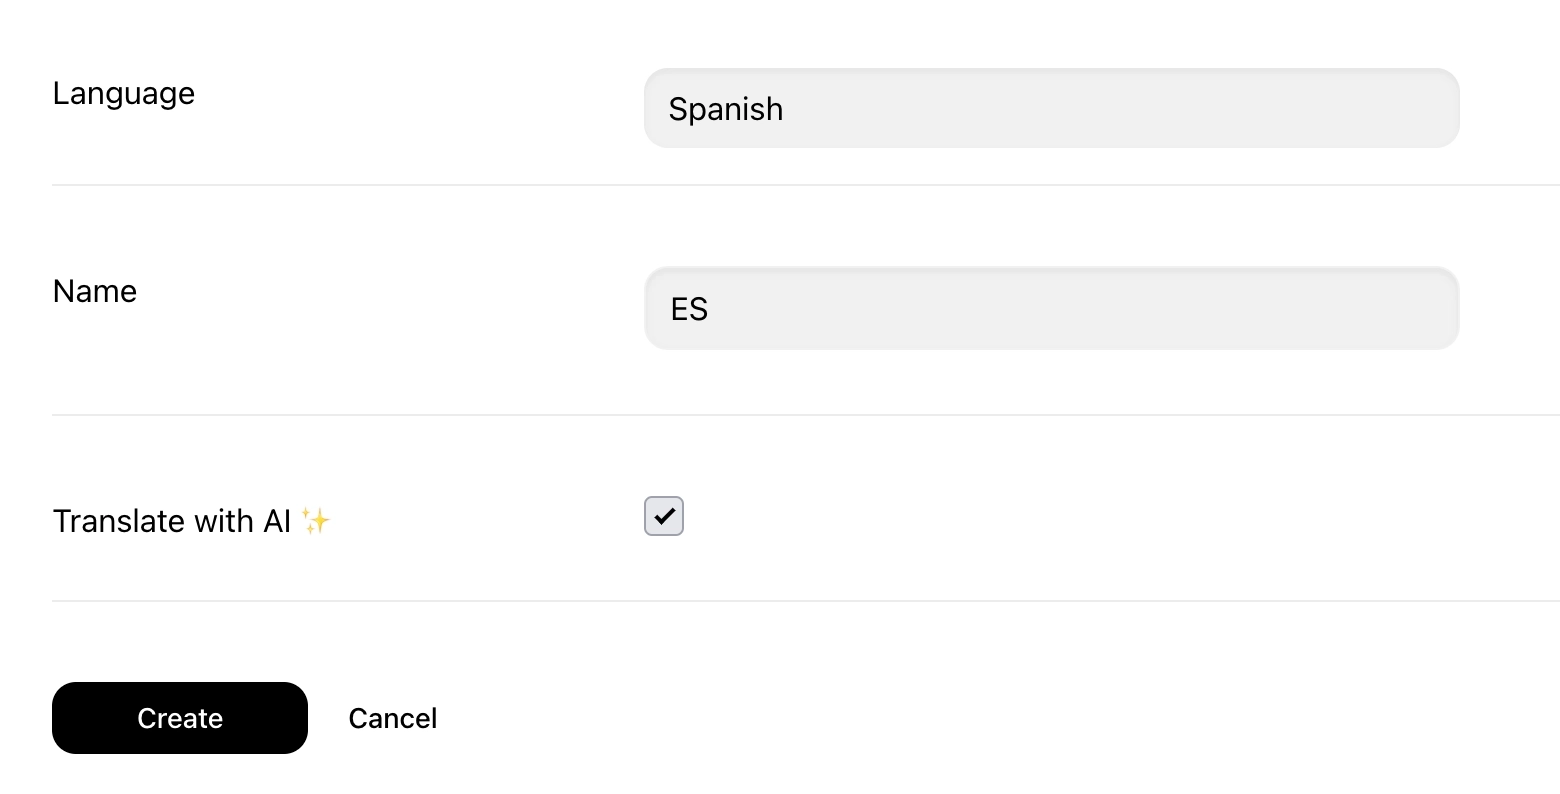
- Choose Language.
- Optional: Enable Translate with AI to automatically translate all content from the original onboarding into the selected language.
- Click Create.
Now, you can translate the content manually, use AI, or export the localization file for external translators. Adapty will create a copy of your onboarding where you can modify both the text content and visual elements to suit your target audience.
You can customize the design of each locale (images, colors, layouts) to better target different audiences. However, structural changes (adding or removing screens and elements) can only be made in the default locale.
Translate onboardings using AI
AI-powered translation provides a quick and efficient way to localize your onboarding. Translation typically takes 1-2 minutes depending on the onboarding size.
You can use AI translation at two different stages:
-
When adding a new locale: Check Translate with AI during locale creation to generate a pre-translated version.
-
After creating a locale: Navigate to the globe icon → Manage locales, then click Translate with AI next to your desired locale.
Any manual edits you’ve made to the localized version will be overwritten. Additionally, changes made to the default locale after AI translation won’t be automatically reflected in translated versions – you’ll need to re-run the translation.
Export localization files for external translation
You can export localization files to share with your translators and then import the translated results back into Adapty.
Exporting by the Export button creates one .tsv file for all languages.
Import files
Once you’ve received the translated file, use the Import button to upload it. Adapty will automatically validate the files to ensure they match the correct format and paywall configuration structure.
If you send this file to several translators at the same time, remember to remove extra columns from the file when importing. Otherwise, some translations will be overwritten by unchanged columns.
Import file format
To ensure a successful import, the import file must meet the following requirements:
- File extension:
The file must have a
.tsvextension. - Only tabulations as separators: Use tabulations as separators. Other separators will result in errors.
- Header line: The file must include a header line.
- Correct column names: The column names must be Key and full localization names.
- Correct Key names: Values in the Key column must remain unchanged, as they correspond to screen and element identifiers..
- No additional entities: Ensure the file doesn’t include entities not present in the current onboarding configuration. Extra entities will result in errors.
- Partial import: The file can include all or just some entities from the current paywall configuration.
Existing limitations
Once a user opens an onboarding, the displayed language is locked for approximately 24 hours. If the user changes their device or app language during this time, the onboarding will continue to display in the original language. After 24 hours, the new language will be applied.
This affects two scenarios:
- User opens onboarding in language A, closes the app, changes device language to language B, and reopens the app → onboarding still displays in language A
- User opens onboarding in language A, closes it, changes in-app language to language B, and reopens the onboarding → onboarding still displays in language A