Design onboardings
The no-code mobile app onboarding builder is a powerful and customizable tool that will help you provide your users with the best onboarding experience. You don’t even need to be a developer or designer to get a great result.
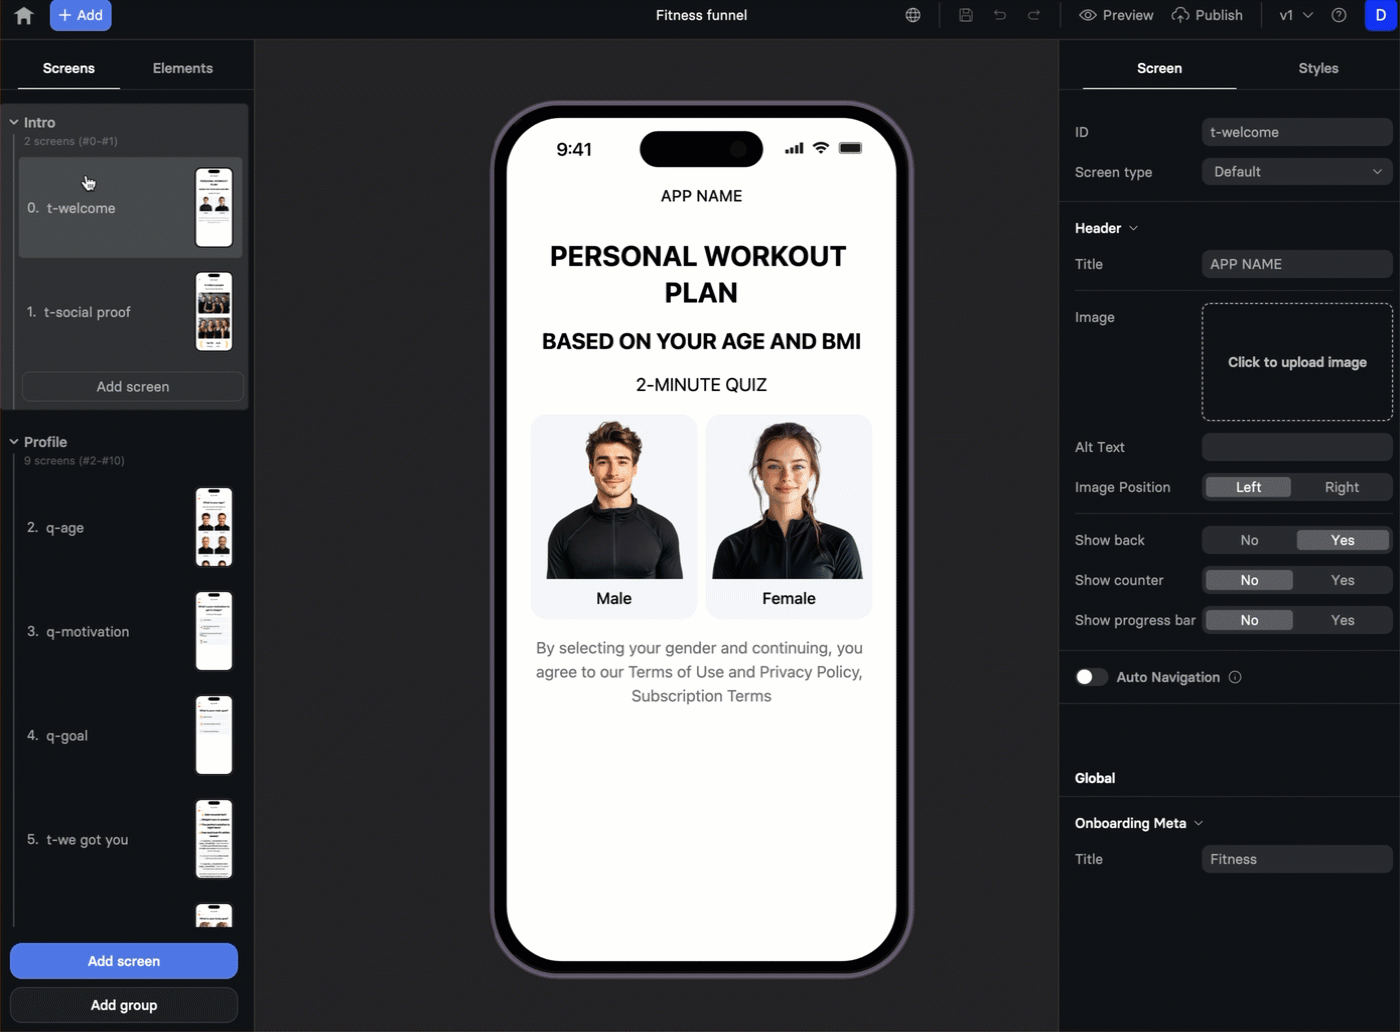
Onboarding screens
The onboarding flow consists of several screens that you add and design.
Users will tap the button to navigate between them.
If some of your users need a slightly different flow (for example, in your fitness app, you might want to show different ‘goal’ pictures based on the user’s gender), you don’t need to create separate onboardings.
Instead, you can make some screens hidden by default and displayed only for some scenarios.
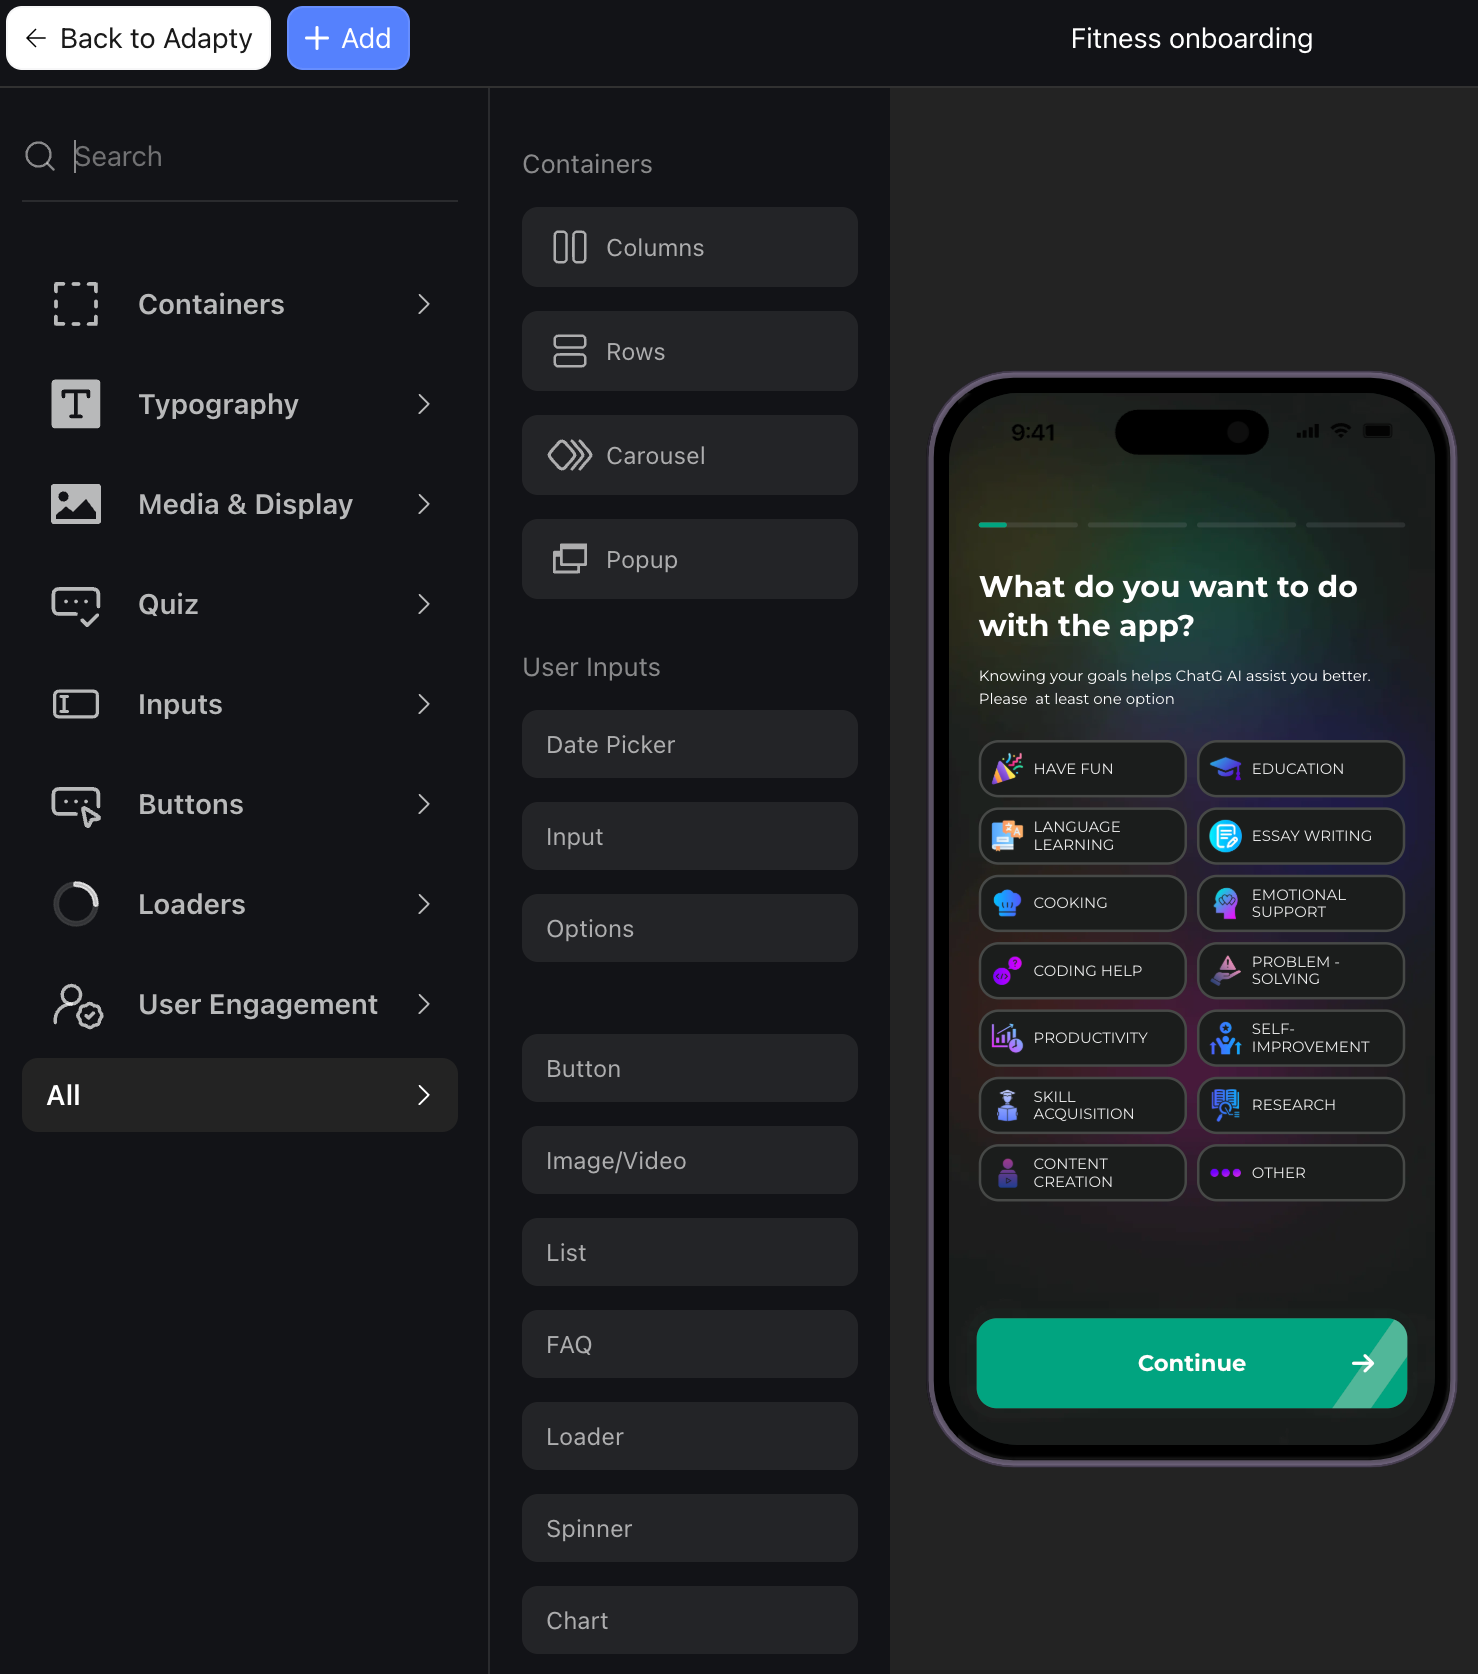
Onboarding elements
The onboarding elements are displayed on the left in the order they are displayed. Click Add at the top right to add a new element.
There are the following groups of elements you can add:
-
Containers: Containers allow you to set up a flexible layout. For example, if you want to add a two-column text, you need to add Columns and then drag two text blocks into Columns on the left pane. Or, if you are adding a carousel, you’ll need to add images to the Media elements inside.
-
Typography: Add pre-formatted text blocks and configure their look as needed.
-
Media & Display: Except for images and videos, you can add animated charts that demonstrate your app value and encourage users.
The supported video formats are MP4 and WebM. The maximum media file size is 15 MB.
If you want to add an unsupported animated element (like Lottie), you can convert it to a video (for example, with this tool) and embed it as a video.
-
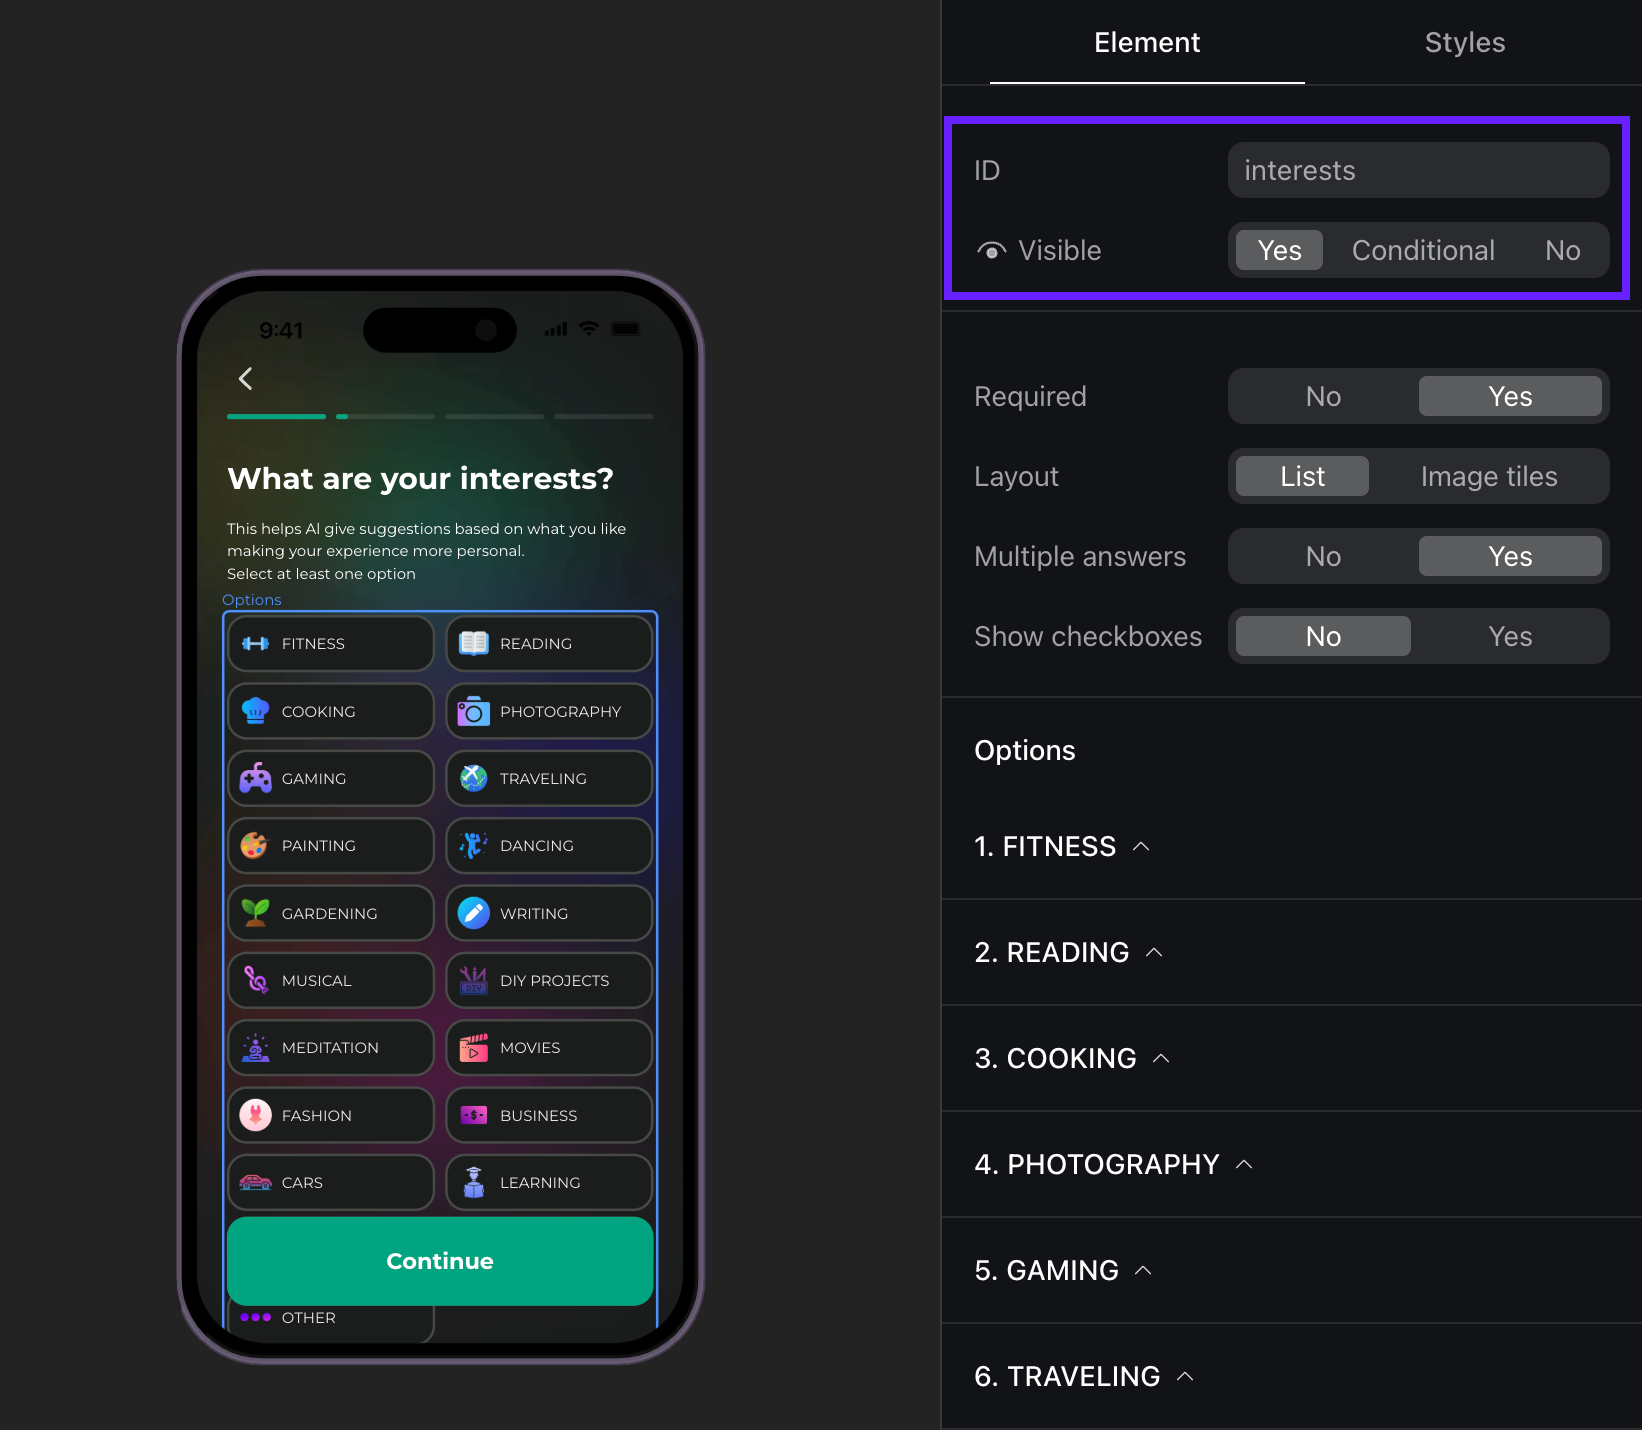
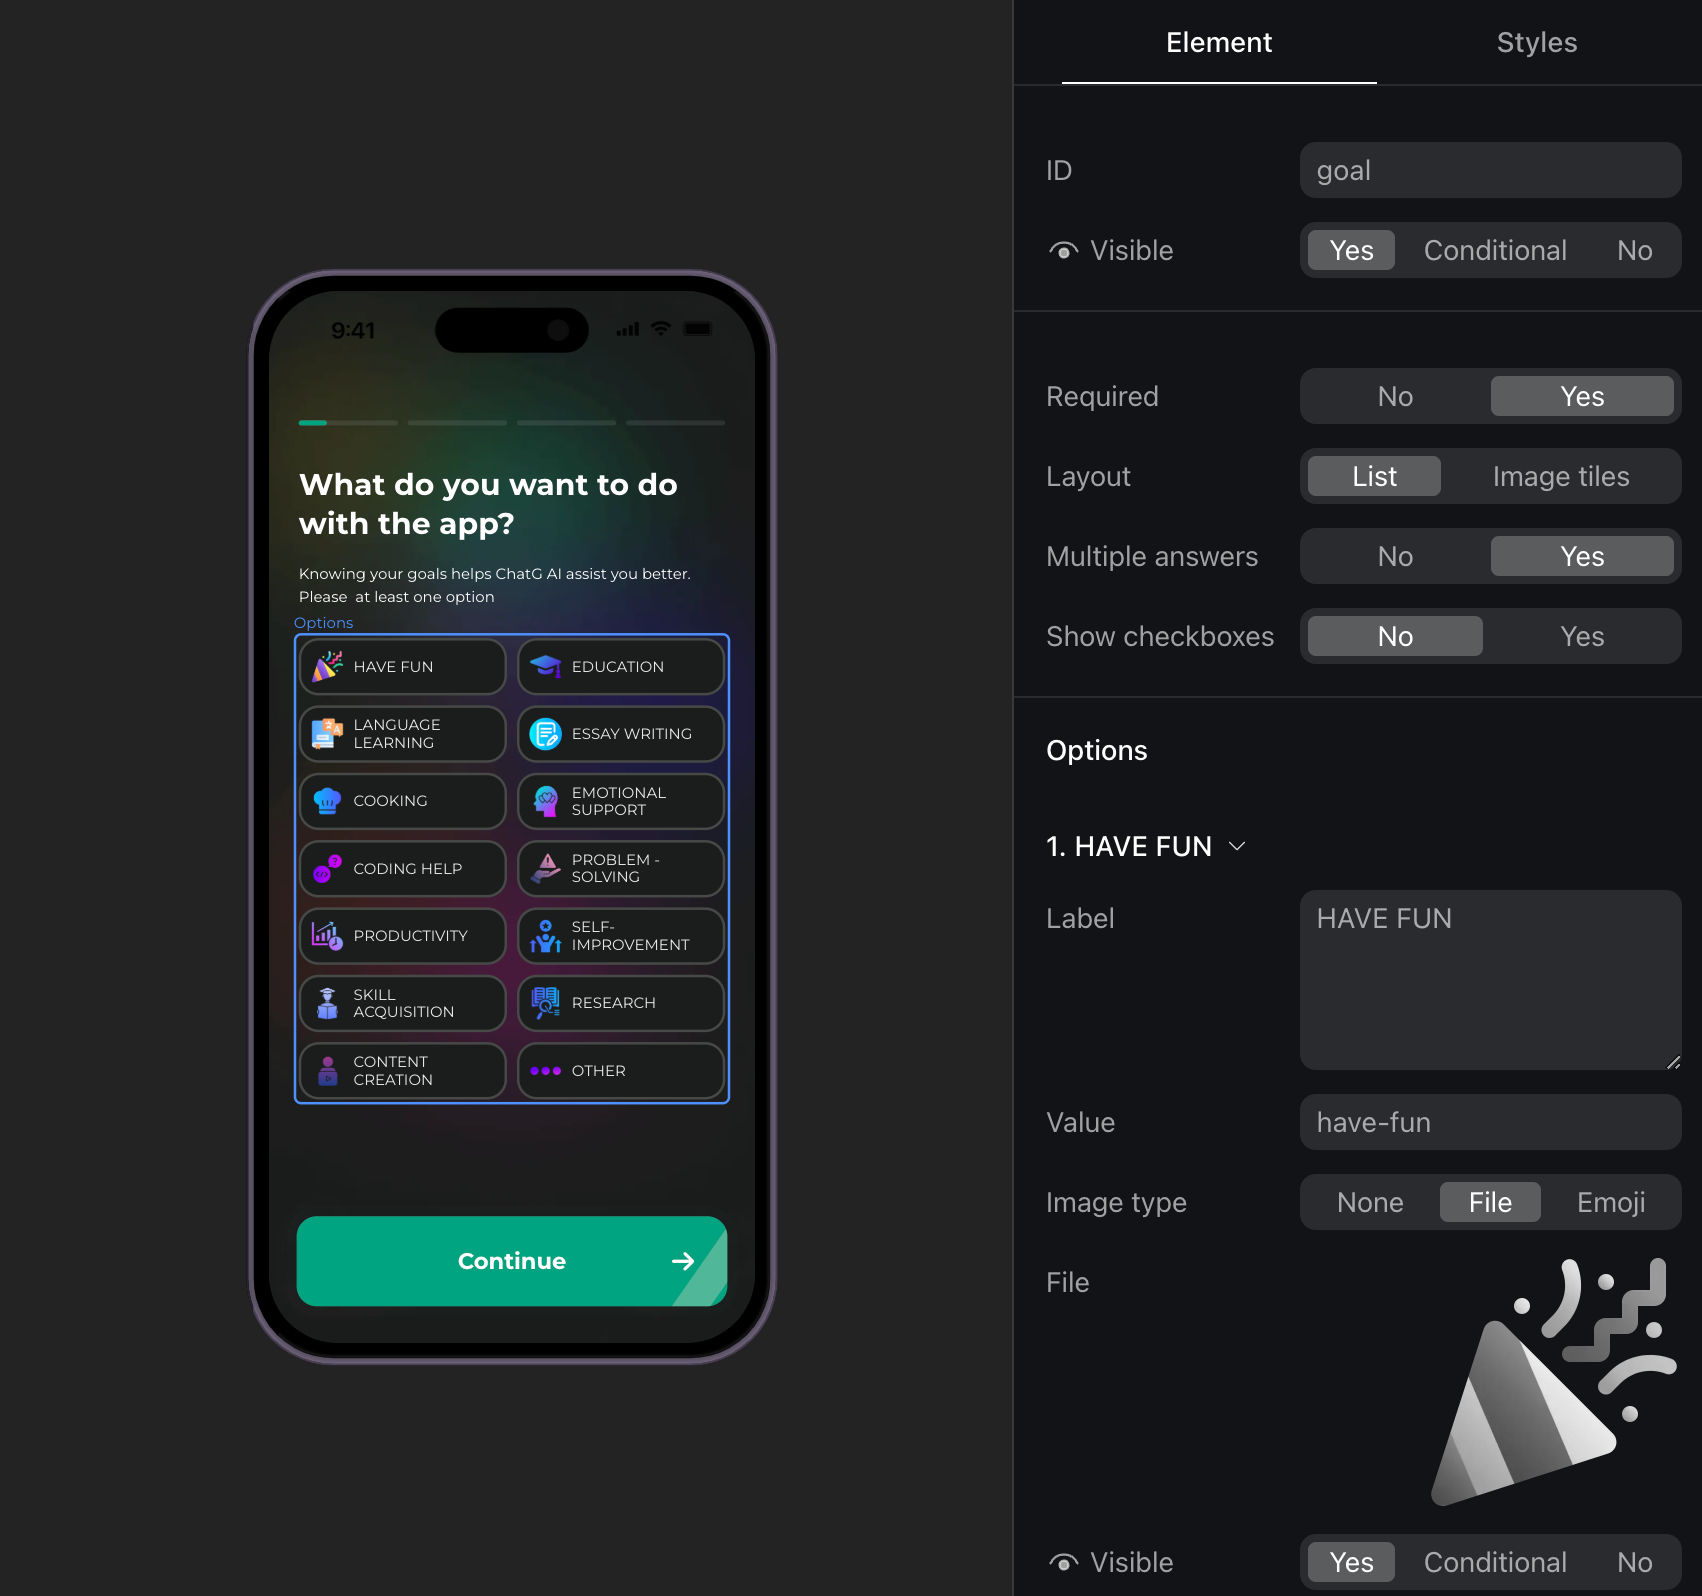
Quiz: Create short questionnaires with text and image options to customize the onboarding experience and get to know your users better.
-
Inputs: Collect your users’ data.
-
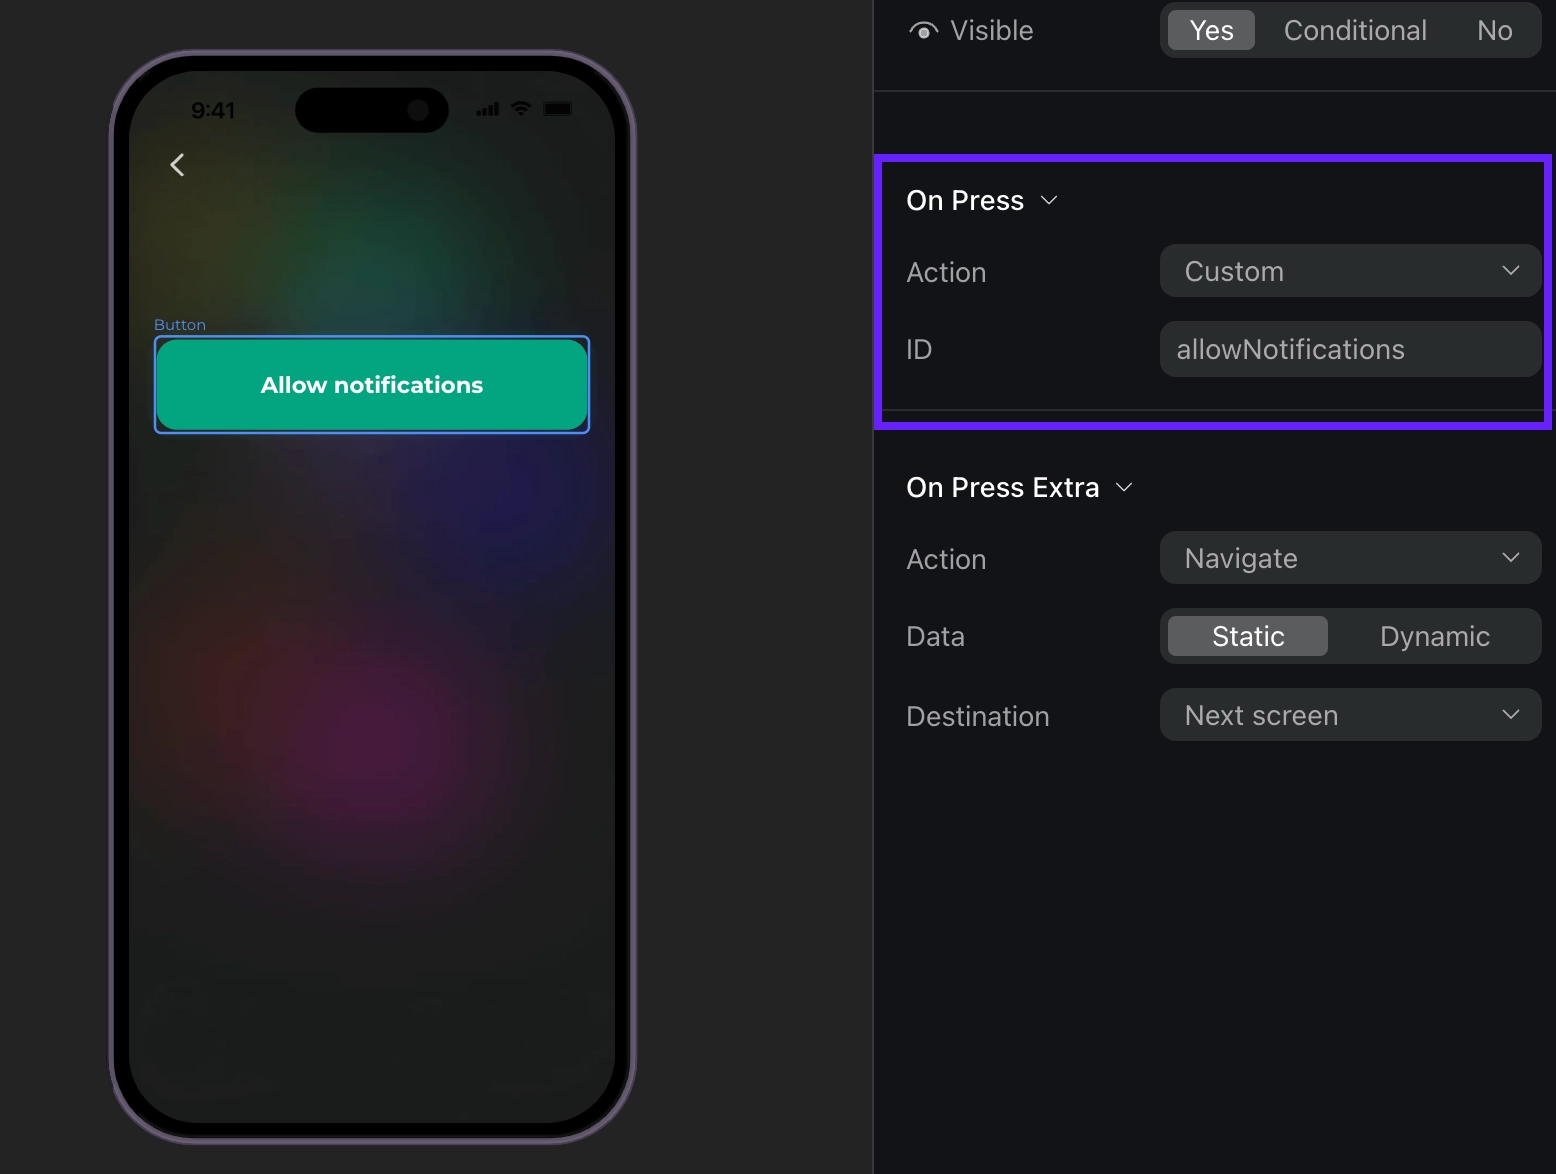
Buttons: Buttons let your users navigate between screens, close the onboarding or move to the paywall. You can also add glossy or moving buttons to attract user’s attention and convert their install to a purchase.
-
Loaders: Animated loaders keep users engaged during the process.
-
User engagement: Add testimonials, user email lists and countdowns.
As a part of the Media & Display group, you can also add custom HTML code if the provided customization options are not enough.
However, custom HTML elements are neither preloaded nor cached, so it is recommended to use Raw HTML only for small, lightweight elements.
Element ID and action ID
If you want to use a button for custom actions, assign it an action ID and then use it in your source code. Action IDs let you handle different buttons with the same action ID in the same way.
If you want to process user input in a specific field (e.g., save their age or email), assign it an element ID and then use it in your source code to associate questions with answers. Element IDs can be used only once in your onboarding.
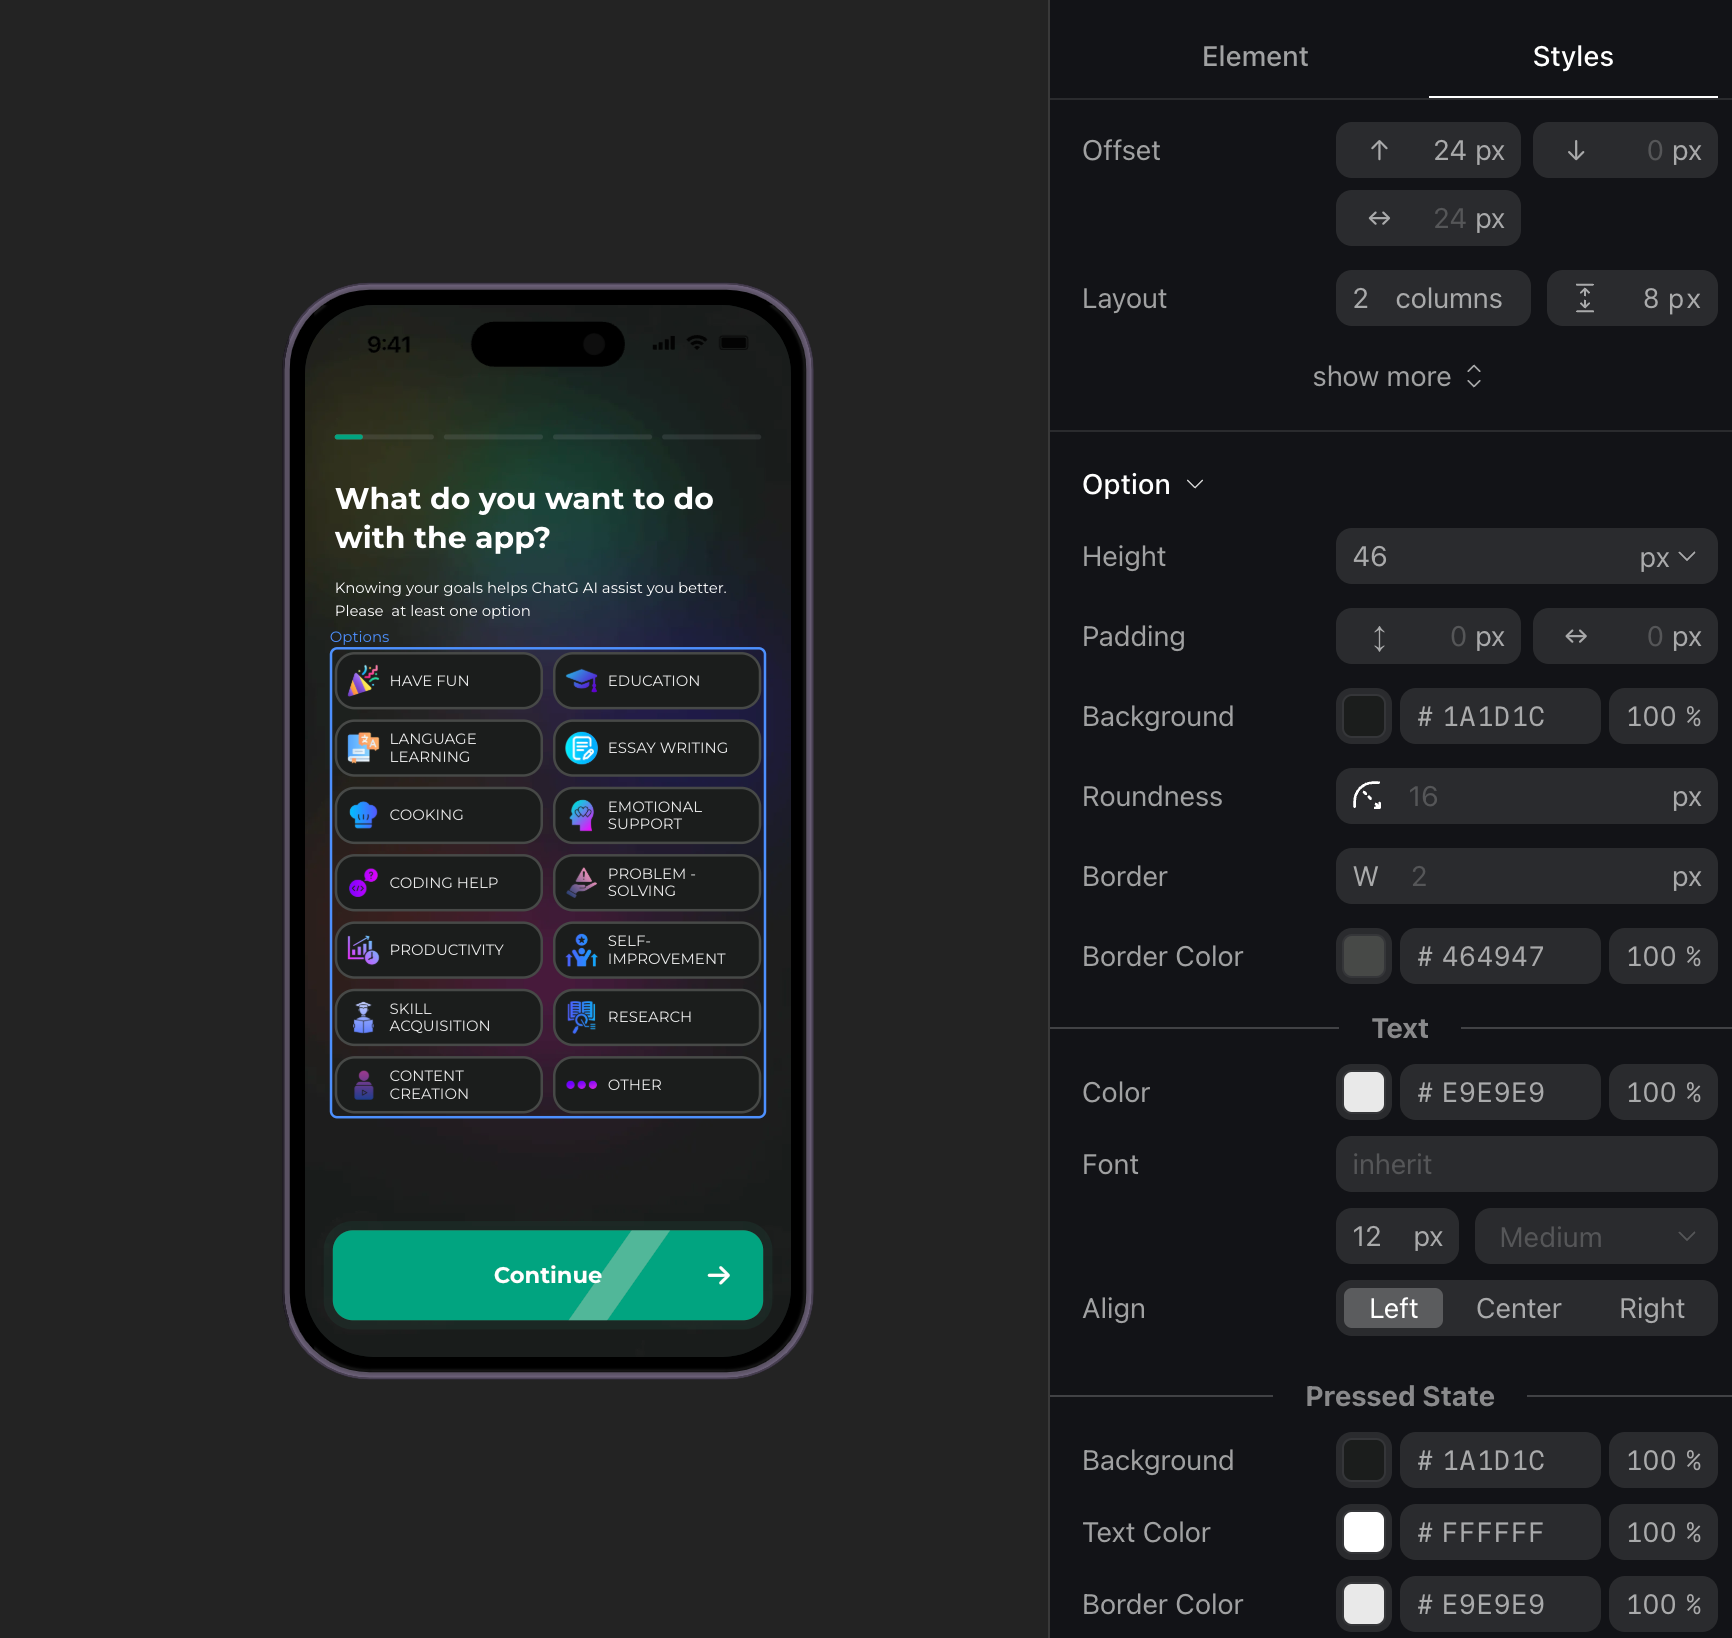
Customization options
You have the following customization options in the builder:
- Styles tab: Adjust the element’s look.
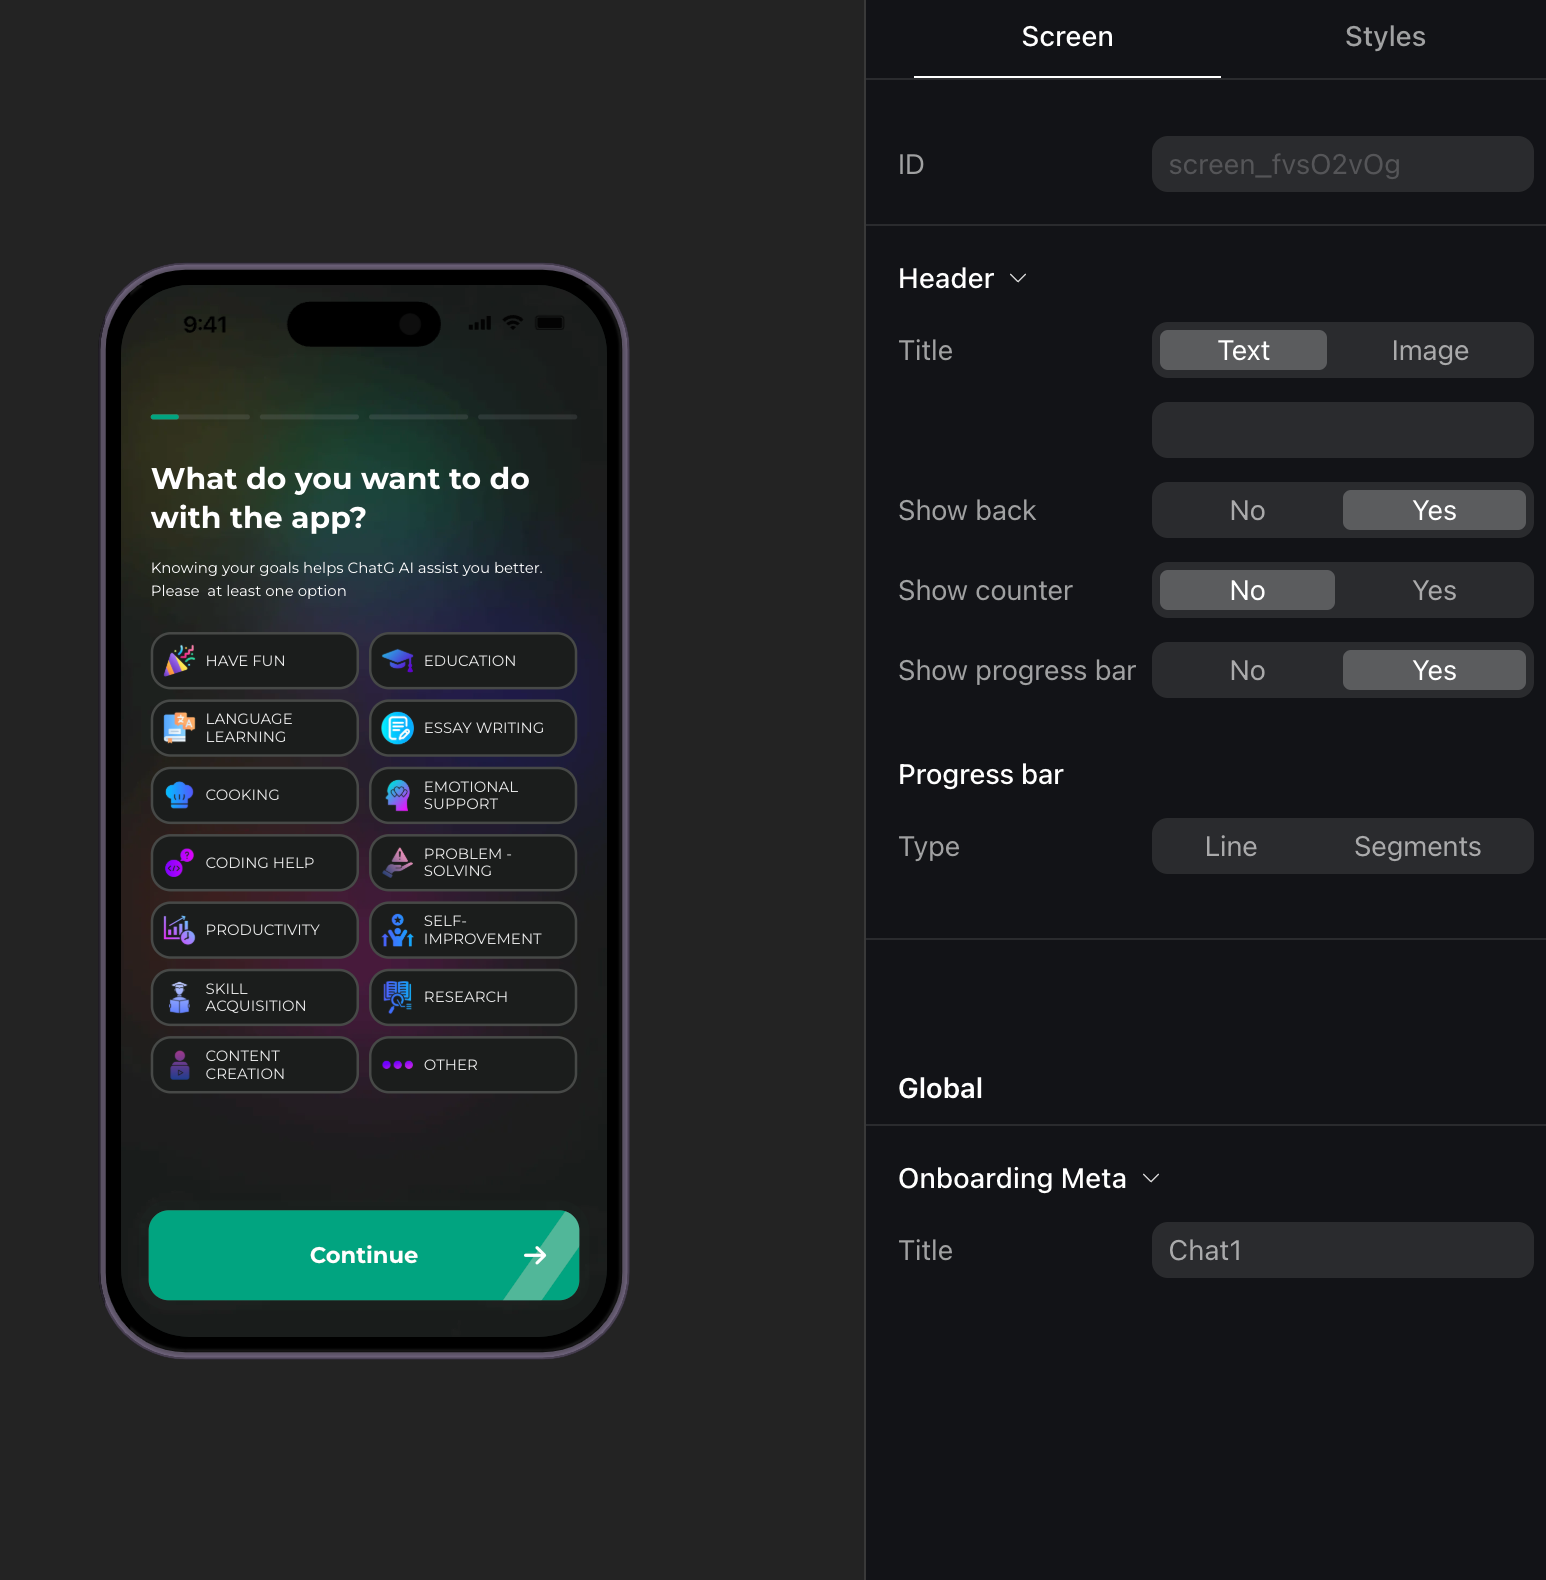
- Element tab: Set the element’s attributes, such as visibility, actions for pressing buttons or other properties unrelated to the element’s look.
- Screen tab: Set up the general screen configuration, such as a header or displaying a screen counter.
Copy screens and elements
If you’ve created an onboarding and want to reuse parts of it, or if you want to make slight changes and run A/B tests, you can copy one or more screens from one onboarding to another.
To copy screens, open the onboarding builder and either:
- Right-click a single screen and select Copy
- Select the desired screen and press
Ctrl+C(Windows) or⌘+C(Mac)
You can also copy individual elements or text blocks, either within the same onboarding or between different onboardings.
Copy screens from web-to-app funnels
If you use web-to-app funnels created in FunnelFox and want to use screens from funnels in onboardings, you can quickly do it by copying screens in the funnel builder and pasting them in the onboarding builder:
- In the FunnelFox funnel builder, right-click a screen and select Copy, or select the screen and press
Ctrl+C/⌘+C. - Open the onboarding builder.
- Right-click the screen where you want to insert the copied screen and select Paste, or select it and press
Ctrl+V/⌘+V. The copied screen will be inserted below the selected screen.