Add audience and flow, paywall, or A/B test to placement
Audiences in Adapty are groups of users defined by segments. They let you show flows, paywalls, onboardings, and A/B tests to the users who should see them. Build segments with filters to ensure each group gets the right content.
When you add an audience to a placement, you target flows, paywalls, onboardings, or A/B tests at a specific user group. Linking an audience to a placement makes sure the right users see the right content at the right moment in their app journey.
Open the placement where you want to add a flow, paywall, onboarding, or A/B test, or create a new one in the Placements menu.
To proceed, ensure that you created a flow, paywall, onboarding, or A/B test you want to run and an audience, you’d like to specify.
- In the Placements/ Your placement window, add a flow, paywall, onboarding, or A/B test to display for default All users audience. To do this, click either the Run flow, Run paywall, or Run A/B test button (the label depends on the placement type), then select the desired flow, paywall, onboarding, or A/B test from the dropdown list.
- If you want to use more than one audience in the placement to create personalized content tailored to different user groups, click the Add audience button and choose the desired user segment from the list.
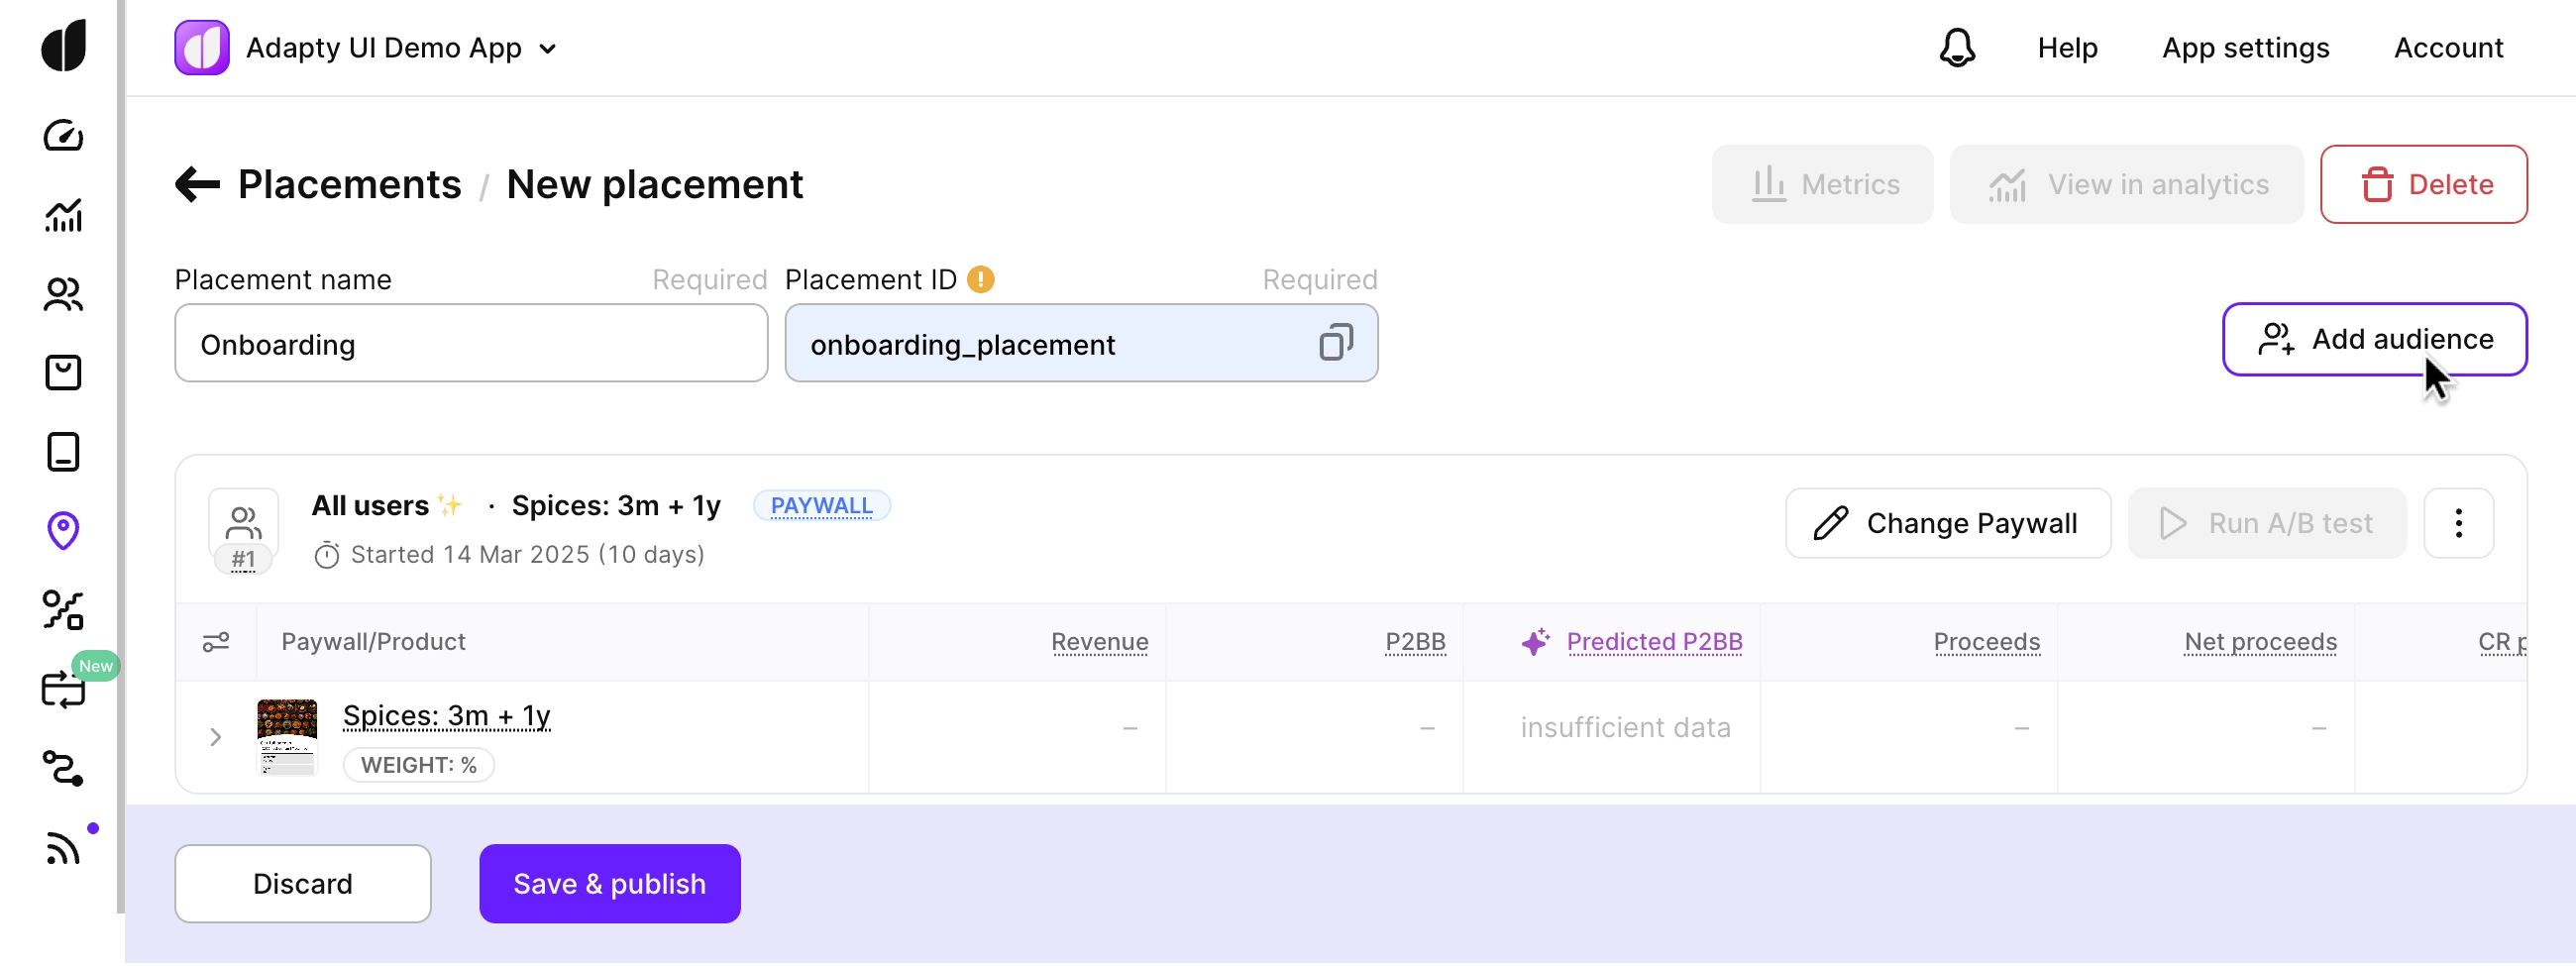
- Now add the flow, paywall, onboarding, or A/B test to show for this audience.
- Add as many audiences as you need.
- If you have more than one audience, check that the audiences have the correct priorities.
- Click the Save and publish button.