Search term automations in Adapty Ads Manager
Discovery and Search Match campaigns generate search term data. Turning that data into a structured keyword list requires downloading reports, filtering terms, and adding them to ad groups manually. Search term automations do this automatically: when a term meets your conditions, the rule acts on it based on the action you configure.
There are two action types for search term rules:
- Add as keyword: Promotes the term to an exact-match keyword in a target ad group, and optionally negates it at the source campaign to prevent duplicate spend.
- Add as negative keyword: Negates the term directly, without promoting it. Use this to filter out irrelevant or wasteful search terms from Discovery and Search Match campaigns.
The typical use case for Add as keyword: let Discovery or Search Match campaigns collect real user queries, then use a rule to detect terms above a performance threshold and push them into a Probing campaign as exact-match keywords — while negating them at the source. A Probing campaign is an Apple Search Ads campaign dedicated to testing promoted keywords at controlled bids.
The typical use case for Add as negative keyword: if a term appears frequently but never converts (for example, high impressions with zero taps), negate it automatically to stop wasting budget on it.
Create a search term automation rule
You can create search term automation rules from templates or manually from scratch.
Before creating a rule, make sure you have Discovery or Search Match campaigns actively running and collecting search term data. Exact match-only campaigns don’t generate search term reports, so the rule will have nothing to act on.
From a template
To create a rule from a template:
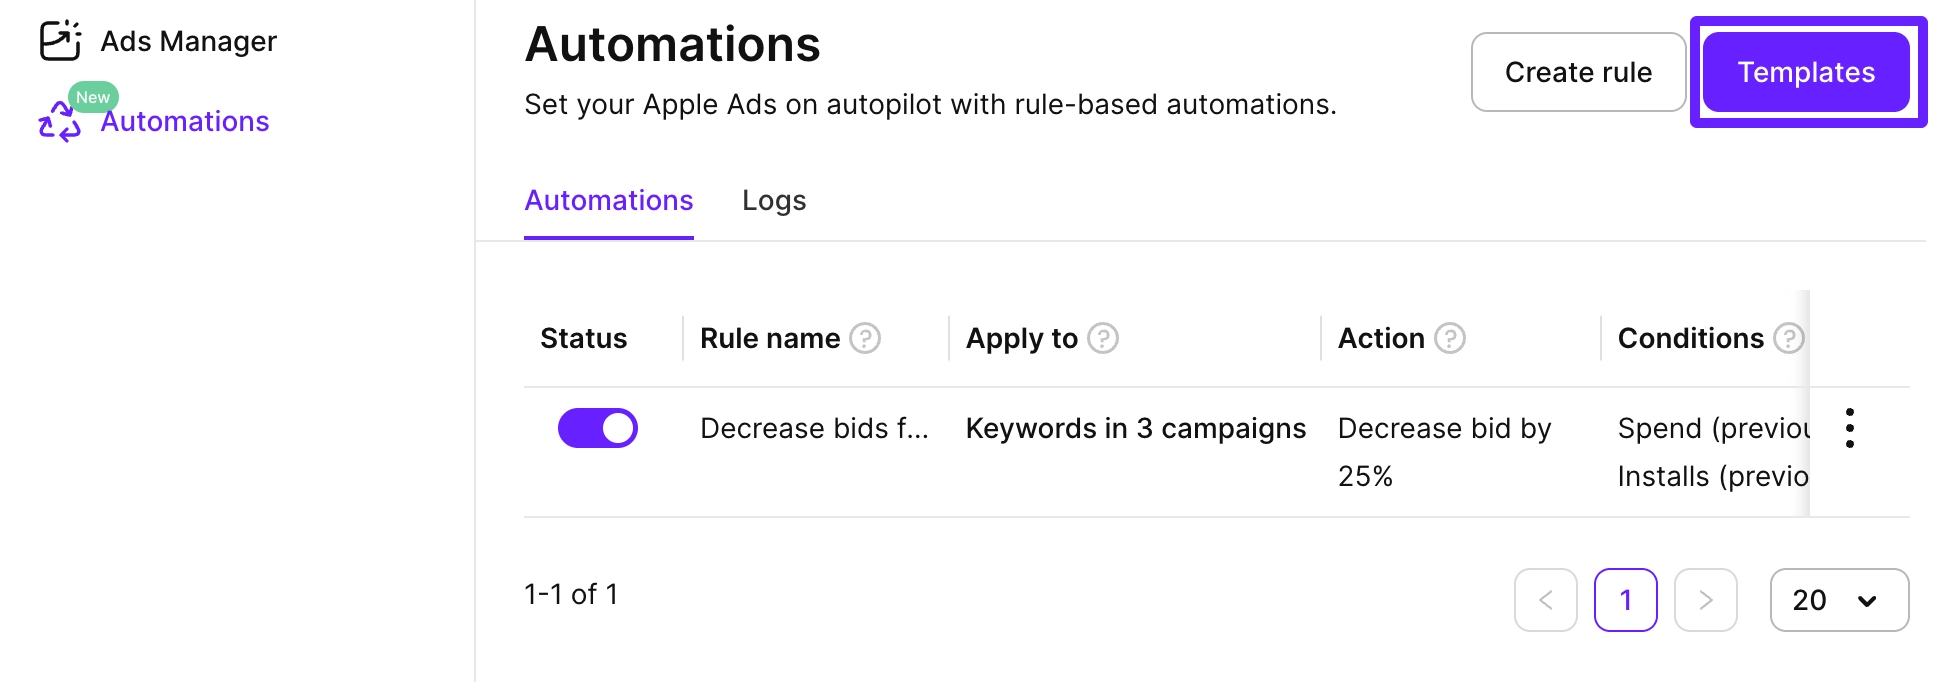
- In the left sidebar, go to Automations and click Templates.
- Choose a template and click Next.

- Review and adjust the pre-filled settings:
- Rule name: Automatically set to the template name and current date.
- Apply to: Select campaign groups, apps, campaigns, or ad groups where the rule should look for search terms.
- Conditions: Modify the pre-configured conditions if needed.
- Actions: Adjust target ad groups, CPT bid, and negative keyword scope if needed.
- Schedule: Set how often the rule should run.
- Click Save to activate the rule.
Manually
To create a custom search term automation rule from scratch:
-
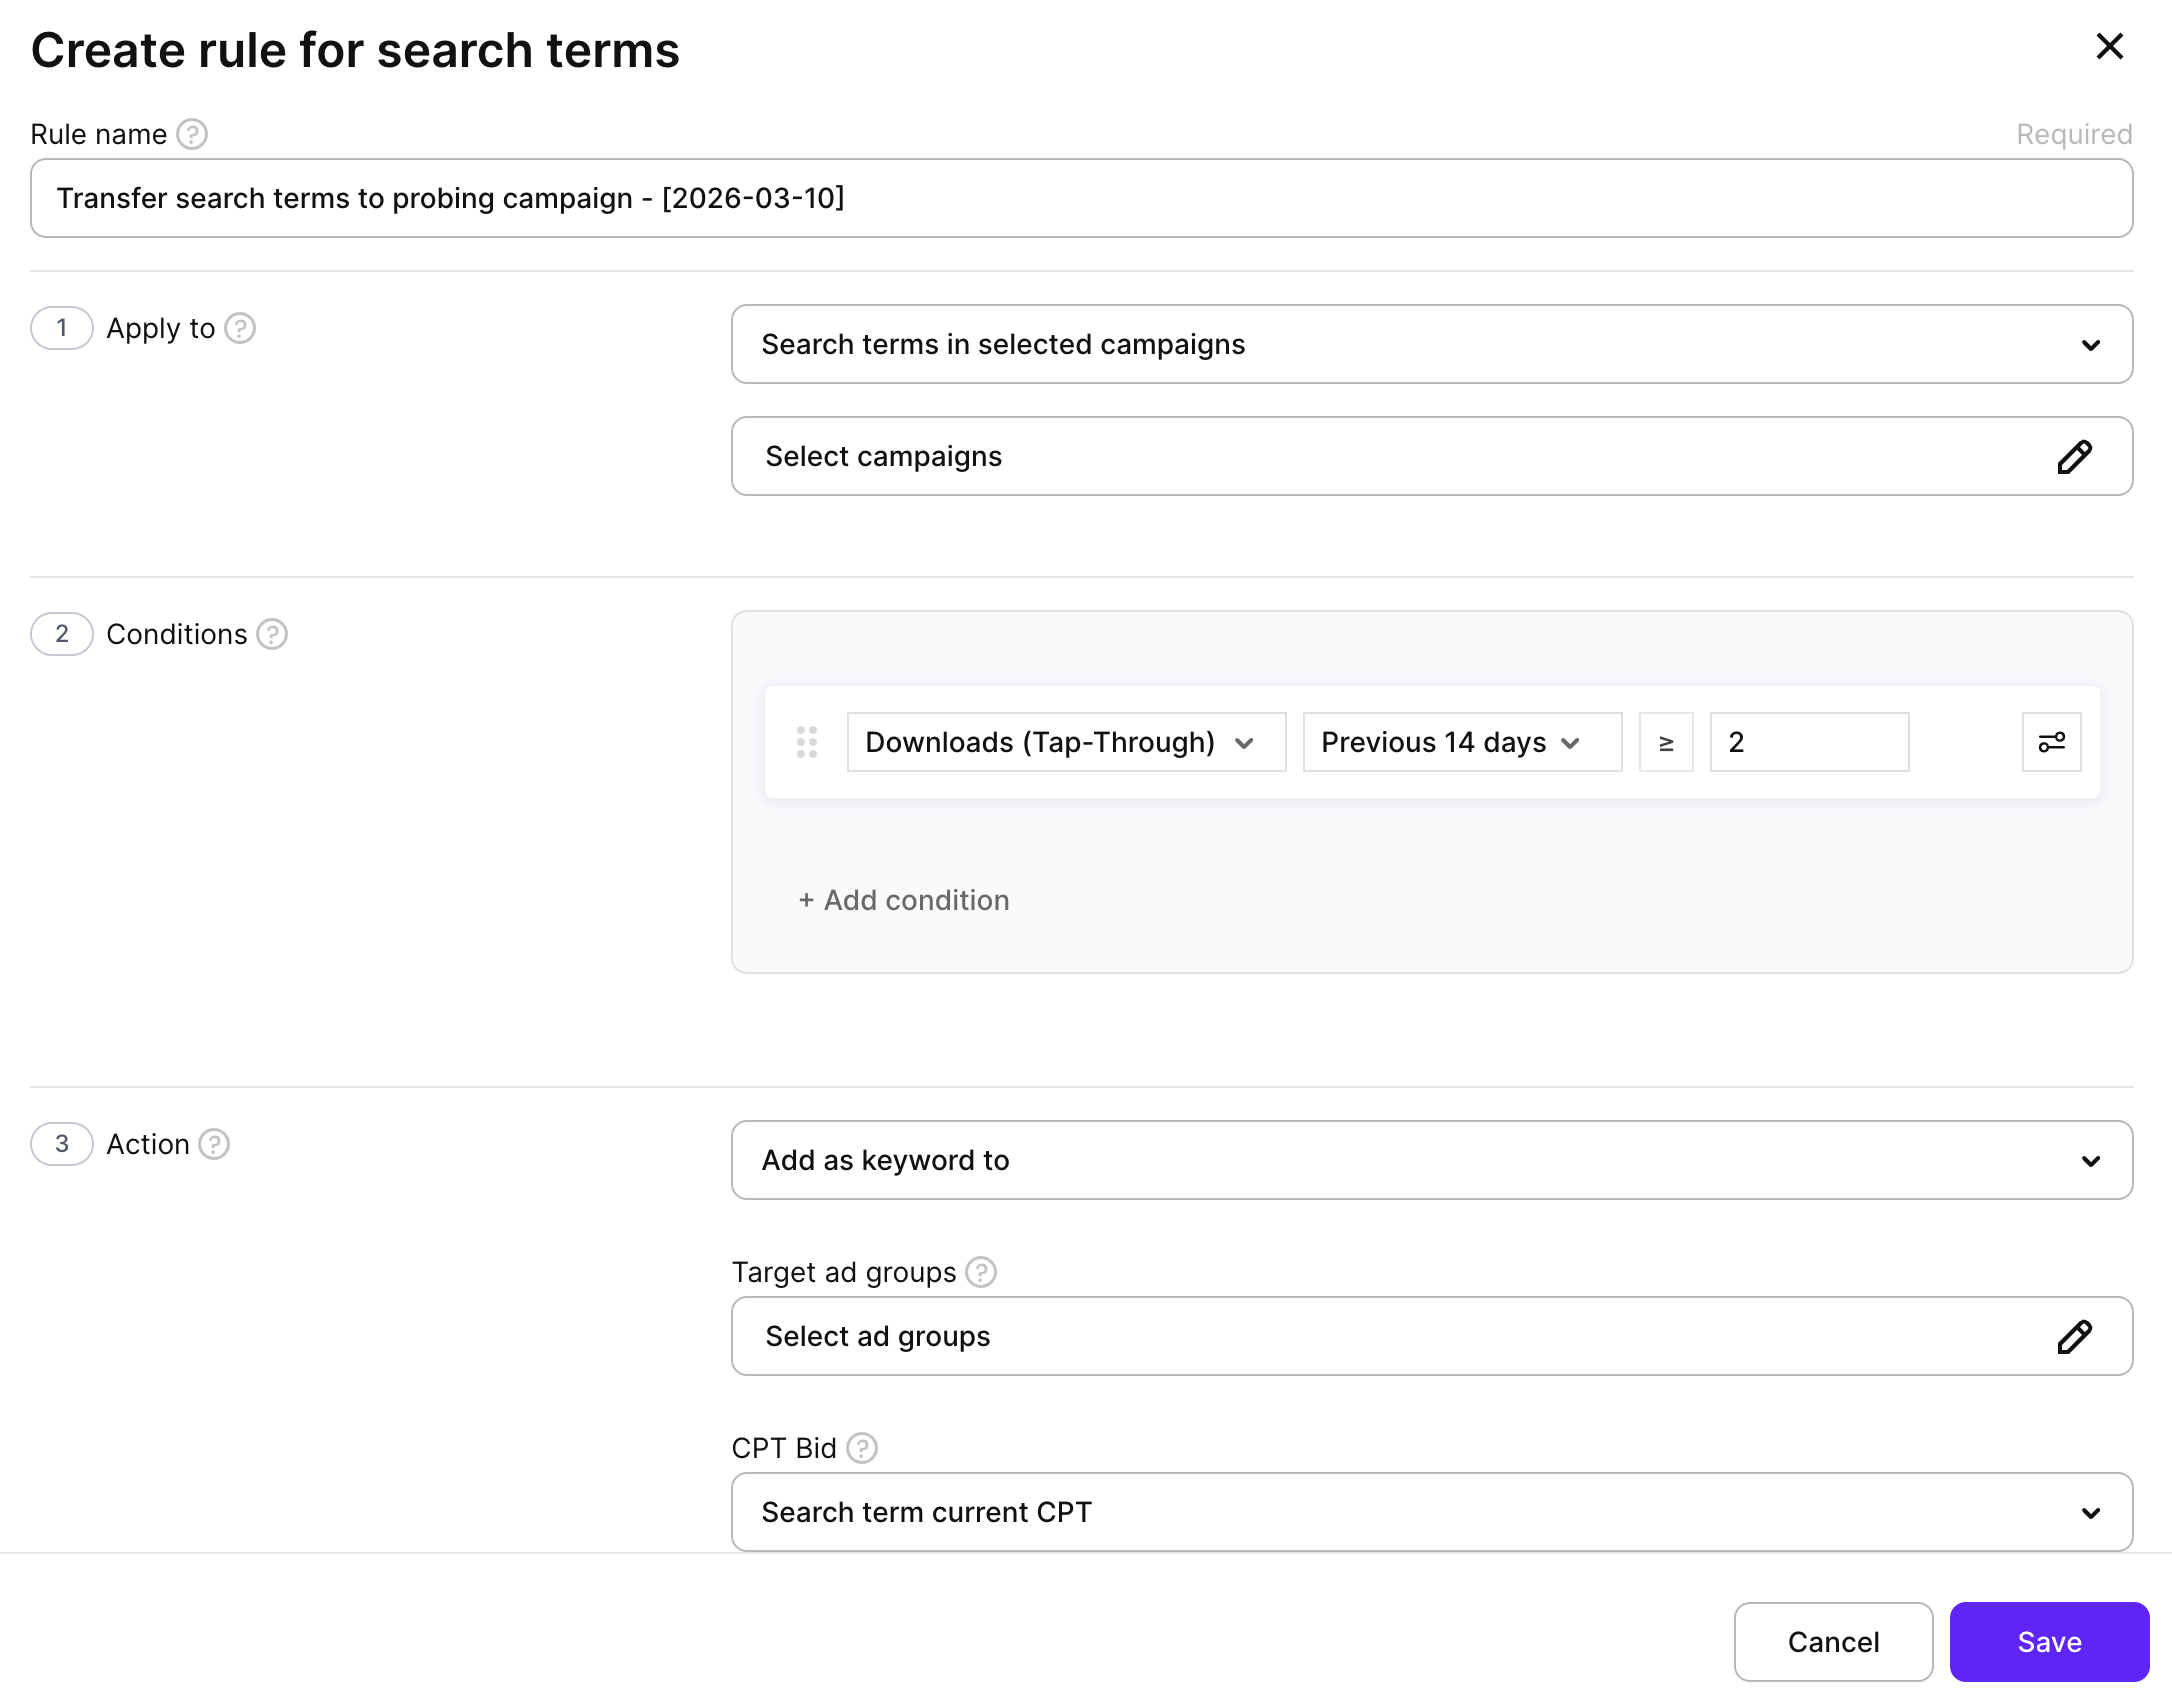
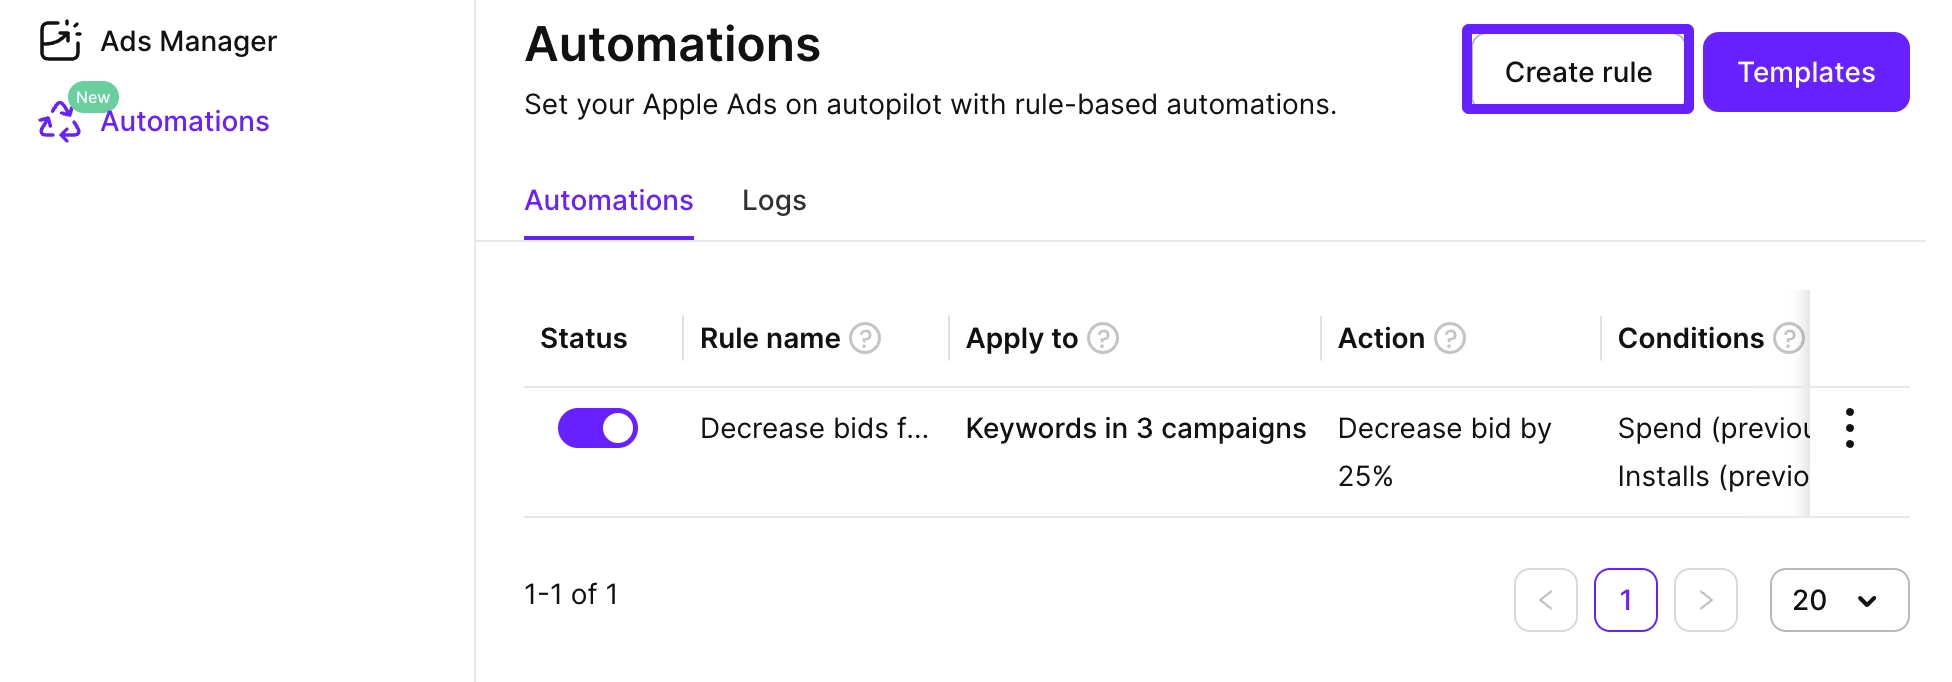
In the left sidebar, go to Automations, click Create rule, and select Search terms as the rule type.
-
Enter a descriptive Rule name to identify the rule’s purpose.
-
In the Apply to section, select campaign groups, apps, campaigns, or ad groups where the rule should look for search terms.
-
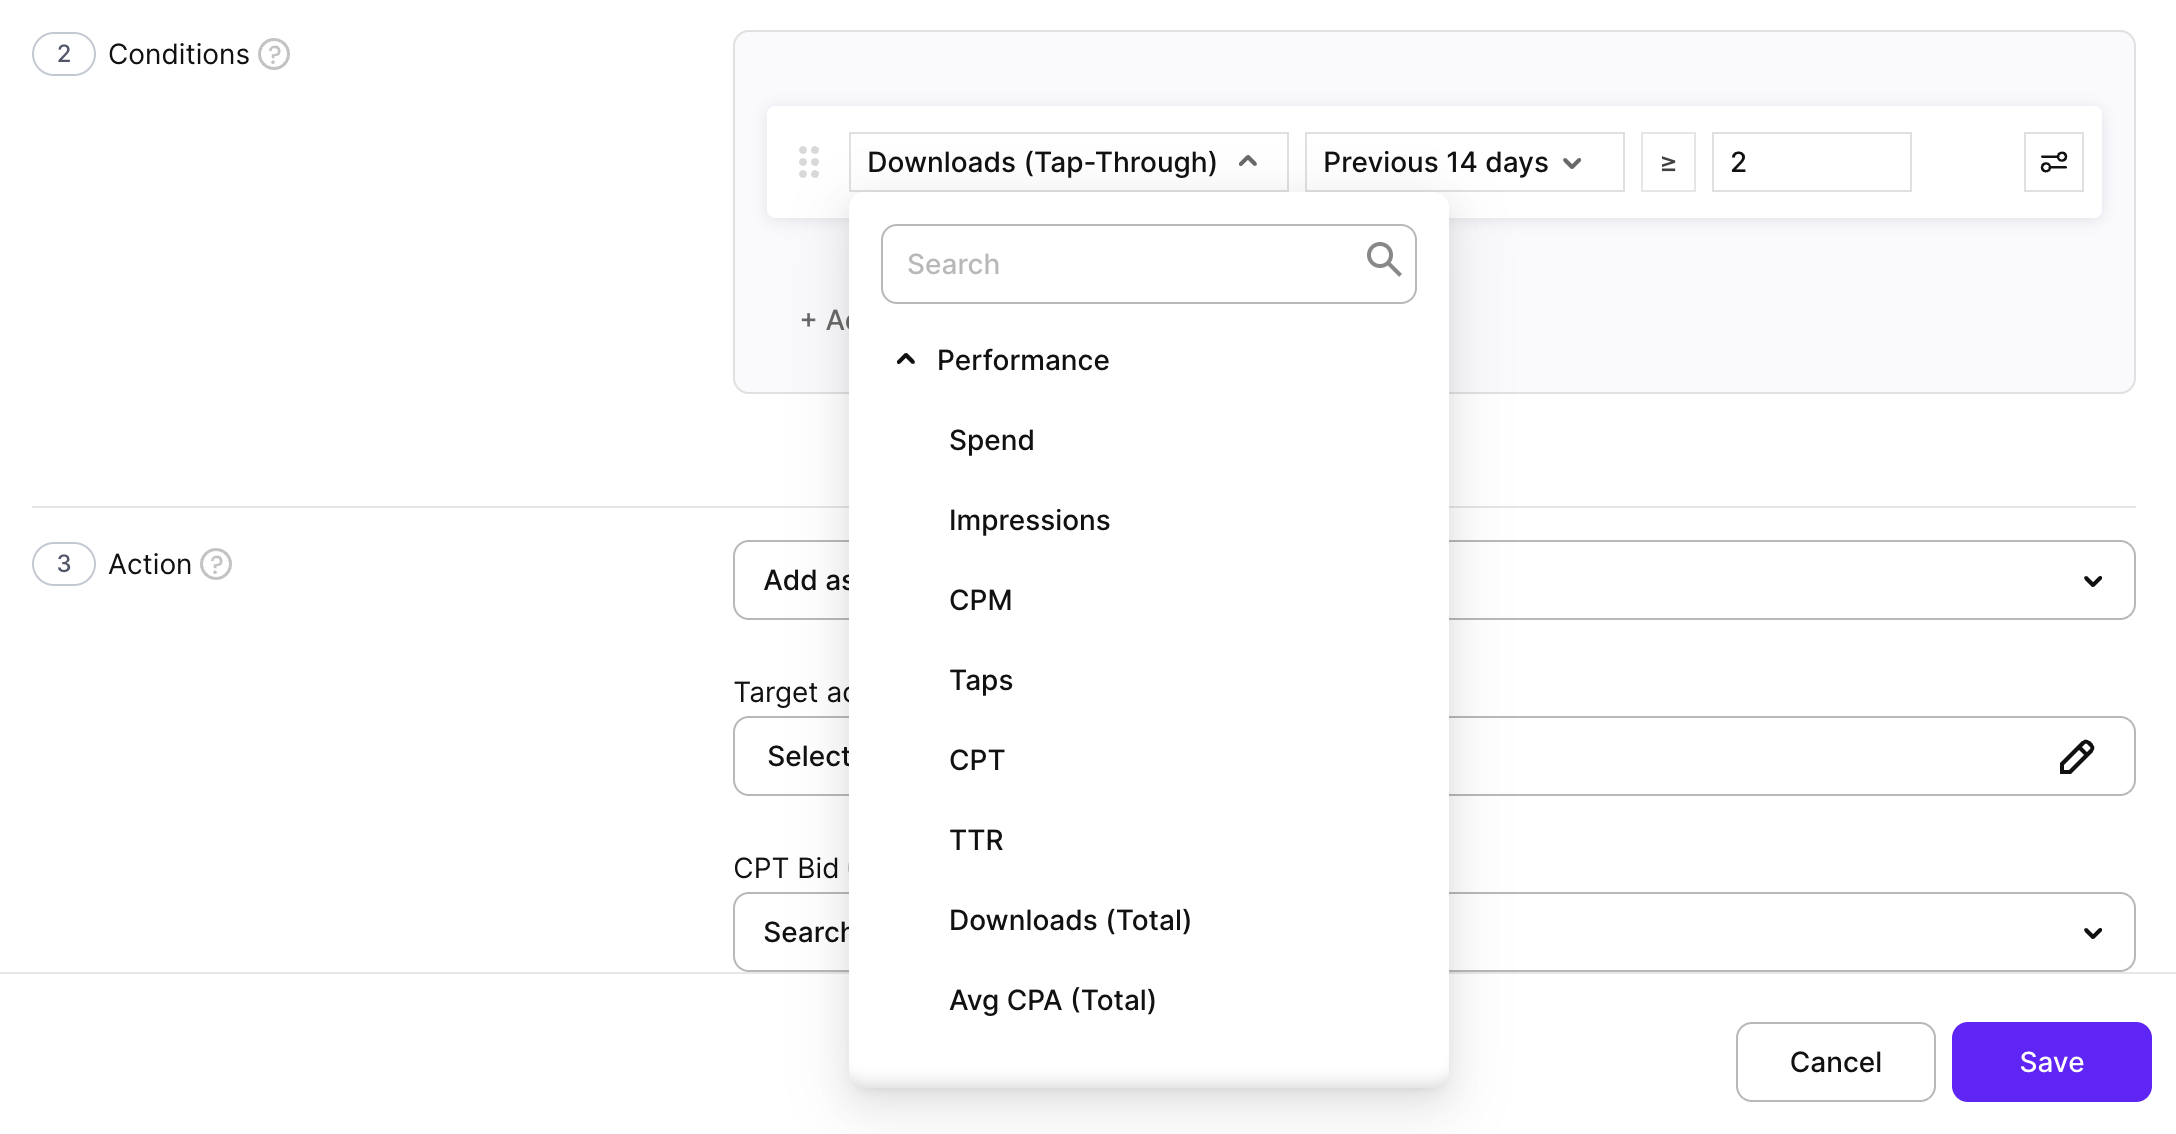
Click Add condition and select a metric from the list.
Metrics are calculated for the selected time range in your account currency. Data is updated near real-time, so rules always use fresh performance data.
-
Set the time period (for example, Previous 3 days or Previous 7 days), choose the comparison operator, and enter the threshold value.
-
To add more conditions, click Add condition and select an And or Or operator on the left.
-
In the Action section, select what happens when a search term meets the conditions:
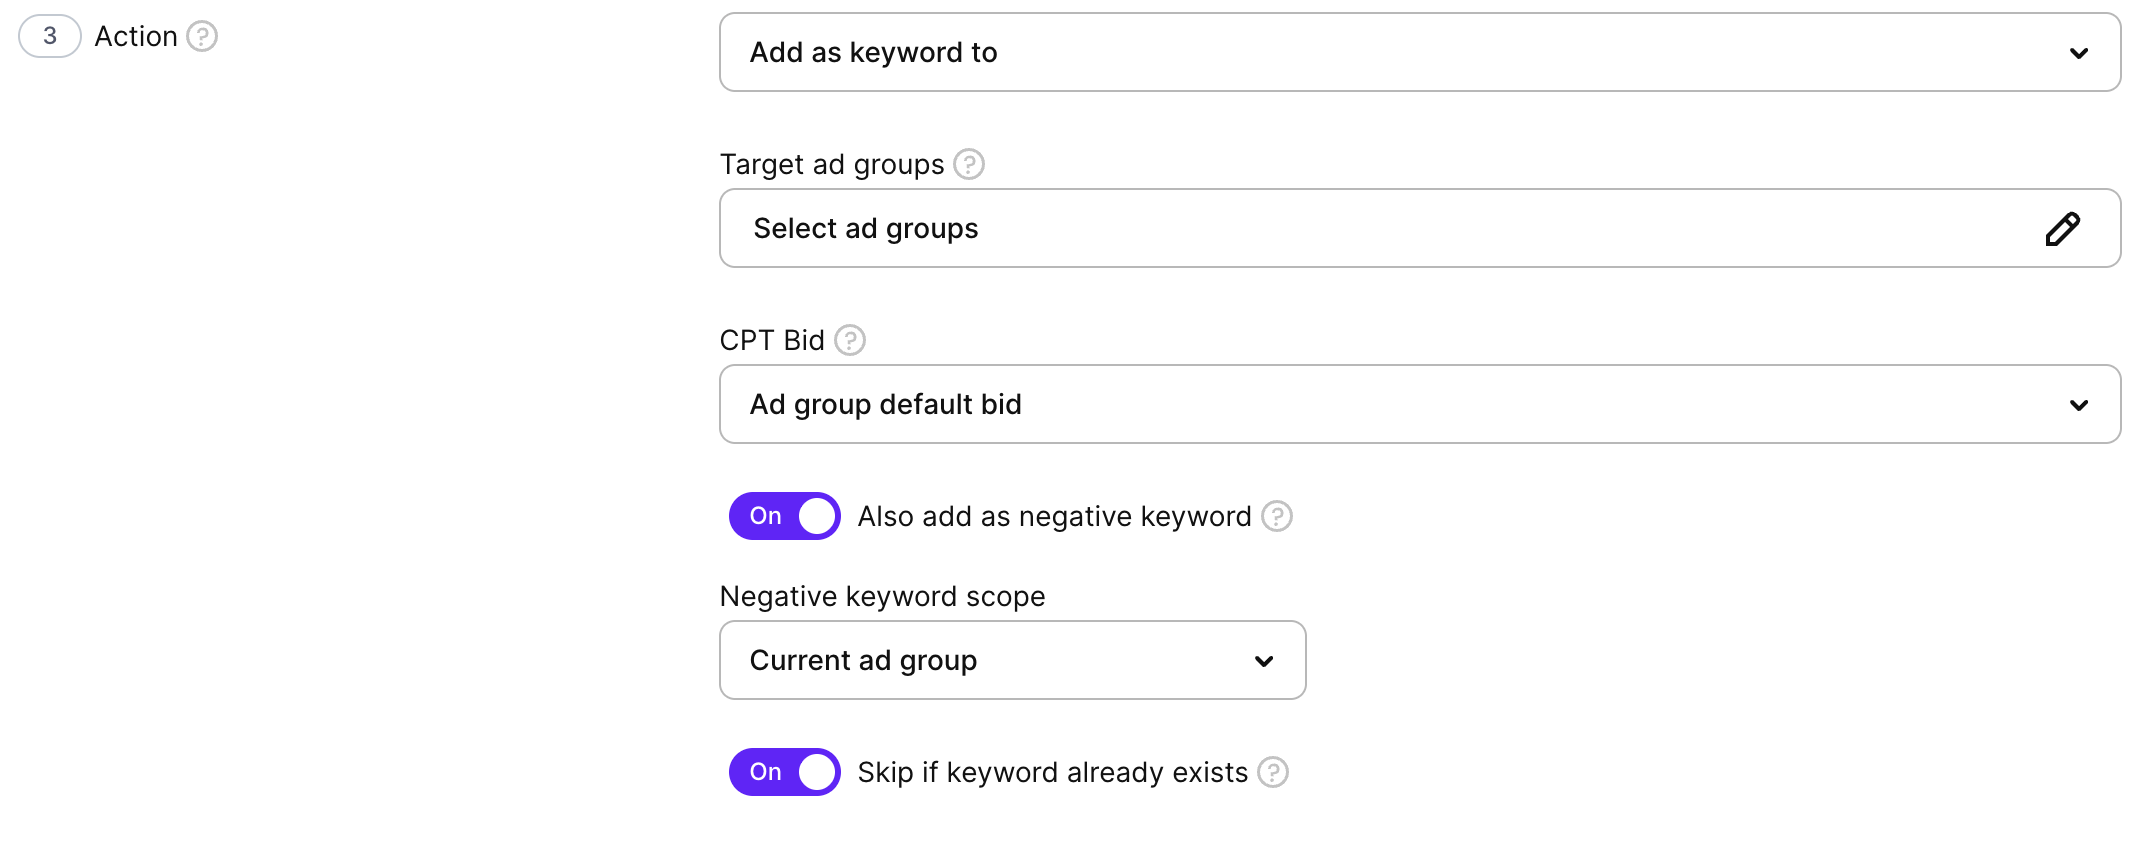
Add as keyword
Promotes matching search terms as exact-match keywords in a target ad group.
- Target ad groups: Select the ad groups that receive the promoted keywords. To build a discovery pipeline, select ad groups in a Probing or other structured campaign.
- CPT bid: Set the initial cost-per-tap bid for each promoted keyword. Options: ad group default bid, current CPT of the search term, or a specific value.
- Skip if keyword already exists: When enabled, skips terms already present in the target ad group.
- Add as negative: Adds the same terms as negative keywords to prevent paying for the same traffic twice.
- Scope: Select the ad groups where the negative keywords are added.
Enable Add as negative in the same rule — promote the term to a structured campaign and negate it at source in one step. This keeps your Discovery campaigns clean and builds your keyword funnel automatically.
Add as negative keyword
Negates the matching search term without promoting it.
- Scope: Select the ad groups or campaigns where the negative keyword is added.
- Match type: Select Exact or Broad.
Use this action to negate irrelevant or low-quality search terms from Discovery and Max Conversion campaigns. For example: if a term has 50+ impressions and 0 taps, negate it automatically.
-
In the Schedule section:
- Choose the frequency: Every day, Every 2 days, Every week, and so on.
- Select the run time (all times are in UTC).
Rules run at the scheduled time in UTC. Execution usually finishes within a few minutes, after which you can see changes in Logs and in the main dashboard.

-
Click Save to create the rule.
After the rule runs, go to Automations → Logs and open the entry for your rule. A successful run lists each evaluated search term with its source campaign, target ad group, action result, and negation result. If no terms appear, the conditions were not met — review your threshold or extend the lookback window.
Best practices
- Use Discovery or Search Match campaigns as your source: These campaign types collect real user queries, giving your rules a large pool of search terms to evaluate.
- Match your threshold to your lookback window: Two or more downloads over 7 days is a reasonable starting point. A longer window (14–30 days) lowers the effective bar — terms can pass with infrequent conversions. For high-volume apps, shorten the window and raise the threshold.
- Always negate at source when you promote: If you add a term as a keyword in a Probing campaign but don’t negate it in Discovery, both campaigns compete for the same query. Enable Add as negative in the same rule.
- Choose target ad groups deliberately: Route promoted terms into a specific Probing ad group rather than a broad campaign. This keeps your keyword structure clean and makes performance analysis easier.
- Review logs after each run: Check the Logs tab to confirm which terms were promoted and where. Early on, run the rule manually after setup to validate it behaves as expected. See Automations for how to read logs.
- Give promoted keywords time before keyword rules act on them: If you use keyword rules in the same campaigns, exclude newly promoted keywords or wait a day or two before the rules run on them. A keyword rule may fire on a fresh term with no performance history and cut its bid before it converts.
- Use Add as negative keyword for impression-heavy, zero-tap terms: Discovery and Max Conversion campaigns often surface irrelevant search terms. A rule with “Impressions > 50 AND Taps = 0” catches these automatically and negates them before they accumulate more wasted impressions.
Export search terms
To export the search terms table as a CSV, click the download icon above the table and select Export current page or Export all pages.
Export all pages downloads all search terms across all pages in a single file. A progress modal tracks the download; you can cancel it at any time.
The table is exported as it appears on your dashboard, with the columns you have selected to display.
