
Create a campaign in Adapty Mail
Adapty Mail generates a full email sequence — copy, design, hero images, and subject lines — from your app’s store metadata. No copywriting or design work required. The send schedule comes from the campaign’s purpose rather than the AI, and every delay stays editable. The campaign saves as a draft, and an Adapty Mail flow is what starts it delivering.
The steps below create a marketing campaign. The Transactional tab on the Campaigns page holds service messages: the confirmation campaign (double opt-in), as well as app activation and cancellation page campaigns.
Before you start
To generate and save a campaign, set these up first:
- Brand profile: Copy, tone, and visuals all come from it. Until one exists, Generate emails stays disabled. Brand covers how to build one.
- Company address: Anti-spam laws require a postal address in every marketing email, so Adapty Mail blocks generation until you add one under Settings > Company.
- Web paywall: Every marketing campaign links to one, and Adapty Mail won’t save a campaign without it. Email destinations covers the three destination types and how to create one.
1. Generate the sequence
-
In Adapty Mail, go to Campaigns and click Create.
-
In the New marketing campaign dialog, select the moment of the customer lifecycle the campaign is written for, then click Continue. The five purposes are the marketing flow triggers: Never purchased, Renewal cancelled, Expired, Billing issue, and Refunded.
-
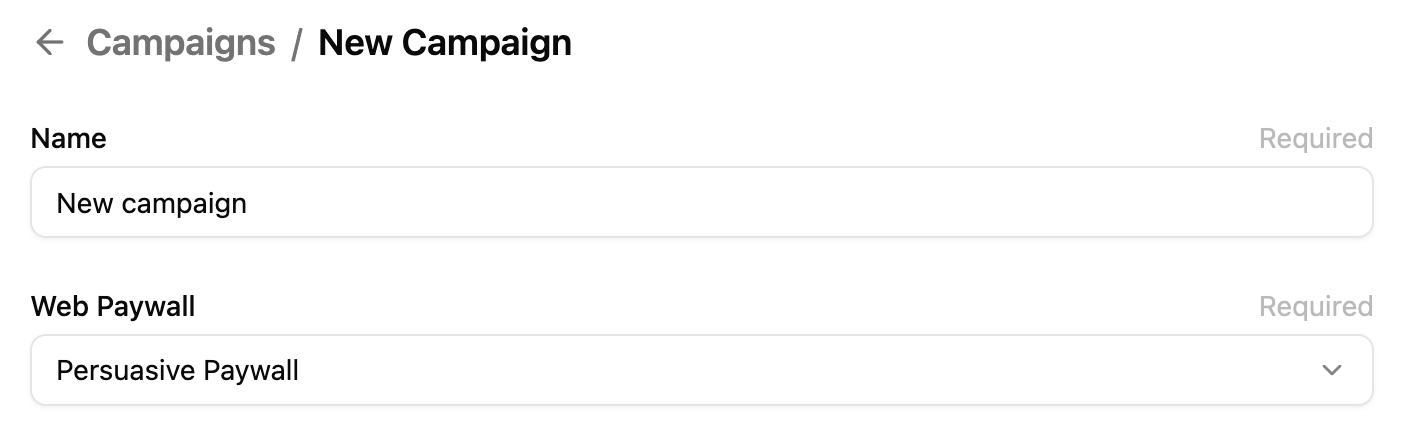
Set the campaign name.
-
In the Email Destination (Web Paywall) dropdown, select the web paywall you want emails to link to.
-
Click Generate emails.
-
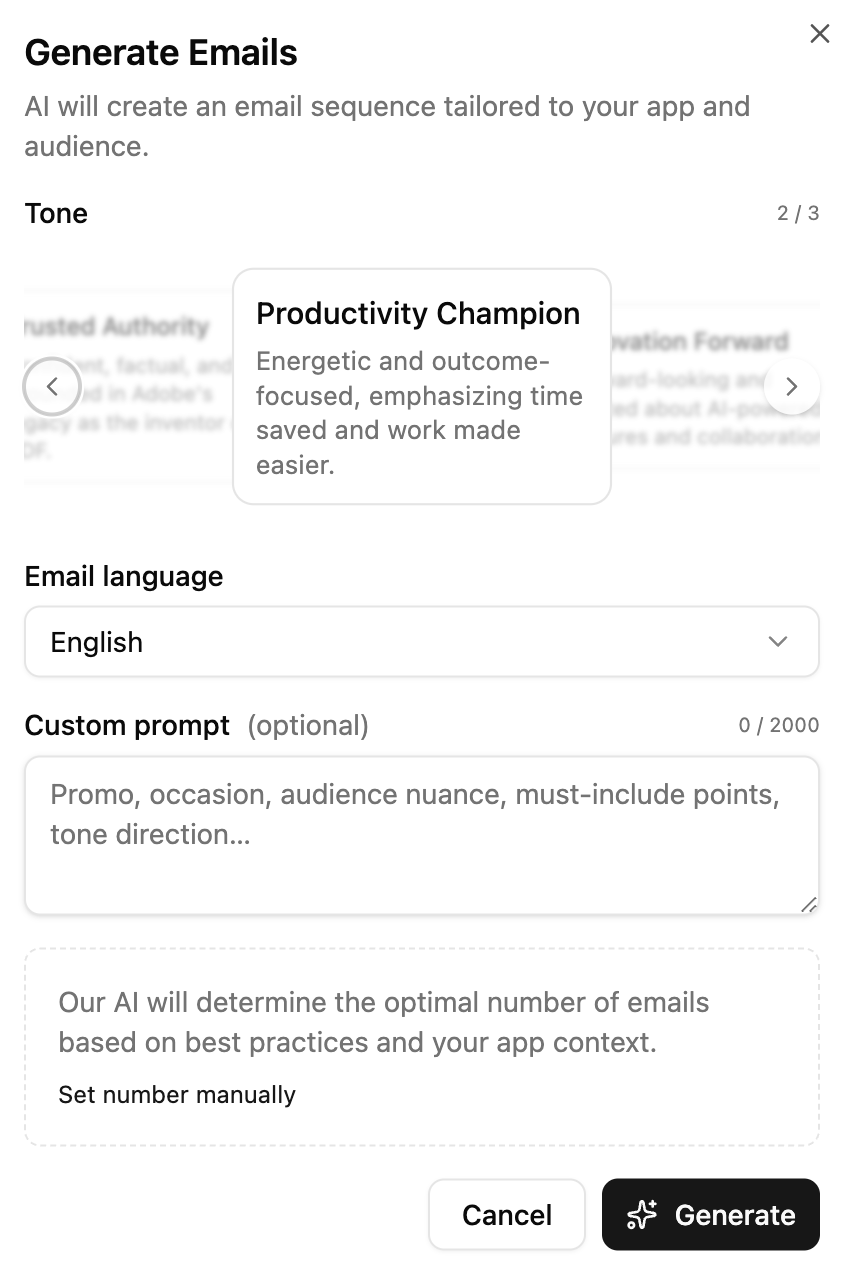
Fill out the generation dialog:
- Tone: Pick from the list. Options are generated specifically for your app’s category — a different app sees different options. Your choice shapes subject lines, headlines, body copy, and CTAs across every email; it doesn’t affect layout or hero images.
- Custom prompt (optional): Free-form instructions up to 2,000 characters. Use it to call out a promo, an occasion, audience nuance, must-include points, or extra tone direction the presets can’t capture.
- Number of emails: By default, the AI picks the count based on best practices and your app context. To set it yourself, click Set number manually and pick a value (1–15, default 4).
The tone isn’t fixed. To try a different one, reopen the campaign and generate again. If the campaign has translations, Adapty Mail removes them when you save the new sequence. The trigger you picked at the start is the one thing you can’t change.
-
Click Generate. Generation usually takes a few minutes. It stops after five minutes if it can’t finish — retry if that happens.
The purpose decides more than the copy. Adapty Mail sets the gaps between the emails from a schedule written for that moment — a Never purchased sequence is front-loaded over a week, while a Billing issue sequence lands on the store’s retry days. It also decides where the campaign can go live: a flow offers only the campaigns written for its own trigger.
2. Review and refine
After generation, the full sequence is shown in a preview. For every email you can see:
- Subject line: One per email. The sequence is planned as a whole, so consecutive emails employ different approaches to the same user. To compare the performance of different subject lines against one another, write a second campaign and compare the two in an A/B test.
- Headline, body copy, and CTA: The main content block.
- Hero image: A generated image matched to the email’s content and your brand.
- Layout and delay: How the email is arranged, and how long after the previous email it sends.
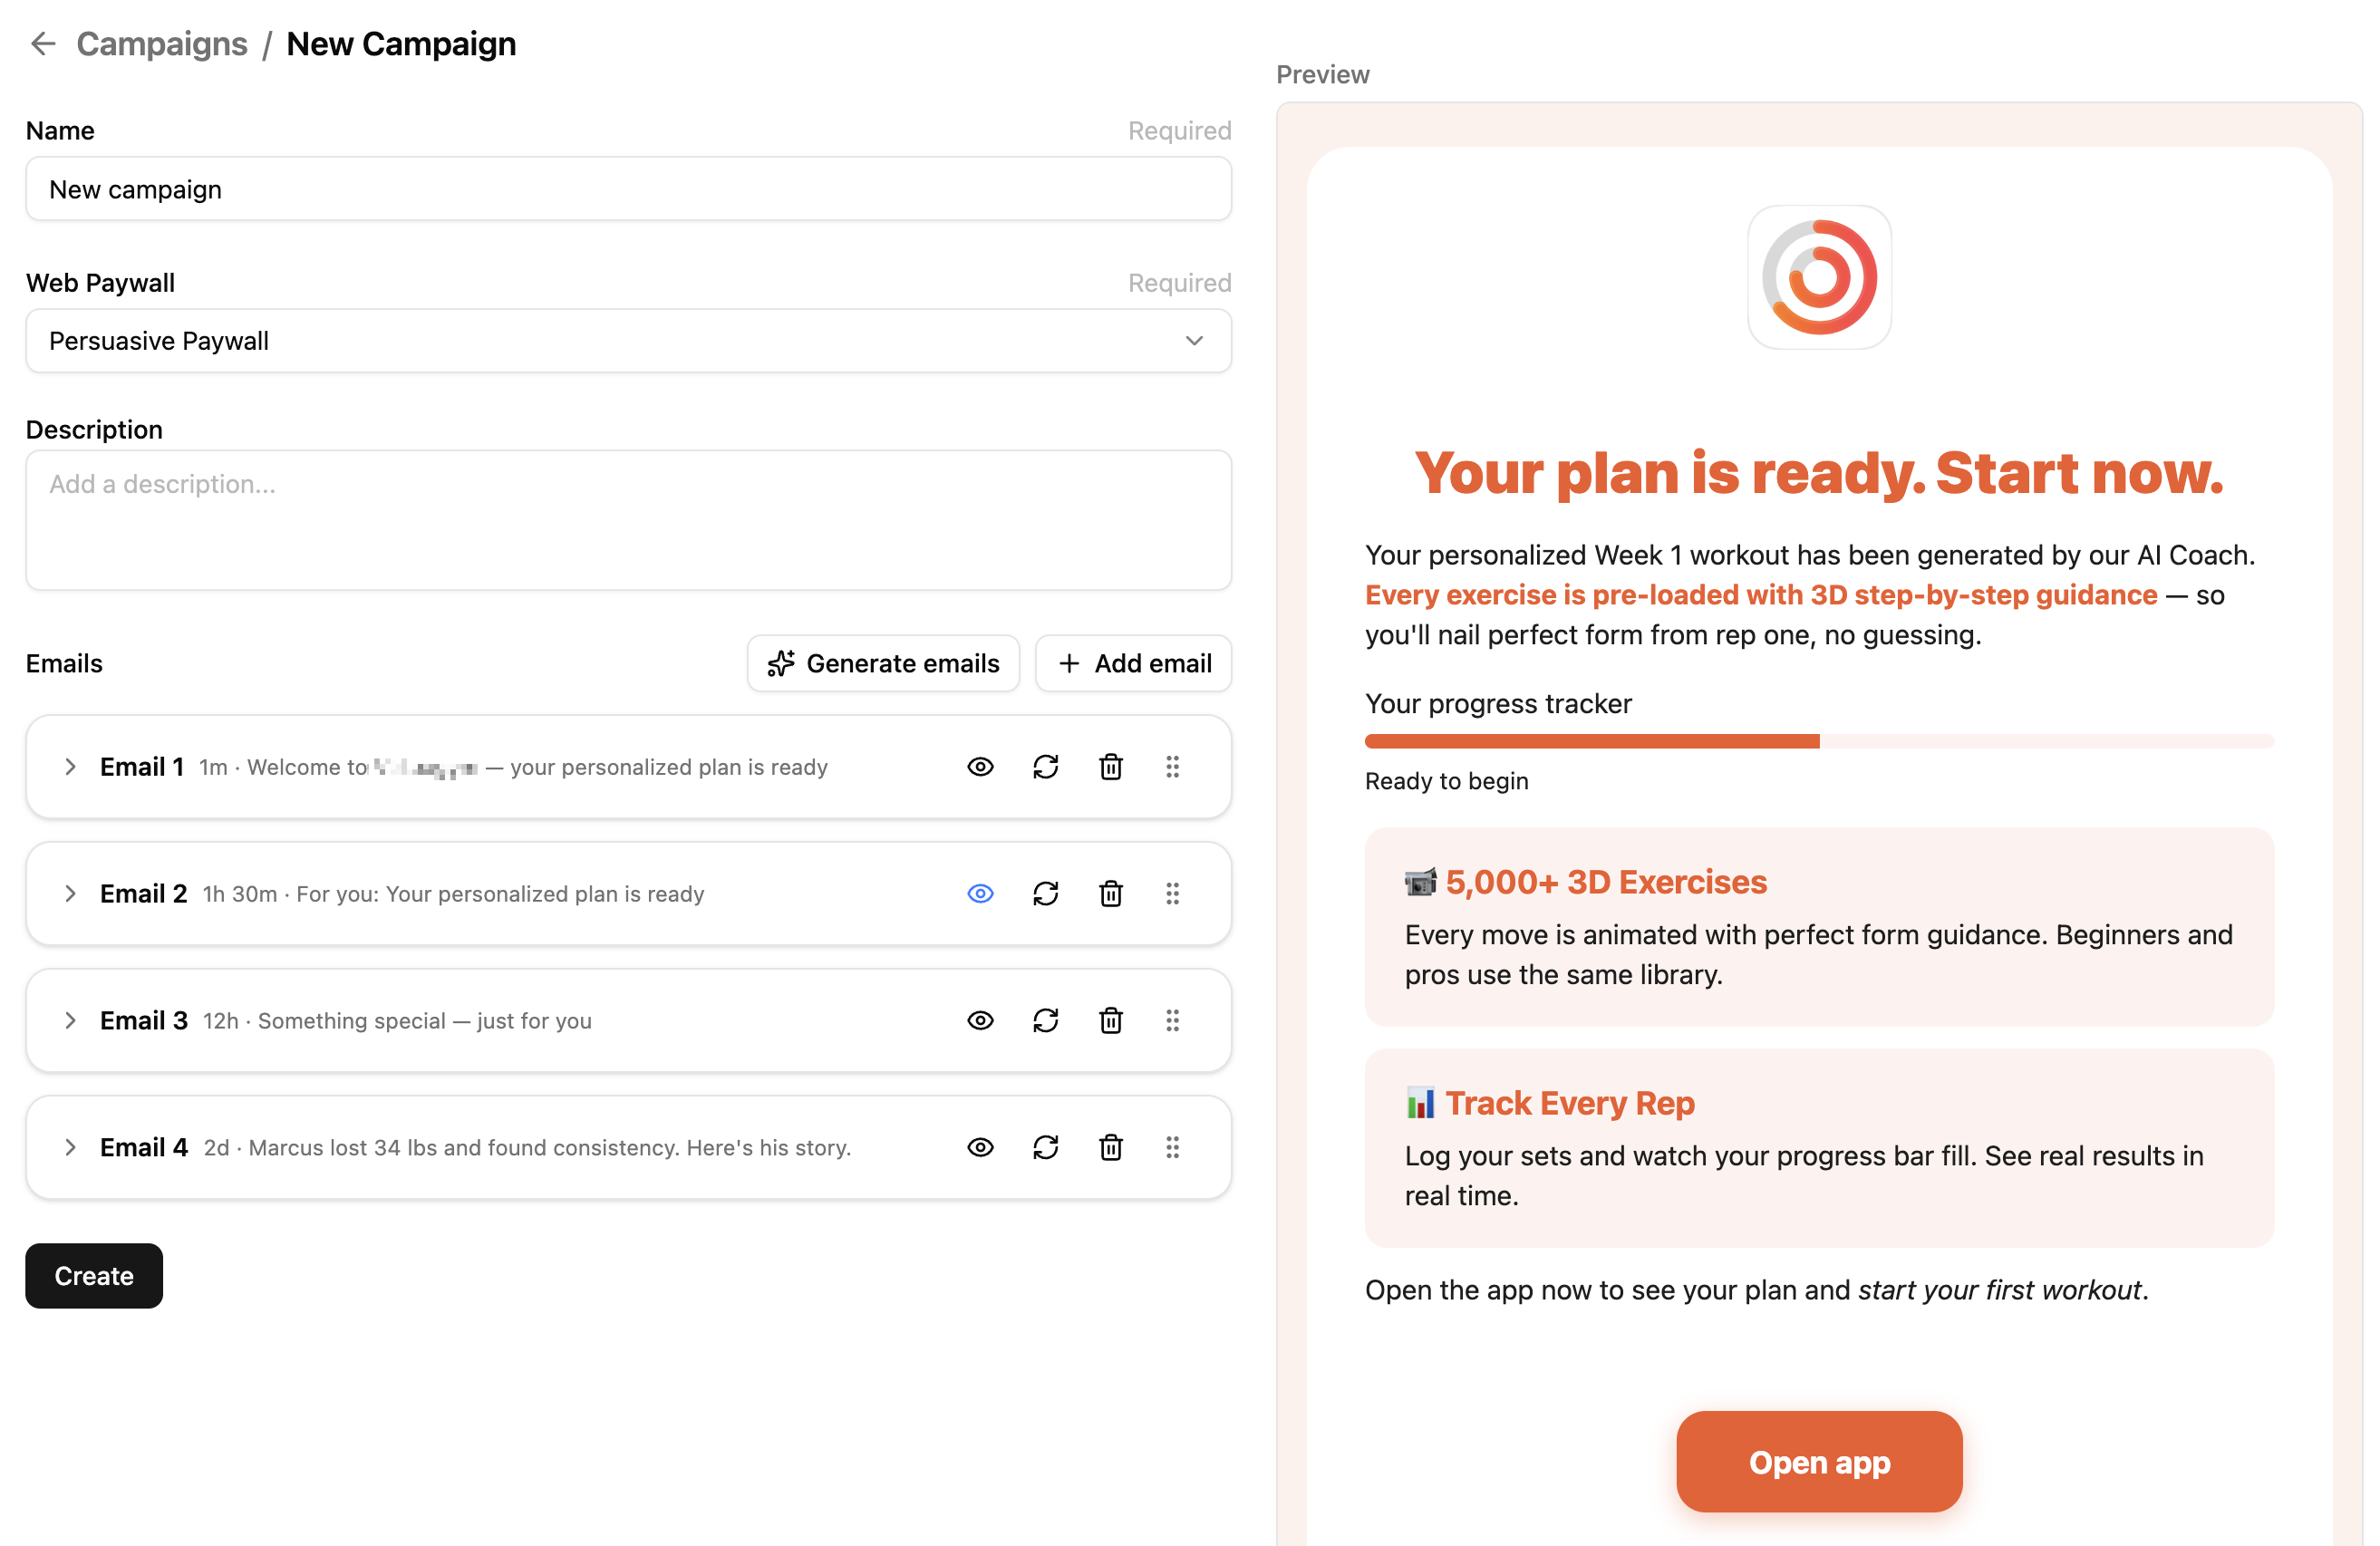
The preview header has a Theme toggle (Auto, Light, Dark) — icon buttons in the top-right of the preview pane. It controls only how the preview renders; the generated content is identical across modes. Use it to check how each email looks in each color scheme without regenerating.
You can:
- Regenerate individual emails: The AI rewrites the copy and a new hero image for a single email. Position, timing, and the overall design system (colors, typography, dark mode) stay the same — only the targeted email changes. Note that translations aren’t updated automatically alongside the source email.
- Edit the HTML directly: An HTML code editor opens for fine-grained control over anything the AI didn’t get right.
- Add languages: The AI translates the whole sequence into the languages you pick. See Add languages.
Emails adapt automatically. Multi-column designs collapse to a single column on screens under 620 px, and every layout is tested across Gmail (web and mobile), Apple Mail (macOS and iOS), Outlook desktop, Yahoo Mail, and Samsung Mail — in both light and dark mode.
Add languages
Main article: Localize emails
Emails are generated in English. To send emails in other languages, in the Emails section, click Localize and pick the languages. The AI translates every email, including the text on its hero image. Each translation has a separate tab.
A recipient receives the translation that matches their device language, or the emails in English when none does. A single campaign can include however many translations you add — you don’t need a new campaign / segment for each country.
3. Save as a draft
Click Create to save the campaign as a draft. No emails are sent yet — the campaign editor has no separate “publish” or “launch” action.
A campaign’s status reflects whether it’s attached to a live flow:
- draft: Not attached to any flow.
- live: Attached to a flow and currently routing users.
- inactive: Was attached, but the flow’s A/B test wrapper has finished.
- archived: Deleted from the dashboard.