Keyword rules in Adapty Ads Manager
Keyword rules act on your keywords automatically based on full-funnel performance — from installs to trials, subscriptions, and revenue. Define conditions using metrics like spend, CPA, ROAS, and cohort data, then choose what the rule does when those conditions are met.
Rules run on a schedule you set. They respond to performance changes without manual intervention.
Available actions
Each keyword rule performs one action when its conditions are met:
| Action | What it does |
|---|---|
| Change bid | Increases, decreases, or sets the CPT bid |
| Enable keyword | Re-enables a paused keyword |
| Pause keyword | Pauses an active keyword |
| Add as keyword to… | Copies the keyword to another ad group with a specified bid and match type |
| Add as negative keyword to… | Adds the keyword as a negative in specified ad groups or campaigns |
Create a keyword rule
You can create keyword rules from templates or manually from scratch.
From a template
Adapty provides ready-to-use templates for common optimization scenarios. Common templates include:
- Cut waste on non-converting keywords: Decrease bids where Spend > X and Installs or Trials = 0.
- Scale winning keywords: Increase bids where ROAS > target or CPA < target.
To create a rule from a template:
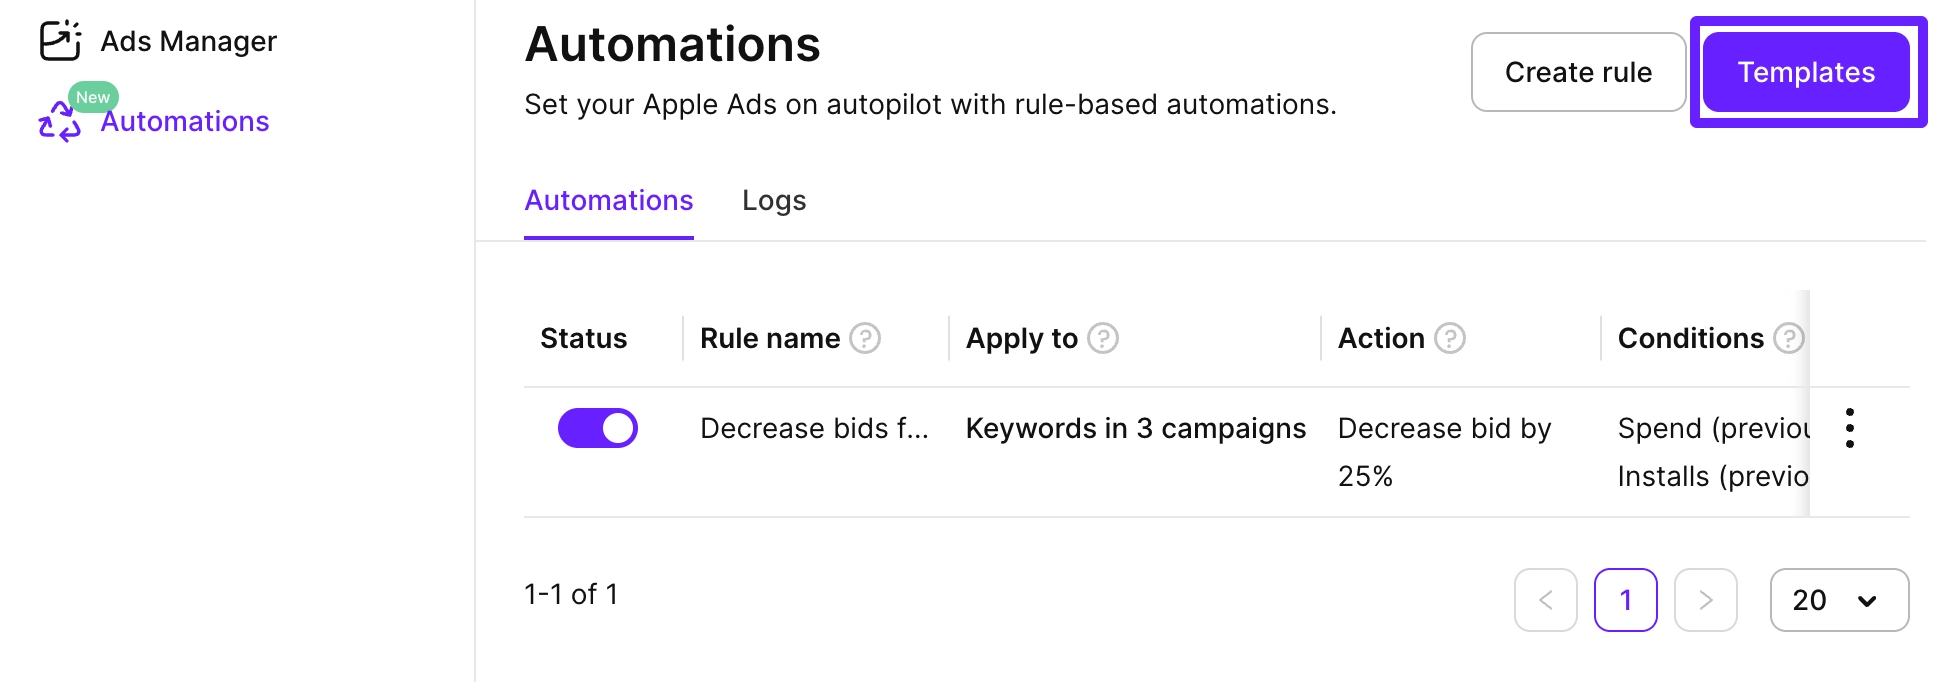
- In the left sidebar, go to Automations and click Templates.
- Choose a template and click Next.

- Review and adjust the pre-filled settings:
- Rule name: Automatically set to the template name and current date (for example, “Scale Winning Keywords - [2025-11-12]”).
- Apply to: Select campaign groups, apps, campaigns, or ad groups where the rule should apply.
- Conditions: Modify the pre-configured conditions if needed.
- Action: Modify the pre-set action if needed.
- Schedule: Set how often the rule should run.
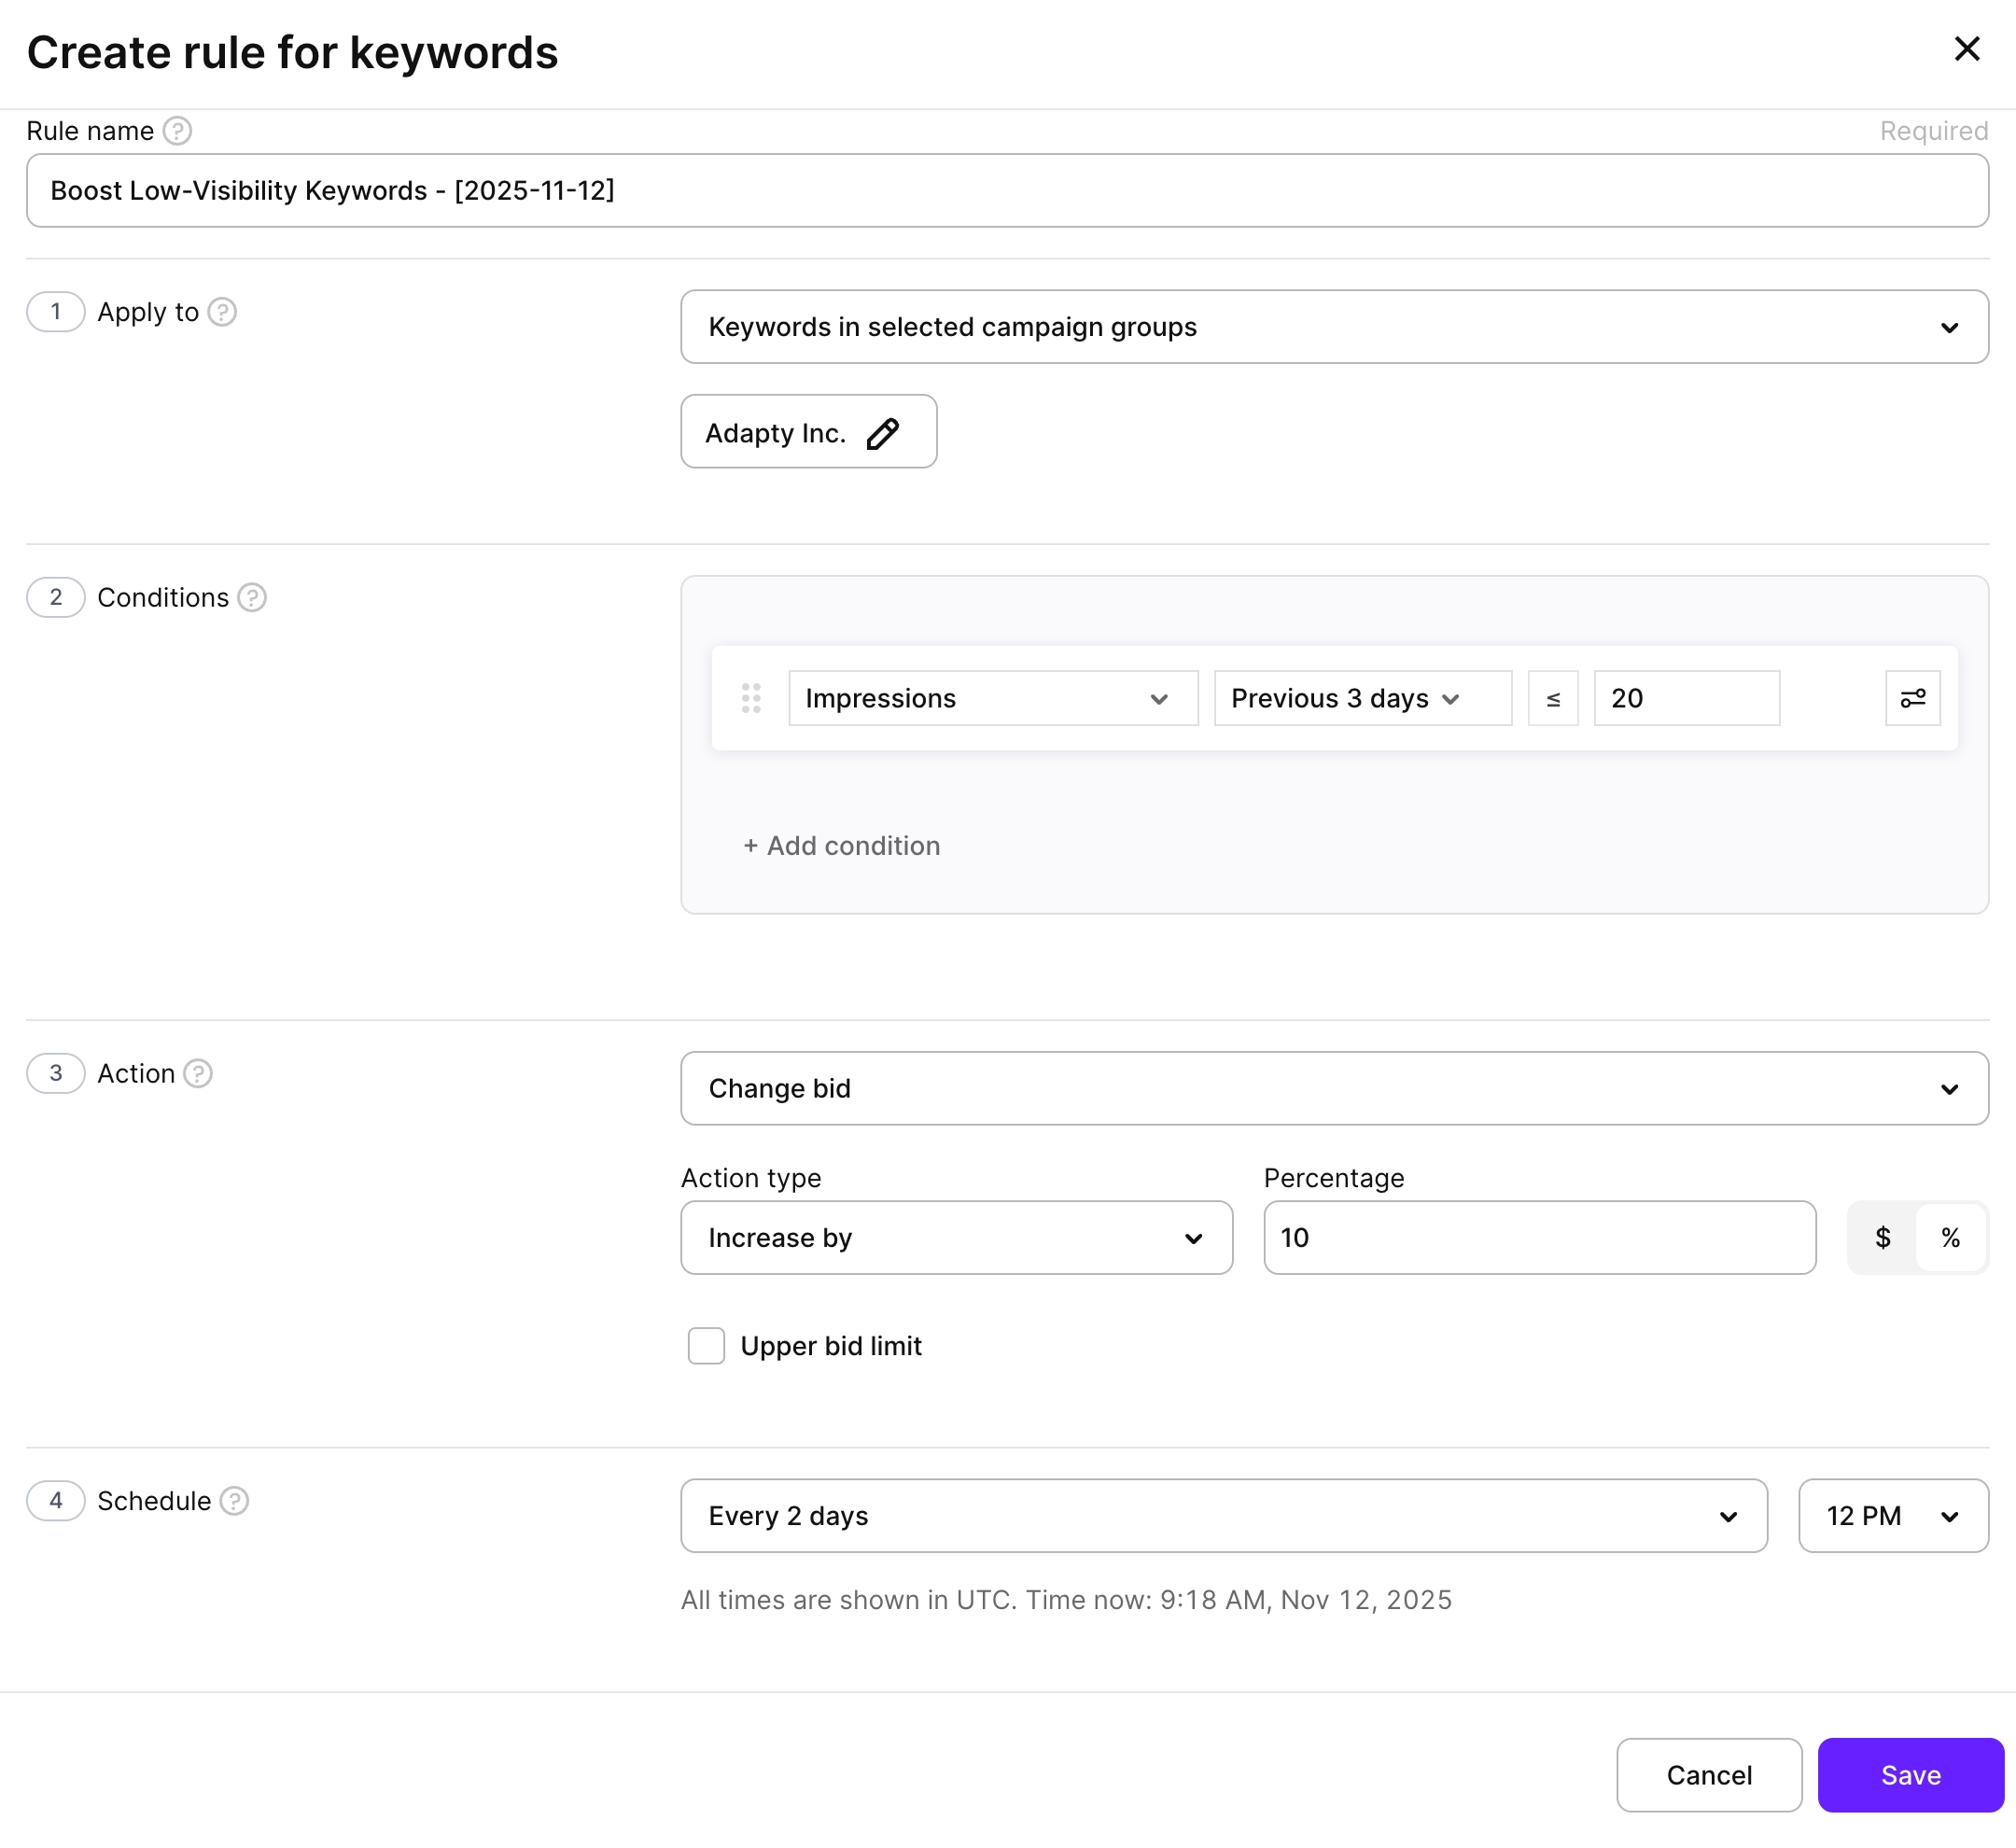
- Click Save to activate the rule.
Manually
To create a custom keyword rule from scratch:
-
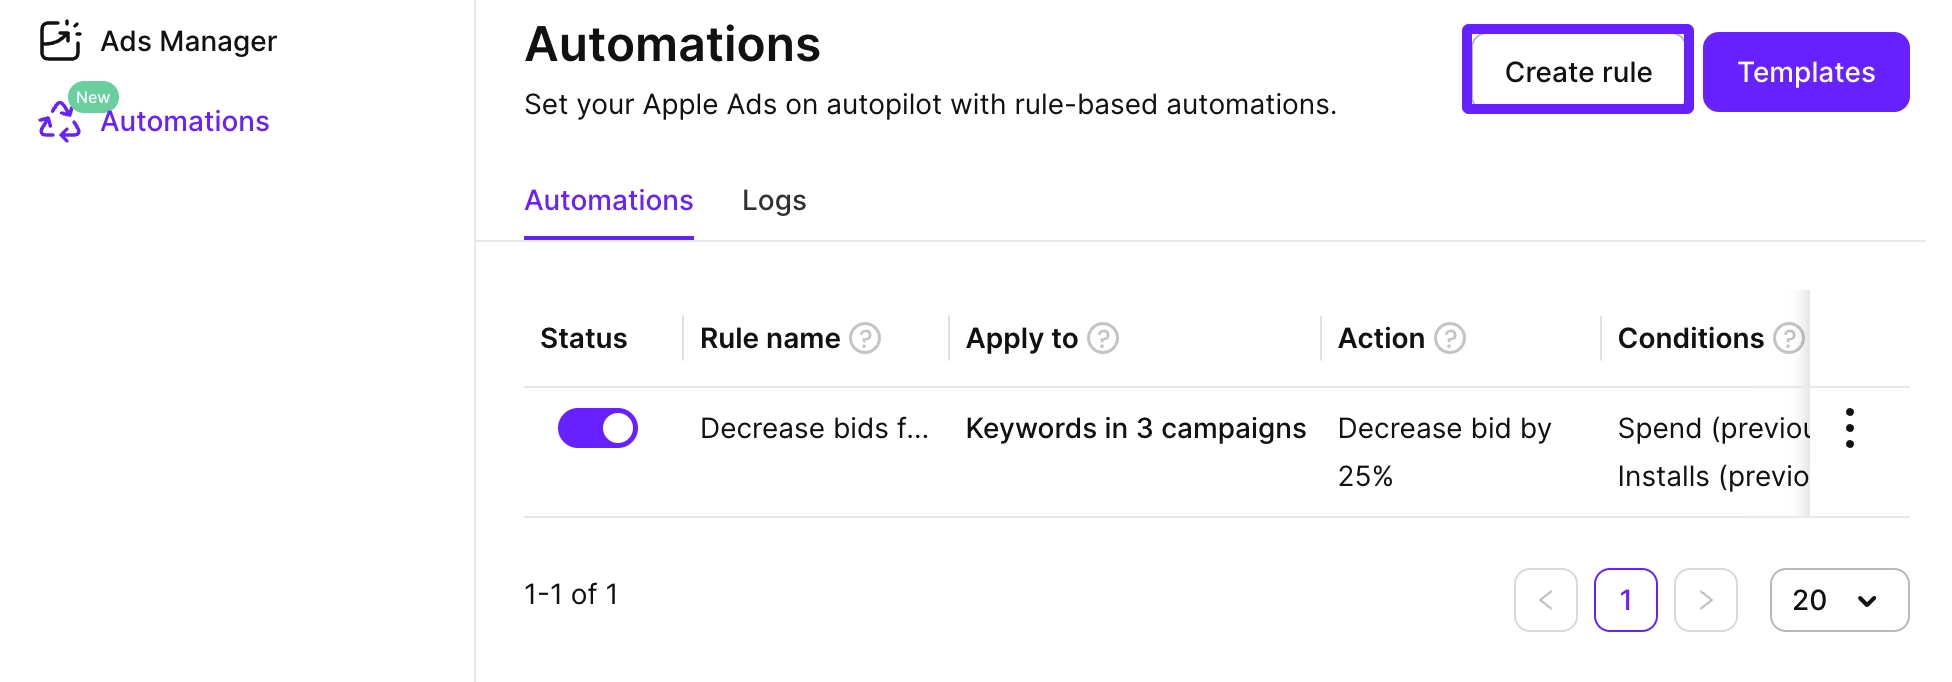
In the left sidebar, go to Automations, click Create rule, and select Keywords as the rule type.
-
Enter a descriptive Rule name.
-
In the Apply to section, select campaign groups, apps, campaigns, or ad groups where the rule should apply.
-
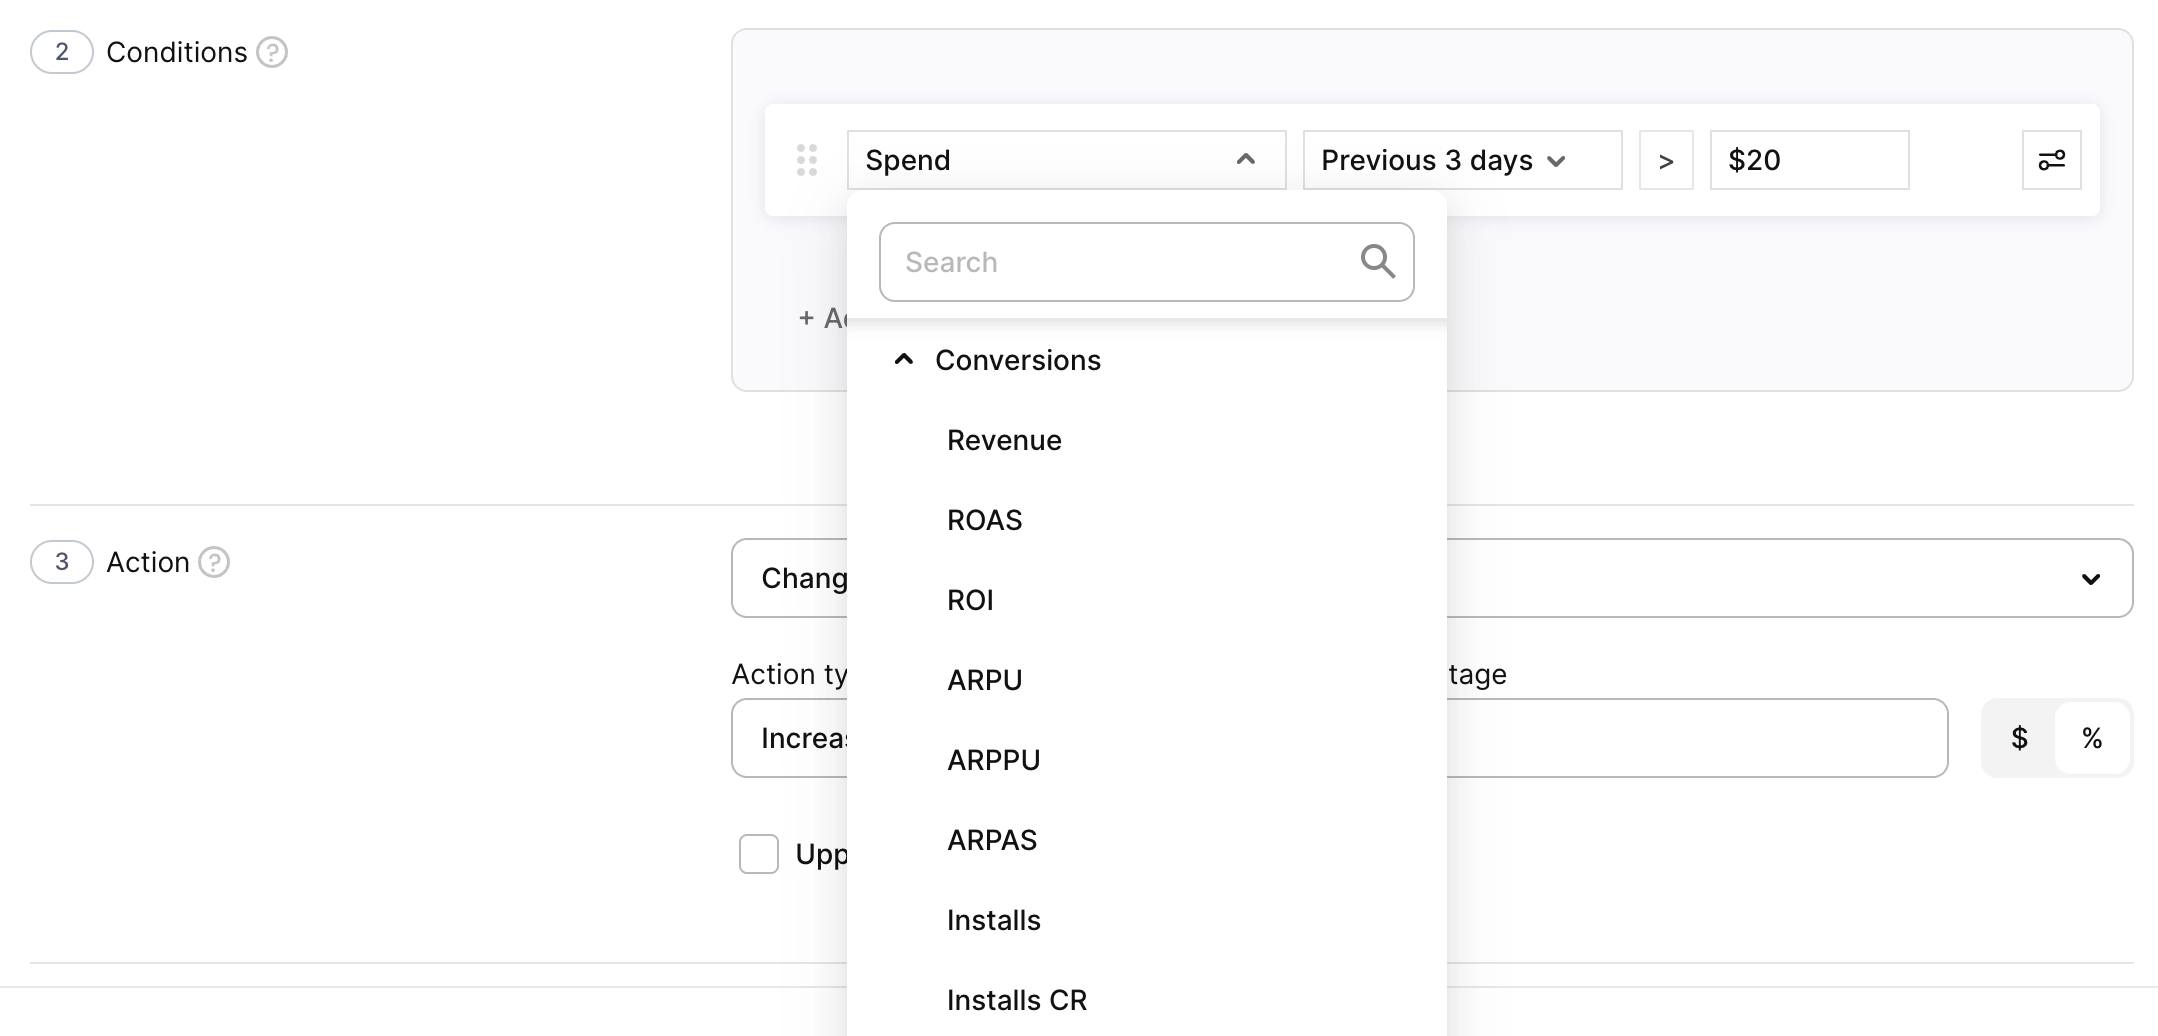
Click Add condition and select a metric from the list.
Metrics are calculated for the selected time range in your account currency. Data is updated near real-time, so rules always use fresh performance data.
-
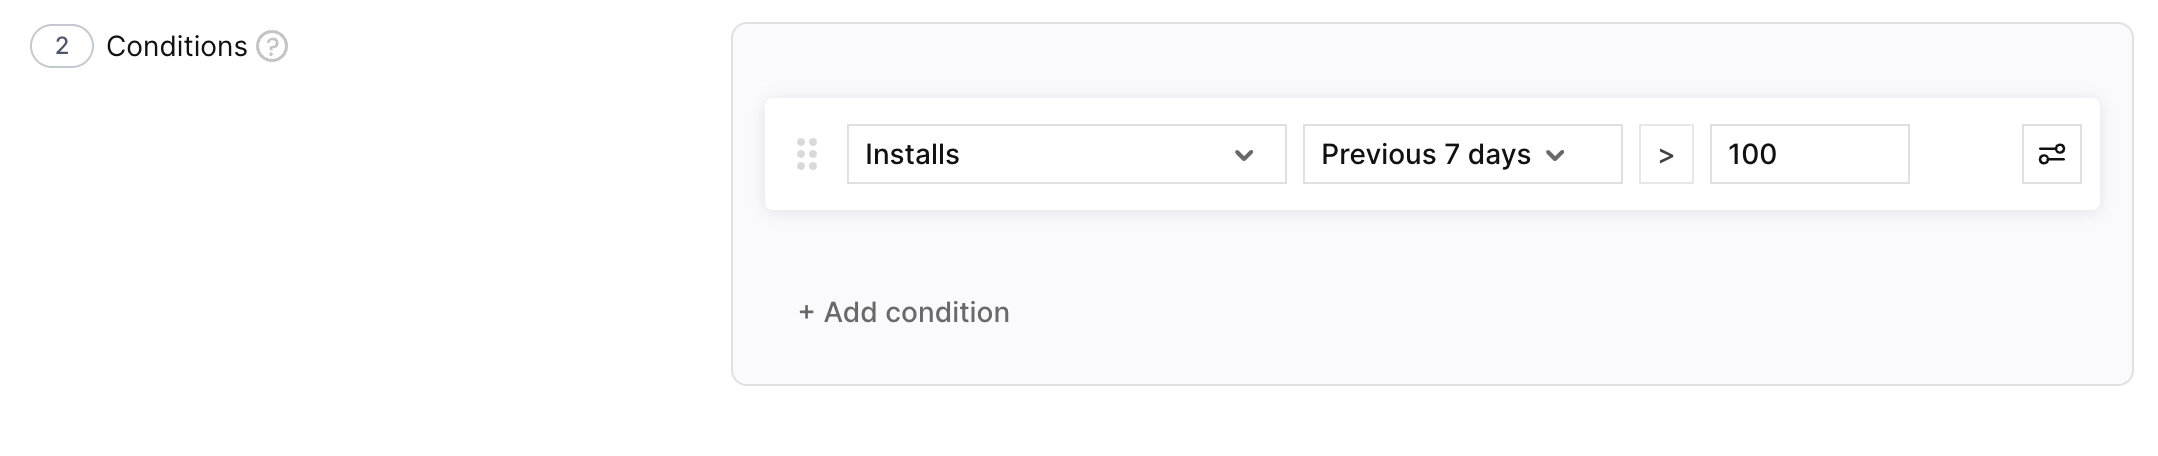
Set the time period (for example, Previous 3 days or Previous 7 days), choose the comparison operator, and enter the threshold value.
-
To add more conditions, click Add condition and select an And or Or operator on the left.
-
In the Action section, select what happens when conditions are met:
Change bid
- Action type: Select Increase by, Decrease by, or Set to.
- Value type: Switch between $ (absolute) and % (relative to the current bid at the time the rule runs).
- Upper bid limit (optional): Maximum bid cap to prevent overbidding if the rule triggers repeatedly on strong signals.
Enable keyword
- No additional configuration. The rule re-enables paused keywords that meet the conditions.
Pause keyword
- No additional configuration. The rule pauses active keywords that meet the conditions.
Add as keyword to…
- Target ad groups: Select the ad groups that receive the copied keywords.
- CPT bid: Set the initial bid for the copied keywords.
- Match type: Select Exact or Broad.
- Skip if keyword already exists: When enabled, skips terms already present in the target ad group.
Add as negative keyword to…
- Scope: Select the ad groups or campaigns where the negative keyword is added.
- Match type: Select Exact or Broad.
-
In the Schedule section:
- Choose the frequency: Every day, Every 2 days, Every week, and so on.
- Select the run time (all times are in UTC).
Rules run at the scheduled time in UTC. Execution usually finishes within a few minutes, after which you can see changes in Logs and in the main dashboard.

-
Click Save to create the rule.
Best practices
- Start with a narrow scope: Apply new rules to a few campaigns or ad groups first to validate behavior before expanding.
- Use short lookback windows for active campaigns: For fast-moving campaigns, 3–7 previous days usually works better than 30 days.
- Combine spend and conversions: Avoid single-metric rules. Use Spend together with Installs, Trials, or ROAS for more reliable signals.
- Set bid caps on Change bid rules: The upper bid limit prevents runaway bids when a strong signal triggers the rule multiple times.
- Use Enable keyword with cohort data: A keyword paused early for poor initial CPA may show strong D31 or D61 ROAS once cohort data matures. Set a condition on cohort ROAS and re-enable automatically when it crosses your target.
- Use Add as keyword to… for testing-to-scaling pipelines: When a keyword in a test campaign hits your CPA target, copy it to a scale campaign automatically.
- Use Add as negative keyword to… to keep Discovery campaigns clean: When a keyword is confirmed as an exact-match keyword, negate it in your Discovery or Search Match campaigns to prevent competing for the same query.
- Wait before bid rules act on newly promoted keywords: If you use search term automations to promote terms into keyword campaigns, give those keywords a day or two to accumulate data first.