Get started with Adapty Mail
In this guide, you will set up Adapty Mail and launch your first email flow.
You can also send data to Adapty Mail from your own server, without the Adapty SDK. If you already hold user emails and purchases on your backend, or you import subscribers from another source, see Send emails and transactions via the Adapty Mail API.
The setup has six parts:
- Configure your Adapty SDK
- Set up your sending domain
- Create a web paywall
- Generate a campaign with AI
- Launch a flow
- Enable sending
If you signed up to Adapty Mail through Adapty, your brand profile is created automatically from your project’s store URL. Open Brand anytime to review or refine it — see Brand. If you signed up standalone, set up your brand on the same page before generating campaigns or web paywalls.
Before you start
Make sure these are in place before you start:
- DNS access: You can add records to your root domain.
- Web payment provider: You have a Stripe, Paddle, or PayPal account with your subscription products configured.
1. Configure your Adapty SDK
Adapty Mail is a standalone product. You can use it even if your paywalls, subscriptions, or analytics aren’t handled by Adapty — migrating your entire stack is not required.
To get accurate revenue data, the minimum setup is to install the Adapty SDK in observer mode and enable App Store server notifications.
Adapty Mail needs three things from your app: purchase data (so it can attribute revenue back to the email that drove each conversion), a stable user identifier, and user emails.
-
Let Adapty track your revenue. The first step depends on whether you already have in-app purchases implemented:
- If you already have in-app purchases implemented with Adapty, you don’t need to do anything else at this stage.
- If you already have in-app purchases implemented without Adapty and don’t plan to migrate to Adapty, install the Adapty SDK for your platform in observer mode. At this stage you only need to add the SDK to your project, activate it with observer mode enabled, and report transactions. Platform guides: iOS, Android, React Native, Flutter, Unity, Kotlin Multiplatform, Capacitor.
- If you don’t have in-app purchases implemented yet and want to use Adapty, complete the steps from the quickstart guide to delegate handling purchases to Adapty.
Then enable App Store server notifications in Adapty to receive revenue-related updates directly from the App Store.
-
Set up user identification. Pass a stable ID — your backend user ID, Firebase UID, or similar — either by calling
Adapty.identify()or by passingcustomerUserIdto.activate()at SDK startup. Thecustomer_user_idis how Adapty Mail matches campaigns, clicks, and purchases back to the right profile.Platform guides: iOS, Android, React Native, Flutter, Unity, Kotlin Multiplatform, Capacitor.
-
Collect user emails. Once a user provides their email in your app (for example, at sign-up or checkout), pass it to Adapty by calling
updateProfilewith the email attribute. Every recipient of a campaign needs this value.Platform guides: iOS, Android, React Native, Flutter, Unity, Kotlin Multiplatform, Capacitor.
If your app doesn’t yet collect emails, see Email collection strategies.
2. Set up your sending domain
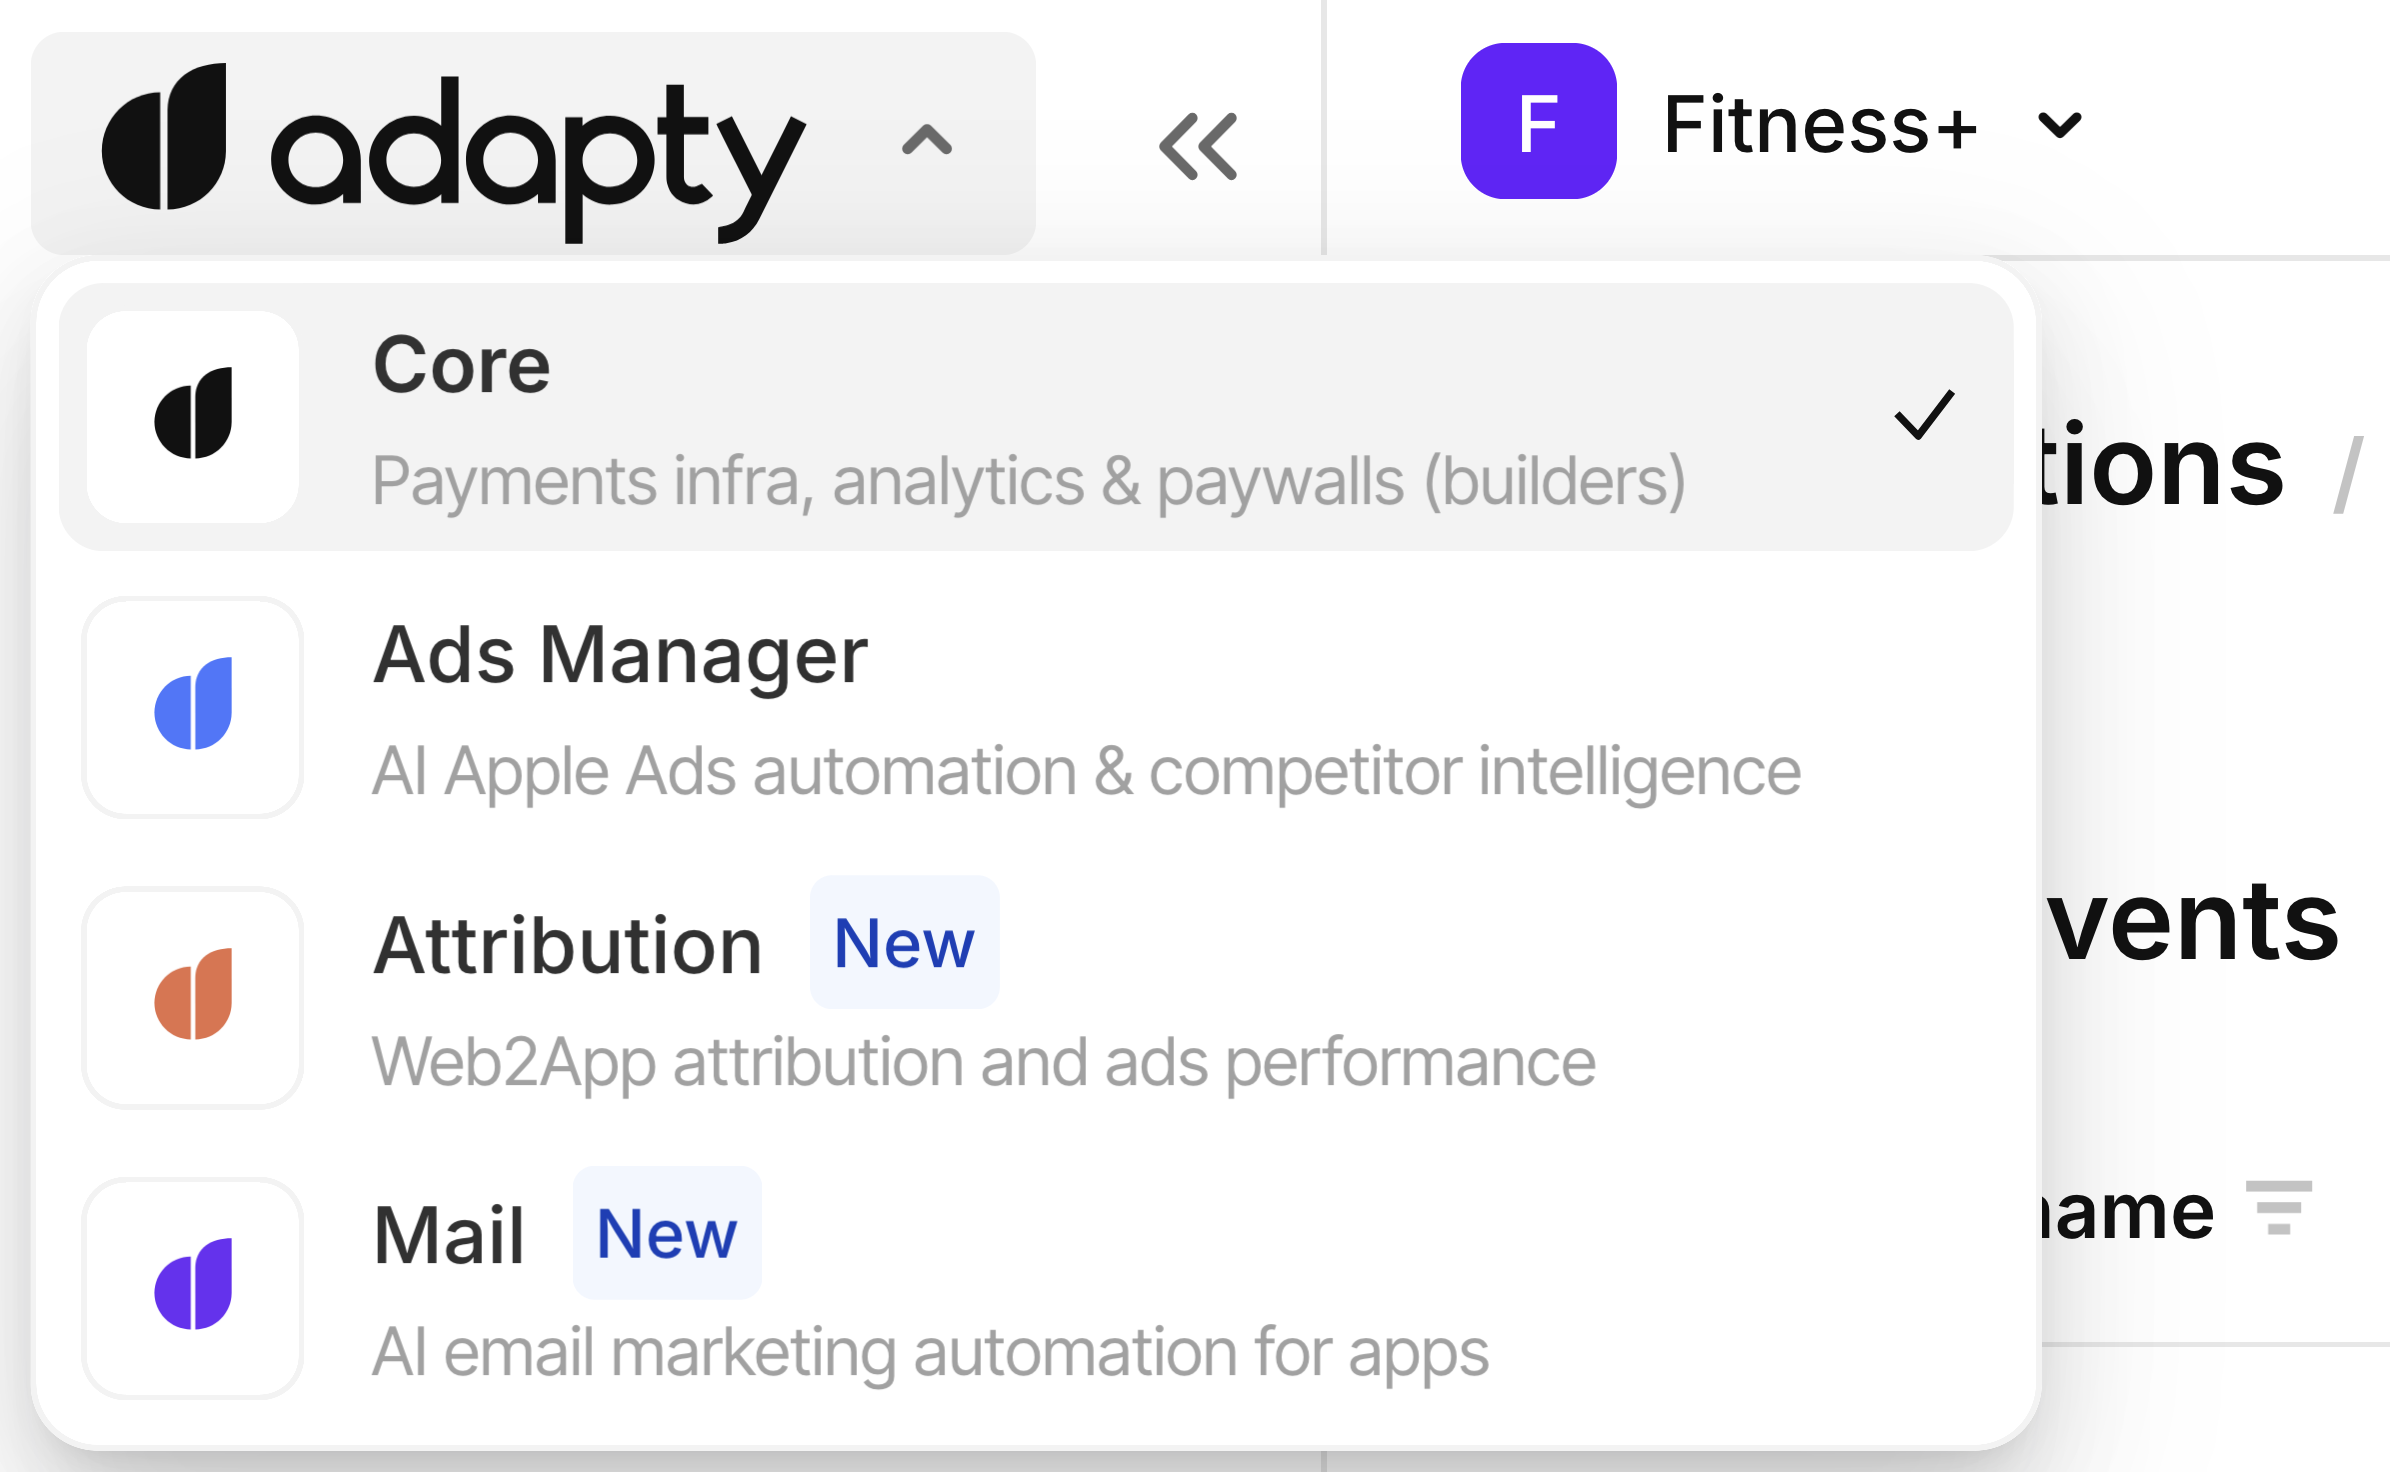
Open Adapty Mail: Click the Adapty logo in the header and choose Mail.
Adapty Mail sends from your own domain. You add DNS records once — all campaigns use the same verified domain.
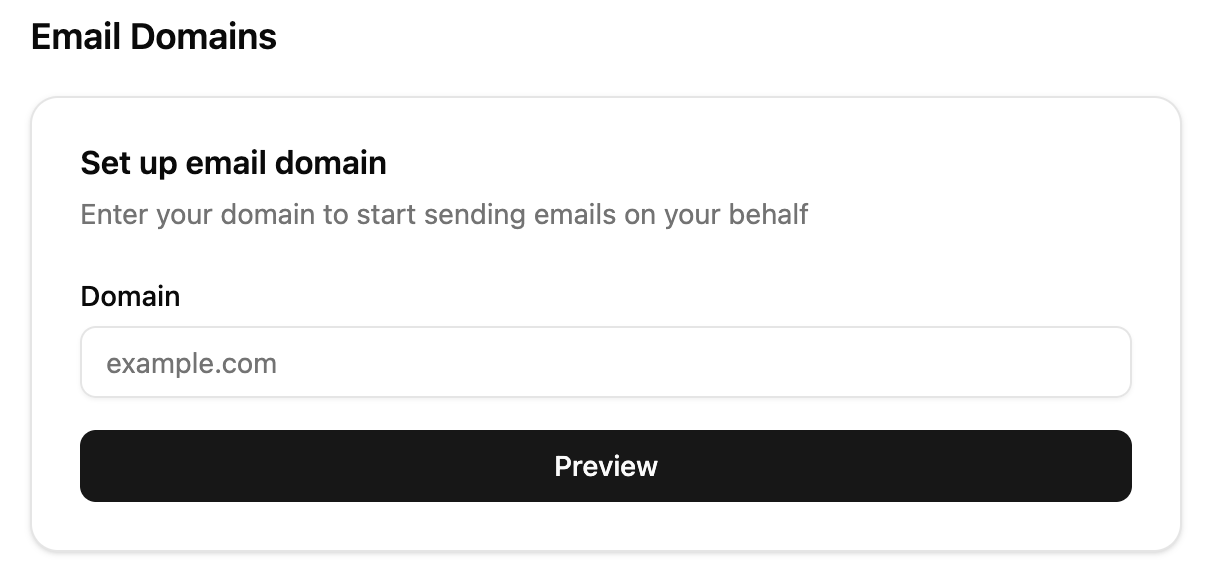
- In Adapty Mail, go to Settings → Email Domains.
- Enter your root domain (for example,
yourapp.com) and click Preview. Only apex domains are accepted — subdomains likeapp.yourapp.comare rejected at input.
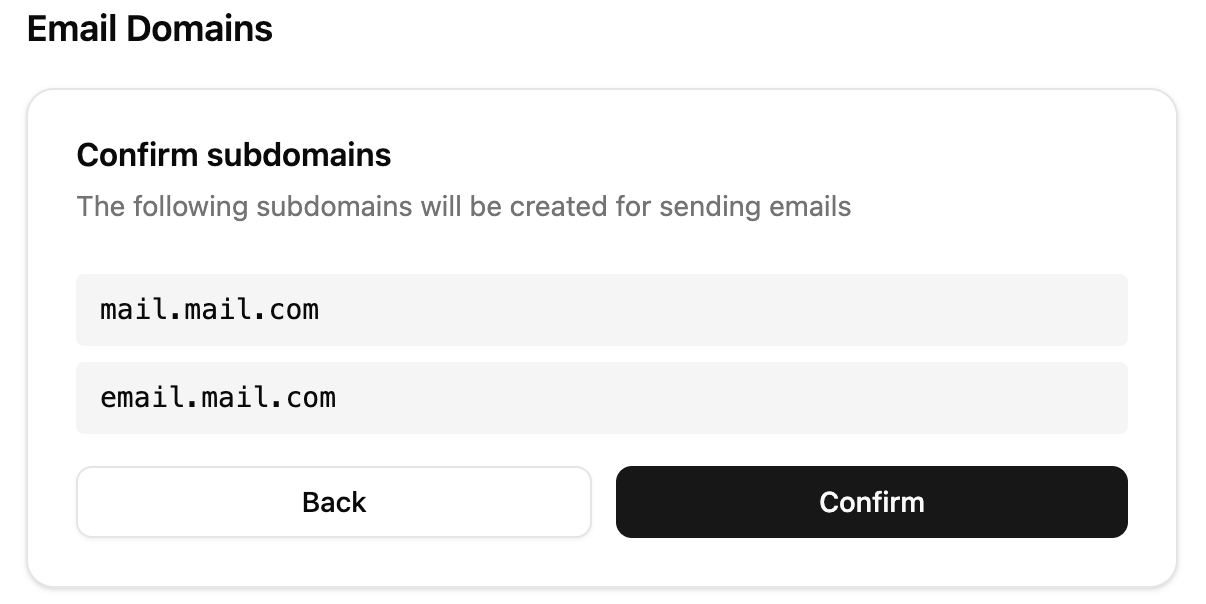
- Adapty generates two sending subdomains (
mail.yourapp.comandemail.yourapp.com). Click Confirm to show the required DNS records.
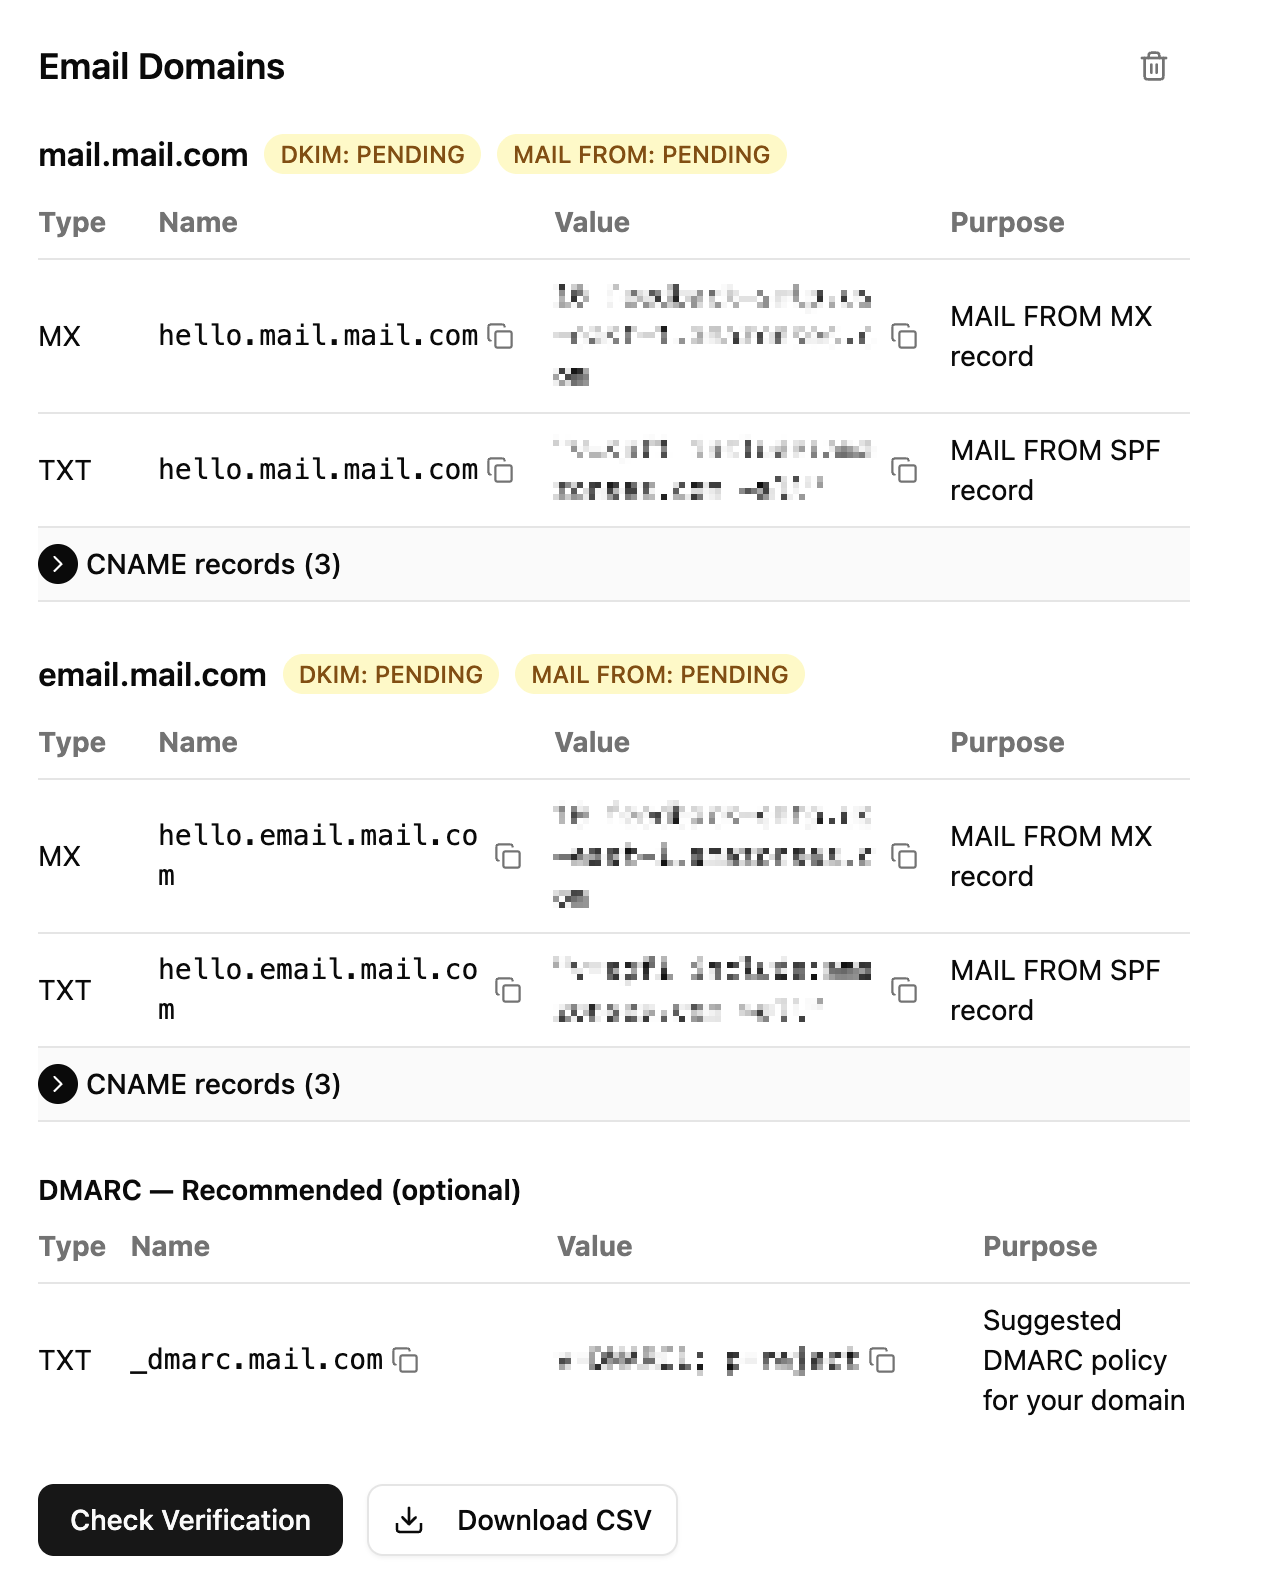
- In your domain registrar, add the 10 DNS records shown (5 per subdomain):
- 3 CNAME records (DKIM) per subdomain
- 1 MX record (Mail-From) per subdomain
- 1 TXT record (SPF,
v=spf1 include:amazonses.com ~all) per subdomain
- Optionally, add a DMARC TXT record on your root domain (recommended).
- Return to Settings → Email Domains and click Check Verification.
Verification timing at a glance:
- Automatic polling: First check runs about 5 minutes after you submit. Intervals grow to once per hour until records are found.
- Manual check: Click Check Verification any time to trigger an immediate check.
- DNS propagation: Usually minutes, up to 48 hours in rare cases.
- Verification window: 7 days. If it lapses, your DNS records stay in place — re-enter your domain in Settings → Email Domains to start a new window.
For details on each record type and domain warm-up, see Set up your sending domain.
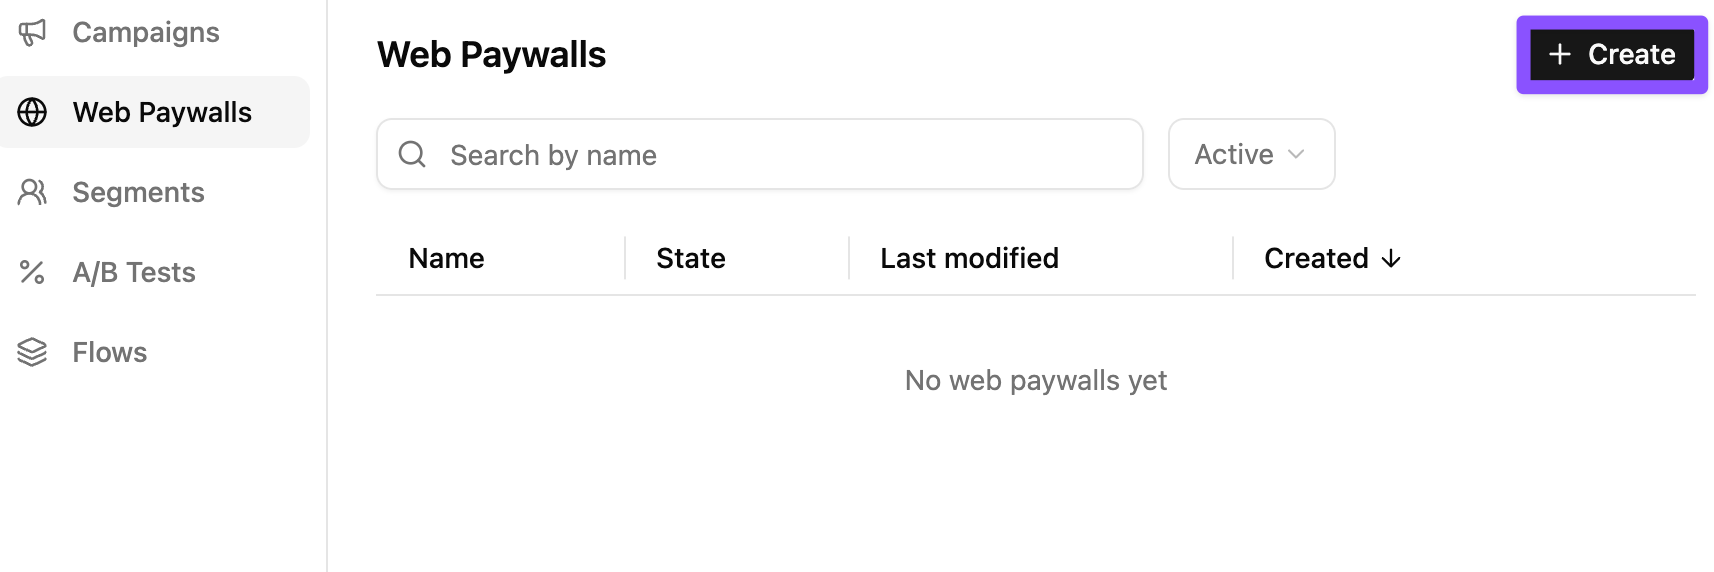
3. Create a web paywall
Every email links to a web paywall — the checkout page users land on when they click a CTA. You have two options:
- Generate with AI: Let the bundled web paywall builder produce one for your app.
- Use your own hosted paywall: Plug in a paywall you already host.
To start, in Adapty Mail go to Web Paywalls → Create.
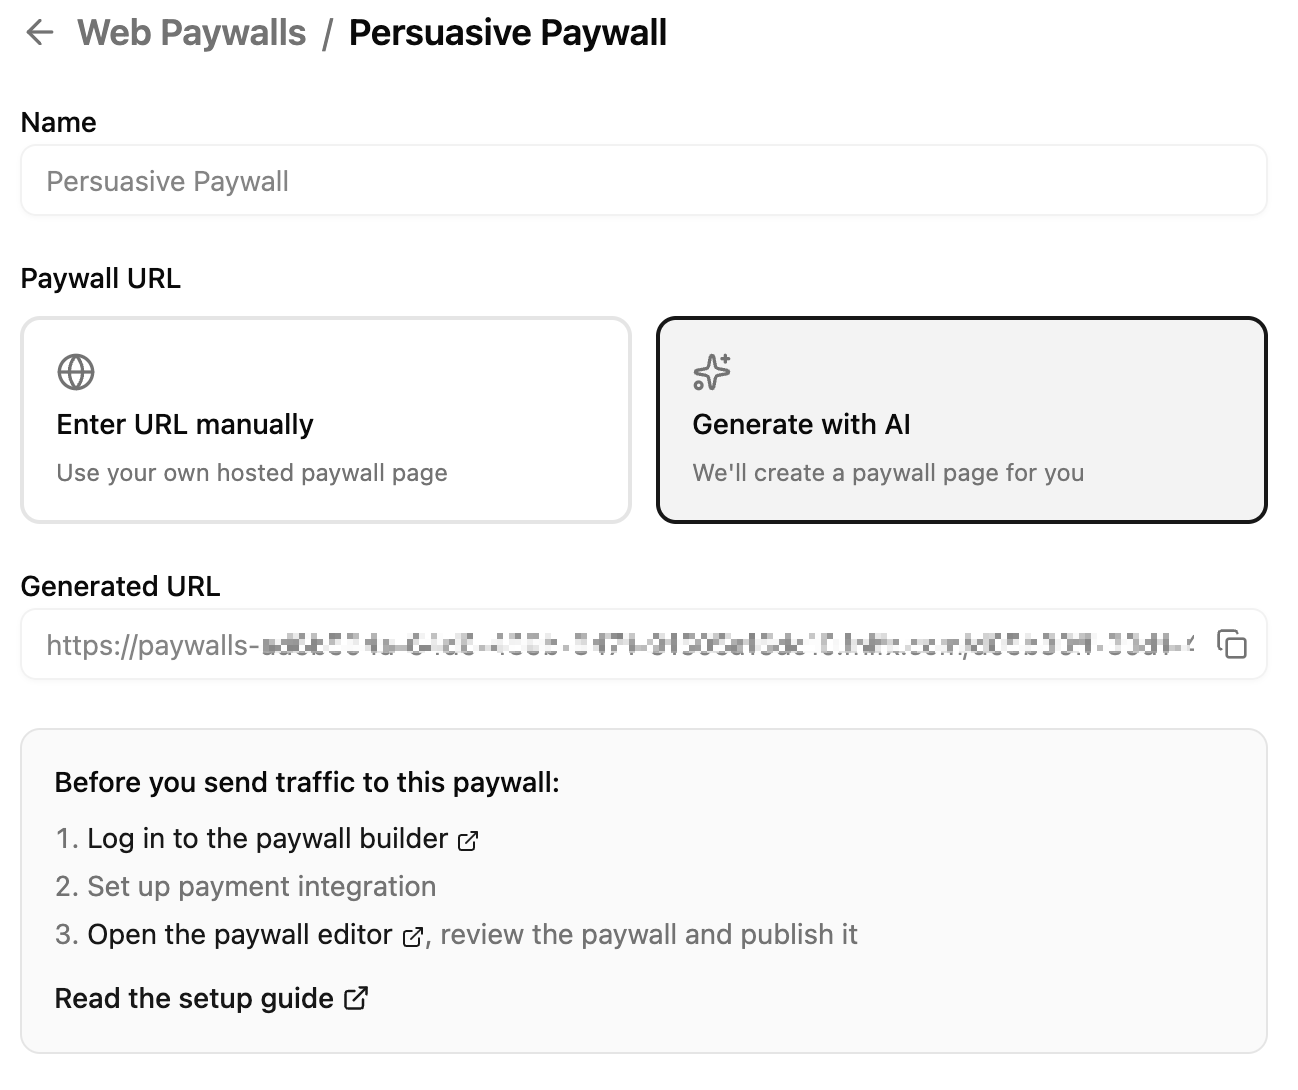
Option A: Generate with AI
The page shows a Prerequisites checklist with inline buttons — work through it in order, then come back and generate. The checklist covers logging in to the paywall builder, connecting Stripe, adding products, and reviewing the result. See Set up checkout for the full walkthrough.
When all prerequisites are green, click Generate to open the generation dialog:
- Environment: Choose Production or Sandbox. Sandbox uses your Stripe test-mode products and is the safe default for dev and local environments.
- Plans: Pick up to 3 Stripe plans (each plan is a product + price). These are the offers the generated paywall presents to users at checkout.
Click Generate to run the build. When it finishes, open the editor to review and publish.
The paywall must be published before it can serve checkout traffic. Unpublished paywalls return an error when users click email checkout links.
Option B: Use your own hosted paywall
-
Select Enter URL manually.
-
Paste the URL of your hosted paywall. The URL must include the
{email}and{external_profile_id}placeholders as query parameters — Adapty Mail fills these in per recipient so the checkout page knows who the visitor is. Example:https://example.com/paywall?email={email}&profile={external_profile_id} -
Save and publish.
For checkout funnel anatomy and how personalization works, see Set up checkout.
4. Generate a campaign with AI
AI creates the full email sequence for you — copy, design, hero images, and personalized checkout links, all tailored to your brand.
- In Adapty Mail, go to Campaigns and click Create.
- Set the campaign name.
- In the Web paywall dropdown, select the web paywall you added on the previous step.
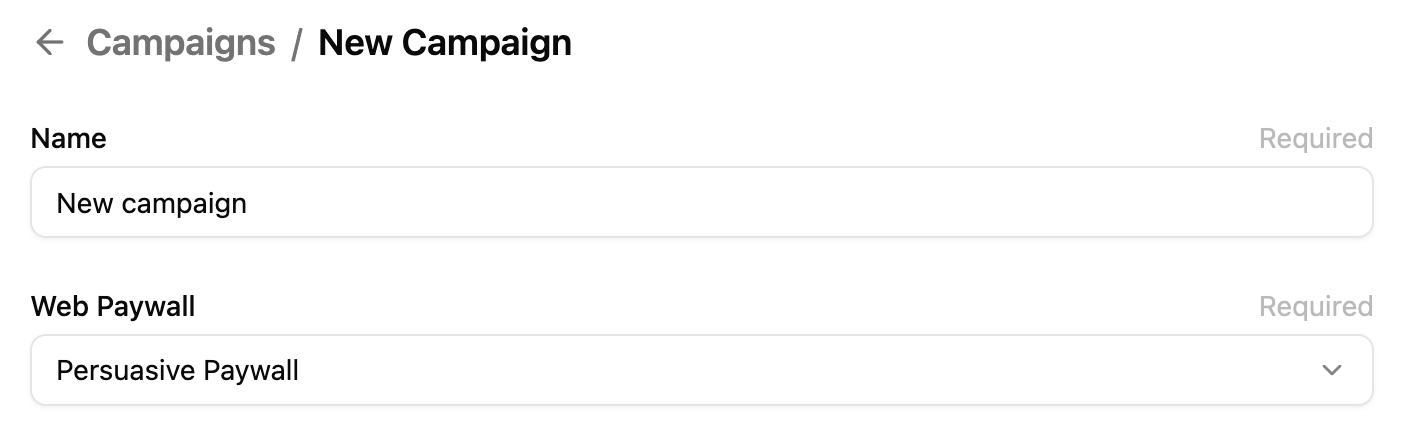
- Click Generate emails.
- Fill out the generation dialog — tone, language, an optional custom prompt (up to 2,000 characters), and the number of emails (1–15, default 4). See Create a campaign for what each field does.
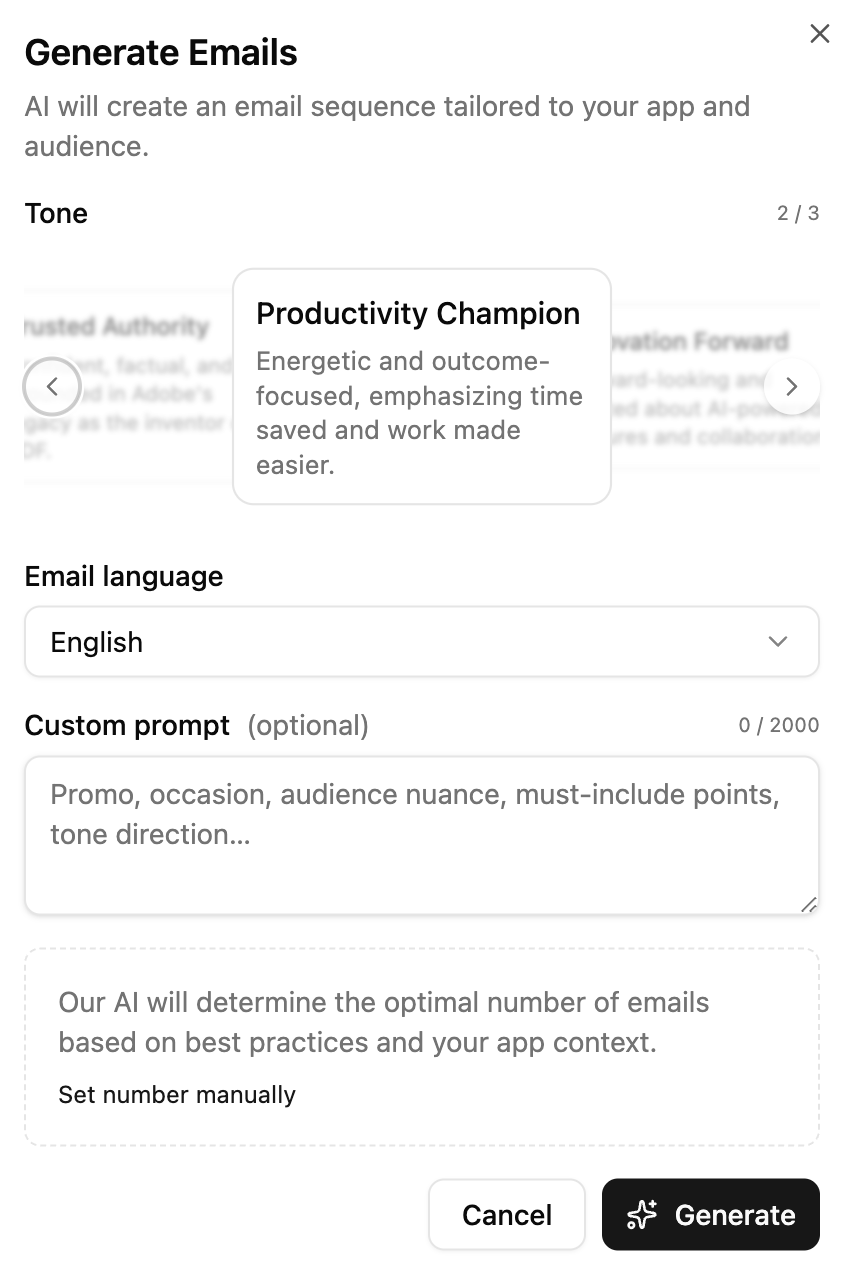
- Click Generate. Generation usually takes a few minutes. The system times out after 5 minutes if it can’t complete — retry if that happens.
- Preview each email. The preview header has a Theme toggle (Auto, Light, Dark) that controls how the preview renders — generated content is identical across modes. You can regenerate individual emails, edit the copy, or open the HTML editor for fine-grained control.
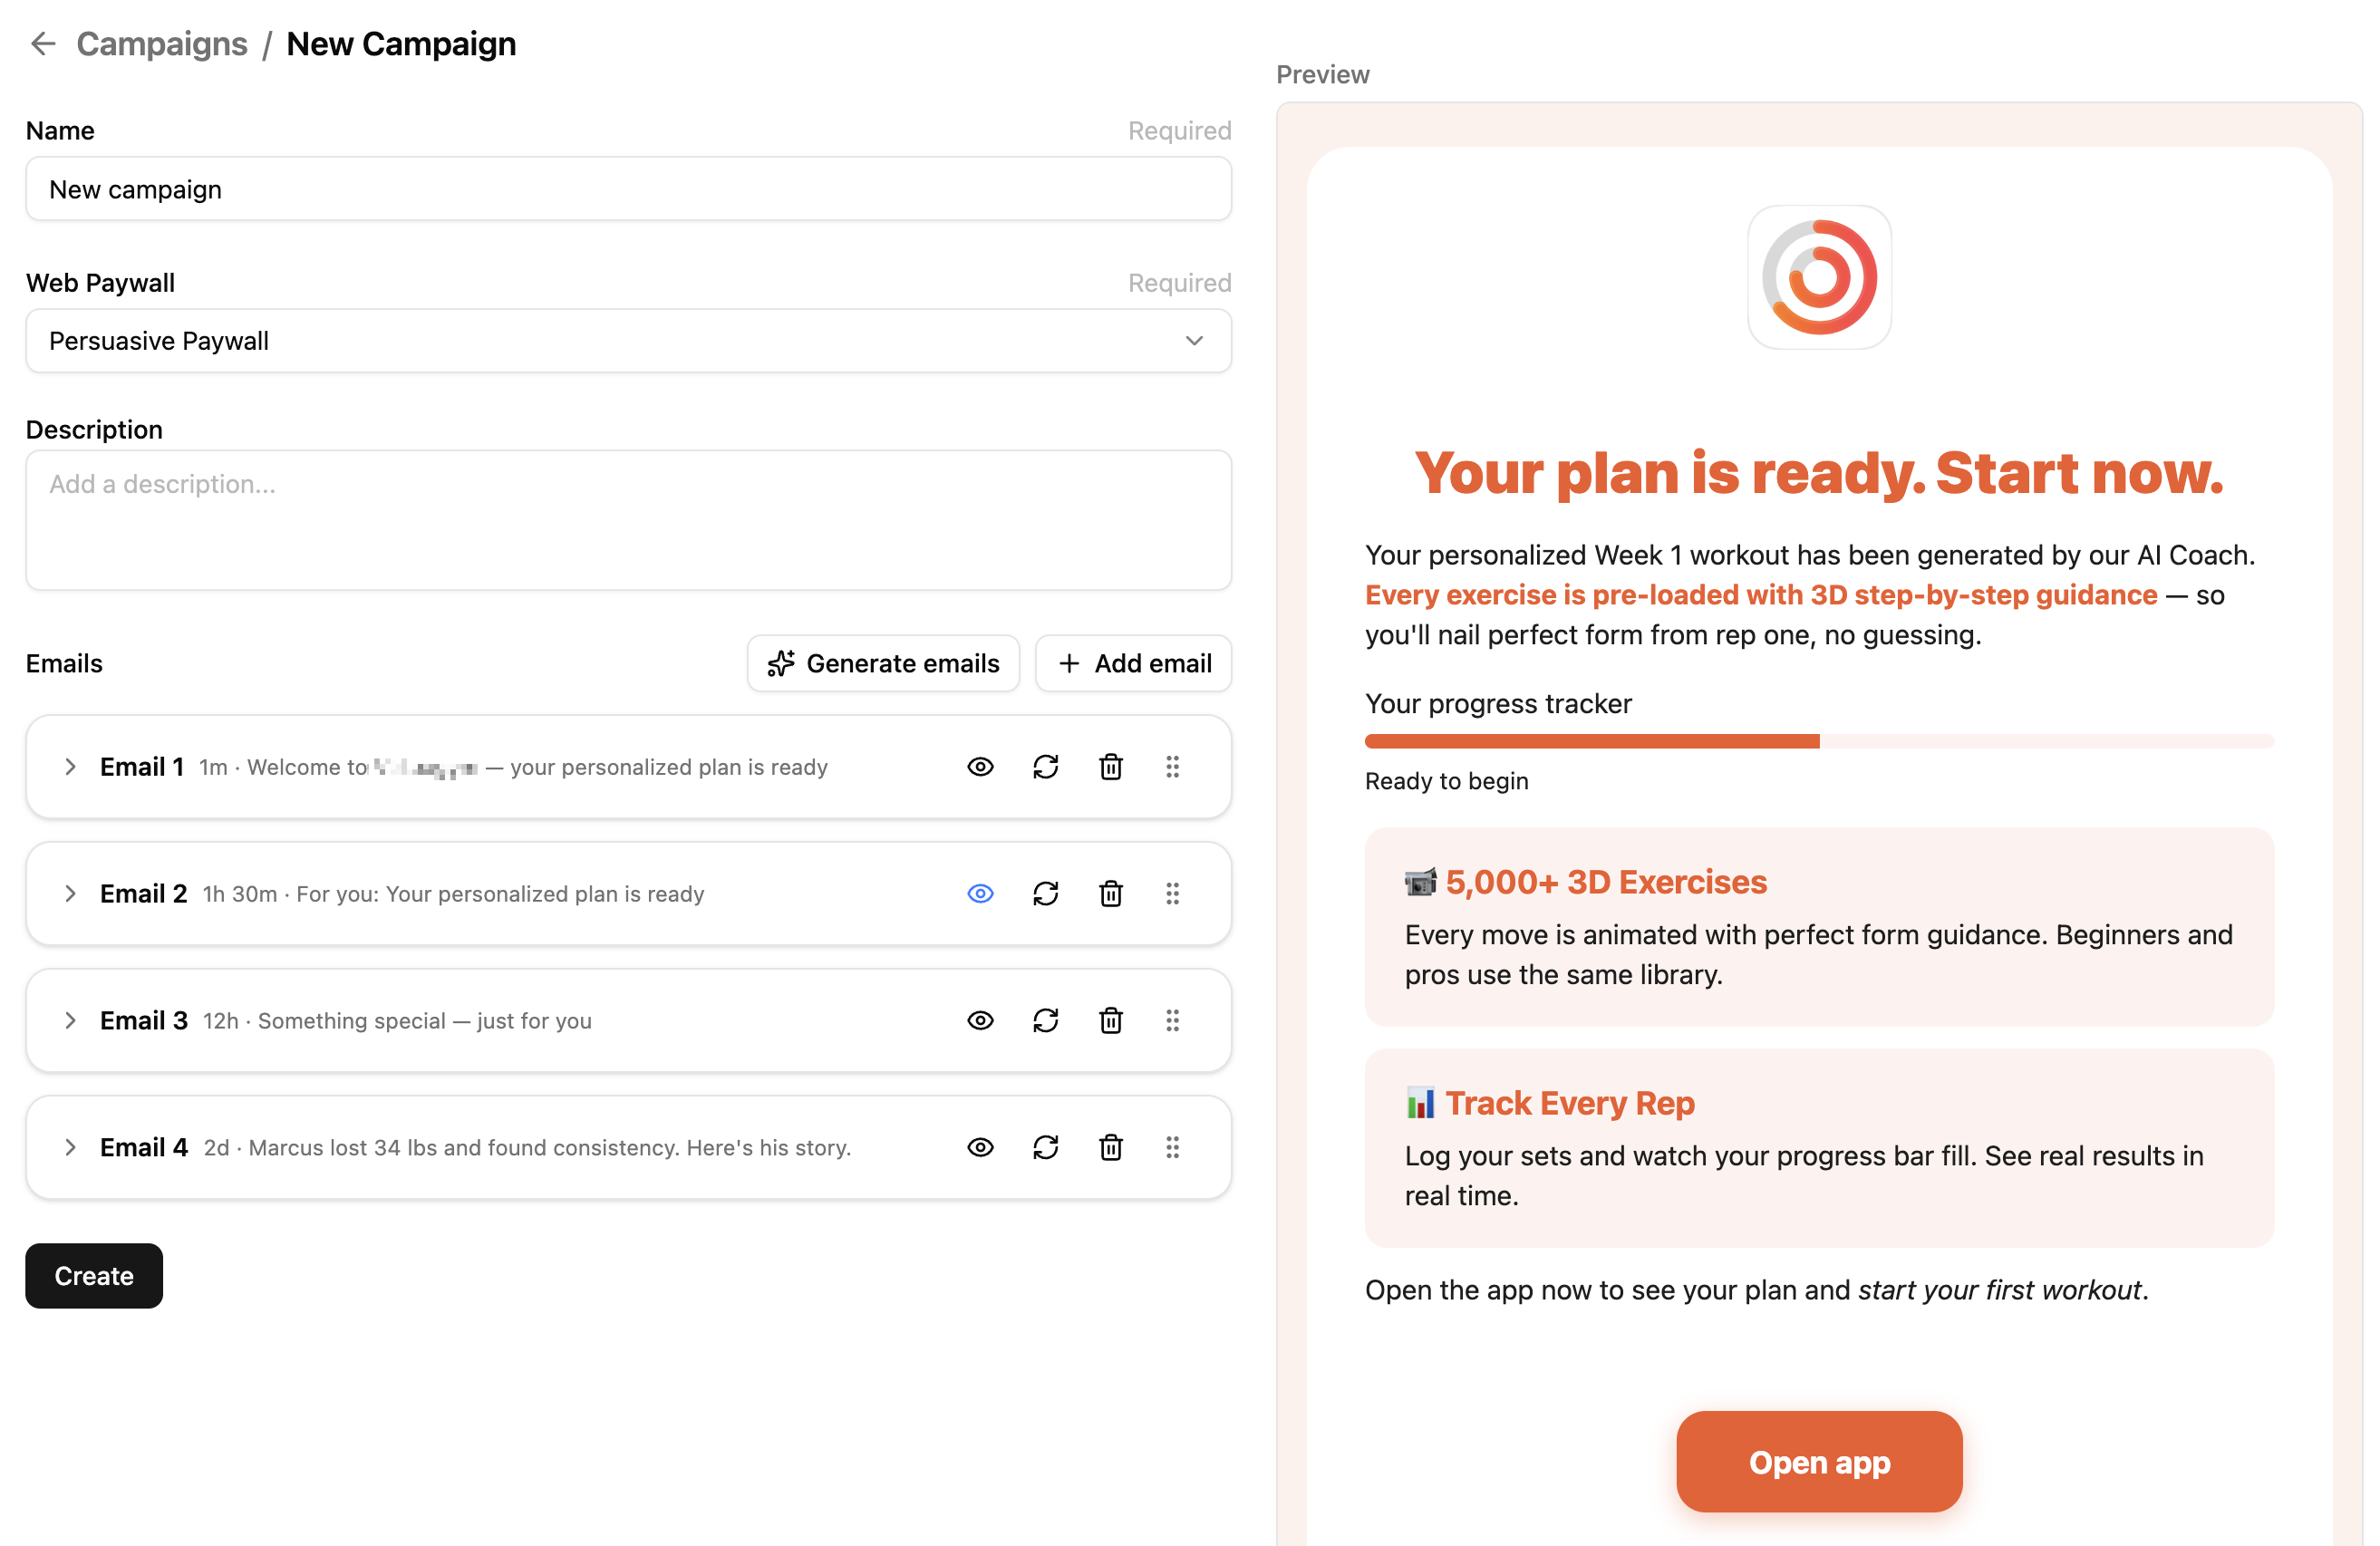
- Click Create to save the campaign.
The campaign saves as a draft and isn’t sending yet — campaigns go live only when attached to a flow (next step). There’s no separate “publish” action in the campaign editor.
5. Launch a flow
A flow pairs a trigger (an event like a subscription expiring) with a segment, and sends that segment the campaign you choose. Adapty Mail ships with five fixed triggers, each with its own flow view.
-
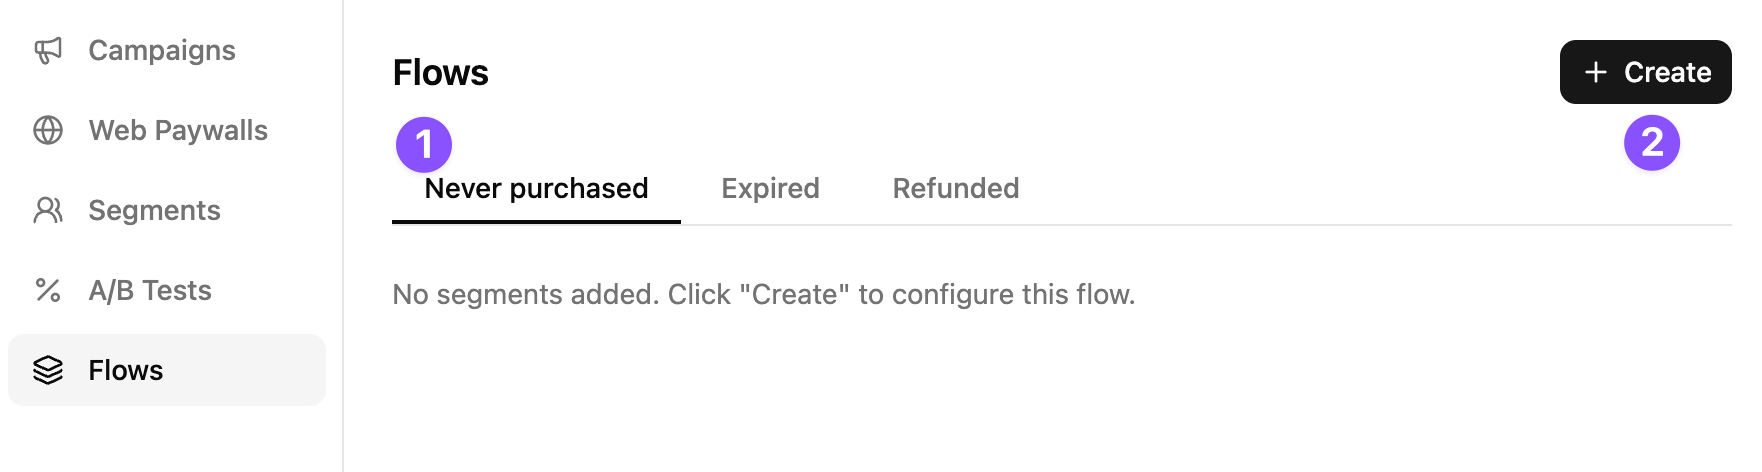
In Adapty Mail, go to Flows, then open the trigger you want to configure:
- Never purchased — users who signed up but haven’t made a purchase yet.
- Renewal cancelled — users who turned off auto-renewal but still have an active subscription.
- Billing issue — payment failed, declined or expired card, or grace period.
- Expired — subscription has lapsed and access is gone.
- Refunded — users who requested a refund after purchase.
See Flows for the goal and tone guidance behind each trigger.
-
Click Create to open the dialog.
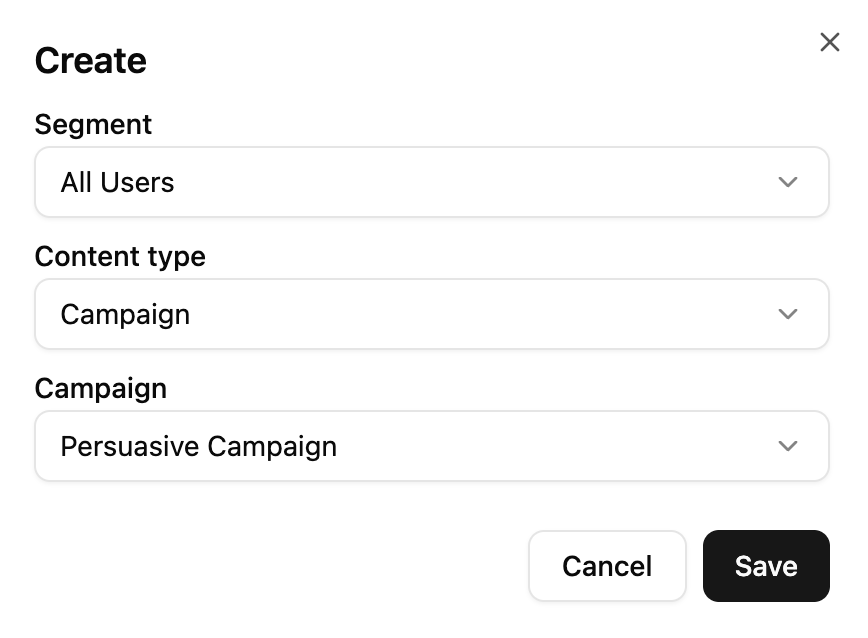
- In the dialog:
- Pick a Segment (for example, All Users to target everyone who hits this trigger, or, create a new segment based on the profile attributes).
- Leave content type set to Campaign (the A/B Test option is covered in A/B testing).
- Select the Campaign you saved in Step 4.
- Click Save.
The flow goes live immediately — there’s no separate launch step. From this point on, users who match the segment will start receiving the campaign as soon as they hit the trigger event.
You can add more than one segment → campaign row to the same trigger; they run in priority order. The All Users row, if used, must be the last (lowest-priority) row so it catches everyone not matched by a more specific segment.
6. Enable sending
Until now your campaign is wired up but not actually firing — the Adapty integration that syncs subscription events into Adapty Mail is still off. Turning it on is the final switch: events start flowing, segments start matching, and emails start sending.
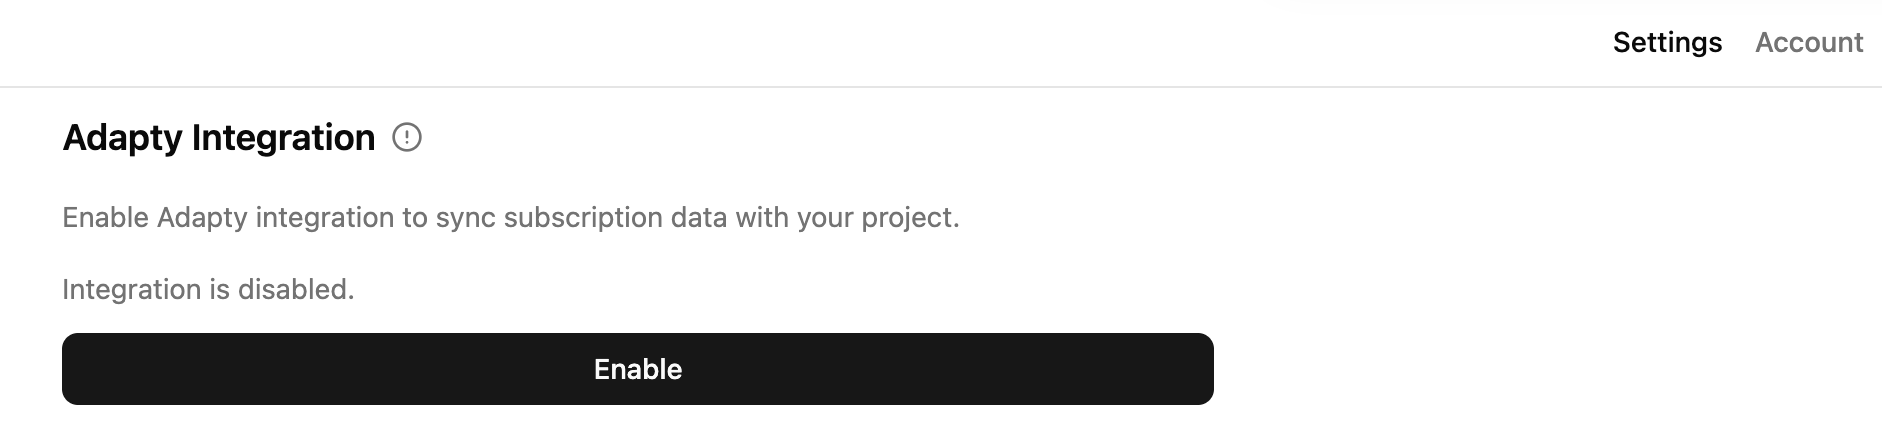
This step is unblocked only after Step 5. Before you launch a flow, the Enable button in Settings → Integrations is disabled with the tooltip “Set up at least one flow before enabling Adapty integration.”
- In Adapty Mail, go to Settings → Integrations.
- Click Enable Adapty integration (or Enable if the integration already exists from a previous setup).
When enabled, Adapty sends every subscription event — new subscriptions, renewals, trials, conversions, refunds, billing issues — into Adapty Mail. These events drive segment membership, campaign routing, and stop-conditions that pause a sequence when a user converts.
The Adapty integration toggle in Settings is not the same as the Adapty partner workspace that signed you into Adapty Mail. The partner workspace is what created your account and (if you signed up via Adapty) your brand. The integration toggle here controls event syncing — it has to be turned on per project.
Troubleshooting
| Issue | Solution |
|---|---|
| DNS verification stuck | Check that records match exactly — no trailing dots, correct CNAME targets. Wait 5–10 minutes, then click Check Verification again |
| Verification window expired | Your records remain in place. Re-enter your domain in Settings → Email Domains to start a new window |
| Generation failed or timed out | Check your internet connection and try again. If the issue persists, contact Adapty support |
Learn more
- Collect user emails: Strategies for getting email coverage if your app doesn’t collect them yet.
- Set up your sending domain: DNS record details, warm-up tiers, and troubleshooting.
- Set up checkout: Checkout funnel anatomy and personalization.
- Campaign analytics: Track delivery, engagement, and revenue.
- A/B testing: Test multiple sequence versions.