
Set up the Adapty web pixel
If you acquire users through a web funnel or landing page, the Adapty web pixel connects each visit to the ad that brought it. The pixel assigns every visitor a click ID. When the visitor pays, you pass that click ID with the transaction, and Adapty Attribution matches the purchase to the exact campaign, ad set, and ad.
The pixel is available for Meta Ads, TikTok for Business, and Google Ads campaigns. In Google Ads, it’s available for Other campaigns, not App campaigns.
If your funnel runs on FunnelFox, you don’t need the pixel. See Integrate FunnelFox with Adapty Attribution.
How it works
On page load, the pixel:
- Assigns the visitor a
click_idand stores it in the browser for 7 days. - Captures the ad signals from the page URL: the Meta (
fbclid), TikTok (ttclid), and Google (gclid,gbraid,wbraid) click IDs, the campaign, ad set, and ad identifiers and names, andutm_*parameters. - Sends the
click_idand the captured signals to Adapty in the background.
At checkout, you attach only the click_id to the transaction. Adapty matches it to the signals the pixel already sent and determines the advertising channel automatically.
Before you start
Connect Meta Ads, TikTok for Business, or Google Ads to Adapty Attribution and add a campaign configuration. Adapty generates the pixel snippet per campaign configuration, so you need one to copy the snippet from.
The pixel reads ad data from your landing page URL, so your ads must carry Adapty’s tracking parameters. Without them, Adapty attributes the purchase to the network but not to the campaign, ad set, or ad. See Tag your ad URLs for web funnels.
Install the pixel
- In Adapty Attribution, open your Meta Ads, TikTok, or Google Ads campaign configuration.
- Expand the Web funnel section and copy the Pixel snippet field value. In Meta Ads and TikTok configurations, the section is in the General tab.
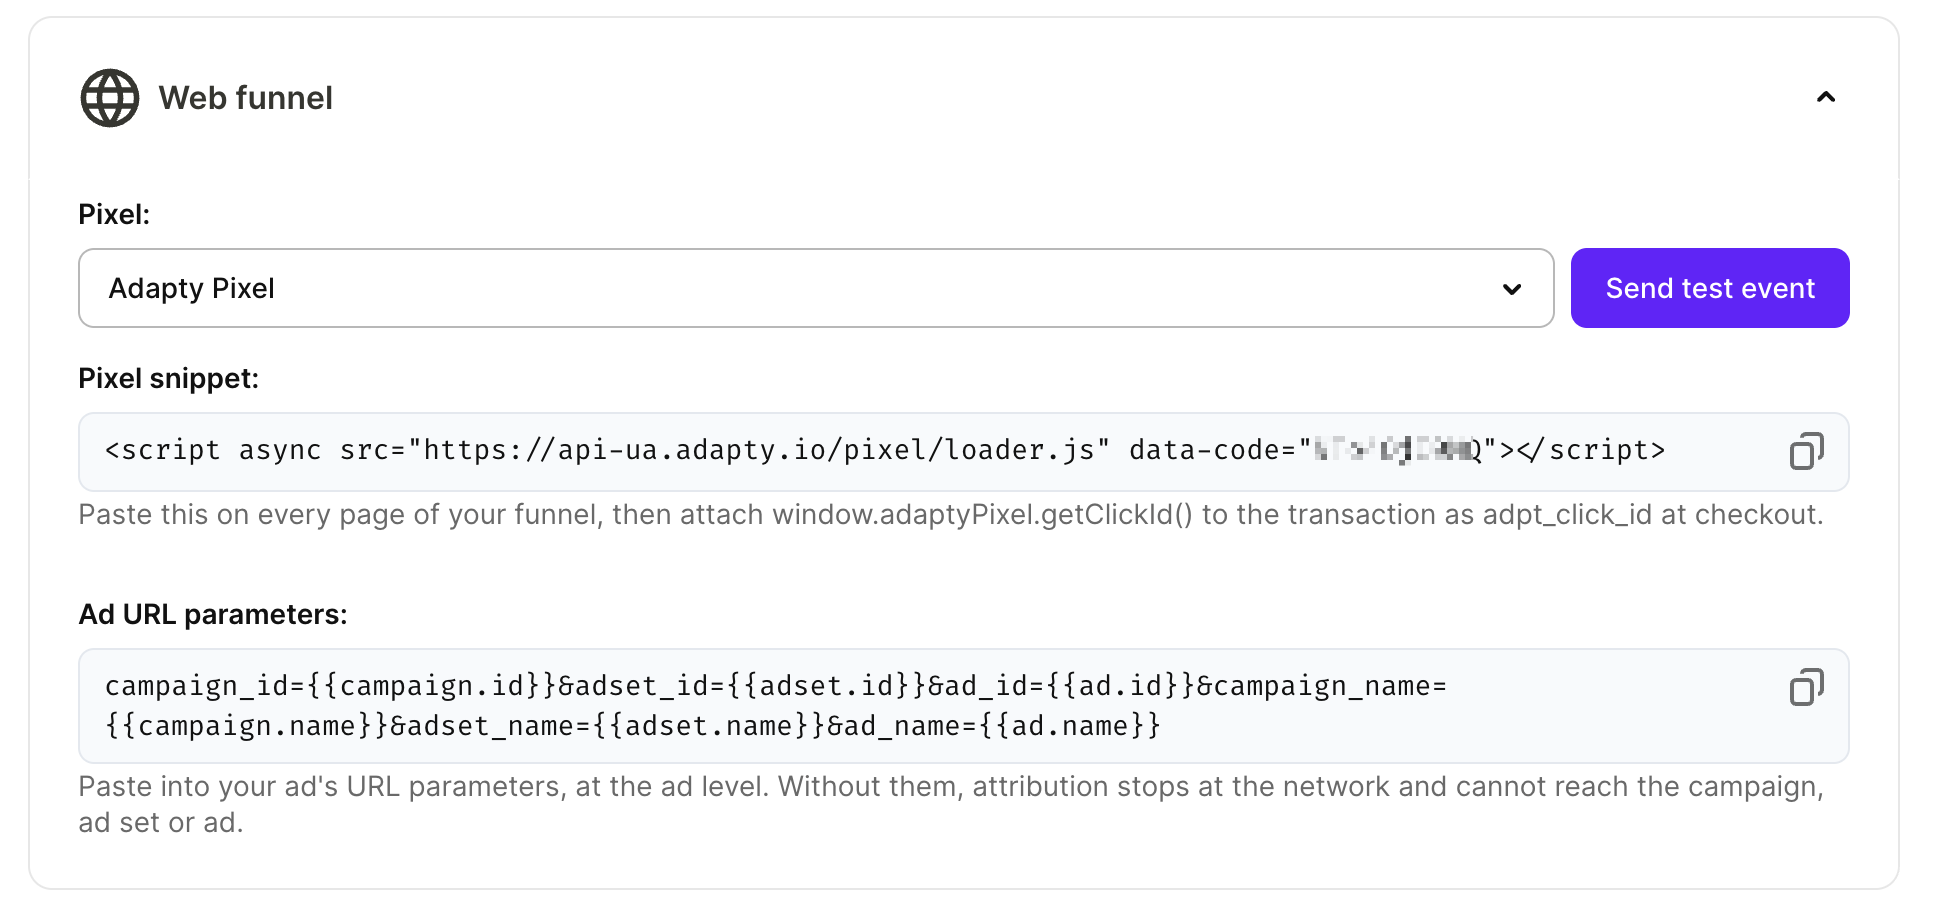
- Paste the snippet into the
<head>of every page of your funnel:
<script async src="https://api-ua.adapty.io/pixel/loader.js" data-code="YOUR_CODE"></script>The data-code value identifies your app and campaign. It is a public identifier, not a secret.
Manage consent
The pixel writes a first-party cookie and a localStorage entry, and reads ad click IDs on page load. You are the data controller for your funnel and own the legal basis for this.
By default, the pixel runs on page load. To gate it on consent, add data-consent="denied" to the snippet — the pixel stores and sends nothing until you grant consent from your cookie banner:
window.adaptyPixel.grantConsent();  // start capture
window.adaptyPixel.revokeConsent(); // clear stored state and stop
window.adaptyPixel.getConsent(); // 'granted' | 'denied'Gate the pixel on consent for EU/EEA traffic. ePrivacy rules require prior consent for browser storage, and a first-party attribution pixel is not exempt.
The snippet loads asynchronously, so window.adaptyPixel doesn’t exist on the line right after the <script> tag. Call the consent API from your consent-banner callback, or guard an early call with if (window.adaptyPixel) { ... }.
Usage notes
- Single-page funnels: Client-side navigation keeps the same
click_id, so a funnel built as a single-page app works without extra setup. - Click ID stability: Reading the
click_idat page load or at checkout returns the same value. If the visitor re-enters the funnel from a new ad, the newest ad click wins. - Renewals: Attach the
click_idonly to the initial transaction. Adapty attributes trial conversions and subscription renewals through the subscription itself.