
Integrate Stripe with Adapty Attribution
Connect your Stripe account to Adapty Attribution to attribute purchases made in your web funnel to the ads that drove them. Once connected, purchases, renewals, refunds, and chargebacks from Stripe appear in Adapty Attribution analytics, and conversion events can be sent back to the ad networks for campaign optimization.
How it works
- The Adapty web pixel assigns every funnel visitor a click ID and captures the ad data from the landing URL.
- At checkout, your funnel attaches the click ID to the Stripe transaction.
- Adapty receives the transaction through a webhook it creates in your Stripe account and matches it to the ad click.
Web purchases have no app install event. Adapty cohorts them by the date of the first trial start or purchase — see Analytics.
Before you start
Set up the Adapty web pixel on your funnel. Without the pixel, there is no click ID to attach, and transactions can’t be attributed to ads.
Step 1. Attach the click ID at checkout
When you create the transaction, read the click ID and add it to the Stripe metadata under the adpt_click_id key:
const adptClickId = window.adaptyPixel.getClickId();The value must end up on the PaymentIntent for one-off payments or on the Subscription for recurring ones, because those are the objects Adapty reads. If you create them directly:
metadata: { adpt_click_id: adptClickId }If you use Stripe Checkout, set the metadata in the nested objects. Metadata on the Checkout Session itself is not copied to the PaymentIntent or the Subscription, so a click ID left there never reaches Adapty:
stripe.checkout.sessions.create({
  // ...
  payment_intent_data: { metadata: { adpt_click_id: adptClickId } }, // one-off payments
  subscription_data:   { metadata: { adpt_click_id: adptClickId } }, // subscriptions
})Set the metadata when you create the PaymentIntent, not by updating it afterwards. Stripe copies the metadata onto the charge at the moment the charge is created, so a click ID added later never reaches Adapty.
The click_id is a short random identifier, not a secret and not personal data. It is visible in your Stripe dashboard, which is expected.
Step 2. Connect your Stripe account
First, create the key in Stripe. In your Stripe dashboard, go to Developers → API keys and create a restricted key with these permissions:
| Resource | Access |
|---|---|
| Charges | Read |
| Refunds | Read |
| Invoices | Read |
| Balance transactions | Read |
| Disputes | Read |
| Webhook endpoints | Write |
Write access on webhook endpoints lets Adapty create the webhook that delivers your payments — there is nothing to configure by hand in Stripe. Everything else stays read-only: Adapty never writes to your payment data. A key without a required permission is rejected at connection time with an error naming the missing one.
Use a live key. Adapty discards test-mode payments as they arrive, so a test key (rk_test_...) connects successfully and shows as Valid, but no data ever appears. To verify the integration, connect the live key and make a real purchase.
Then, add the key in Adapty:
- In Adapty Attribution, go to Integrations > Stripe.
- Paste the key into API key. Optionally, enter a Name to tell accounts apart — by default, Adapty uses the key’s last 4 characters.
- Click Connect.
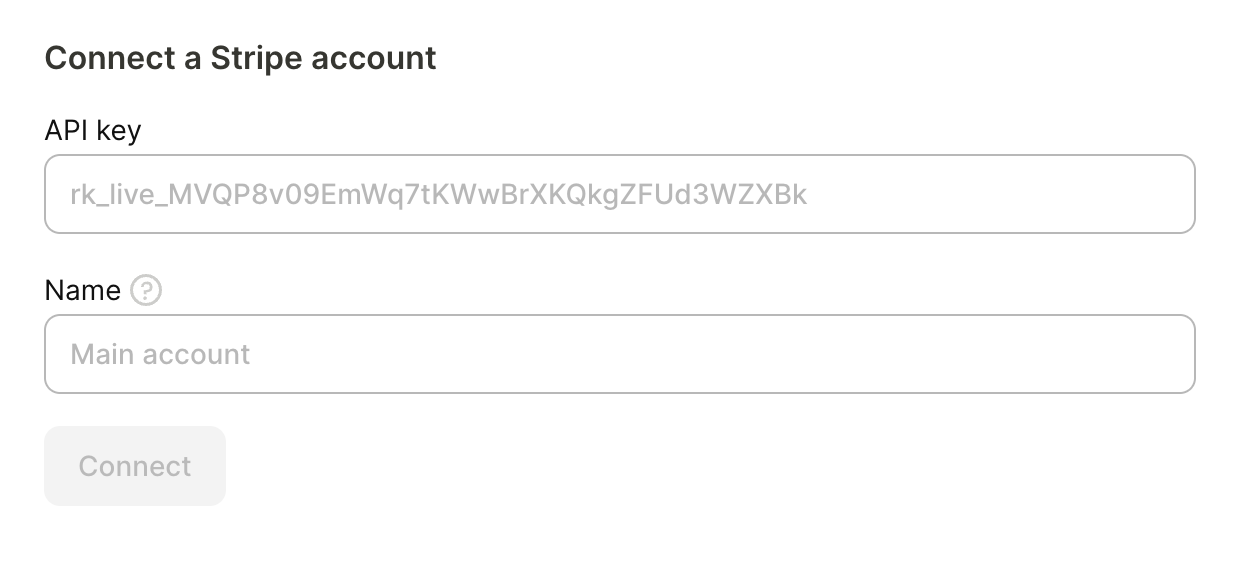
The connected account appears in the table with its environment, key status, and webhook state. The connection applies to the app you are configuring. To receive the same Stripe account’s payments in another app, add the same key there.
Adapty imports transactions starting from the moment you connect the account. To bring in earlier transactions, contact us at support@adapty.io.
Verify the integration
Make a real purchase through your funnel — Adapty discards test-mode purchases. The purchase should appear in Adapty Attribution analytics within a couple of hours. If your visit came from an ad with tagged URLs, the purchase is attributed to that campaign, ad set, and ad; otherwise, it counts as organic.
Send conversion events to the ad network
Attributed web purchases follow the same event mapping as the rest of the campaign: the events you enable in the campaign configuration’s Events names section are sent back to the pixel you associated with the campaign. See the mapping setup for Meta Ads and TikTok for Business.