
Import a design from Figma
The Adapty plugin for Figma turns frames from your design file into a flow. Select frames in Figma, send them to Adapty, and the import creates a draft flow you edit in the flow builder like any other.
How the import works
The plugin reads selected Figma frames and uploads them to Adapty, which converts them into the screens of a new draft flow. The plugin never changes your Figma file, and nothing leaves Figma until you click Export to Adapty. The result looks like your design and works as a basic flow: buttons lead to the next screen, quiz options are selectable, and a paywall is ready for you to link your products.
See Import limitations to learn about the adjustments you may need to make manually.
Before you start
To import a design, you need:
- A Figma design file: The plugin runs in design files only. FigJam boards and Figma Slides aren’t supported.
- Edit access to the file: The plugin can’t run in a file you can only view. Your own drafts work well.
- An app in Adapty with flow editing privileges: The import creates the flow inside one of your apps. Make sure you can edit the flows inside the target Adapty app.
1. Install the plugin
To install the plugin:
- Open the Import to Adapty plugin page.
- Click Save. The plugin is now in Figma’s Plugins menu.
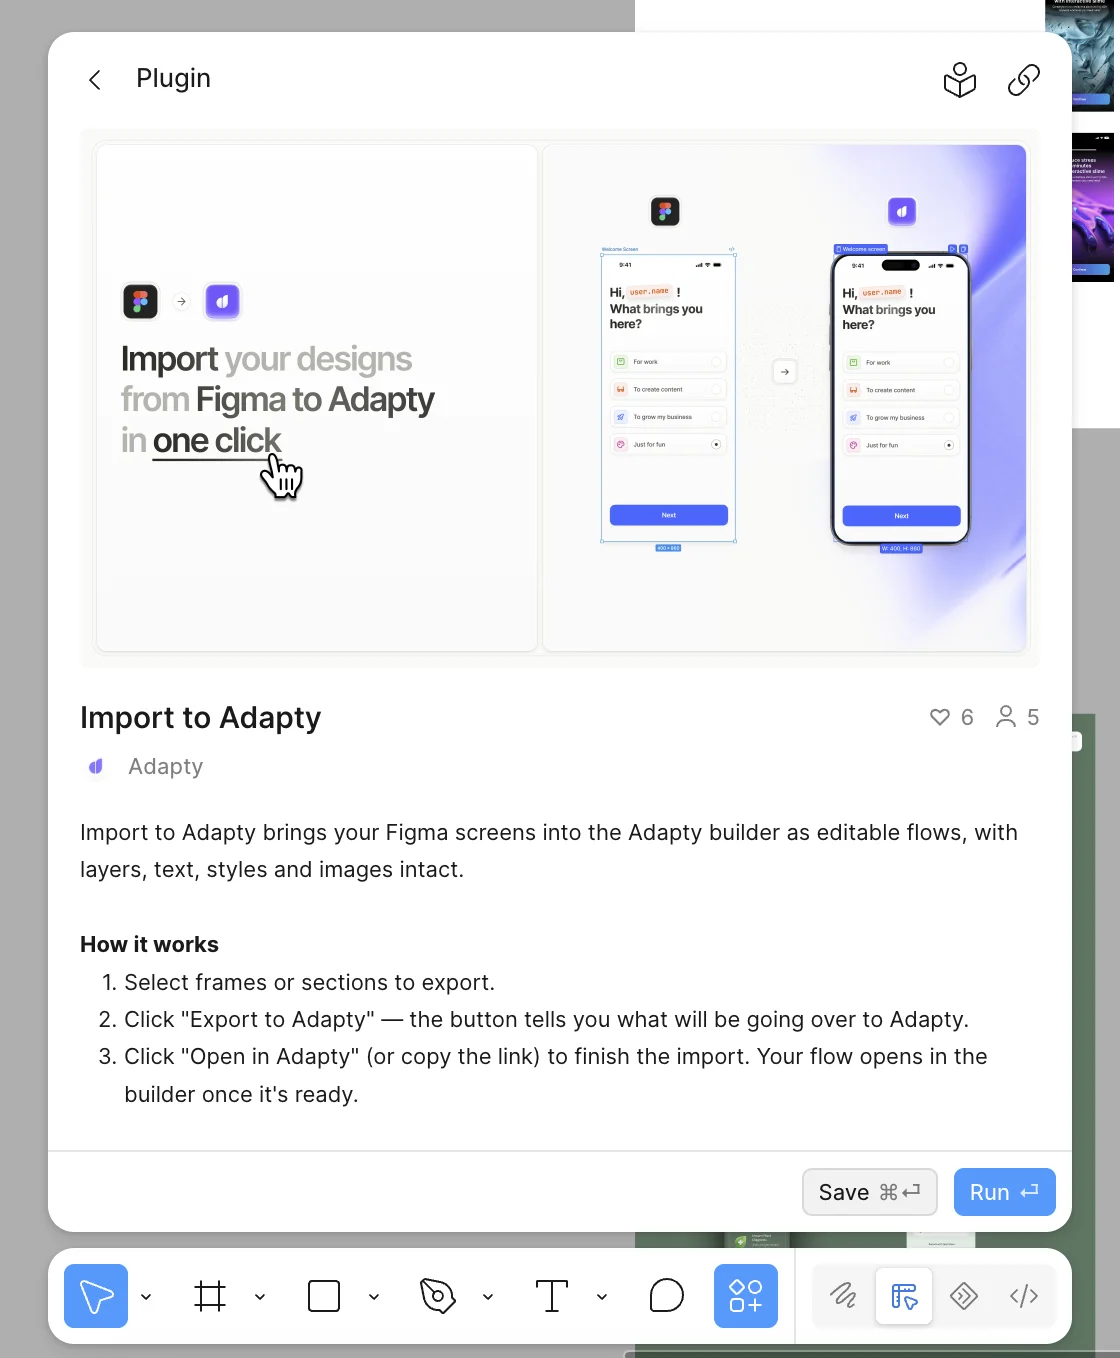
Figma updates published plugins automatically, so you always run the latest version.
2. Send your design to Adapty
To send screens to Adapty:
- In Figma, select the frames to import. Select several at once to send a whole sequence of screens.
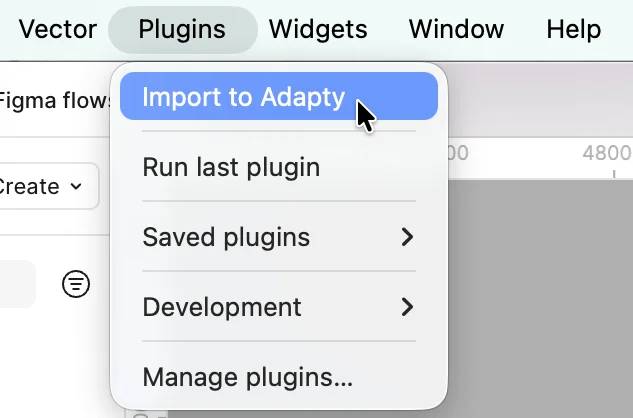
- Go to Plugins > Import to Adapty.
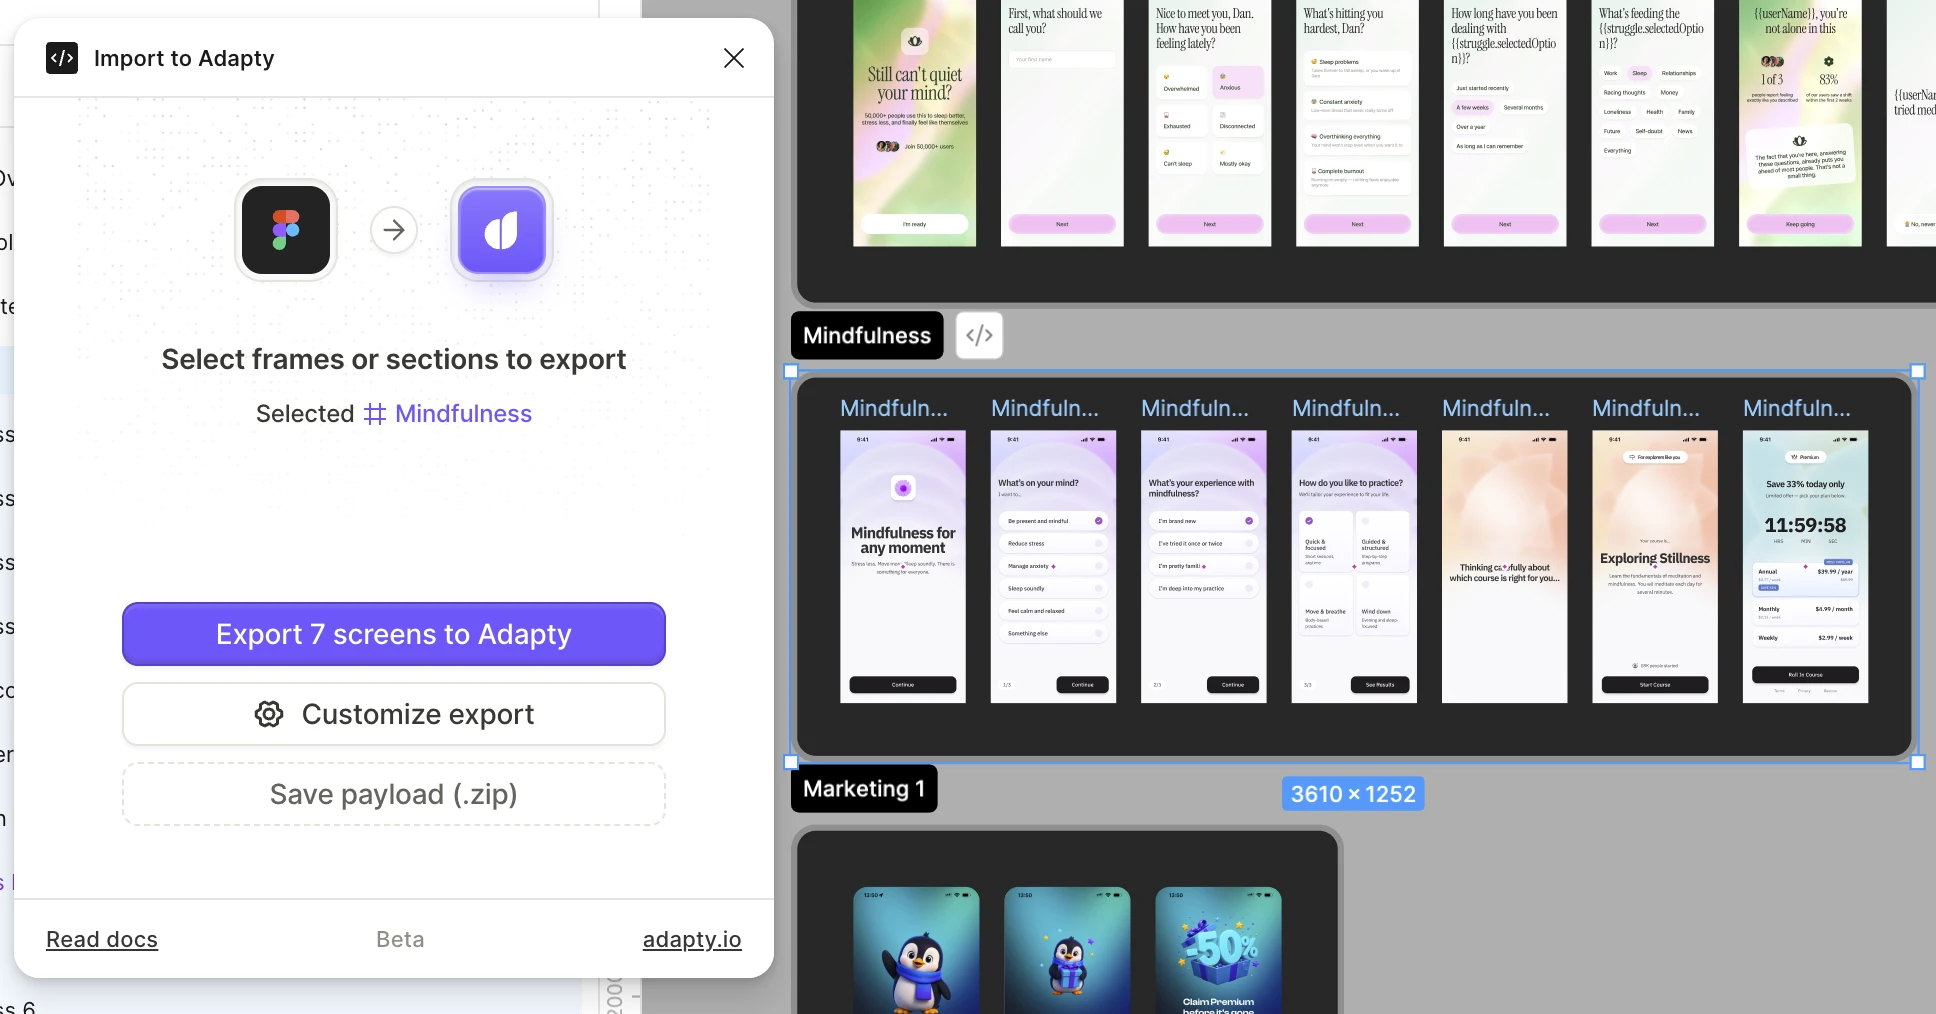
- Review the selection the plugin lists, then click Export to Adapty.
- Click Open in Adapty.
The plugin displays the name of the selected element and counts the number of resulting screens. Confirm before continuing.
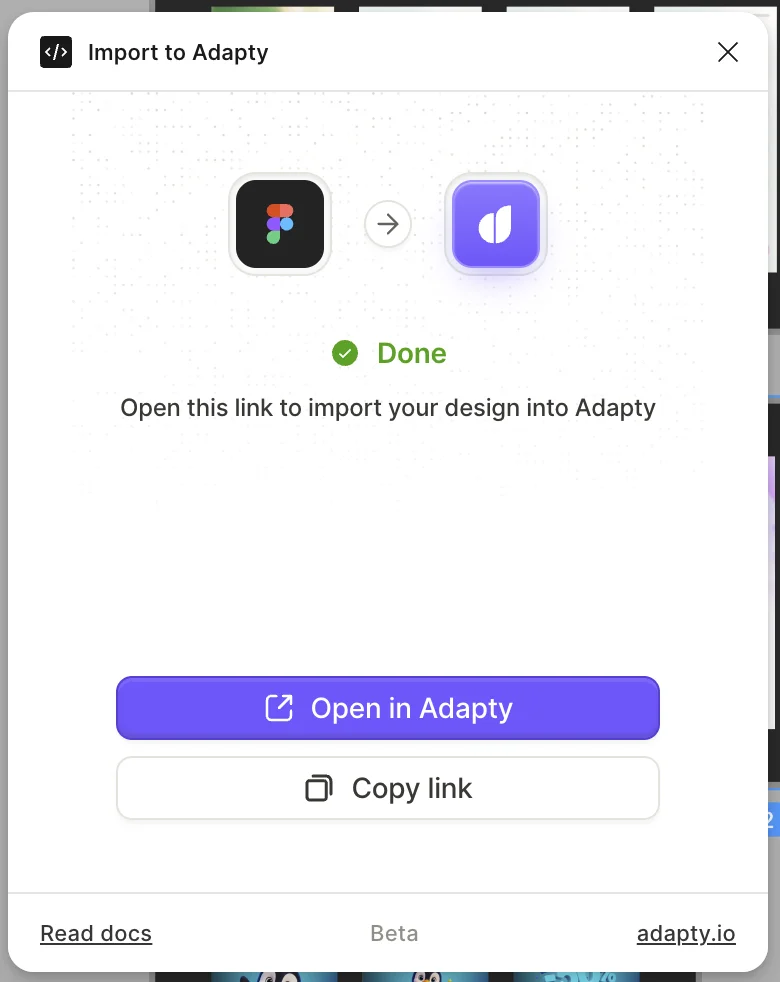
Once the upload finishes, the plugin displays the Done screen. To proceed:
- Log into Adapty. If you open the import link in an unauthenticated browser, the import won’t work.
- Open the import link in a browser:
- Click Open in Adapty to open the import in your default browser
- Click Copy link to copy the link to your clipboard, and start the import in a different browser or profile.
How frames become screens
What you select decides how many screens you get:
- Several frames: Each frame becomes its own screen.
- A section: Each frame inside the section becomes a screen.
- A single frame: The whole frame becomes one screen, even if it contains other frames. To import those inner frames as separate screens instead, turn on Split into separate screens.
Screens follow the order of the frames in Figma’s Layers panel, from bottom to top, not their position on the canvas or the order you clicked them. Navigation follows the same order, so arrange the frames in the Layers panel before you export, or reorder the screens in the builder afterwards. Select individual frames or a section rather than a whole page. Otherwise you import every other frame on that page too.
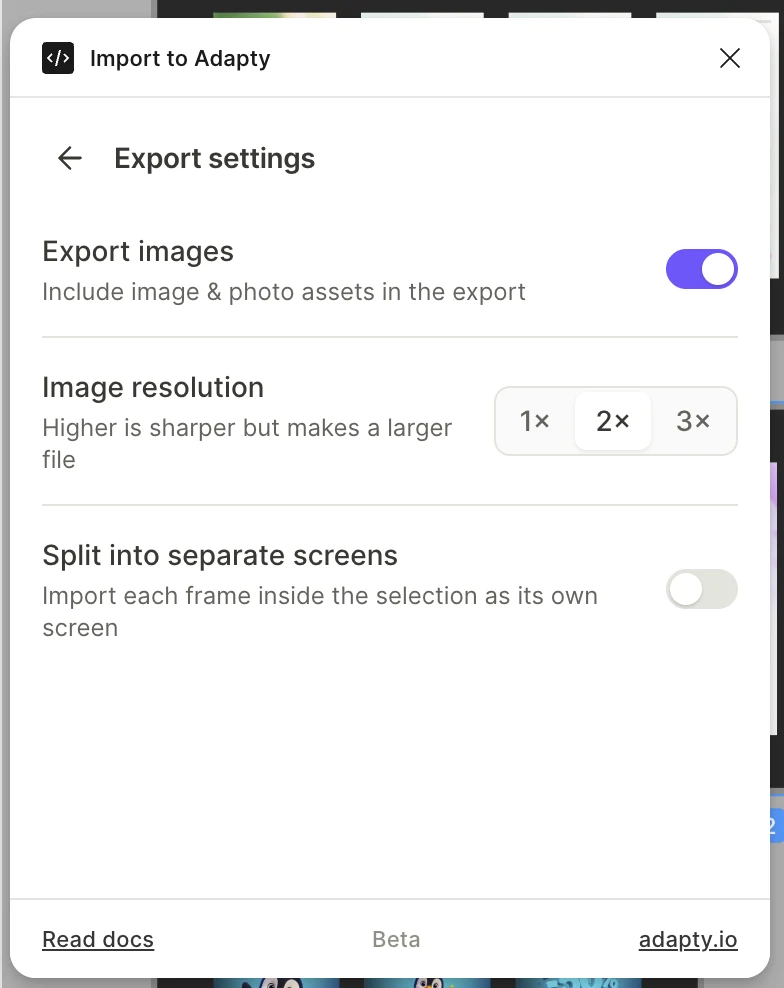
Export settings
To change what the export includes, click Customize export:
- Export images: Includes image and photo assets. On by default.
- Image resolution: Exports images at 1×, 2×, or 3×. Higher resolution increases the sharpness and file size. 2× by default.
- Split into separate screens: Imports each frame inside your selection as its own screen. Off by default.
3. Finish the import in Adapty
Open in Adapty opens a browser tab in your Adapty dashboard. Conversion itself runs on Adapty’s servers — the tab shows progress and creates the flow at the end.
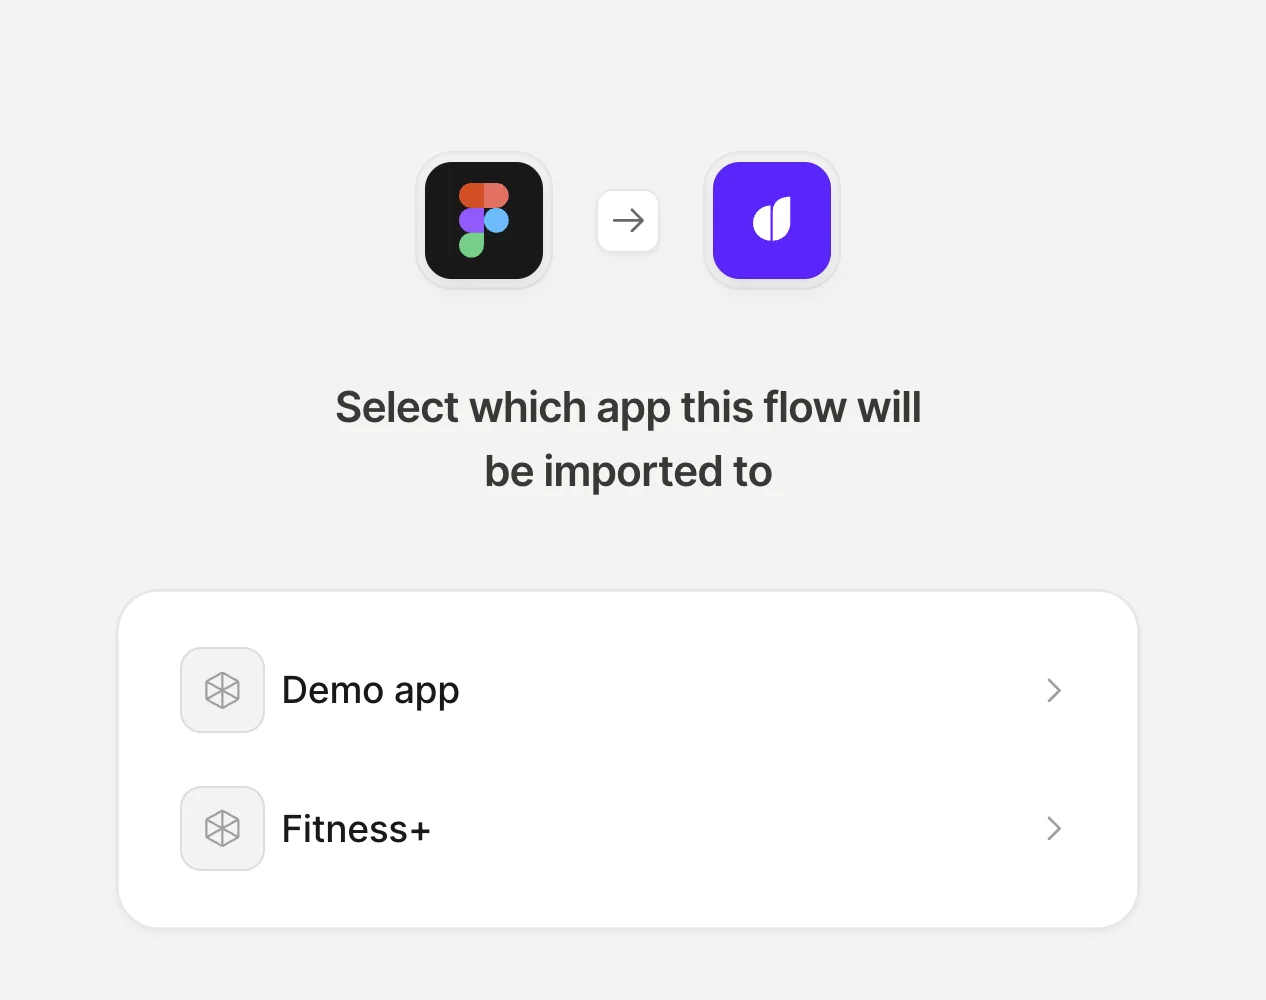
- Select the app this flow belongs to. Conversion starts as soon as you choose.
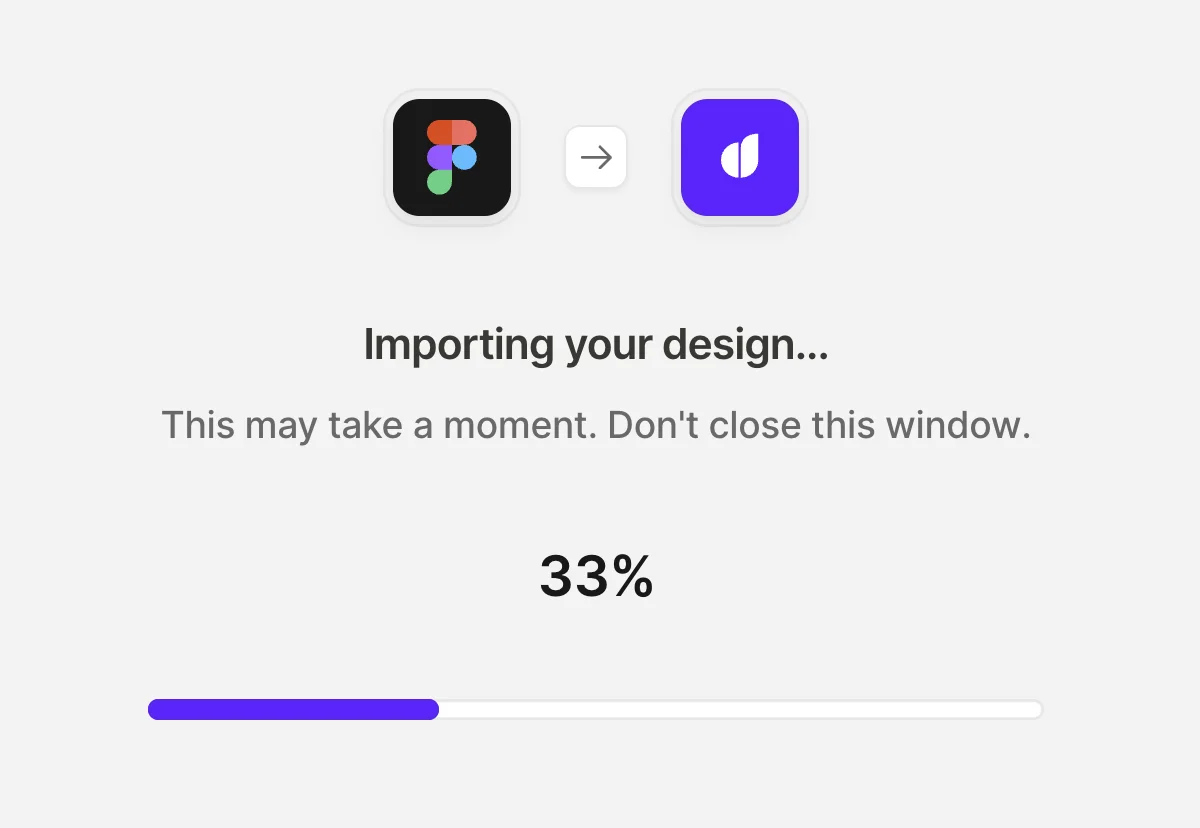
- Keep the tab open until the import finishes (may take several minutes). If you close the tab early, open the same link again to resume.
Adapty then converts the design and reports how far along it is.
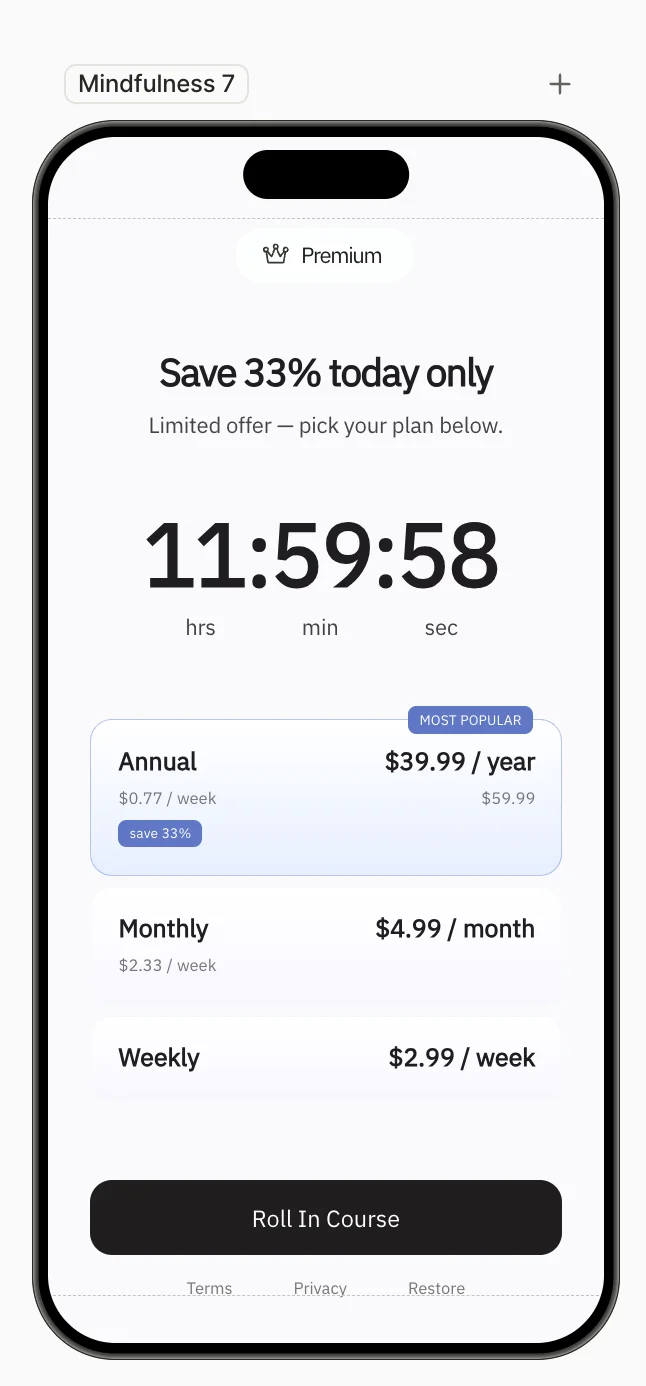
The finished flow opens in the flow builder as a draft, named after the Figma file it came from, with a descriptive name for each screen. Adapty tells you when parts of the design need a second look.
Import limitations
An import reproduces the look of your design and wires the basics: navigation, selectable groups, inputs, and purchase actions. These parts of a design never come across:
- Products: The import creates product cards, adds purchase actions, and inserts placeholders for product variables. You need to link your actual products and replace the placeholders yourself. See Set up purchases.
- Typefaces: The import assigns no font to your text. To restore your typeface, upload the font file and select it for the affected text.
- Videos: A video exports as a placeholder. Add the video in the builder afterwards.
- Hidden layers: A hidden layer doesn’t export.
One export includes at most 50 screens and 20 MB of design data. Image resolution drives that size most, so a large export gets smaller when you set Image resolution to 1×.
Each export produces a single flow. To import the same design a second time, export it from Figma again.
An import link stays valid for one hour after the export. Finish the import in one go, or start over.
Troubleshooting
Export errors
| Message | What to do |
|---|---|
| Too many screens to export | Split your selection into smaller batches of 50 screens or fewer. |
| Export data is too large | Lower Image resolution, or reduce the number of layers in your screens. |
| This frame is too large to export | Export a smaller section of the design. |
| Upload didn’t complete | Your design changed while it uploaded. Export it again. |
| This import link has expired | An import link is valid for one hour. Export the design again from Figma. |
| This design was already imported | That export already produced a flow. Export the design again from Figma. |
After an import
| What you see | Cause and fix |
|---|---|
| A screen looks washed out, as though a haze covers it | A background image was imported as an ordinary element on top of your content. Move it behind the rest of the screen. |
The Products panel is empty and prices show {{figma_import_…}} placeholders | The import doesn’t link products. Add yours in the Products panel, select them in each product card and purchase action, and replace the placeholders. |
| Screens are out of order, or buttons open the wrong screen | Screens and navigation follow the frame order in Figma’s Layers panel. Reorder the screens in the builder and check each button’s Navigate to screen action. |
| An image is missing, with only its background left | The layer was a video, was hidden, or was built with a shape operation. Replace the image in the builder. |
| Two options in a single-choice group look selected at once | The non-selected state of the default option does not have the correct styling. Change the styling manually. |
| A countdown shows a fixed time and never counts down | The countdown imported as text. Replace it with a countdown timer. |
| The font control reads Select font | The typeface isn’t available in the builder. Upload the font file and select it. |
Next steps
The imported flow is a draft, unavailable to users. Improve the flow in the builder and follow the steps below to ship it:
- Save and publish the flow.
- Preview the flow on a real device.
- Create a flow placement and add the flow to it.
- Fetch that placement in your app with Adapty SDK v4.0 or later. Earlier SDK versions can’t render flows.