
Build a hero screen with a sliding sheet
A hero screen shows an edge-to-edge image or video at the top, with your content on a panel below it. To build one, put all your content on a Sliding sheet, with the hero behind it. The sheet covers the bottom part of the screen, and moves up over the hero as users scroll.
Lay your content over a hero image or video
-
Add the hero as the screen background: in the screen settings, set Fill to an image or a video. The sheet covers the bottom part of the background, so pick an image or video that shows its subject near the top.
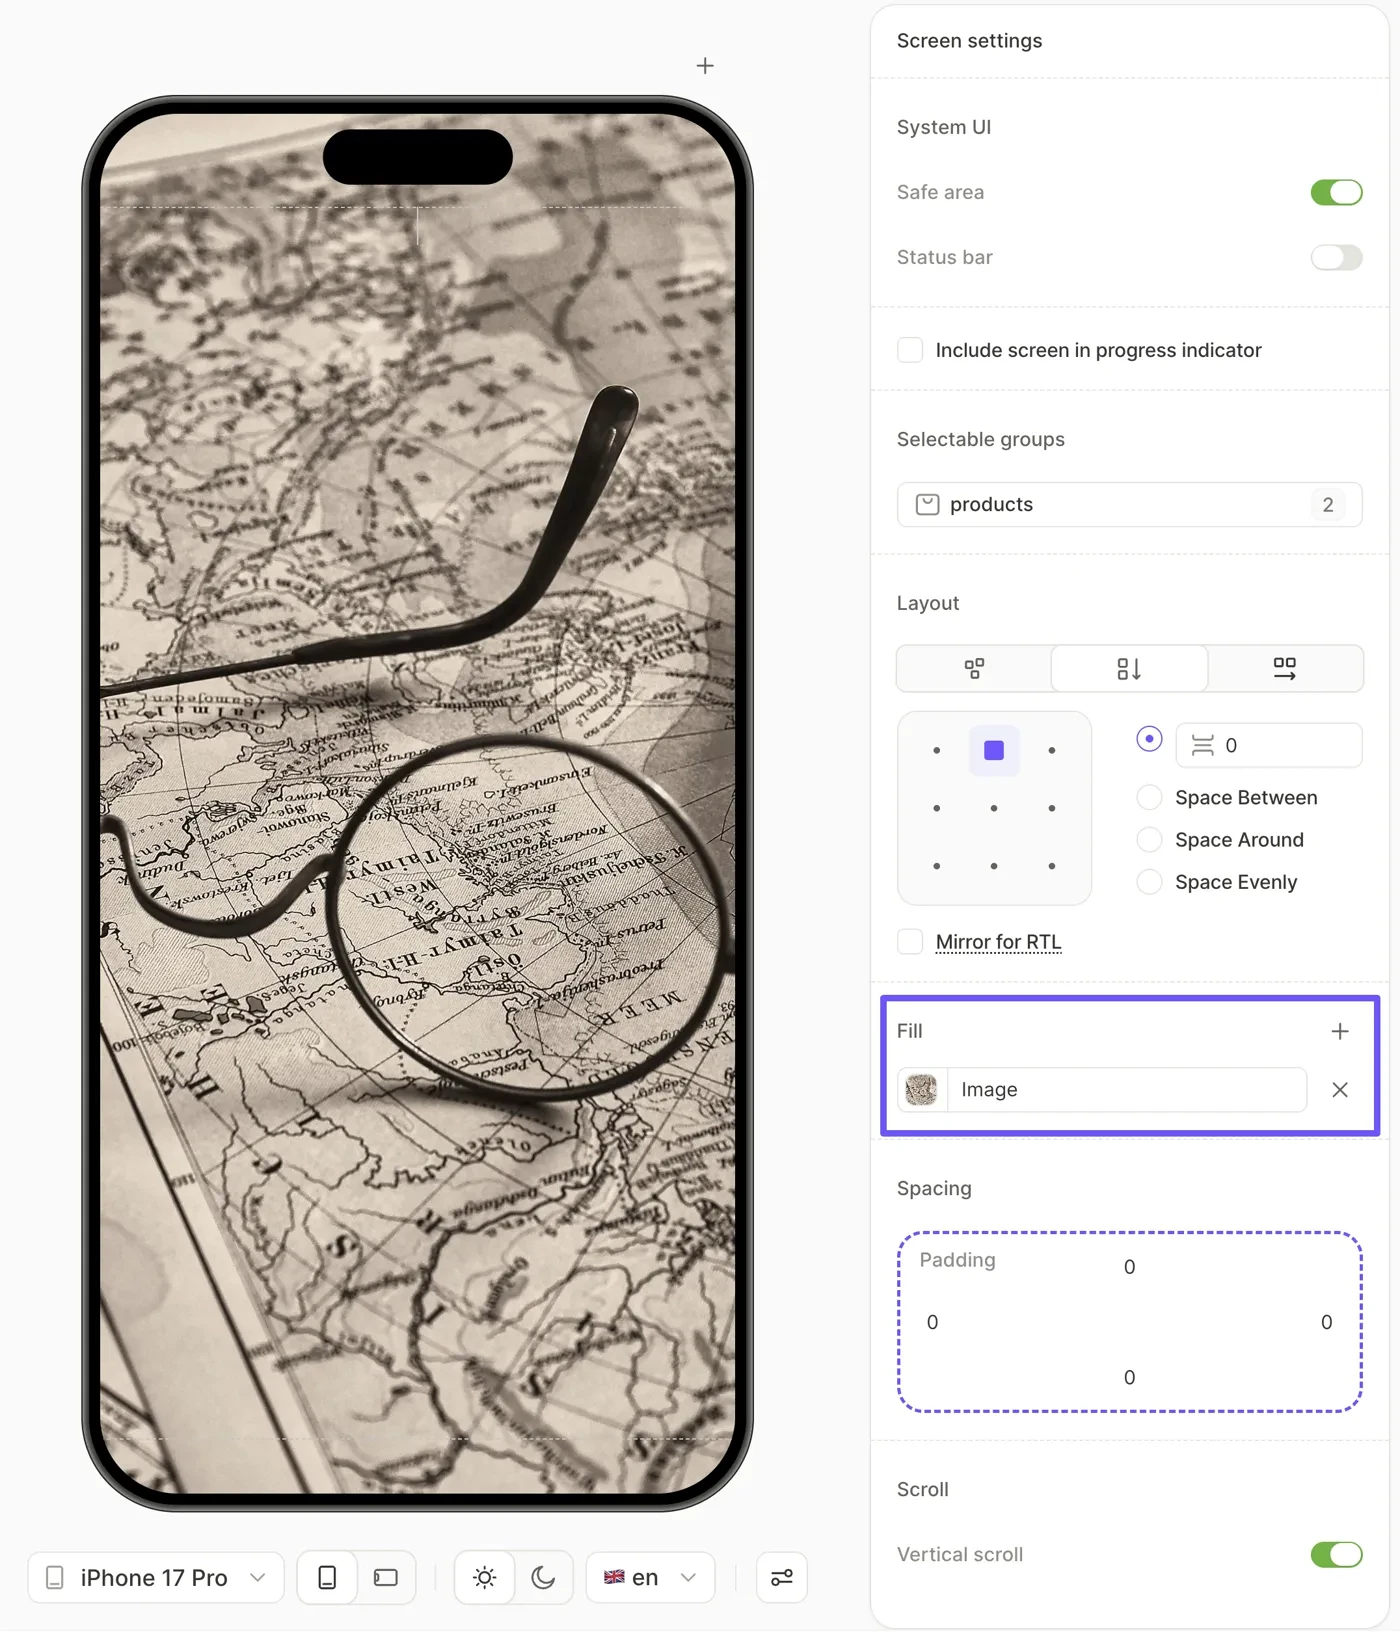
-
Open the Add element panel and select Sliding sheet.
-
Place the content of the screen in the sliding sheet — drag it in the Layers panel.
-
To keep the purchase button in view, add it to a footer. The button will stay at the bottom of the screen while the content scrolls.
-
Adjust the sheet’s Start position to show more of the hero or more of your content when the screen first opens.
-
To see how the sheet moves over the hero, scroll the screen in the preview area.
-
Select other models from the device list, and review the area above the sheet. Start position is a percentage of the screen height, so that area is shorter on short phones.
How the sheet scrolls over the hero
Start position is the position of the sheet when the screen opens. At the default 55%, the sheet covers the bottom 55% of the screen, and users see the hero in the top 45%.
If all the content is visible when the screen opens, the sheet stays at its start position. Otherwise, users scroll the whole sheet up over the hero. If the content is taller than the screen, the top of the sheet scrolls out of view.
To keep tall content scrollable, in the screen settings, leave the Vertical scroll toggle on. If you turn it off instead, the sheet stays at its start position and cuts off any content that doesn’t fit.
While the sheet moves, users see the following:
- The sheet slides up over the elements outside it, such as a logo or a headline at the top of the screen. These elements move up too, but more slowly, which gives the screen a sense of depth (parallax). On Android, parallax is available in native Android and React Native apps with Adapty SDK v4.3.0 or later. In other Android apps — or older SDK versions — the effect is not visible.
- On iOS, when users pull the sheet below its start position, the elements outside the sheet stretch.
- The screen background doesn’t move.
Add parallax to the hero
To give the hero the parallax effect, add it as an image or video element outside the sheet, instead of the screen background.
The element doesn’t reach the screen edges by default. The screen padding insets the element on every side, and with Safe area on, it starts below the status bar.
- Open the Add element panel and drag an Image or Video element onto the area above the sheet.
- To make the element reach down to the sheet, set its Width and Height to Fill. Keep Content mode (Aspect on a video) at Fill.
- To make the element reach the left and right edges of the screen, open the screen settings. Under Spacing, set the left and right padding to 0. If the sheet has square top corners, set the bottom padding to 0 too, so the element reaches the sheet.
- To make the element reach the top edge of the screen, under the status bar, keep it as the first element outside the sheet. Then click the element, and in the Position section, select the Ignore safe area checkbox.
Place elements over the hero
To place a logo or a headline over a background hero, drag the element onto the area above the sheet. Elements outside the sheet stack from the top of the screen, and whatever doesn’t fit in that area is cut off. To place them over an image or video element, set their Position to Absolute.
To keep a close button in view while users scroll, add it directly to the screen and set its Position to Fixed. You can’t select Fixed for an element inside the sheet.
On Android, elements outside the sheet with Relative or Absolute position only respond to taps in the following apps:
- Native Android apps with Adapty SDK v4.2.1 or later
- React Native apps with Adapty SDK v4.2.2 or later
In other Android apps, keep buttons and other tappable elements inside the sheet.
Keep the purchase button in view
To keep the purchase button and legal links visible while users scroll, put them in a footer. The footer goes inside the sheet.
The footer stays at the bottom of the screen, over the sheet. Users can scroll all of the sheet content into view above the footer.
A footer at the screen root looks the same as one in the sheet.
Style the sheet
You style the sheet like any other container. Padding and corners work differently:
- Screen padding: The screen padding only applies to elements outside the sheet, so the sheet spans the screen from edge to edge.
- Element padding: The Padding of the sheet keeps its content off the screen edges.
- Corners: Rounded top corners lift the sheet above its start position by the corner radius, so the hero shows in them. A sheet with a video fill doesn’t lift, so its corners show the screen background. A see-through sheet only lifts over a screen background of one solid color.
Sliding sheet vs. Bottom Sheet
Both panels occupy the bottom part of the screen. Pick the one that matches what you need:
- Use a Sliding sheet to lay the main content of the screen over a hero. The sheet is visible when the screen opens, and moves only when the user scrolls.
- Use a Bottom Sheet for content that appears on demand, such as a plan list behind a Show all plans link. You reveal it with a Show action.