Remote config paywall localization
Adapting your paywalls for different languages is essential in a world with diverse cultures. Localization allows you to create tailored experiences for users in specific regions. For each paywall, you can add versions in various languages, ensuring that your product resonates with local audiences.
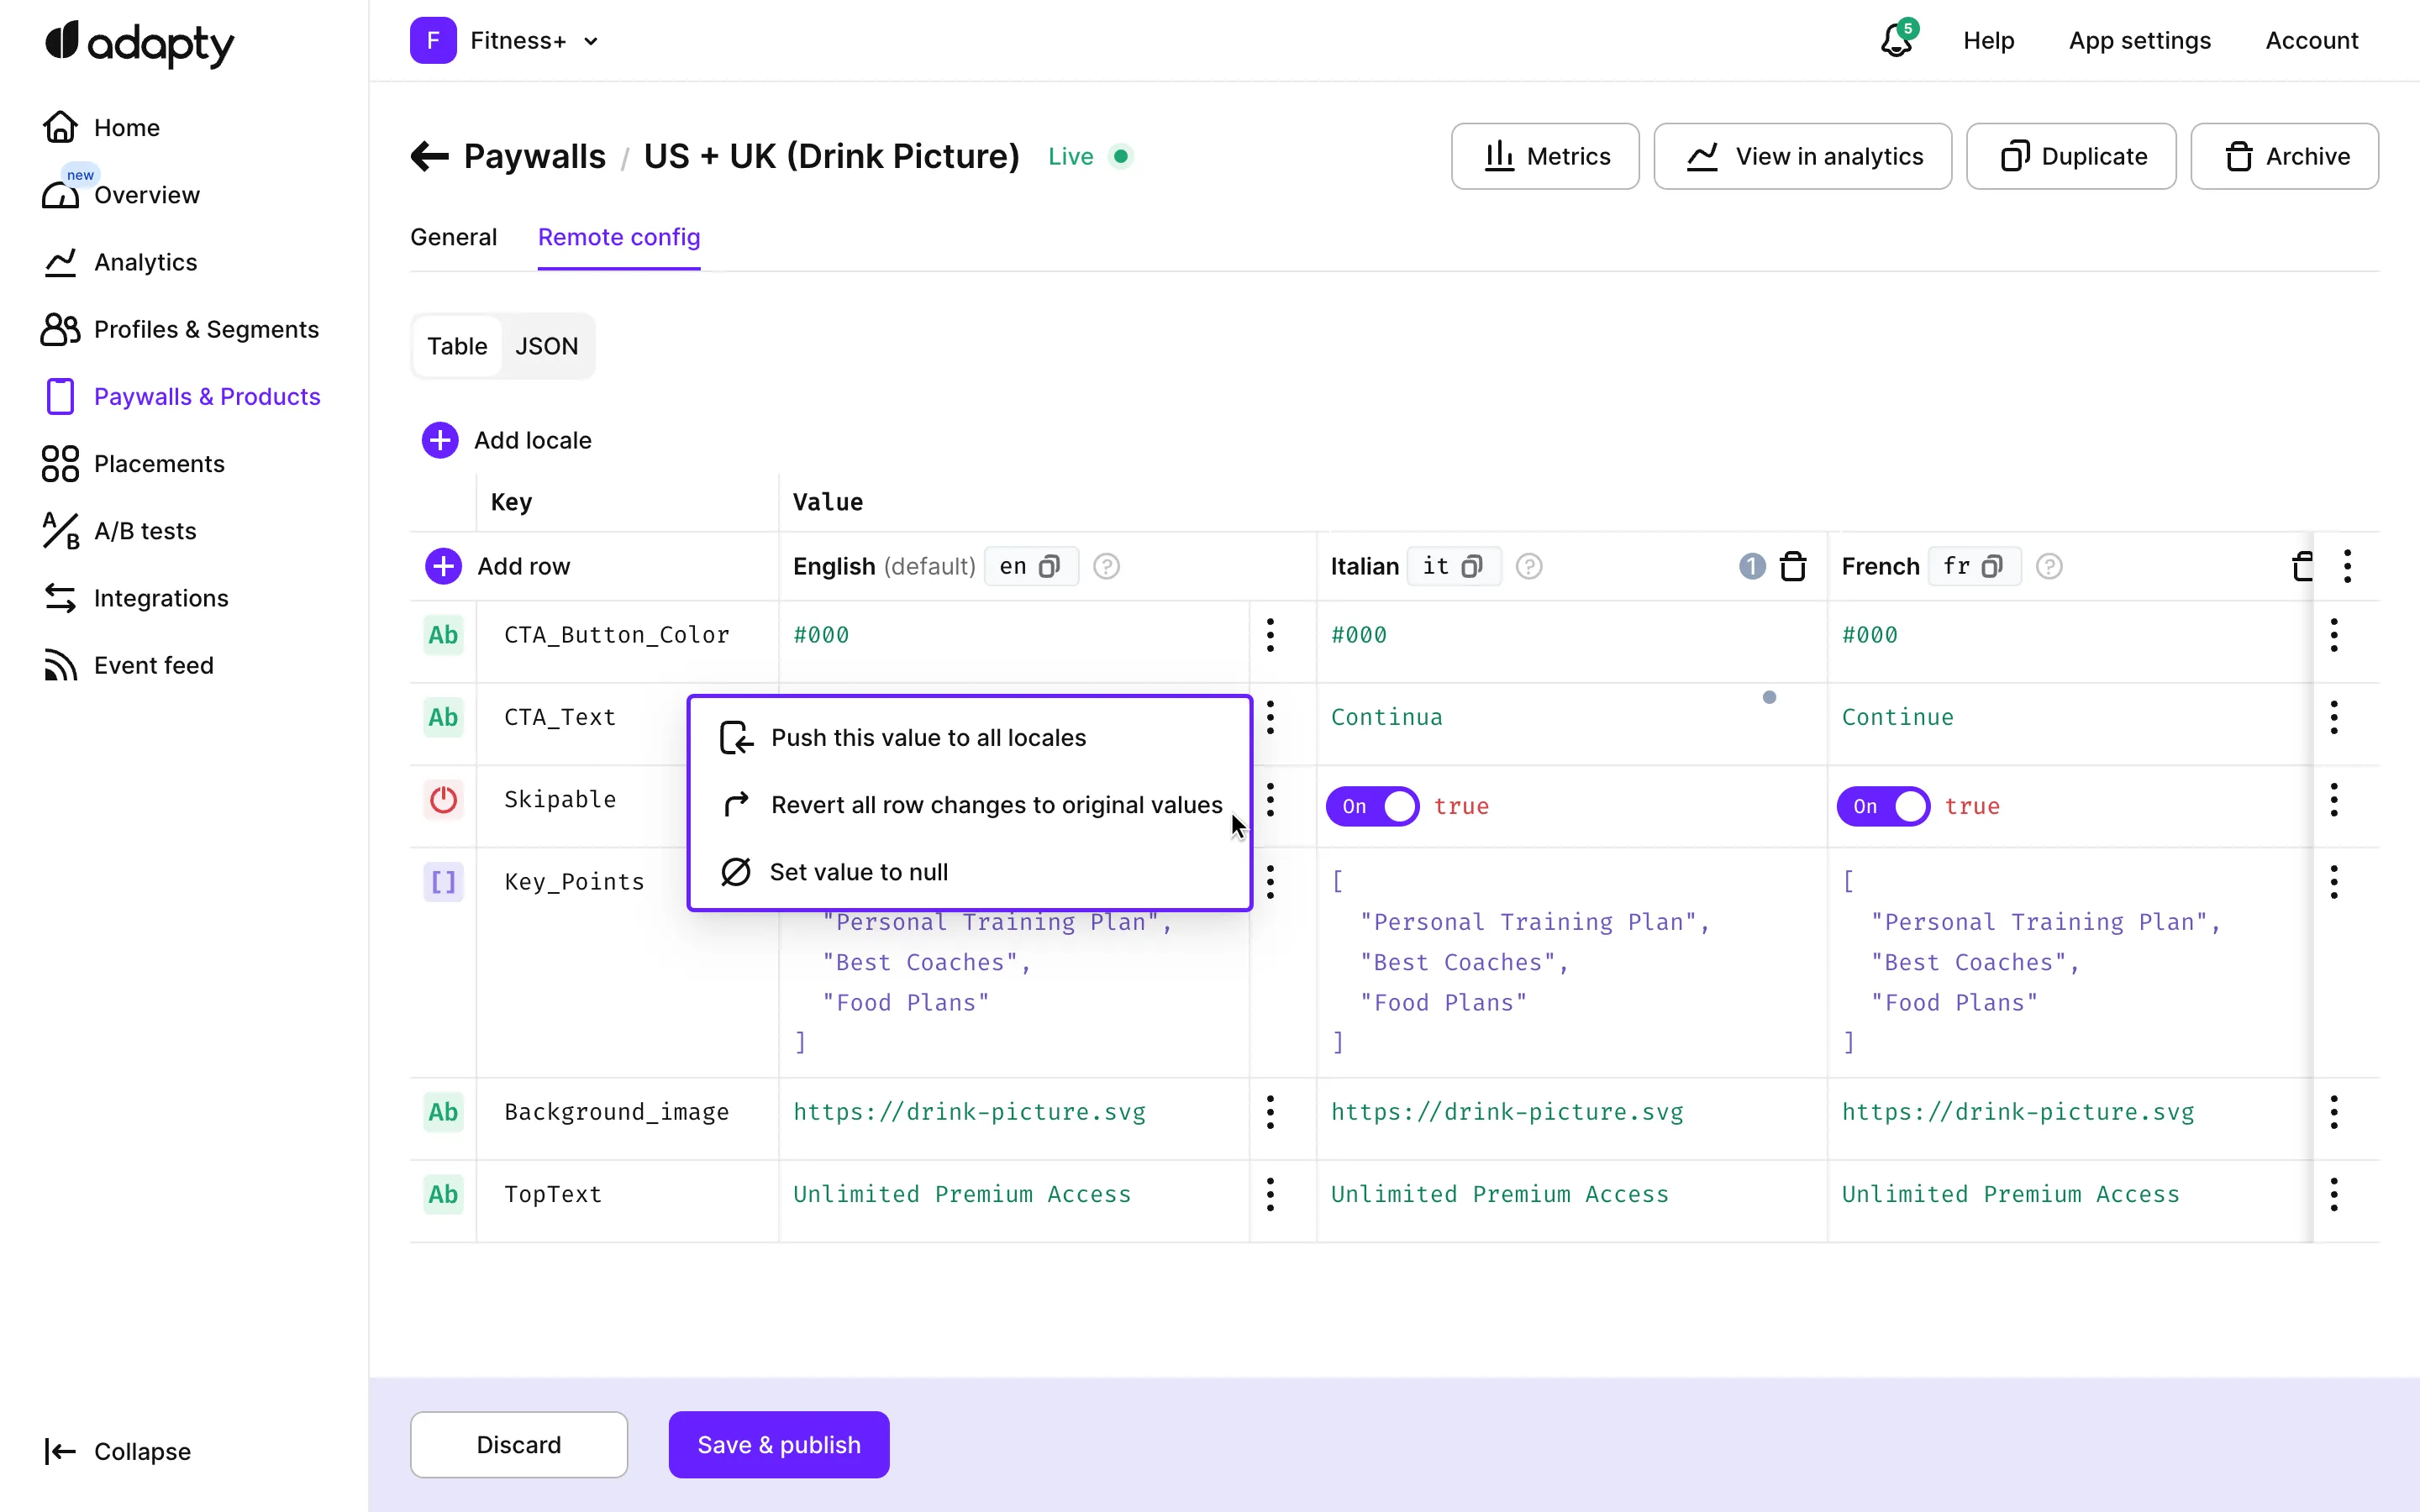
If you’ve designed a paywall using remote config, you can use the same remote config to set up localizations. Whether in table view or JSON format, you can easily adjust settings for each language. For example, translate string keys, toggle Boolean values (e.g., TRUE for English, FALSE for Italian), or even swap out background images. With this flexibility, you keep your core setup while tailoring the user experience for different languages.
Setting up localization for remote configured paywalls
- Go to the Paywalls section in Adapty.
- Click the paywall to open it.
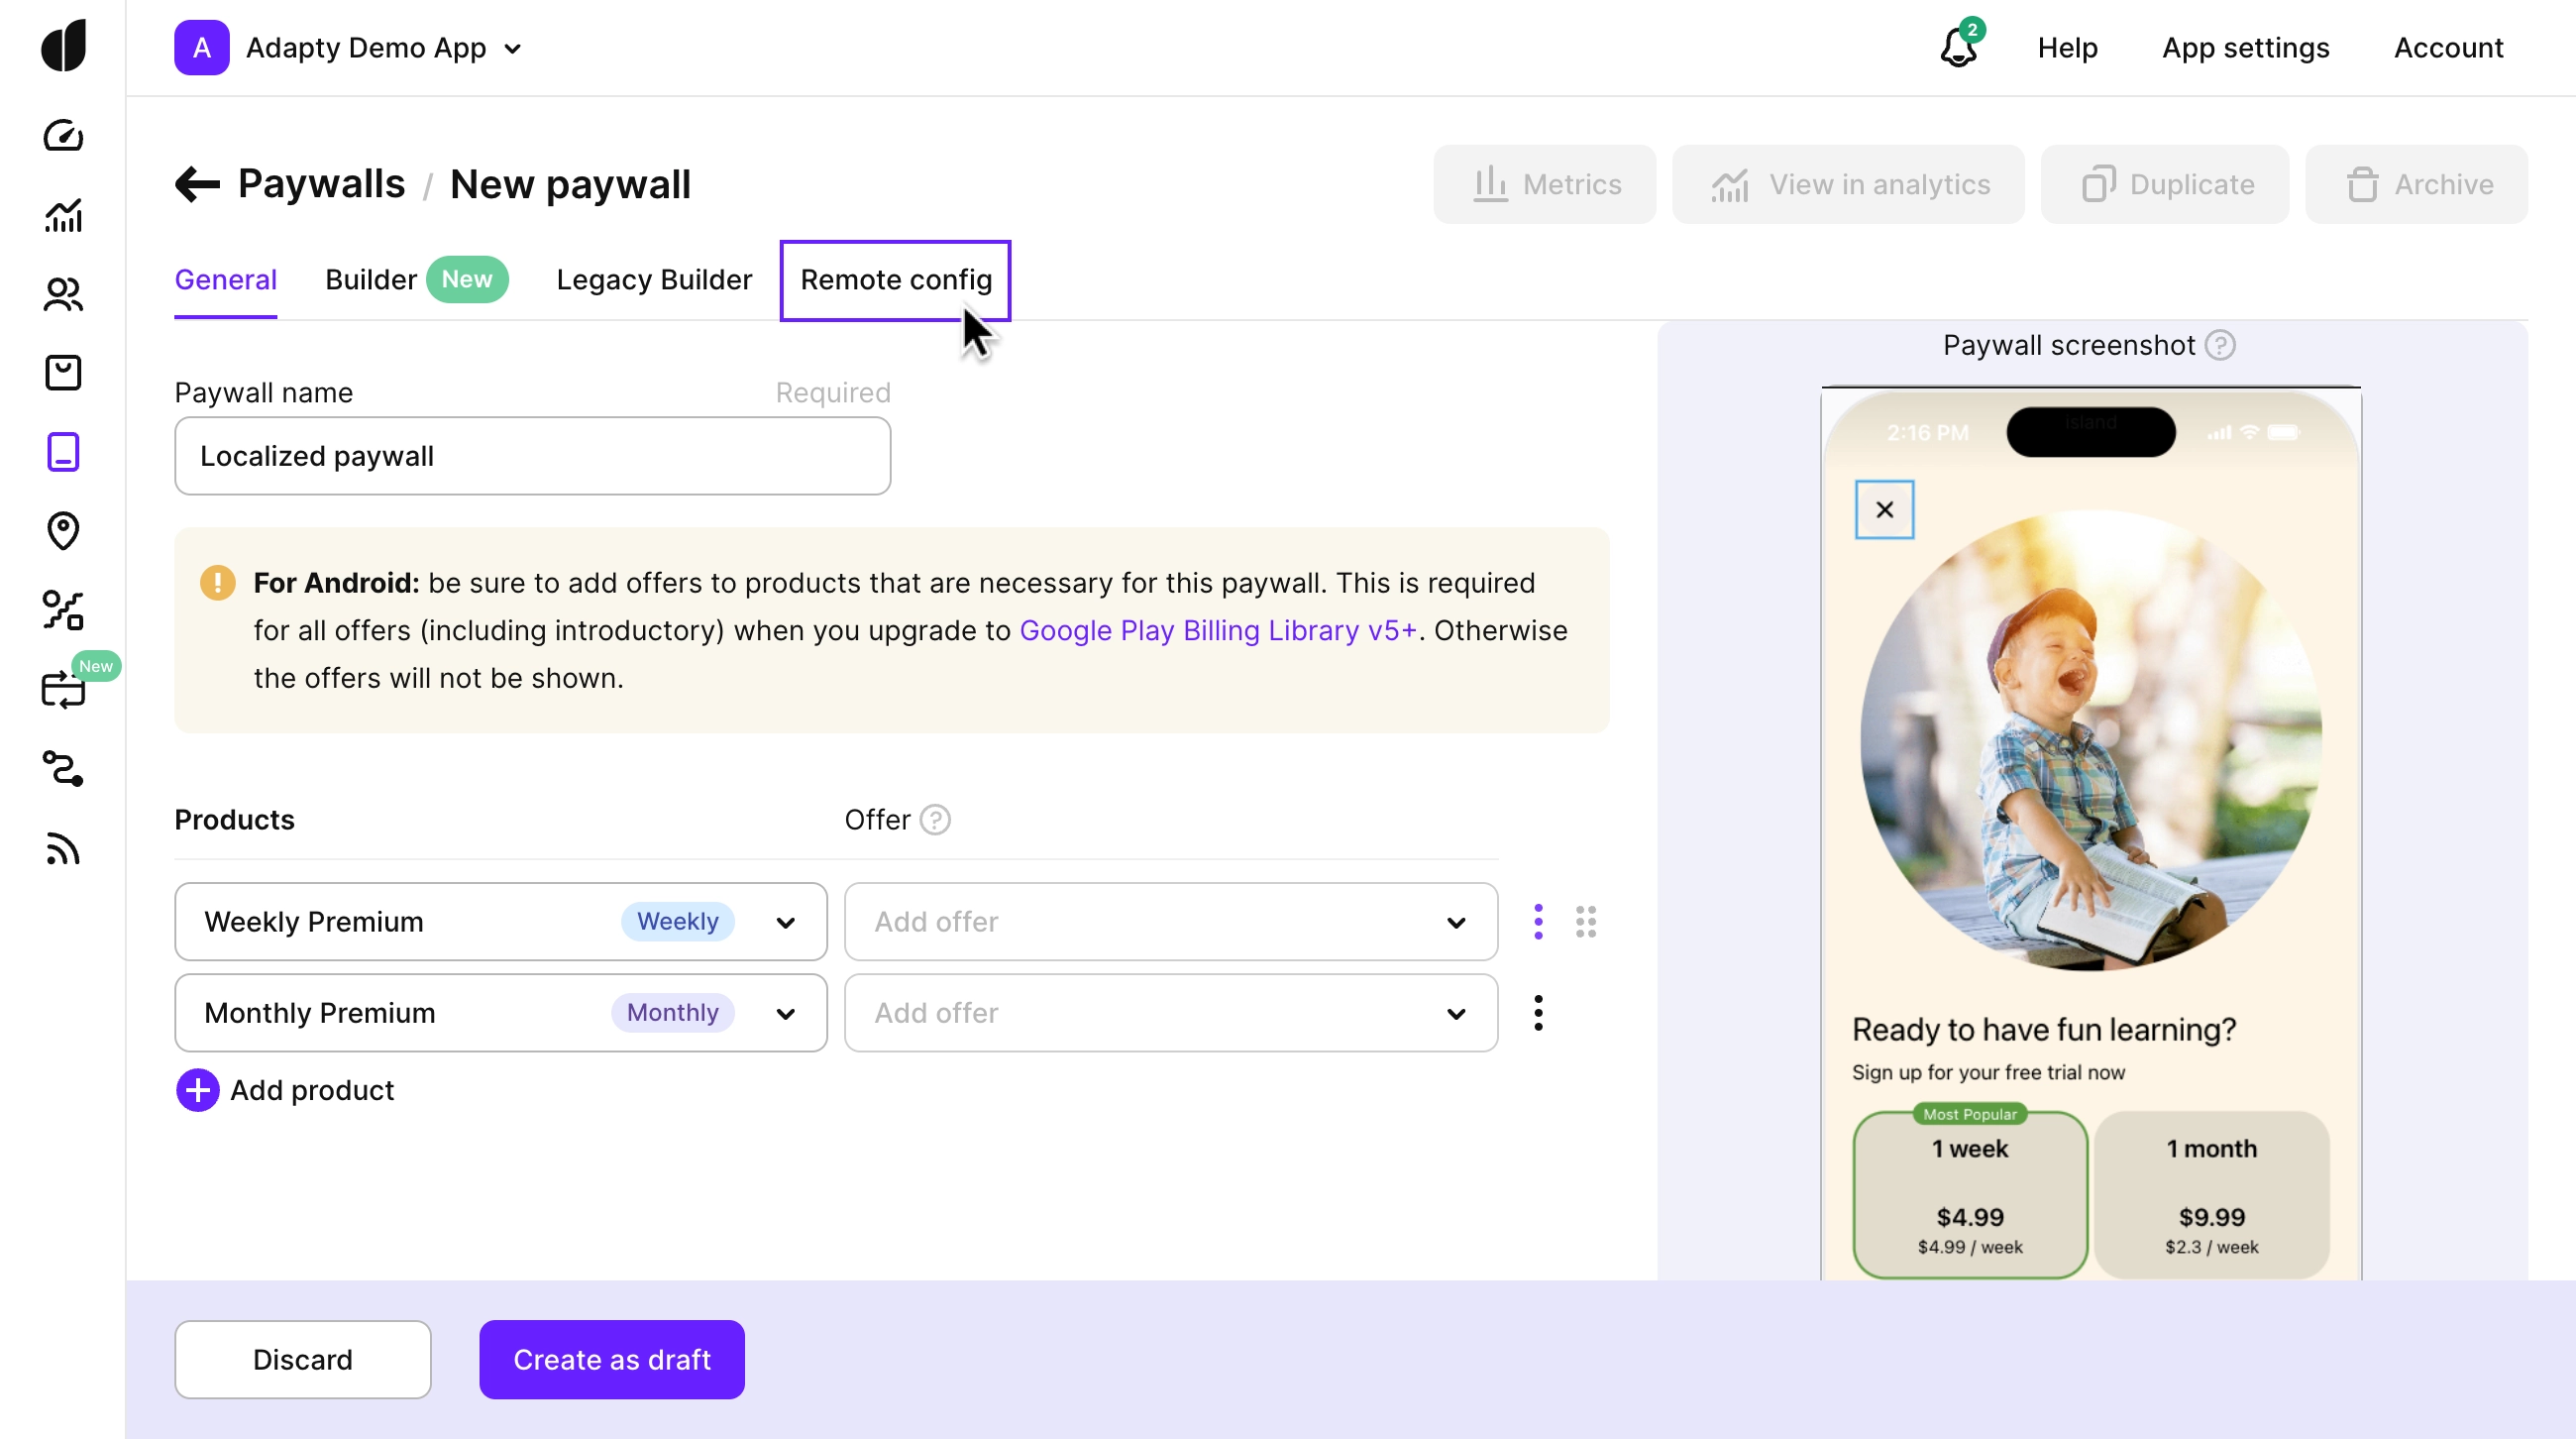
- Go to the Remote config tab.
-
Click Locales and select the languages you want to support. Save your changes to add these locales to the paywall.
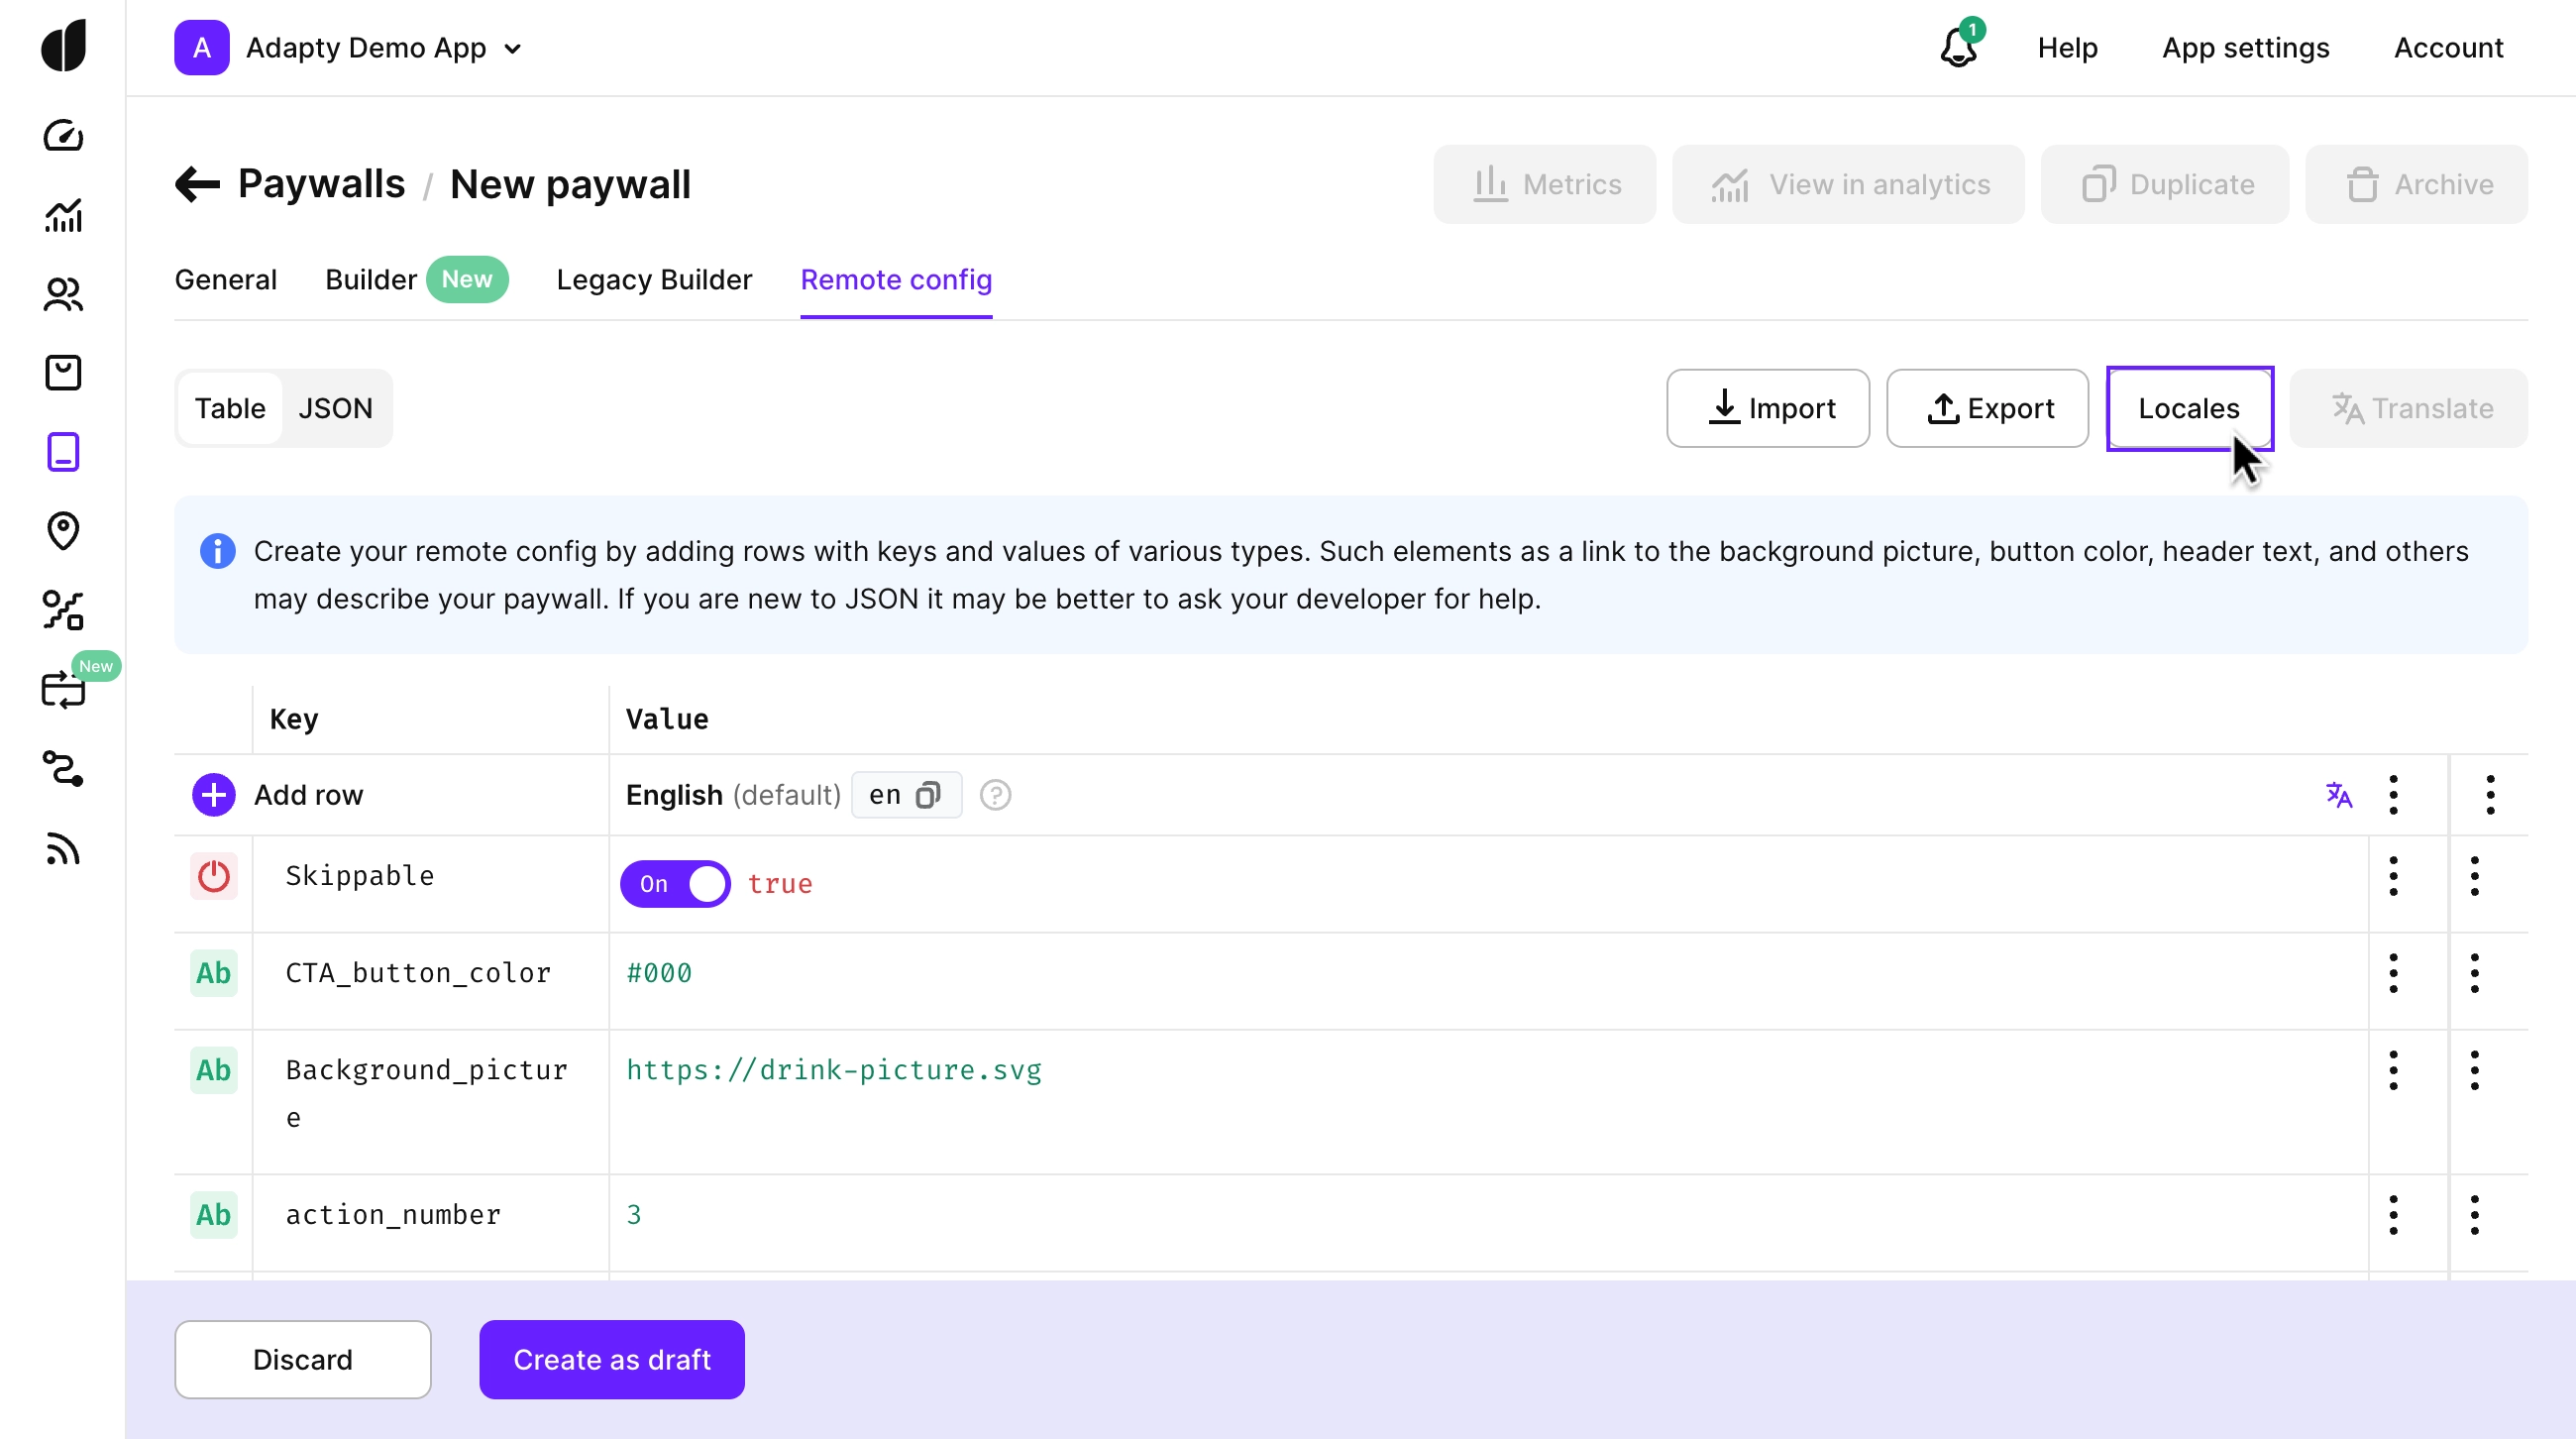
Now, you can translate the content manually, use AI, or export the localization file for external translators.
Translating paywalls with AI
AI-powered translation is a quick and efficient way to localize your paywall.
To use AI for paywall translation, you’ll need a Pro, Pro+, or Enterprise plan.
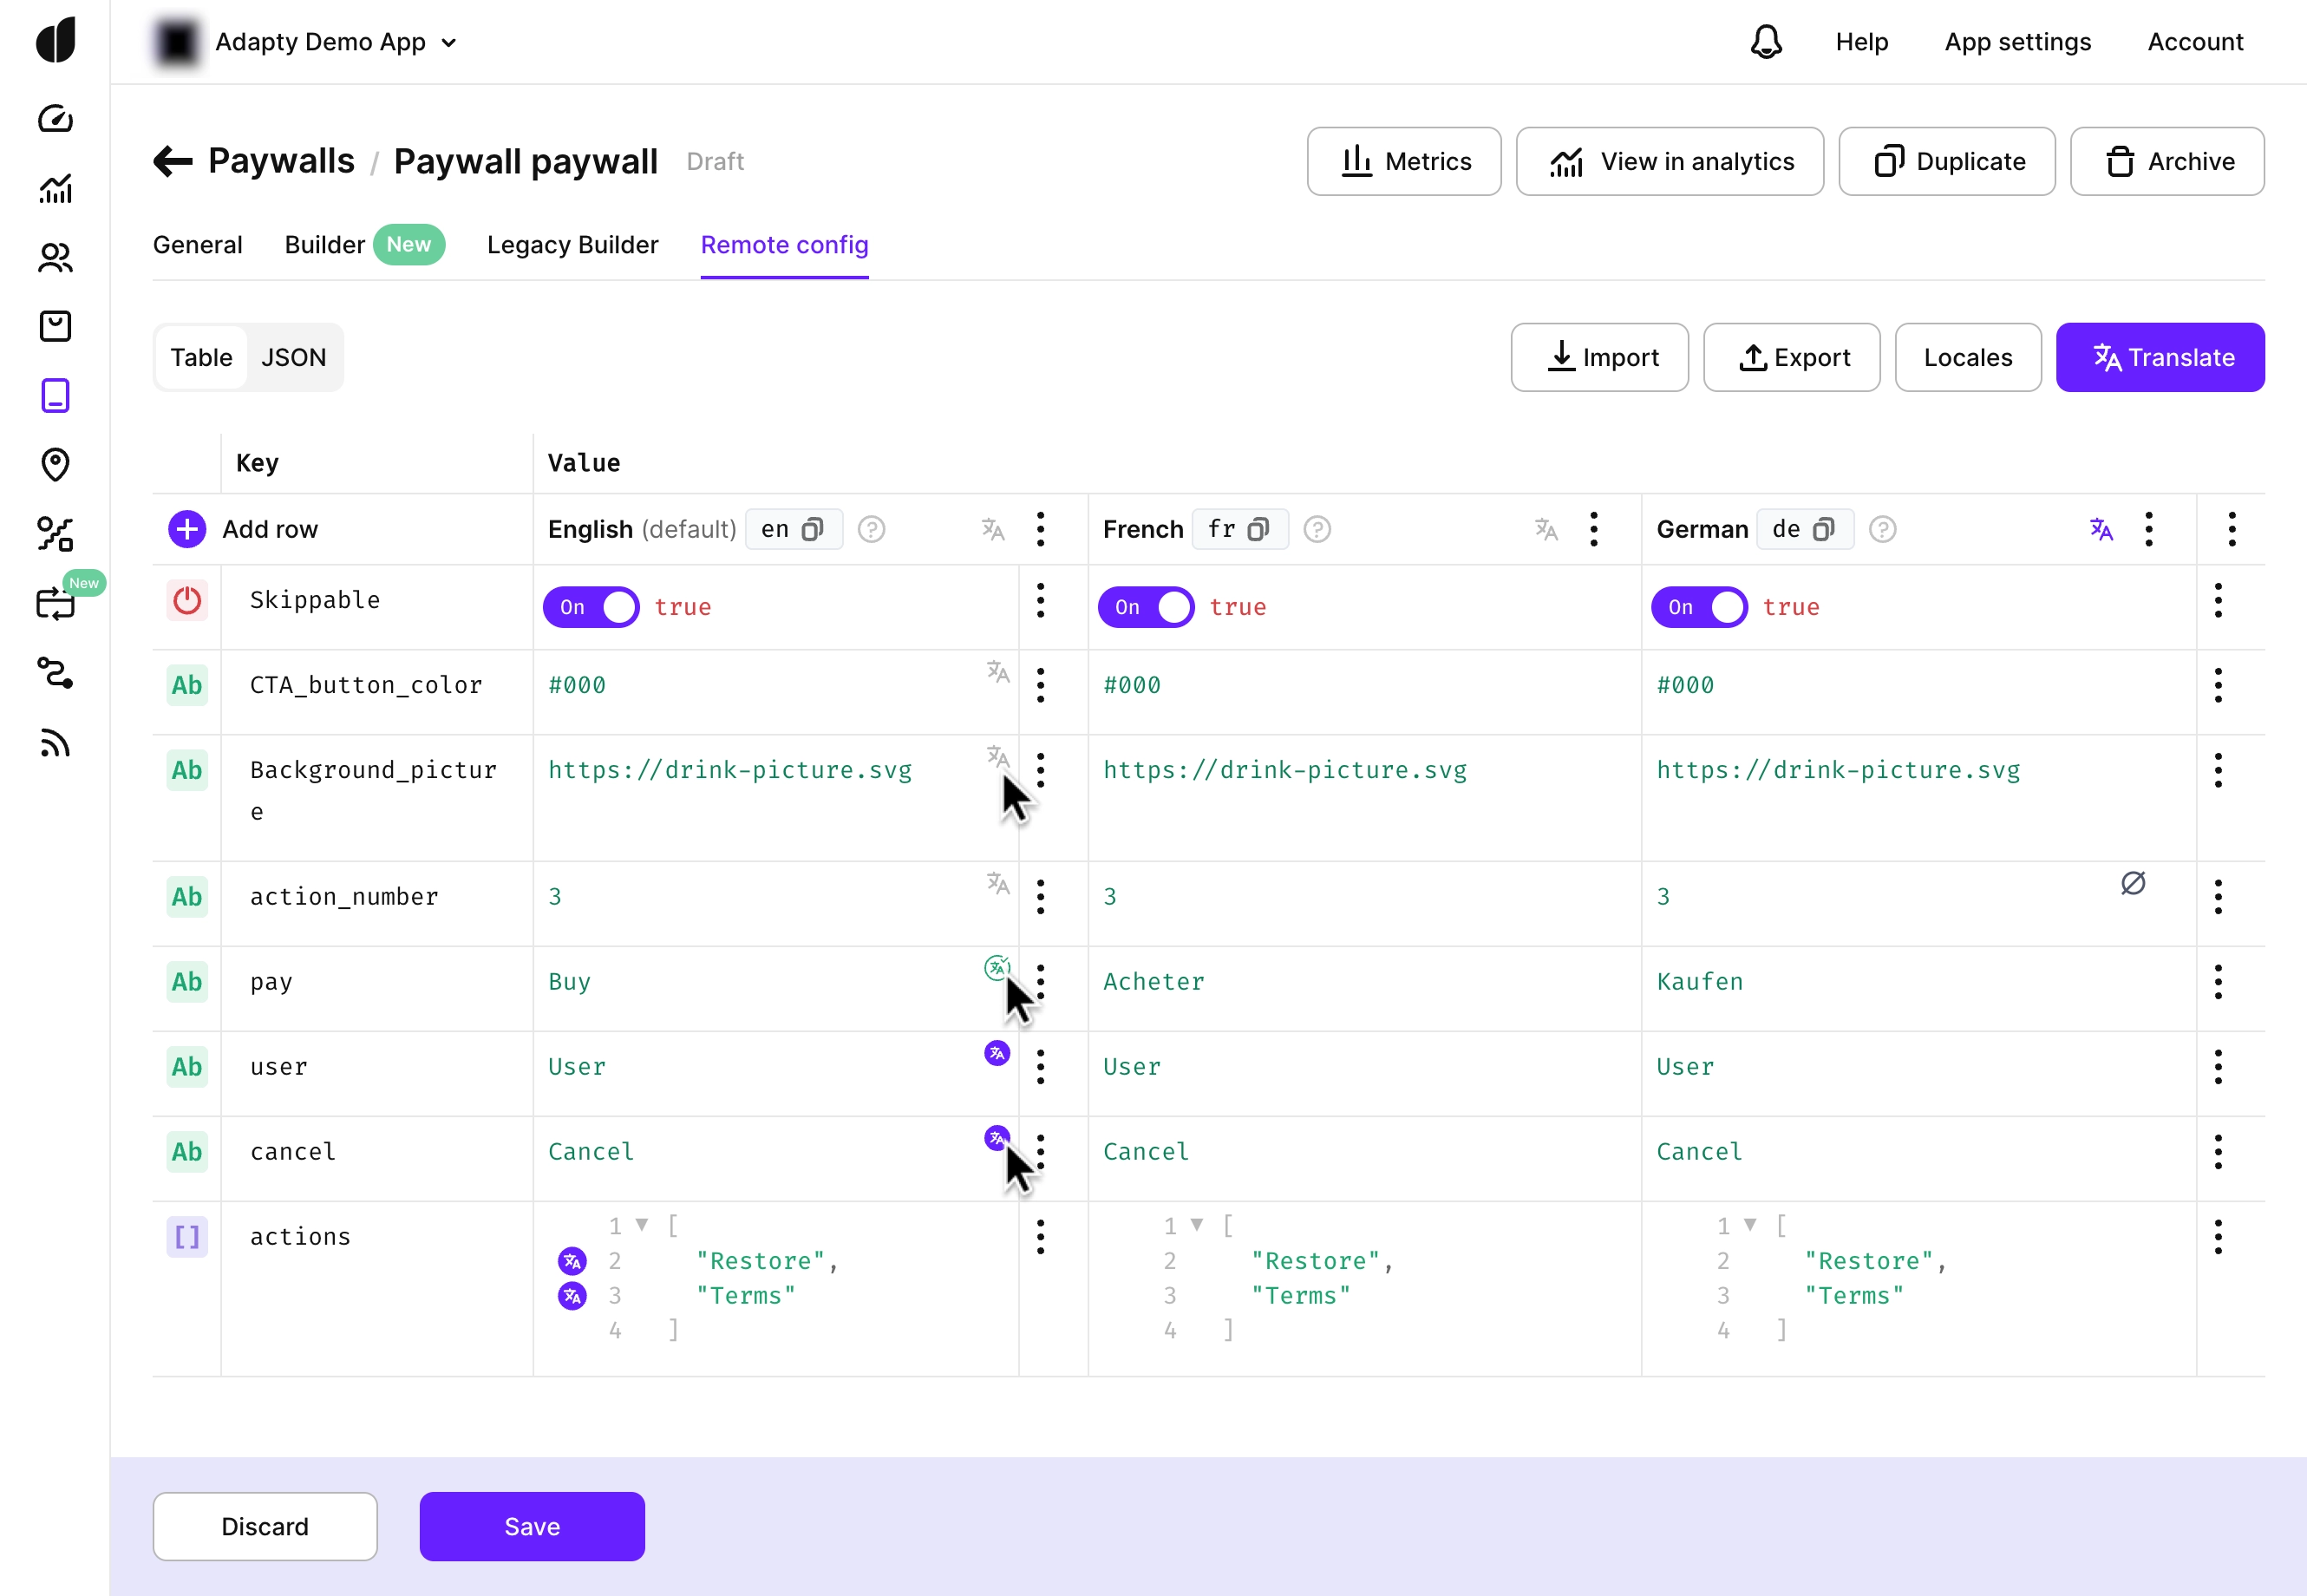
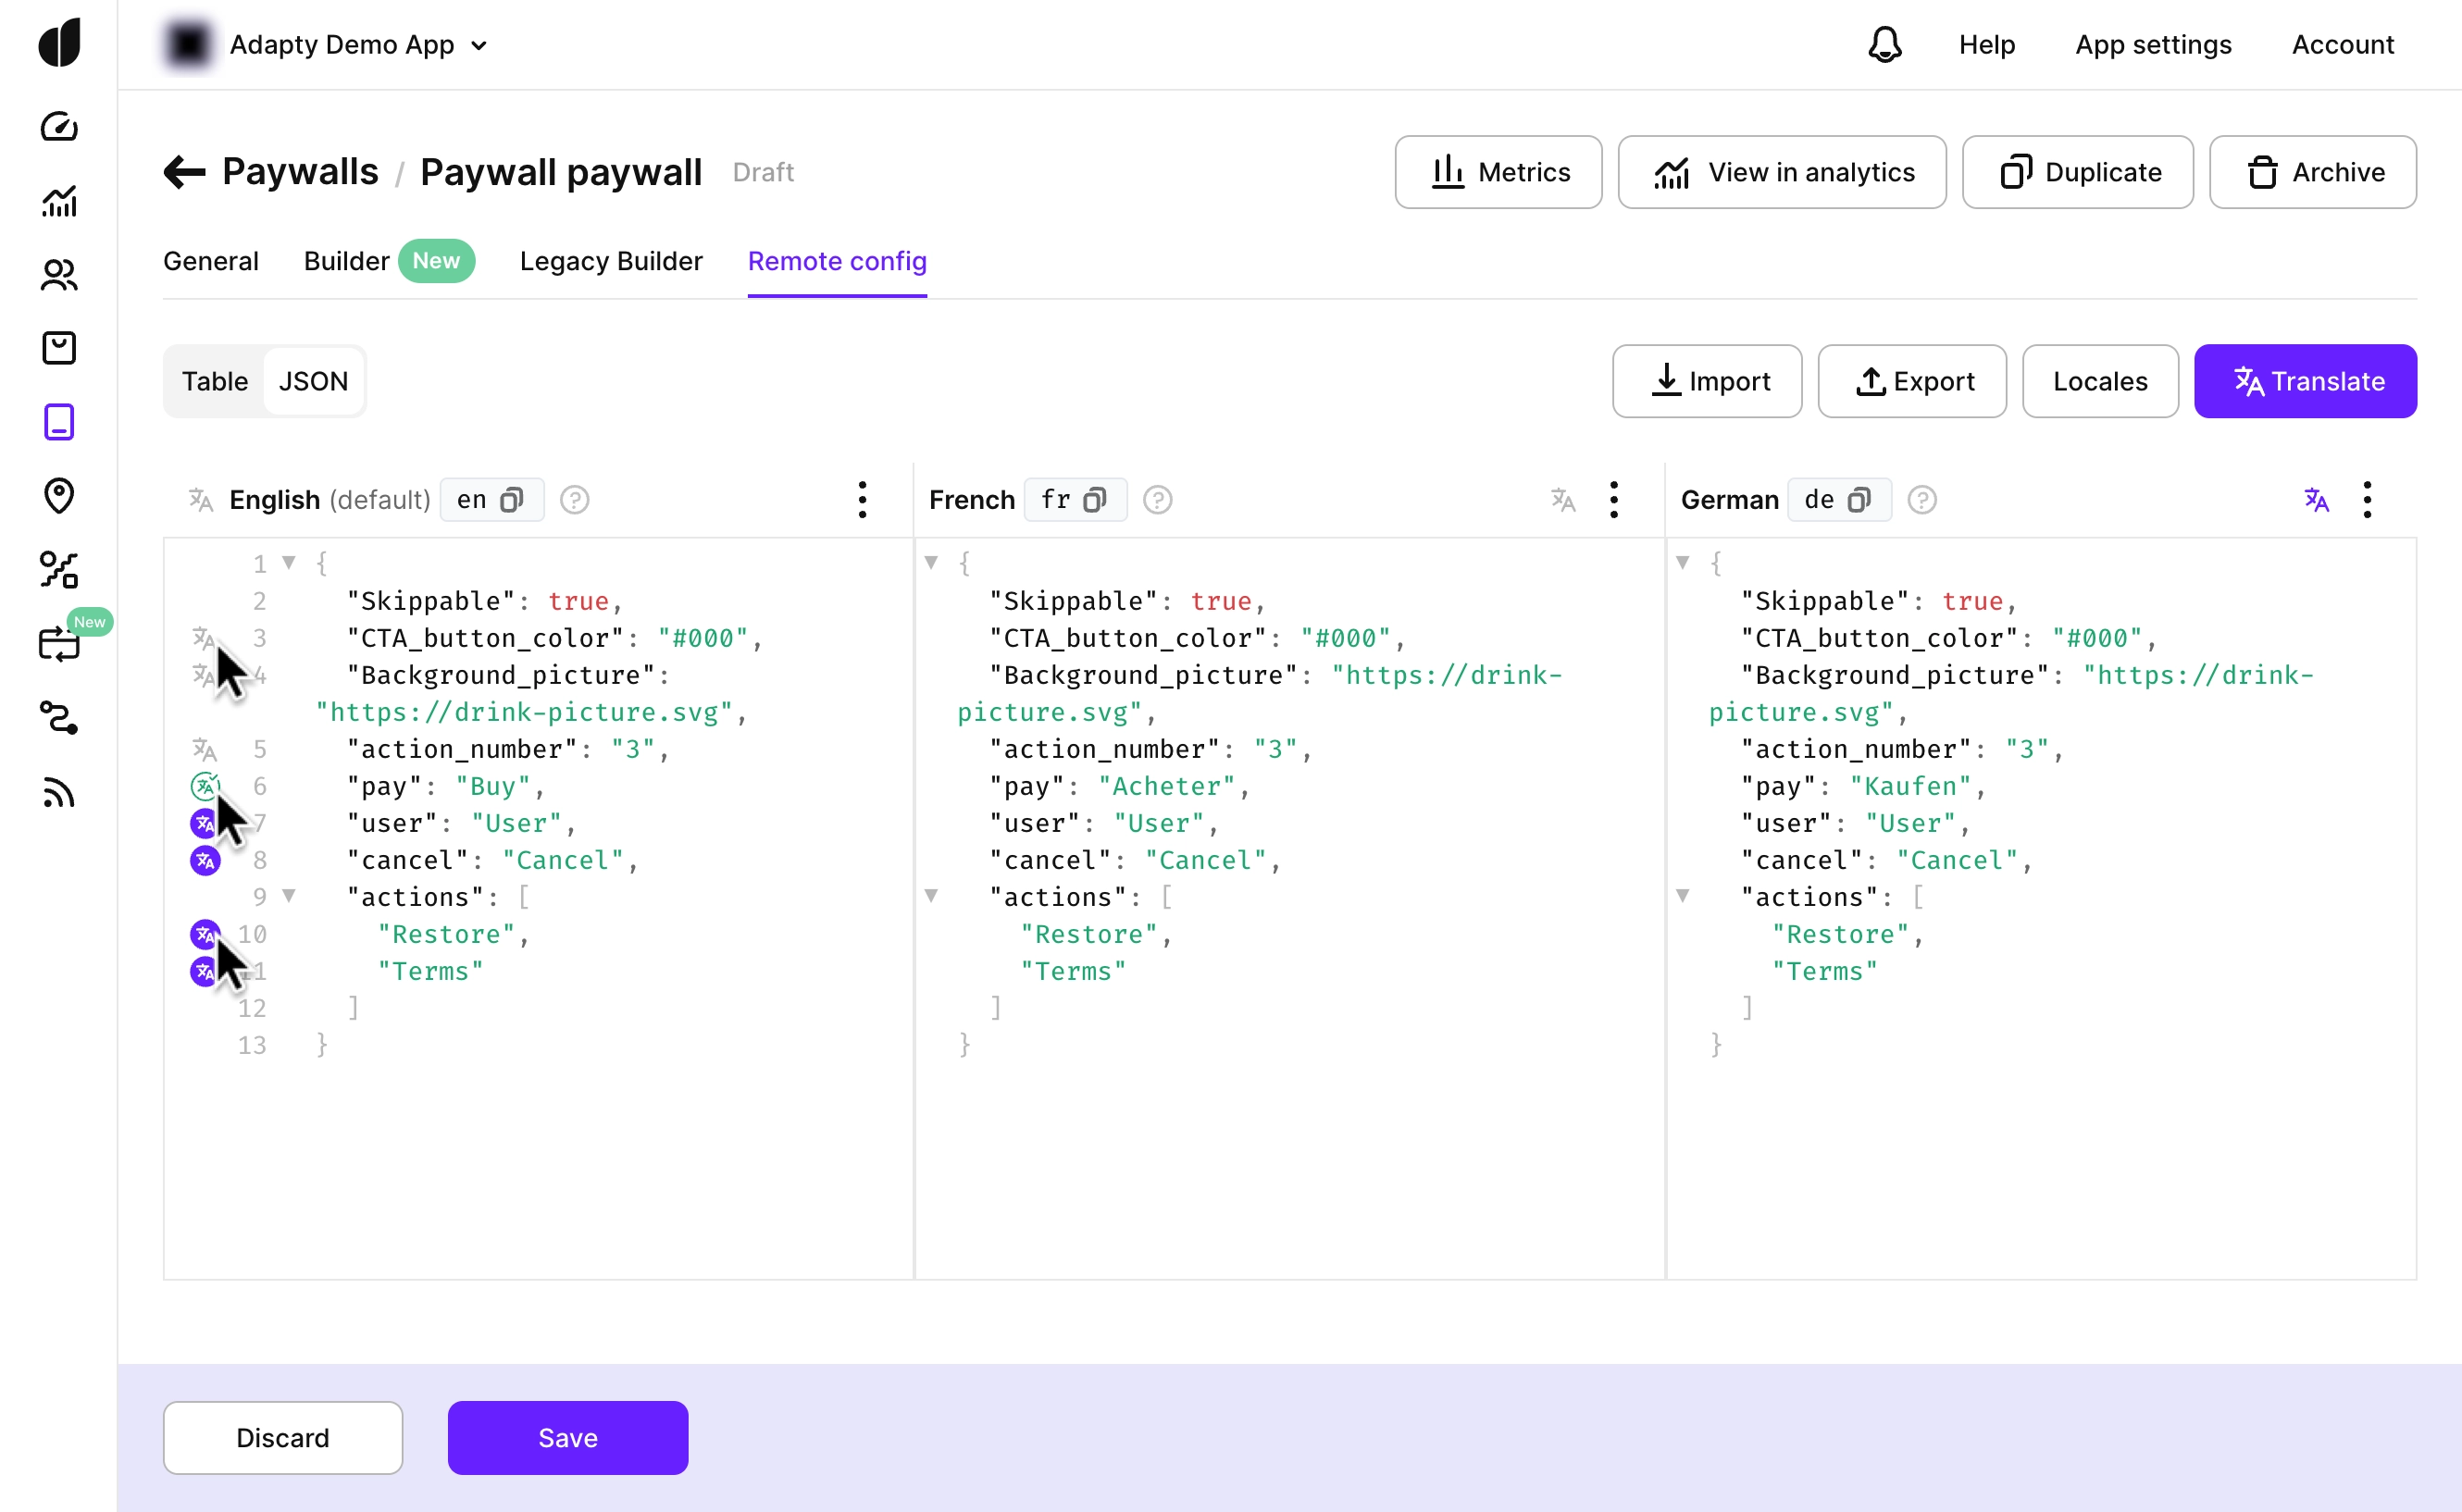
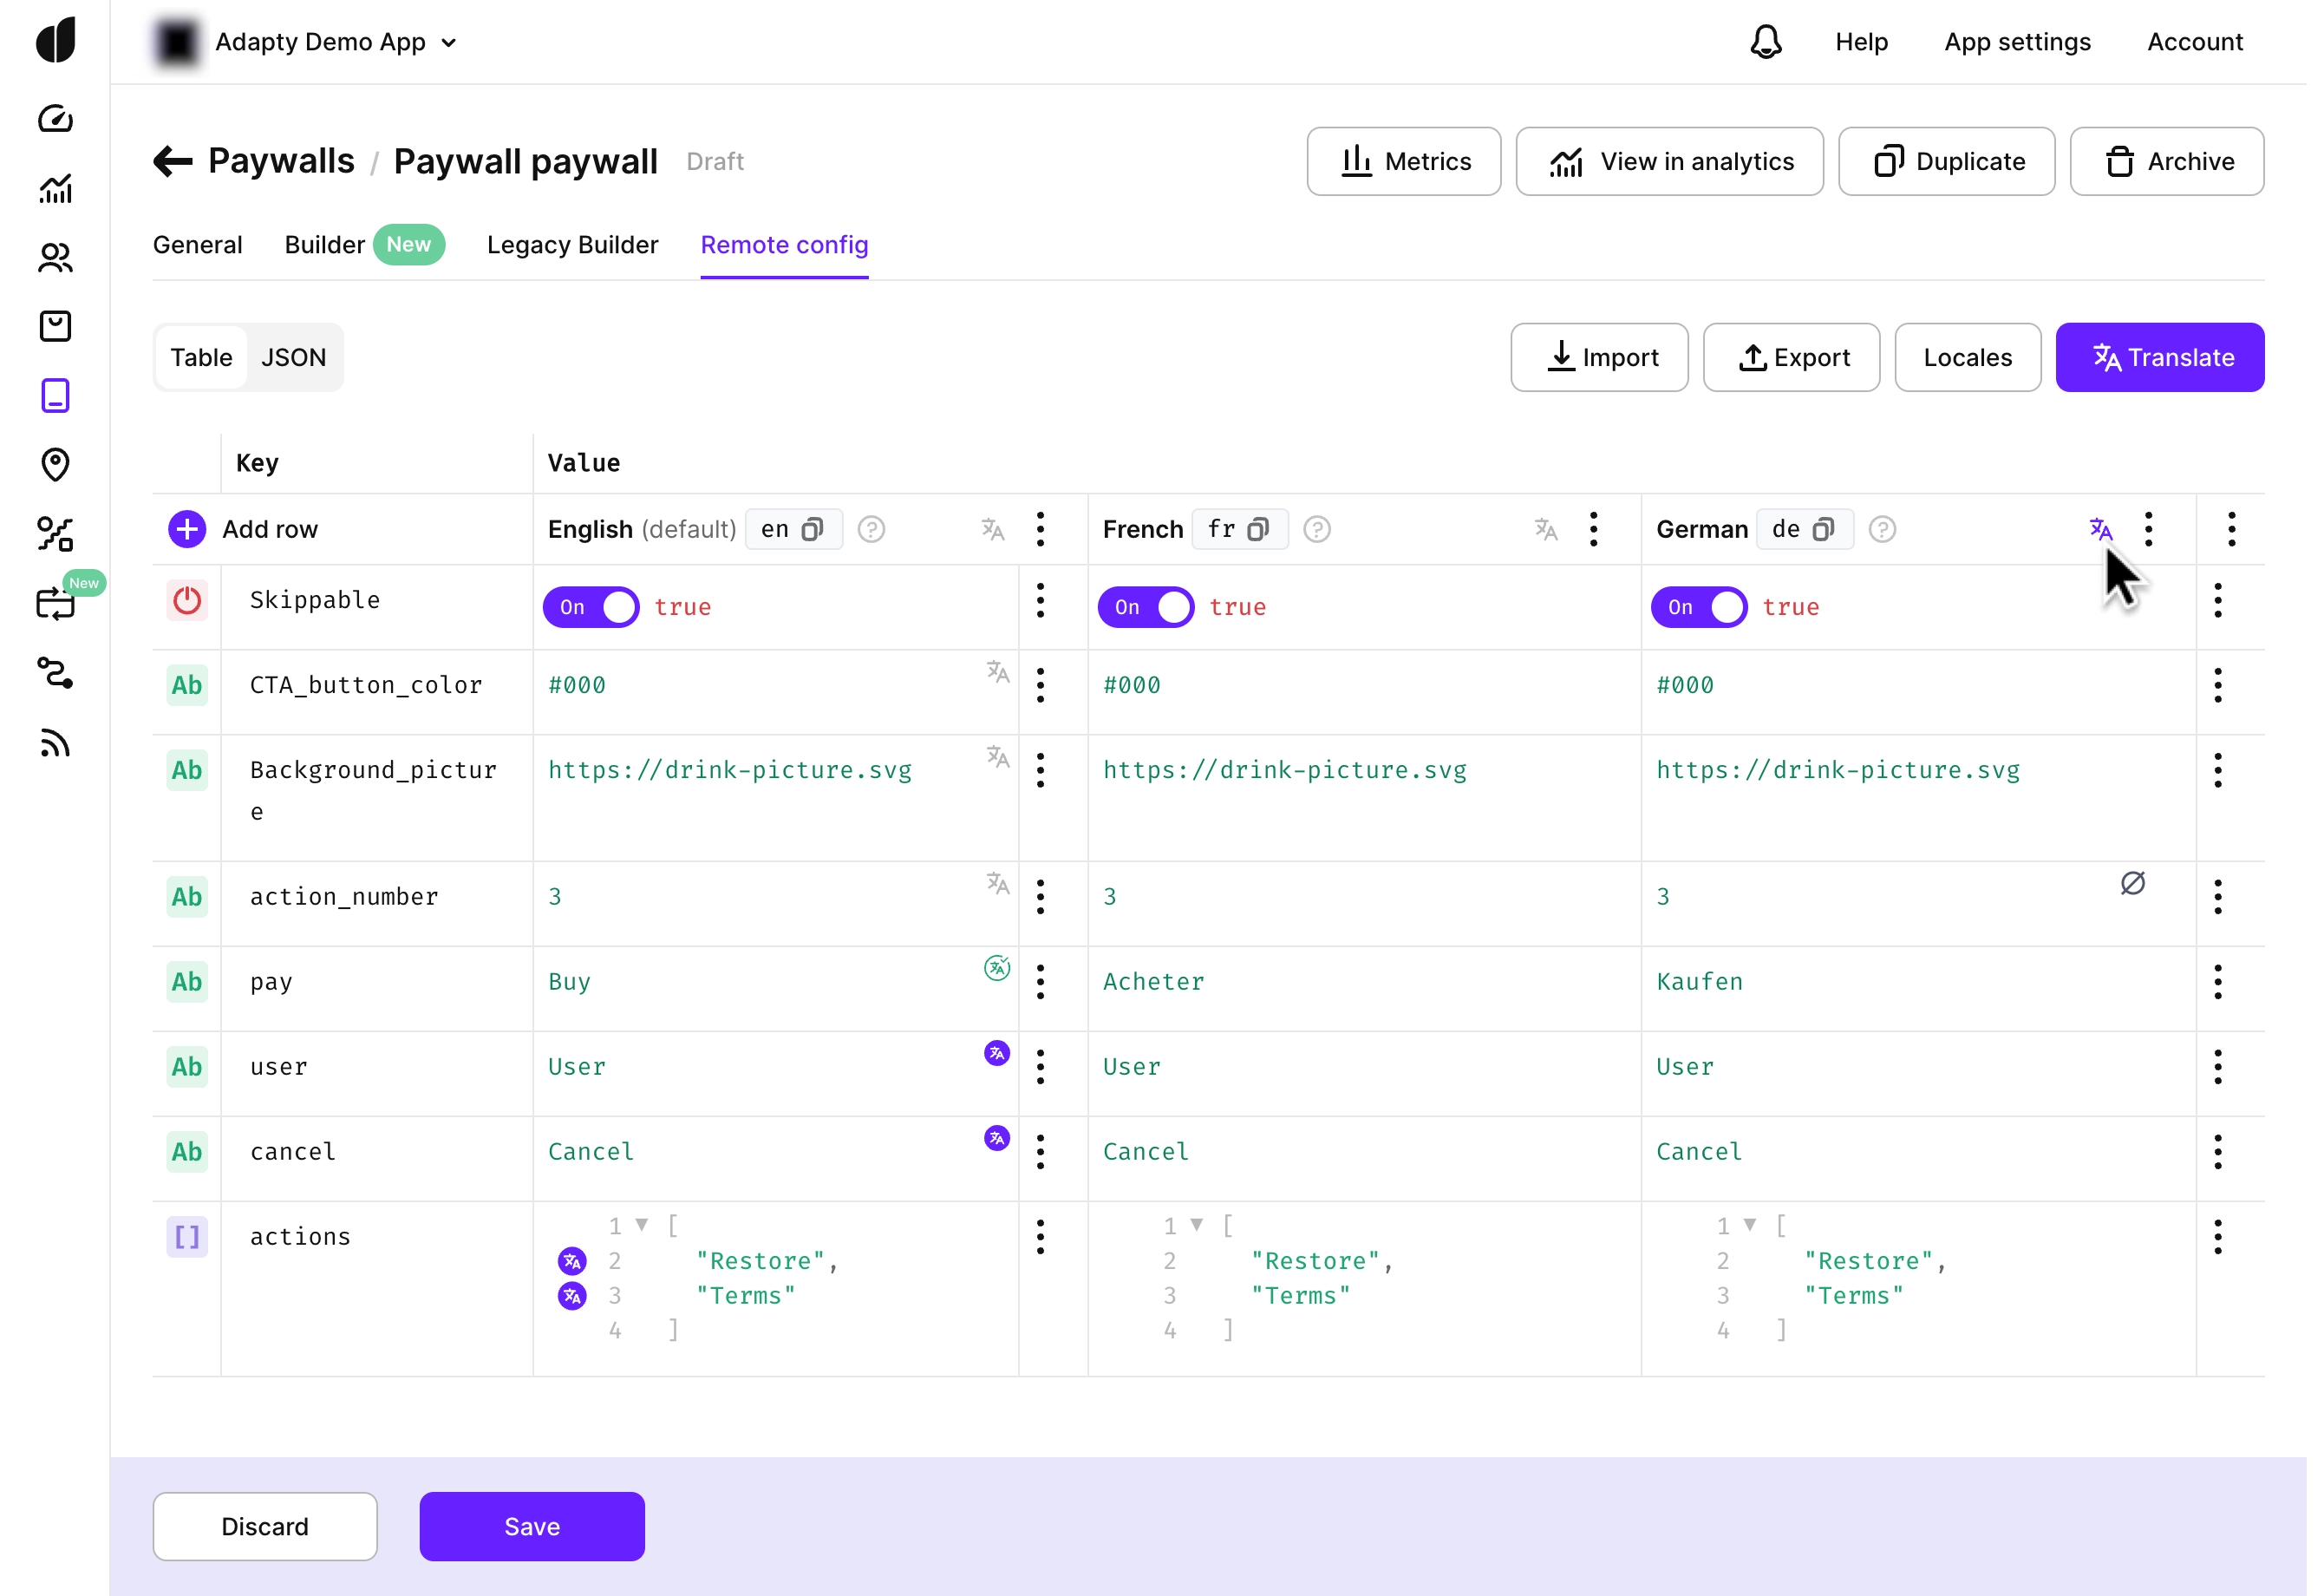
You can translate both String and List values. By default, all lines are selected (highlighted in violet). Lines that have already been translated are marked in green and won’t be included in the new translation by default. Lines that are not selected or translated appear in gray.
-
Select the lines to translate. It's a good idea to uncheck lines with IDs, URLs, and variables to prevent AI from translating them.
-
Select the languages for translation.
-
Click AI Translate to apply translations. The selected lines will be translated and added to the paywall, with the translated lines marked green.
Exporting localization files for external translation
While AI-powered localization is becoming a popular trend, you might prefer a more reliable method, like using professional human translators or a translation agency with a strong track record. If that’s the case, you can export localization files to share with your translators and then import the translated results back into Adapty.
Exporting by the Export button creates individual .json files for each language, bundled into a single archive. If you only need one file, you can export it directly from the language-specific menu.
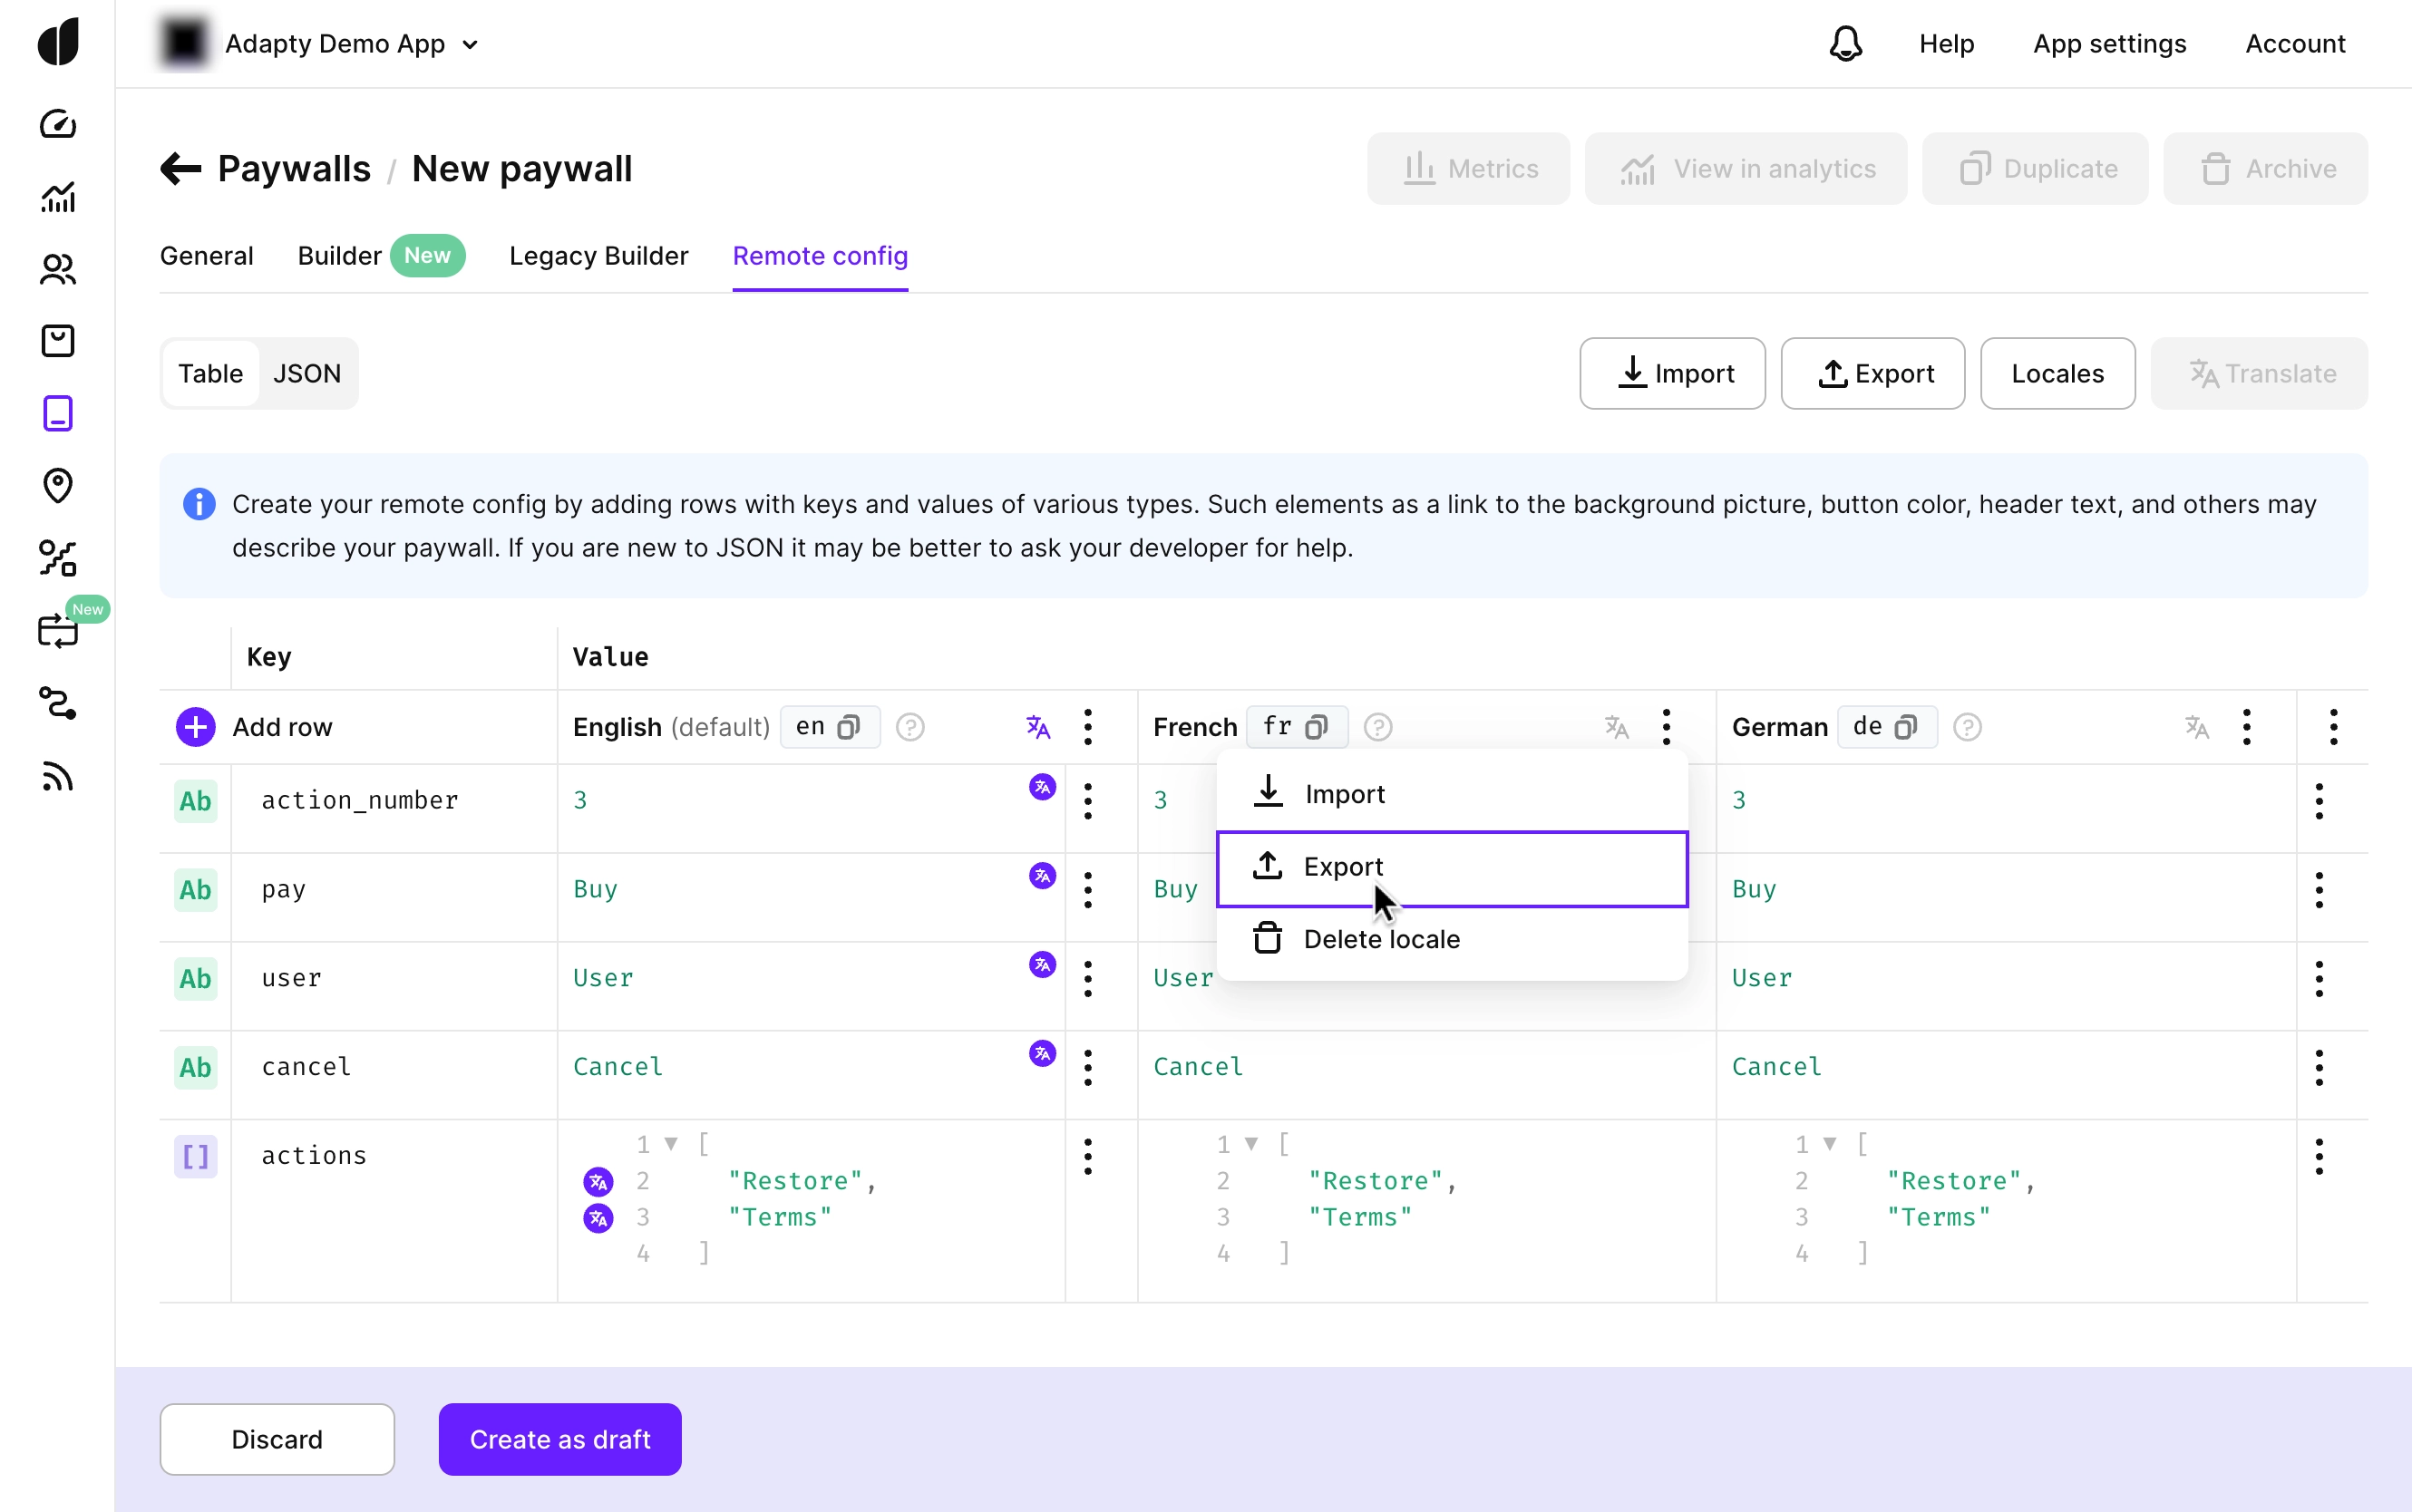
Once you’ve received the translated files, use the Import button to upload them all at once or individually. Adapty will automatically validate the files to ensure they match the correct format.
Import file format
To ensure a successful import, the import file must meet the following requirements:
- File Name and Extension:
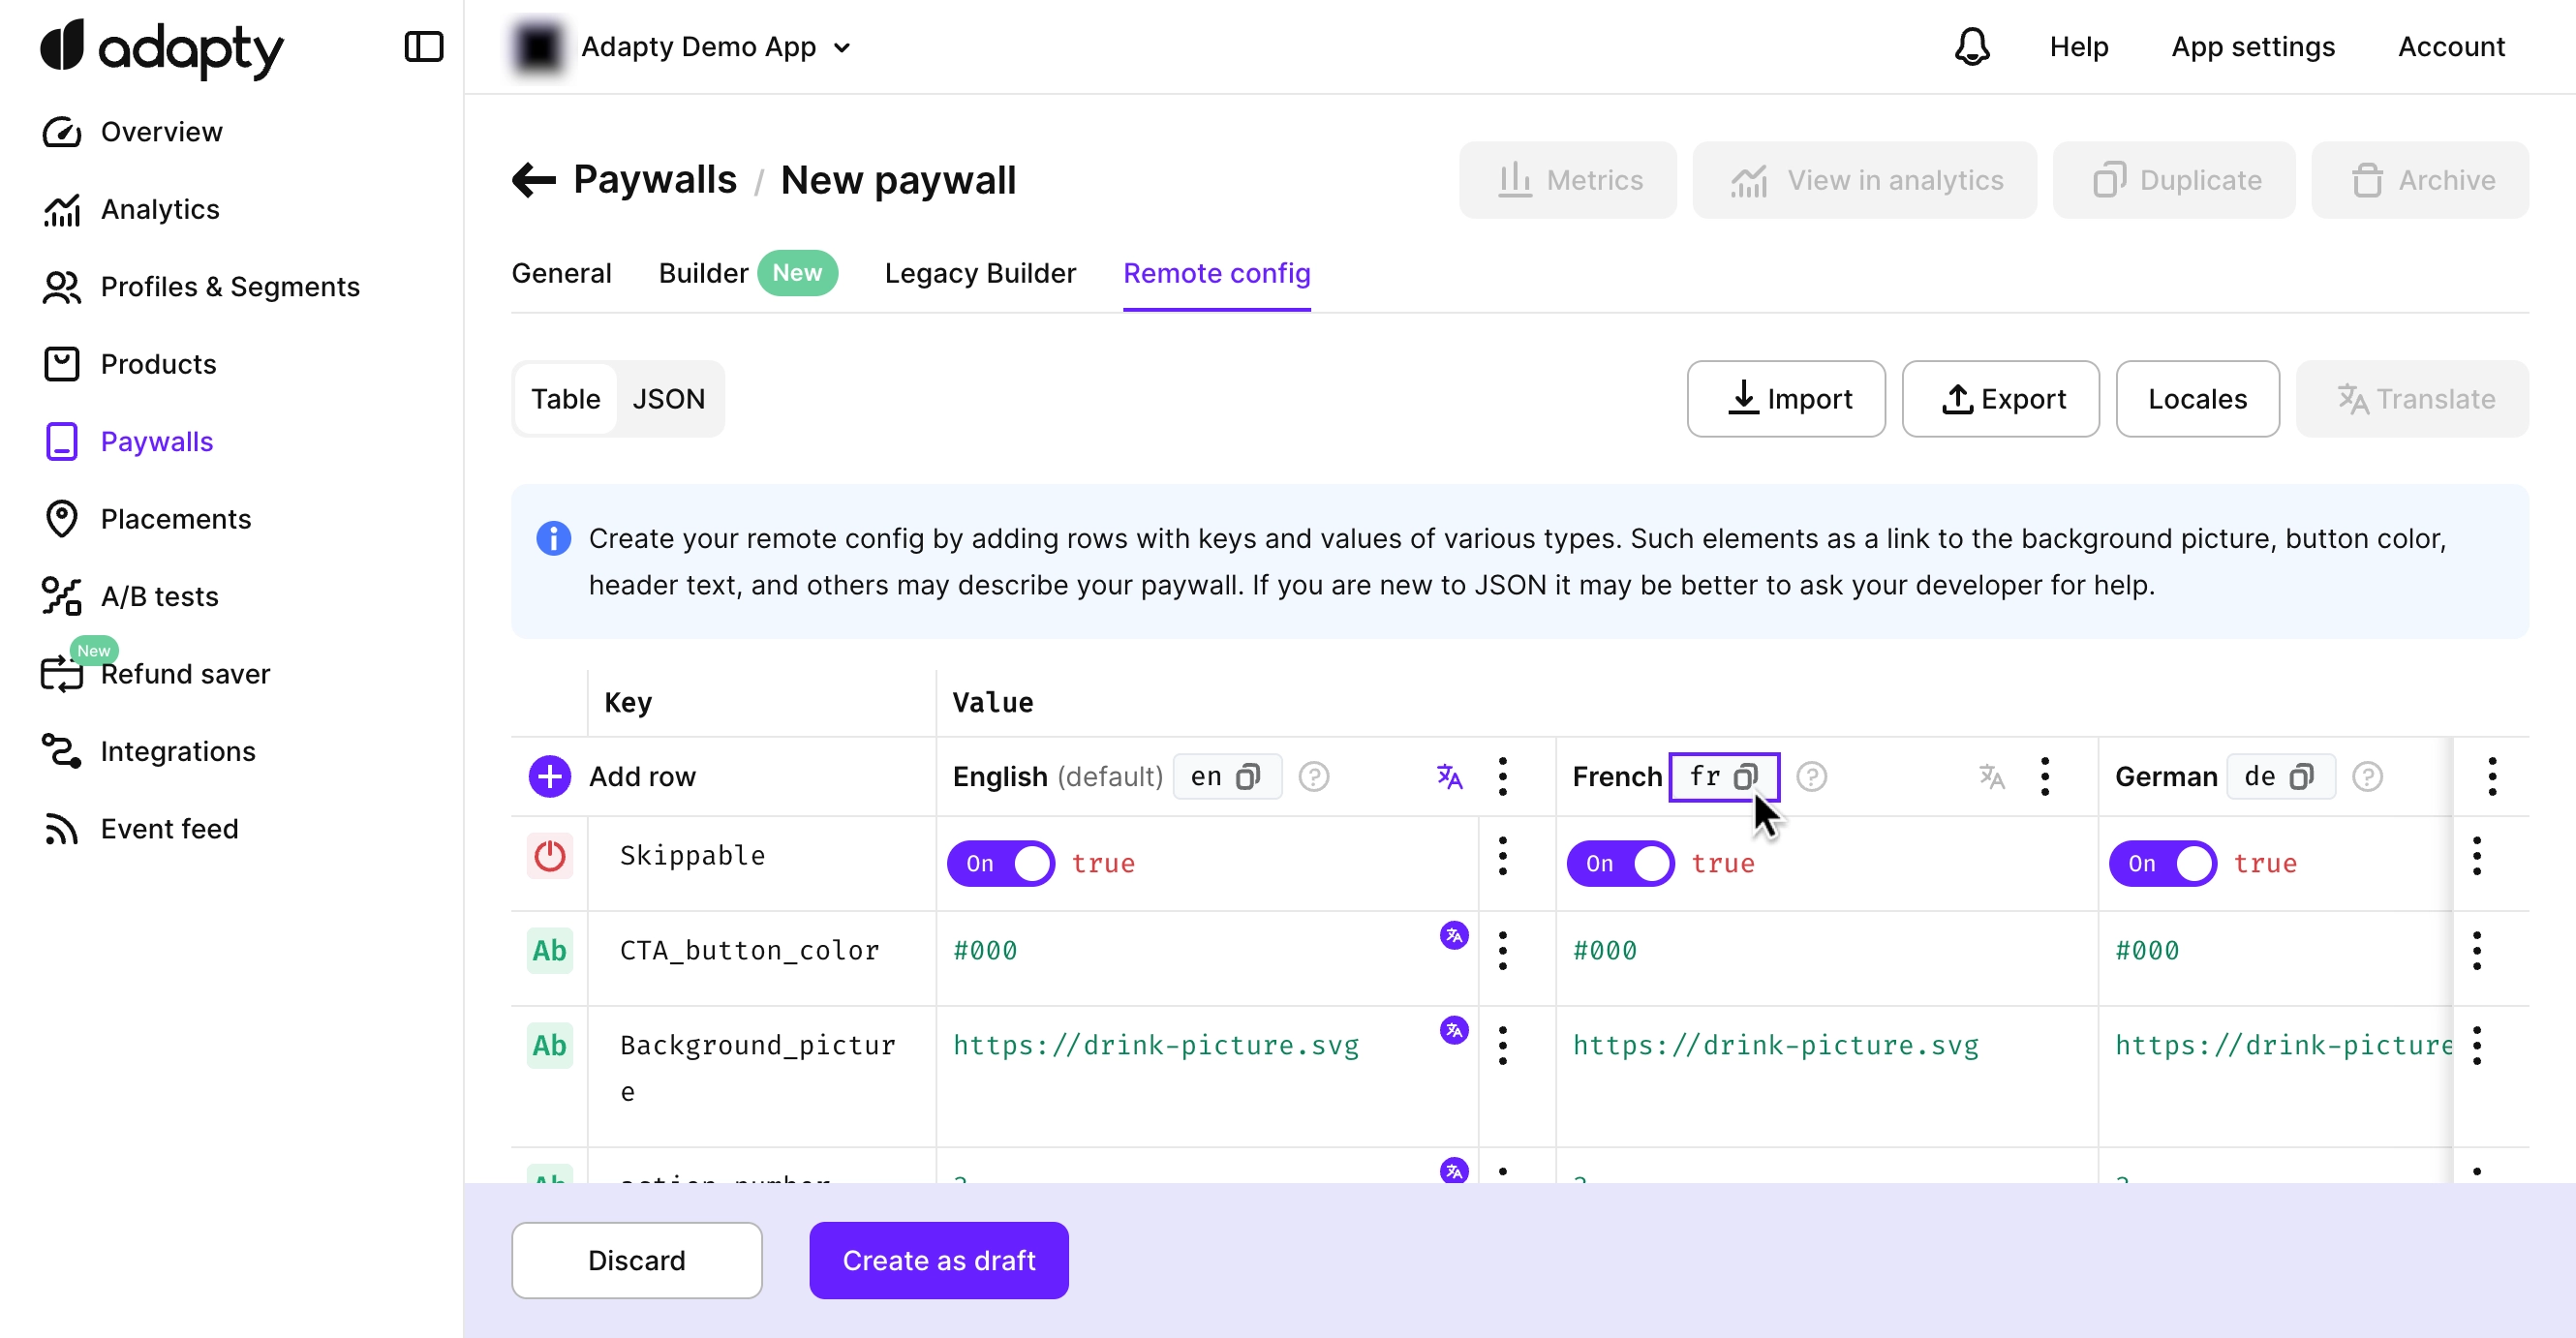
The file name must match the locale it represents and have a
.jsonextension. You can verify and copy the locale name in the Adapty Dashboard. If the name is not recognized, the import will fail.
- Valid JSON: The file must be a valid JSON. If it is not, the import will fail.
Manual localization
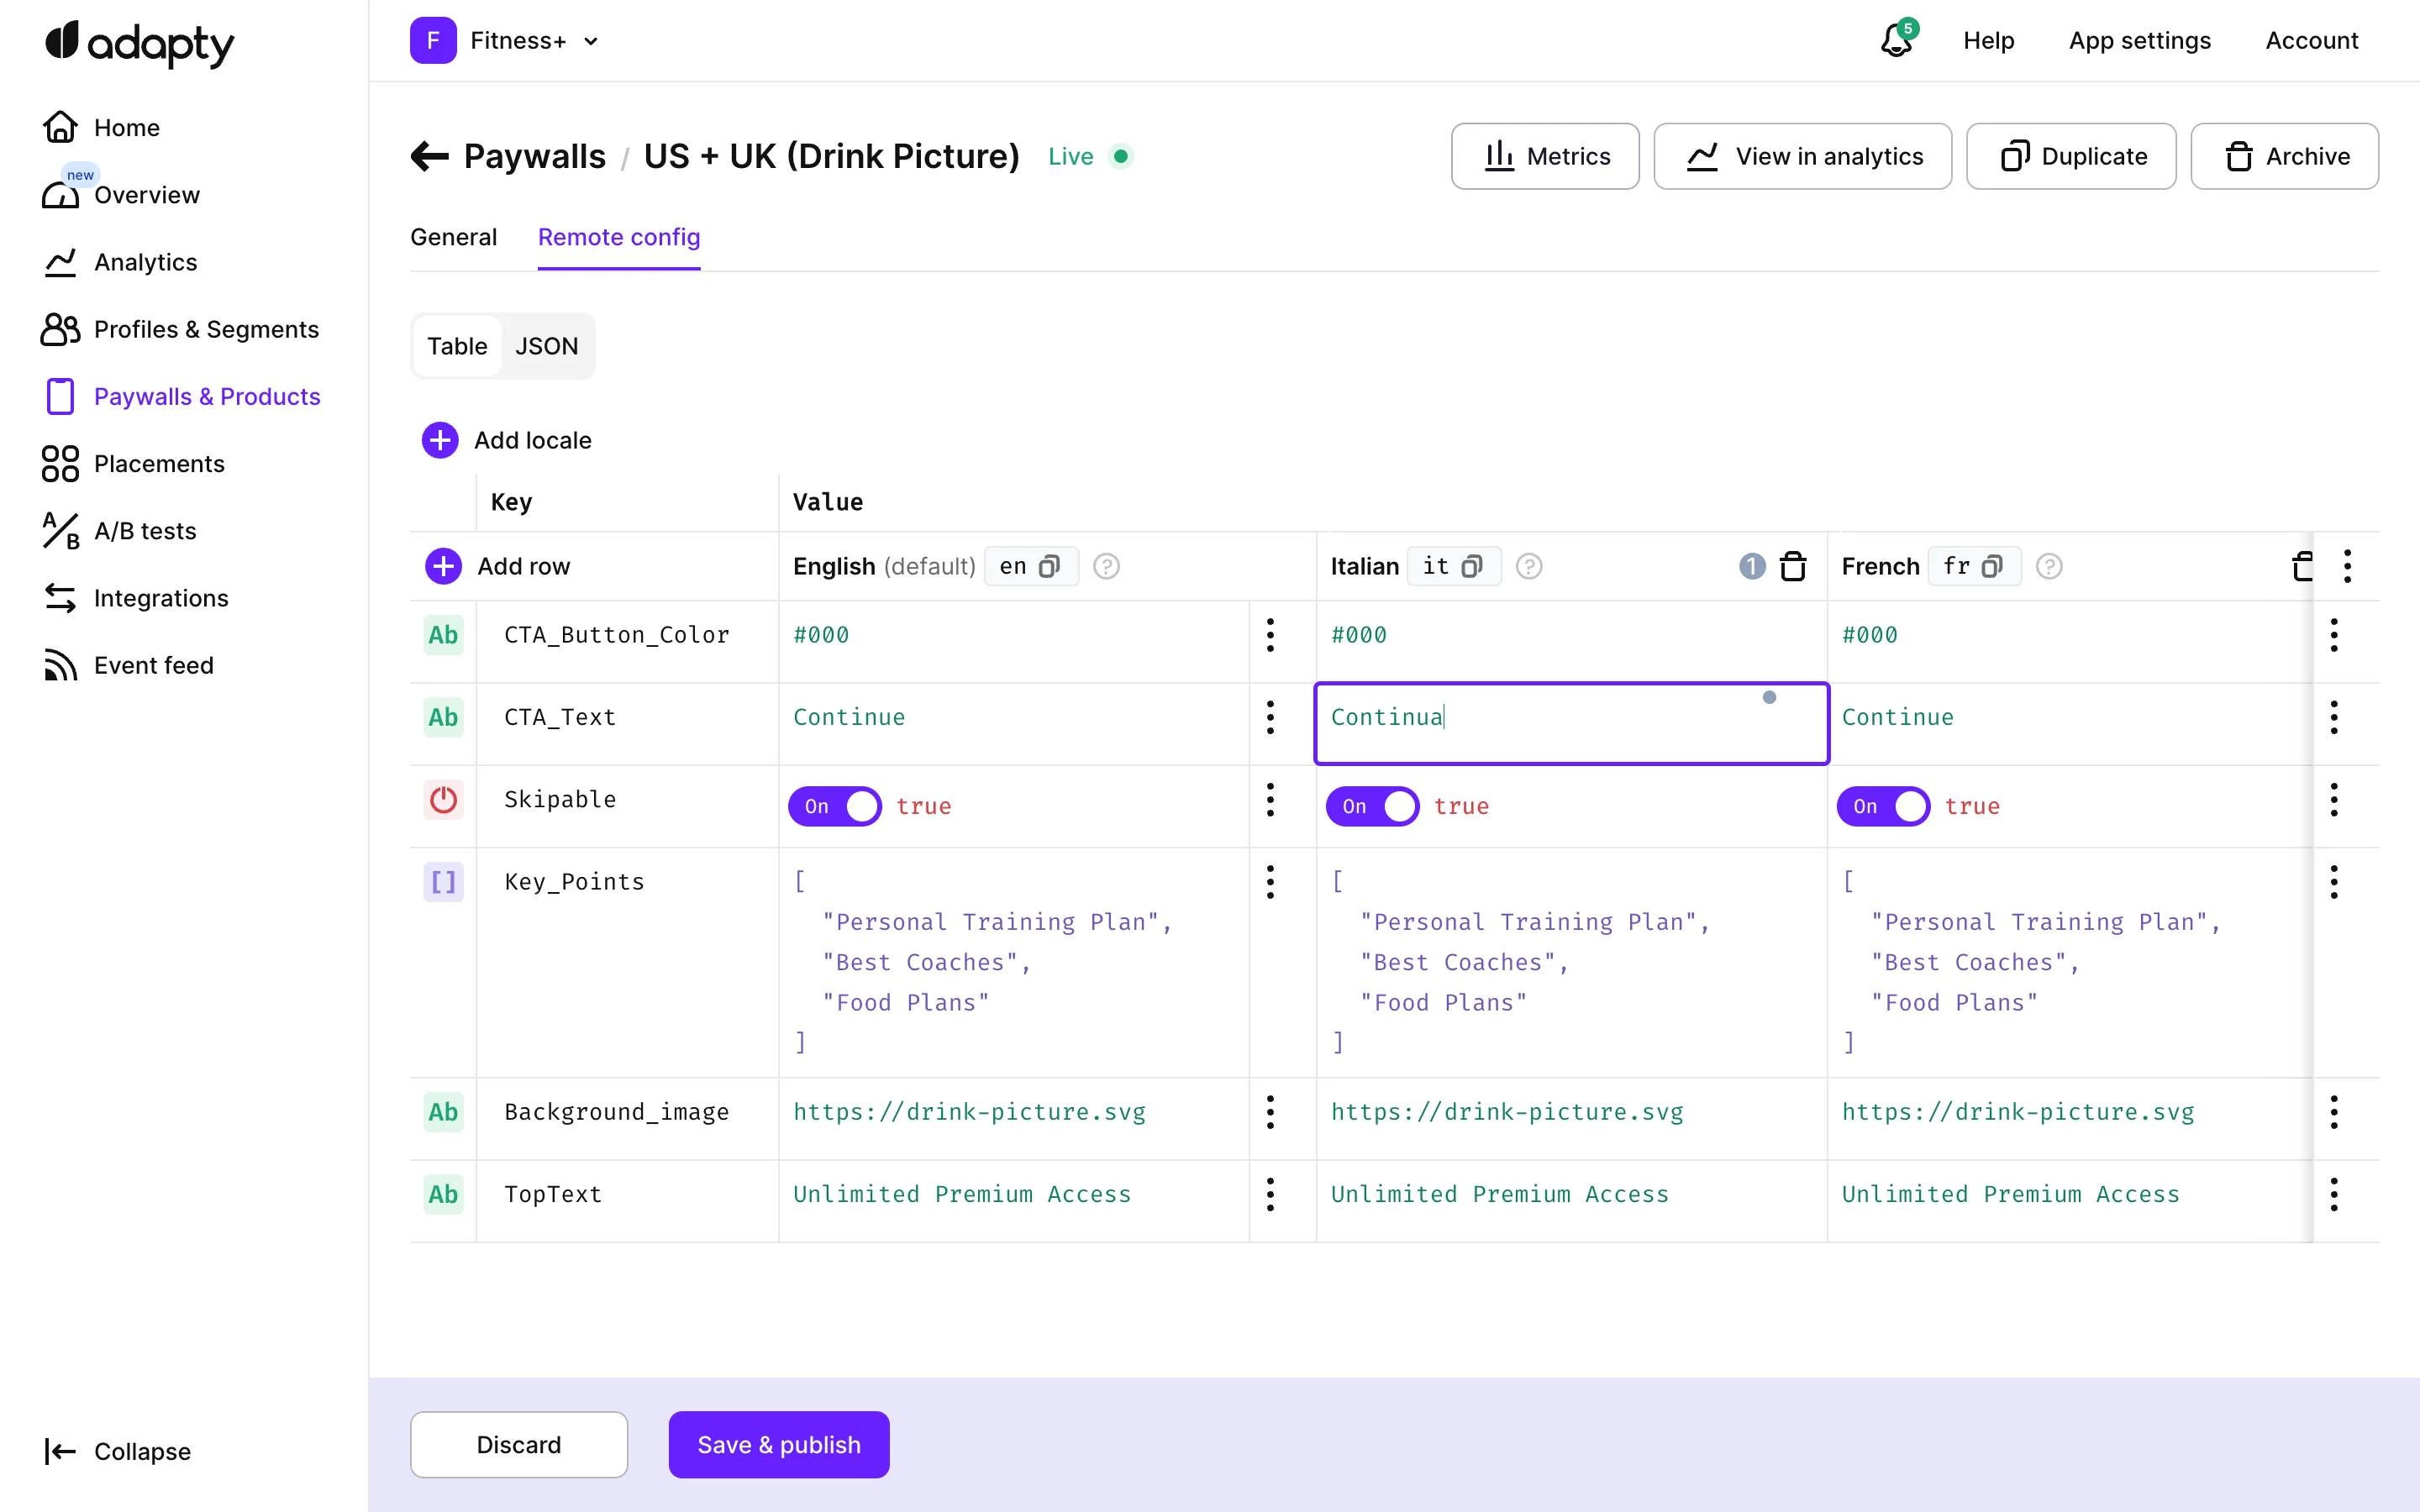
Sometimes, you might want to tweak translations, add different images for specific locales, or even adjust remote configurations directly.
- Choose the element you want to translate and type in a new value. You can update both String and List values or replace images with those better suited for the locale.
-
Take advantage of the context menu in the English locale to resolve localization issues efficiently:
-
Copy this value to all locales: Overwrites any changes made in non-English locales for the selected row, replacing them with the value from the English locale.
-
Revert all row changes to original values: Discards any changes made during the current session and restores the values to their last saved state.
-
After adding locales to a paywall, make sure to implement locale codes correctly in your app's code. See the guides on how to use localizations and locale codes in your app