
Trends-insights
20 min read
April 28, 2021

Updated: October 2, 2023
13 min read
Paywall is the main source of profit for any mobile app. That’s why you must be sure to use the best design elements and put the most profitable prices for your target audience. But there’s no way of knowing what should work best for you until you start experimenting with A/B tests. So today, we’ll have a look at the mobile paywall A/B testing with regard to the Android platform specifically. Very often the term “mobile app” is used to denote iOS and Android apps as one entity, and many articles and tutorials are written with that in mind. But in reality, in many cases, there may be certain differences and nuances between the platforms you’d better be aware of. Let’s have a look at what mobile A/B testing for paywalls looks like and what specifics we can single out for the Android apps.
If you want to grow your Android app’s revenue, there’s no better way to do this than by running paywall A/B tests. The paywall of your app is the place where the user decides whether to purchase your subscription or not, so it’s important to make the most of this page to ensure the user that your app is worth it. In this case, A/B testing helps you understand which elements, offers, and prices work best for your paywall. It works like any other A/B test: with the help of a special framework, you create two similar paywalls with one (usually) difference and split the user traffic into them (50/50 usually). Two weeks later (or more), you can check the results and see which one of the two showed better performance. Running such experiments step by step you will manage to significantly grow your revenue.
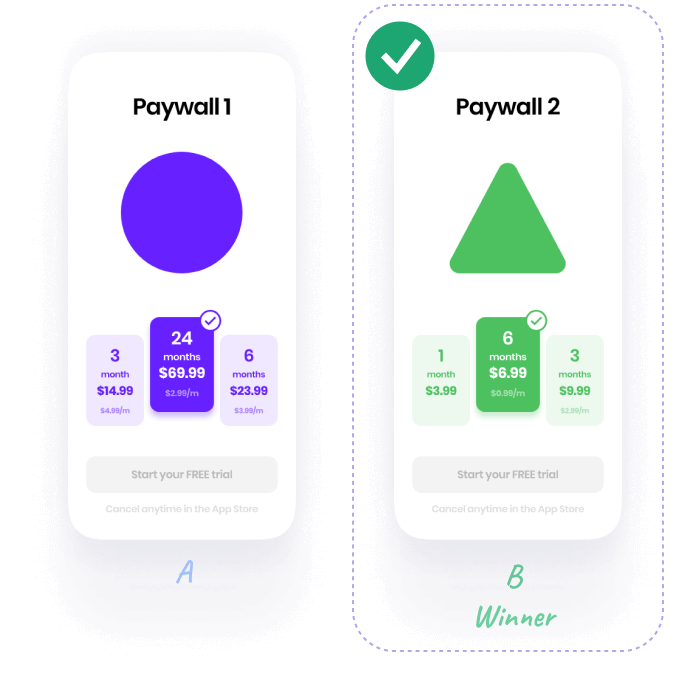
But before getting into experiments, you should understand what a proper paywall should look like, otherwise, you won’t get decent results if your paywall is flawed initially. We’d advise you to check what essential elements should be present on the paywall first. it should be useful if your current paywall was created just for the sake of box-checking. Generally, your app’s paywall should sell the value, show how your app can improve the user’s life and at the same time be beneficial to them (and you, of course). If you want to seek inspiration from other apps, check the top-10 popular paywall designs to find what fits you best.
Prior to discussing the differences between iOS and Android experiments, let’s refresh on the general aspects of a decent paywall A/B test. There are multiple elements to test on a paywall, no matter what platform your app is on:
This is a simple list of the elements that need to be tested in order to increase the valuable metrics and revenue of one’s app. If you want to go deeper into the details, check out our tutorial on general A/B testing.
As we mentioned earlier, there are certain things that aren’t the same for Android and iOS apps when it comes to paywalls and subscriptions. Although these differences may be not that crucial, very often they get neglected in mobile app articles and tutorials. So let’s have a look at what aspects one should pay attention to when creating subscriptions and running paywall A/B tests on Android.
Intro offers are a pretty important aspect of promoting your app and hooking the potential user. An introductory offer is basically a subscription discount for a limited period of time. Apple presents intro offers as additions to main offers and distinguishes 3 separate variants: Free trial, Pay as you go, and Pay up front. Free trial allows you to use an app for free for a certain time period, usually up to 7 days. Pay up front provides the user with a one-time discounted price for a specific period (e.g., $1.99 for 2 months, and then $5 a month). Pay as you go has a similar but different approach, as it offers a discounted price for several billing periods (e.g., $1.99 per month for 3 months, and then $5 a month). These 3 intro offers are presented as separate values added to the offer in the app.
Google has a little bit of a different approach, distinguishing only between Free trial and Introductory pricing in general. The free trial works in the same vein as the one on iOS, providing the user with a specific number of days, weeks, or even months at no charge. While introductory pricing is split into two possible variants: single payment and multiple payments. But at a closer inspection, it becomes clear that the single payment is the analog of Pay up front, and the multiple payments variant follows the logic of Pay as you go. These Android intro offers are called phases and are found within an offer of a base plan. Check our overview of Google Play Billing LIbrary 5.0 to get a more clear picture of how Android subscriptions are built.
There’s a slight difference in the billing periods provided by Apple and Google. They both allow you to choose among 6 variants, but the variants aren’t entirely the same:
| Android | iOS |
| 1 week | 1 week |
| 4 weeks | 1 month |
| 1 month | 2 months |
| 3 months | 3 months |
| 6 months | 6 months |
| 1 year | 1 year |
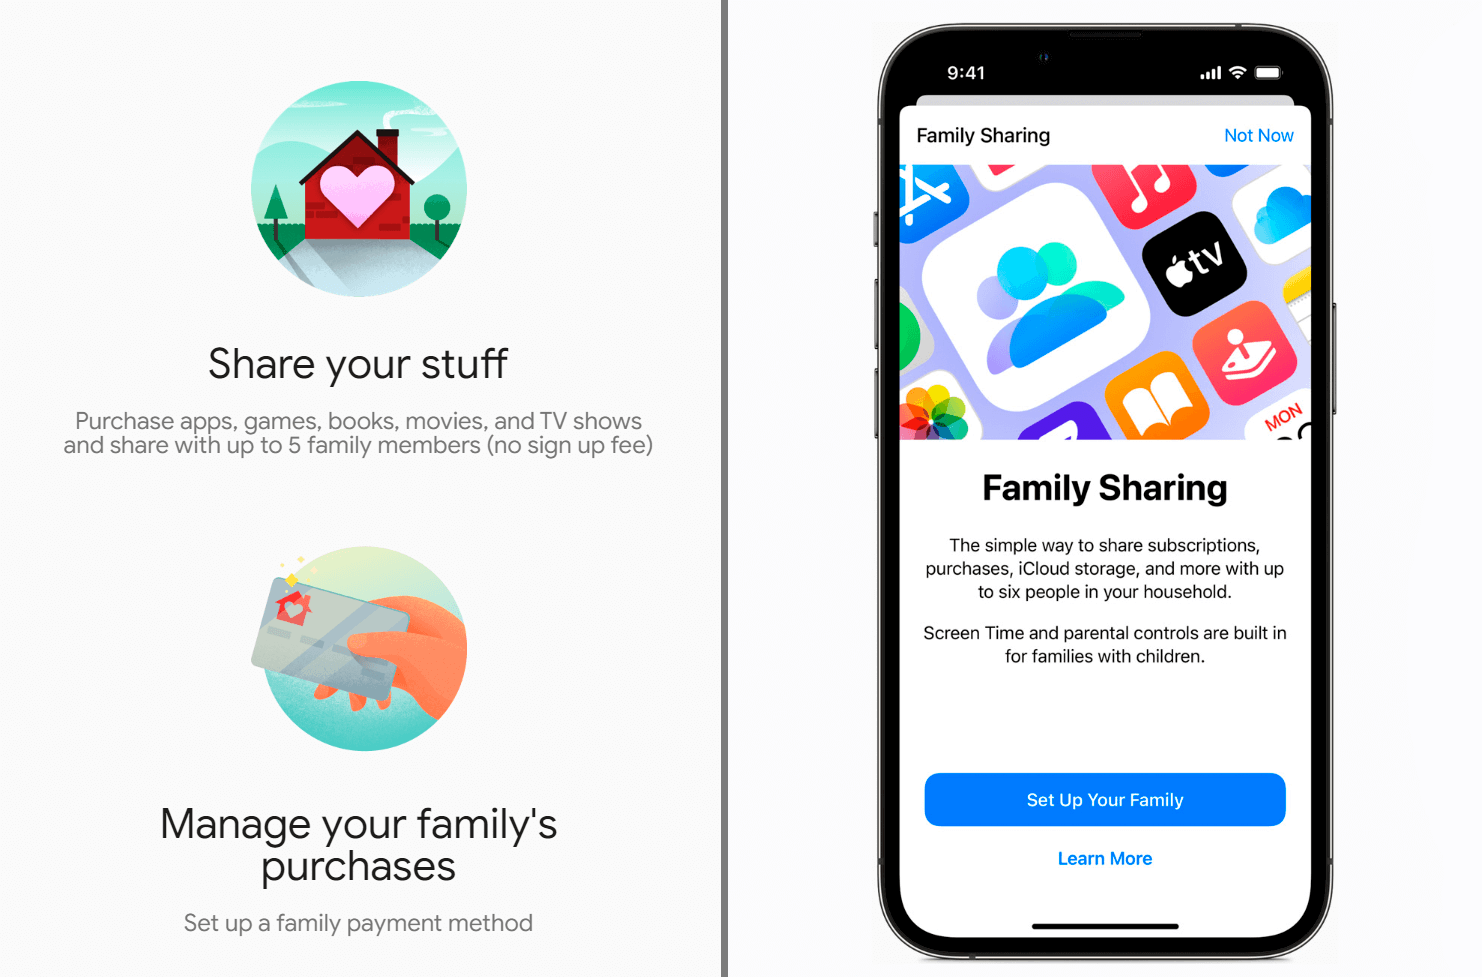
Both platforms provide users with means of sharing apps and content with their family members. This feature can be added to an app in the development process and can serve as a nice bonus to be mentioned on the paywall. But the thing is, this sharing method works differently for iOS and Android. Family sharing by Apple allows the user to share in-app subscriptions with up to five family members across their Apple devices. When Google’s Family library actually serves as a library for sharing purchased apps, games, books, and movies. So in the case with an iOS app, you can mention on the paywall that your subscription provides Family sharing, which may contribute to better conversion in purchases. Unfortunately, this can’t be the case for a paywall of an Android app.
Even though both Apple and Google are practically authoritarian monopolists of the app world who have strict guidelines on any occasion, the latter seems to be not as strict as the former. Both platforms require your app to pass the necessary review stage before it gets published, but in the case with Android apps, this process takes much less time and is usually more automated. For instance, your Android app may get through the review after a couple of hours, while for an iOS app, it would take about 48 hours, including a manual review. Of course, it eventually results in Google Play having fewer quality apps after all, but it’s not the case.
The Google Play reviewing process usually pays attention to a certain number of criteria, like if your app has any malware, nudity, copyright materials, etc. They don’t focus too much on the UX and UI trifles as long as your app is responsive and provides a certain level of feature value. But the trifles are where the high conversion rate lies. It means that you can use dark patterns in Android app paywalls more freely without being afraid of getting your app rejected, but to a certain extent, of course. Play around with a hard paywall, “Continue” CTA button, description of subscription offers, anchoring, and much more. Check out our podcast episode on dark patterns to get more insights.
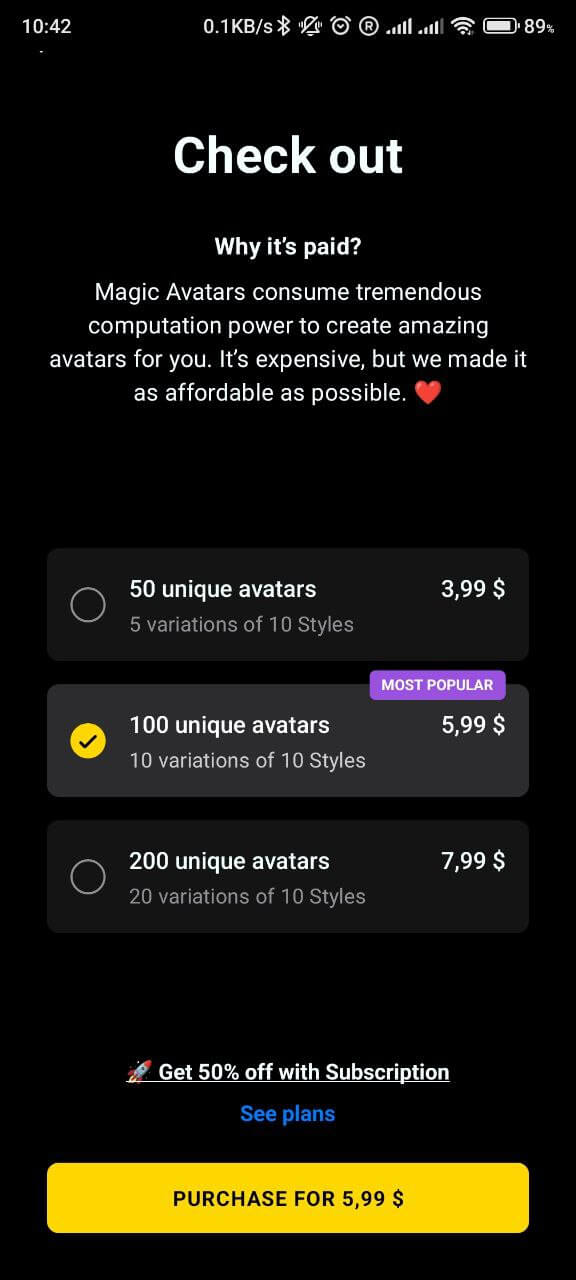
If you’re still worried about your app being rejected for using a few tricks, you can always apply the changes to your paywall afterward through the remote config feature provided by A/B testing frameworks. Let’s talk about it in more detail.
2024 subscription benchmarks and insights
Get your free copy of our latest subscription report to stay ahead in 2024.
When you know all the important aspects of paywall A/B testing for Android, you might want to try everything in practice. To run an A/B test for a mobile app, you’ll need a framework that will at least allow you to create two separate paywalls, split the traffic between them, and track the data on the metrics of your choice to base your verdict on. Basically, there are 3 options where you can start:
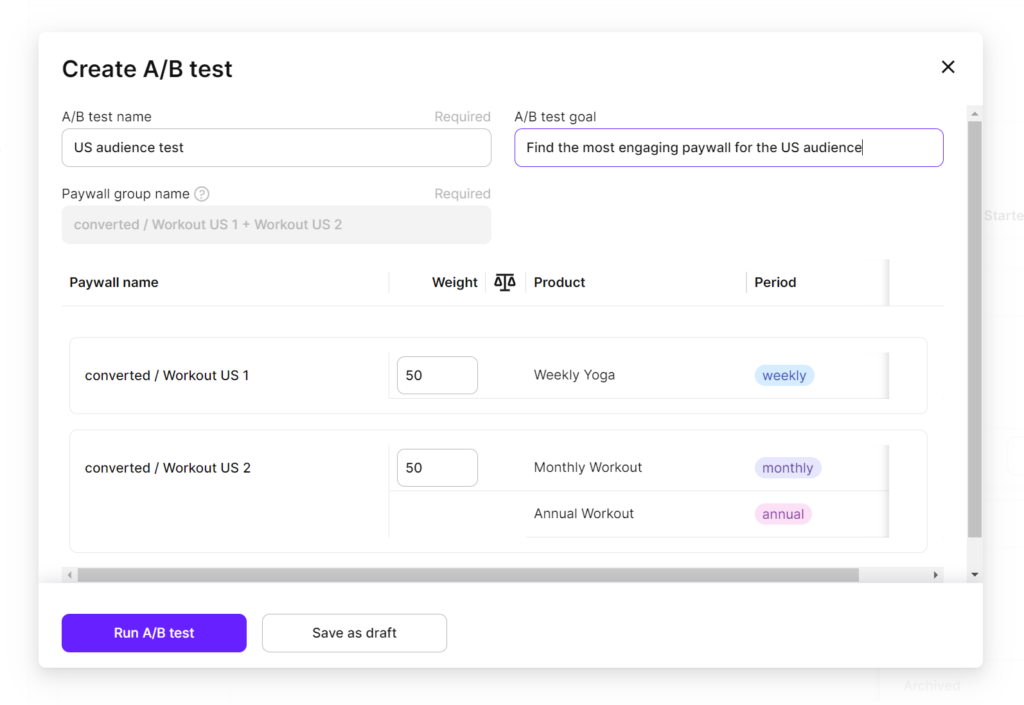
Adapty is a low-code solution, which means you won’t need to worry about custom coding. Integrating the Android SDK in your app should take about 30 minutes, then you’ll be able to start launching tests right away. If you’re interested in trying Adapty, check out our beginners guide on how to run A/B testing experiments on mobile paywalls or schedule a free demo to see all its features in detail.
Recommended posts

Trends-insights
20 min read
April 28, 2021
Product-releases
January 13, 2022