How to integrate In-App Purchases (IAP) in Unity application?

Updated: October 11, 2024
26 min read
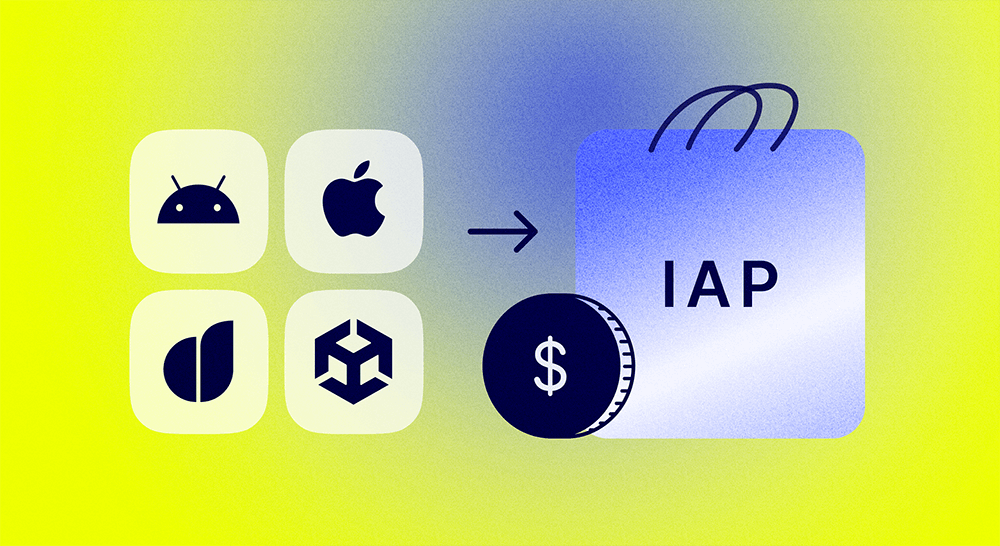
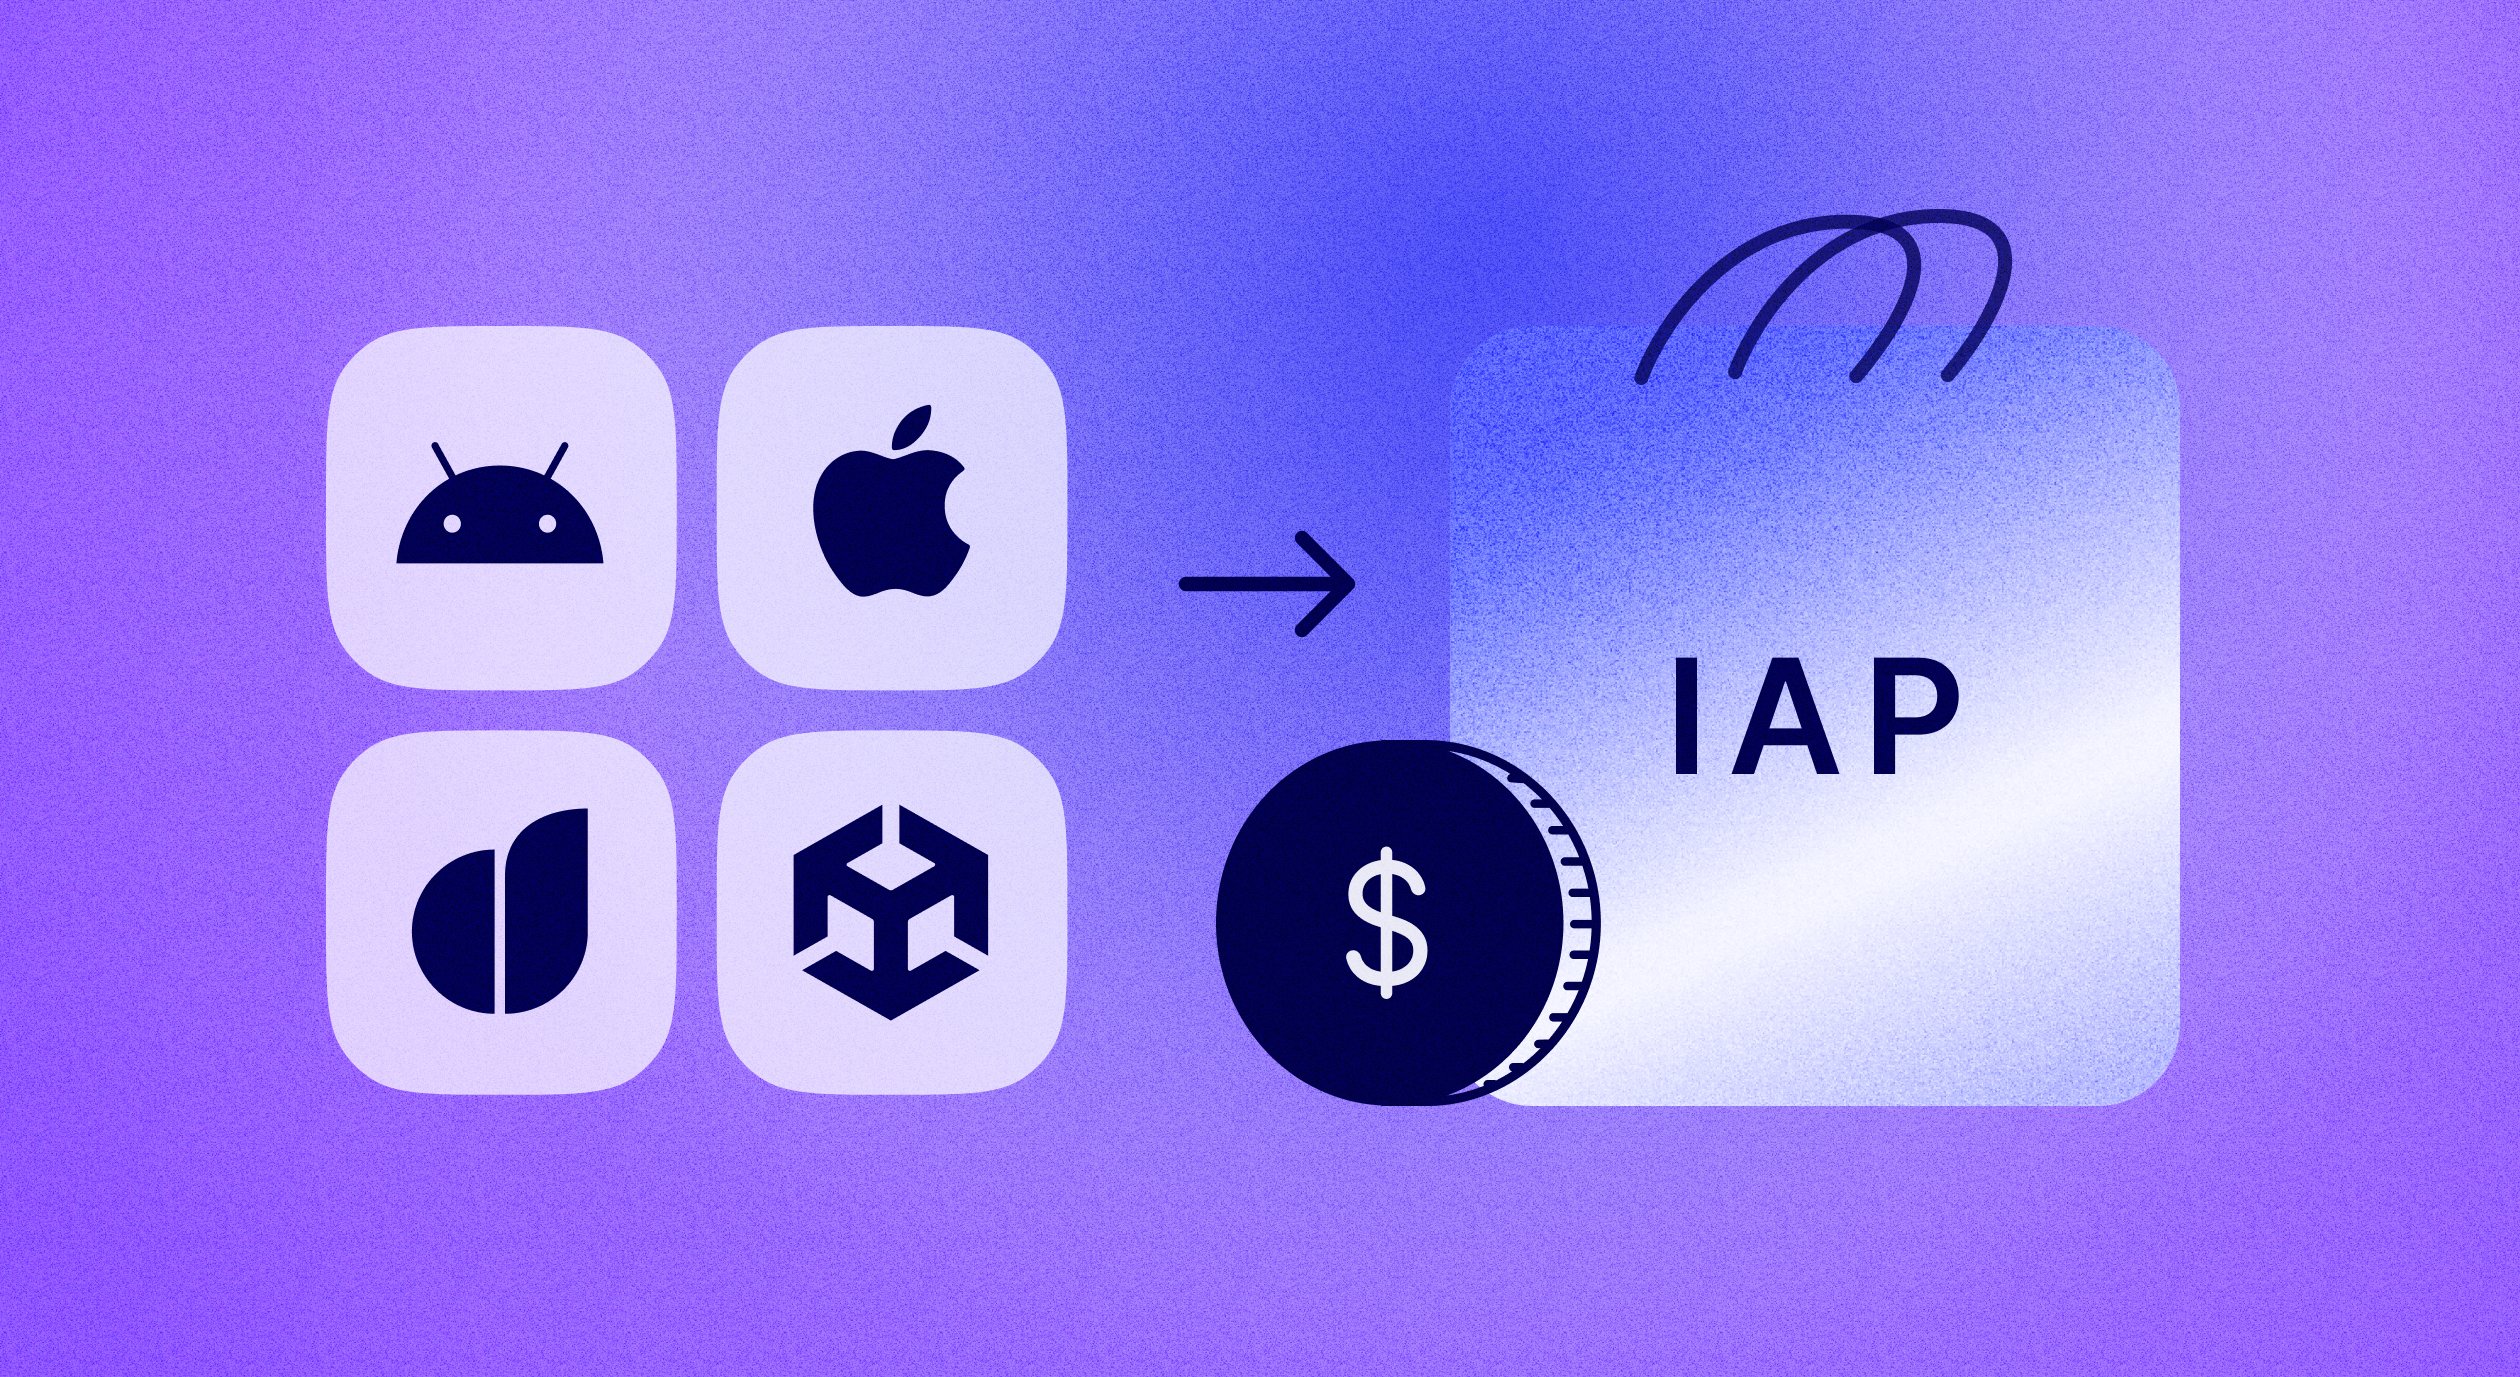
One way to monetize mobile gaming apps is through the in-app purchase (IAP) function. An IAP is the sale of virtual goods or services in a mobile app, usually a game. These purchases are made for real money and are processed through the app marketplaces of the device operating system, Apple or Android.
IAPs have many forms, such as unlocking new characters, buying virtual currency, items, or premium features, or removing ads. IAPs can increase engagement and retention by providing value and encouraging users to keep playing.
The Unity IAP service provides an easy-to-use interface for managing in-game purchases across platforms.
Unity IAP cross-platform package
Unity IAP is a built-in cross-platform package that allows developers to implement purchases in applications on various platforms, including Apple and Android. It provides an easy-to-use interface for managing purchases and allows developers to implement different types of IAPs, such as consumable, non-consumable, and subscriptions, which will be discussed later.
But the Unity IAP package can be considered complex and heavyweight for several reasons:
- The package is designed to support different platforms, which can make the codebase more complex. This can create problems for developers who may need to optimize the game size and performance, especially for mobile devices with limited resources.
- The Unity IAP package is designed to handle different payment systems and currencies. This can add complexity to implementation, especially when dealing with the quirks and nuances of different payment systems.
- Unity IAP has many built-in features to handle various scenarios that developers may face. Challenges include ensuring that users cannot make multiple purchases of the same item, handling refunds and chargebacks, and others. This can also add to the overall complexity and weight of the package.
- The Unity IAP package is constantly evolving. Updates are often released to add new features, fix bugs and improve performance. While this is a positive thing for developers, it can also be difficult to keep up with. It may require constant maintenance to ensure that the IAP implementation is up to date.
The Unity IAP Cross-Platform Package is a handy tool for monetizing mobile games. But this native IAP plugin lacks important features: it doesn’t have server-side verification, integrations with third parties, raw events from subscriptions and purchases, as well as no integrated analytics.
To get the most out of your in-app purchases, we recommend integrating Adapty SDK. This service will add server-side receipt validation to your Unity in-app purchases, provide you with user-level analytics, remote config for paywalls, A/B testing, and much more. Used together with Adapty, Unity IAP can help attract new audiences and effectively monetize your app. So in this tutorial, we’ll also cover the Adapty SDK implementation.
Creating Unity in-app purchases on iOS and Android
To set up in-app purchases for your Unity project follow the 5 simple steps below. Let’s look at iOS first, and then at Android. More details will follow in further sections.
iOS:
- Set up a developer account with Apple and create a new app in App Store Connect.
- Create products for in-app purchases in App Store Connect and set prices and product details.
- Enable Unity IAP by selecting the Services – In-App Purchases tab in Unity and configure the App Store Connect settings.
- Add your products to the Unity IAP catalog in your project.
- Implement code to handle in-app purchases in your game using the Unity IAP. You will need to implement methods to initiate a purchase and handle the response from the billing system.
Android:
- Set up your developer account in Google and create a new app in Google Play Developer Console.
- Create products for in-app billing and set prices and product details in Google Play Developer Console.
- Enable Unity IAP by selecting the Services – In-App Purchases tab in Unity and configure the Google Play Developer Console settings.
- Add your products to the Unity IAP catalog in your project.
- Implement code to handle in-app purchases in your game using the Unity IAP. You will need to implement methods to initiate a purchase and handle the response from the billing system.
Setting Up Your Project
Before moving forward, you need to set up your Unity project to support in-app purchases. Unity allows for fast IAP integration which you can do in Unity itself. No need to install any additional packages.
It requires a few steps to ensure that your game is integrated with the appropriate billing systems and that your in-app purchases are configured correctly.
First, you need to enable the Unity IAP service in your project. This can be done by going to the Window → General → Services in Unity Editor and selecting the In-App Purchasing tab.
Next, you need to set up the appropriate billing systems for different platforms. For iOS, you’ll need to set up the App Store Connect portal and create IAP products. For Android, you’ll need to set up the Google Play Console and create IAP products. See below for more details.
Once you’ve set up the billing systems, you need to configure your IAP in Unity to match the products you created. This involves setting the ID, price, and other details for each product.
Finally, you need to implement the code to handle the in-app purchases in your game. This involves calling the appropriate Unity IAP methods to initiate a purchase and handling the response from the billing system.
Designing your in-app purchase system
Types of in-app purchases
There are three main types of in-app purchases: consumable, non-consumable, and subscription.
Consumable items can be used up, such as coins or power-ups. These items are designed to be bought multiple times, often sold in bundles.
Non-consumable items are bought once and then owned permanently, like additional levels or characters. These items cannot be used up and stay attached to the player’s ID.
Subscriptions provide access to premium content or features for a limited time period. These purchases can be automatically renewed unless the user cancels the subscription.
In-app purchase system design
Game developers might have an idea of an IAP system to fit in the overall game design from the start. It takes time to tailor your IAP system to attract players to spend money on the offered items.
First, determine which elements of your game are the most valuable for players. This will help you either convert the existing items into IAP items or develop new ones.
Second, plan your marketing strategy to go hand in hand with your IAP system. Find the best marketing solutions for promoting the items. Adjust the IAP system regularly based on the data from analytics systems.
IAP items shouldn’t feel excessive, integrate them directly into the gaming experience but try to preserve the balance of the game – all players should have a positive experience. You can then focus on converting them to paying users.
Make the purchases fun and effortless for the players, and present detailed and easy instructions for payment and use of items.
Configuring products and paywalls
Now, let’s talk about Adapty. This service encapsulates data from various stores like App Store and Google Play. This makes a collection of cross-platform statistics simpler and allows you to work with top-level entities rather than identifiers.
Paywall is an abstract entity that includes a product array and a remote configuration file. It is a JSON file containing metadata specified in your dashboard. You must hard-code the paywall ID into your app. It is used to retrieve the config file and product data. You can design the paywall and populate it with the data received from Adapty.
In-app purchases for a Unity project
After you’ve set up in-app purchases for your Unity project as described before, you are ready to use Adapty. Create an account, if you haven’t already, and follow the onboarding instructions to set up the app.
Let’s create a weekly subscription product in Google Play Console or App Store Connect. Remember to fill in the ID of the corresponding product, which can be obtained from payment systems. App Store Connect lacks API, so this needs to be done manually. Don’t worry, you only have to do it once.
Creating a paywall
It’s crucial to define paywall ID in a useful format. The SDK then requests the paywall data with this ID. This architectural approach removes the need to hard code your products on the client side. So you have better flexibility with testing. Another option could be using Firebase JSON, but it lacks error validation and is not as user-friendly.
Designing the paywall
Creating a great paywall often involves experienced designers and complex coding. You can simplify this process by utilizing the paywall builder by Adapty. It currently supports iOS, Android, Flutter, and React Native SDKs, but it will be available for Unity in the future.
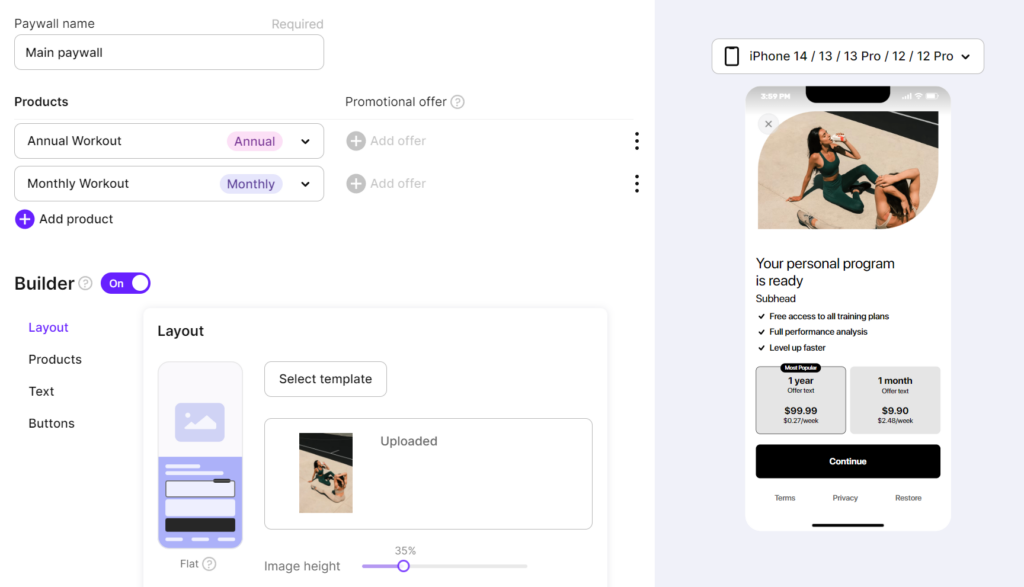
The Adapty paywall editor is a user-friendly tool for the effortless creation and editing of paywalls. No coding or design skills are required! In no time you can design a native paywall with a visually appealing background, headline, feature list, subscription products, vibrant color scheme, and adjustable CTA button.
The JSON editor in the paywall builder allows you to create localization for your paywall in multiple languages. You can customize the header, premium features, CTA button text, and more using a single JSON field.
How to use Adapty Unity SDK
Let’s look at the main functions we’ll need to configure and use subscriptions.
Installation
First, install the SDK from GitHub adapty-unity-plugin-*.unitypackage. You also need to download the External Dependency Manager plugin. Import both into your project.
The SDK uses the “External Dependency Manager” plugin to handle iOS Cocoapods dependencies and Android gradle dependencies. After the installation, you may need to invoke the dependency manager.
Assets → External Dependency Manager → Android Resolver → Force Resolve
and
Assets → External Dependency Manager → iOS Resolver → Install Cocoapods
When building your Unity project for iOS, open Unity-iPhone.xcworkspace file instead of Unity-iPhone.xcodeproj. Otherwise, Cocoapods dependencies won’t be used.
Configuration
You’ll need to configure your app to work with Adapty.
iOS
The Adapty Unity Plugin on iOS is initialized automatically.
Create an Adapty-Info.plist file manually and add it to the /Assets folder of your Unity project (it will be automatically copied to the Xcode project during the build phase).
This is how this file should look like:
<?xml version="1.0" encoding="UTF-8"?>
<!DOCTYPE plist PUBLIC "-//Apple//DTD PLIST 1.0//EN" "http://www.apple.com/DTDs/PropertyList-1.0.dtd">
<plist version="1.0">
<dict>
    <key>AdaptyPublicSdkKey</key>
    <string>insert_here_your_Adapty_public_key#</string>
</dict>
</plist>
For Observer mode set the flag AdaptyObserverMode to true. Use this if you handle purchases and subscription status yourself and use Adapty for sending subscription events and analytics.
<key>AdaptyObserverMode</key>
<true/><key>AdaptyIDFACollectionDisabled</key>
<false/>Android
The Adapty Unity Plugin on Android is initialized automatically.
Add <meta-data section with "AdaptyPublicSdkKey" as a direct child of the <application section to your project’s AndroidManifest.xml file. If you don’t have one, it can be easily created in Project Settings → Player → Settings for Android → Publishing settings → Custom Main Manifest checkbox.
It should look like this:
<?xml version="1.0" encoding="utf-8"?>
<manifest ...>
    <application ...>
        ...
        <meta-data
            android:name="AdaptyPublicSdkKey"
            android:value="PUBLIC_SDK_KEY"/>
    </application>
</manifest>
Usage
First, create a script that will be responsible for listening to Adapty events, call it AdaptyListener. Place it on any object in your scene. We recommend calling the DontDestroyOnLoad method for this object.
Adapty uses the AdaptySDK namespace. At the top of your script files that would use Adapty SDK add:
using AdaptySDK;Next, you need to subscribe for Adapty events:
using UnityEngine;
using AdaptySDK;
public class AdaptyListener : MonoBehaviour, AdaptyEventListener {
    void Start() {
        DontDestroyOnLoad(this.gameObject);
        Adapty.SetEventListener(this);
    }
  public void OnLoadLatestProfile(Adapty.Profile profile) {
    // handle updated profile data
  }
}
Displaying Paywalls & Products
Adapty allows you to remotely configure the products to be displayed in your app, so there’s no need to hardcode them. With Adapty, you can dynamically change offers or run A/B tests without new app releases.
To display the products, you need to query a paywall that contains them:
Adapty.GetPaywall("YOUR_PAYWALL_ID", "en", (paywall, error) => {
  if(error != null) {
    // handle the error
    return;
  }

  // paywall - the resulting object
});
Request parameters:
- id (required): The identifier of the desired paywall. This is the value you specified when creating a paywall in your Adapty Dashboard.
- locale (optional): The identifier of the paywall localization. This parameter is expected to be a language code composed of one or more subtags separated by the “-” character. The first subtag is for the language, the second one is for the region.
Example: en means English, and en-US represents US English.
If this parameter is omitted, the paywall will be returned in the default locale.
Response:
- Paywall: an
AdaptyPaywallobject. This model contains the list of the products’ IDs, paywall’s identifier, remote config, and several other properties.
Once you have the paywall, you can query the product array that corresponds to it:
Adapty.GetPaywallProducts(paywall, (products, error) => {
  if(error != null) {
    // handle the error
    return;
  }

  // products - the requested products array
});
Next, build your paywall view using the fetched products and show it to the user. When the user makes a purchase, simply call .makePurchase() with the product from your paywall.
Adapty.MakePurchase(product, (profile, error) => {
  if(error != null) {
      // handle error
      return;
  }

  // successful purchase
});
Bear in mind there’s an important point concerning product display in iOS with regard to intro offers, learn more in the docs.
Making purchases
To make the purchase you have to call .makePurchase() method:
Adapty.MakePurchase(product, (profile, error) => {
  if(error != null) {
      // handle error
      return;
  }
  // successful purchase
});
Below is a full code example of making the purchase and checking the user’s access level.
Adapty.MakePurchase(product, (profile, error) => {
  if(error != null) {
      // handle error
      return;
  }

  // "premium" is an identifier of default access level
  var accessLevel = profile.AccessLevels["premium"];
  if (accessLevel != null && accessLevel.IsActive) {
      // grant access to premium features
  }
});
To restore purchases, you have to call the .restorePurchases() method:
Adapty.RestorePurchases((profile, error) => {
    if (error != null) {
        // handle the error
    } else {
        // check the access level
    }
});
Subscription status
With Adapty you don’t have to hardcode the product IDs to check subscription status. Just verify that the user has an active access level. To do this, you have to call .getProfile() method:
Adapty.GetProfile((profile, error) => {
  if (error != null) {
    // handle the error
    return;
  }

  // check the access
});
Below is a full code example for checking the user’s access level.
Adapty.GetProfile((profile, error) => {
  if (error != null) {
    // handle the error
    return;
  }
  // "premium" is an identifier of default access level
  var accessLevel = profile.AccessLevels["premium"];
  if (accessLevel != null && accessLevel.IsActive) {
    // grant access to premium features
  }
});
Listening for subscription status updates
Whenever the user’s subscription changes, Adapty will fire an event. In order to receive messages from Adapty, you need to make some additional configuration, depending on your platform:
// Extend `AdaptyEventListener ` with `OnLoadLatestProfile ` method:
public class AdaptyListener : MonoBehaviour, AdaptyEventListener {
  public void OnLoadLatestProfile(Adapty.Profile profile) {
    // handle any changes to subscription state
  }
}
2024 subscription benchmarks and insights
Get your free copy of our latest subscription report to stay ahead in 2024.
Implementing in-app purchases in Unity
Code implementation
Here’s the script provided by Unity to implement the IAP system in your game. We have provided the comments for your tech geek souls to understand each of the lines and methods.
using UnityEngine;
using UnityEngine.Purchasing;
public class MyStoreClass : MonoBehaviour, IStoreListener
{
    // Initializes the purchasing system
    void Awake()
    {
        // Create a ConfigurationBuilder instance and add a non-consumable product to it
        ConfigurationBuilder builder = ConfigurationBuilder.Instance(StandardPurchasingModule.Instance());
        builder.AddProduct("levelpackfoo", ProductType.NonConsumable);

        // Initialize the purchasing system using the defined product
        UnityPurchasing.Initialize(this, builder);
    }
    // The purchasing system has been successfully initialized
    public void OnInitialized(IStoreController controller, IExtensionProvider extensions)
    {}

    // Error during the initialization process occurred
    public void OnInitializeFailed(InitializationFailureReason error)
    {}

    // A purchase is completed
    public PurchaseProcessingResult ProcessPurchase(PurchaseEventArgs e)
    {
        // For this example, we simply return PurchaseProcessingResult.Complete to indicate that the purchase was successful
        return PurchaseProcessingResult.Complete;
    }

    // A purchase fails for any reason
    public void OnPurchaseFailed(Product item, PurchaseFailureReason r)
    {}
}
Working with UI Interface
The IAP Button is a common Unity button but with extra scripts from the IAP package. Add it following these instructions.
Add the IAP Button with a name of your choice in the project’s hierarchy: In-App Purchasing → IAP Button.
Create the products catalog: click on the IAP Catalog in the IAP Button inspector.
You can set up all products in your game in this menu. Enter the product ID (the parameter which determines the product in the script), and the type of product: consumable, non-consumable, or subscription. Then specify the location, name, description, and cost.
To publish on Play Market go to Google Configuration, for App Store go to Apple Configuration, or both for cross-platform publication. iOS developers also need to fill out Store ID Overrides.
Check “Automatically initialize UnityPurchasing (recommended)”.
Next, go back to the IAP Button inspector and select the product ID which you have just added to the catalog.
Now you’ve set up your IAP Button. Do not forget to attach BuyProduct() in your code to the IAP button to initiate the purchase of a product. See below for the code essentials.
Code essentials
Add the Purchases library to our IAP manager-script.
using UnityEngine.Purchasing;Then add the interface IStoreListener to get messages from Unity Purchasing.
public class IAPManager : MonoBehaviour, IStoreListenerThe next line creates a static reference to an interface for Unity’s IAP system.
private static IStoreController m_StoreController;Initialize the Unity Purchasing system for in-app purchases with specific Product ID from your catalog.
void InitializePurchasing()
    {
        var builder = ConfigurationBuilder.Instance(StandardPurchasingModule.Instance());
        builder.AddProduct(“Product_ID_1”, ProductType.NonConsumable);
        builder.AddProduct(“Product_ID_2”, ProductType.Consumable);
        builder.AddProduct(“Product_ID_3”, ProductType.Subscription);
        UnityPurchasing.Initialize(this, builder);
    }
Attach to the IAP Button to initiate the purchase of a product.
public void BuyProduct(string product_ID)
    {
        m_StoreController.InitiatePurchase(product_ID);
    }
Testing and publishing your in-app purchases
Testing IAP
Testing your game IAP system is an important step to ensure everything is working correctly.
To test in-app purchases, simply click on “Play” in the Unity Editor. It will automatically use the “fake store”. There you can select the desired in-app purchase and make a test purchase.
Try to make the purchasing experience as smooth as possible. All actions need to be simple and obvious for a player.
After the simulated purchase, you can check the Unity Log to confirm that the purchase was successful. Ensure that the purchased item has been added to the user’s inventory.
Once you have tested your IAP system and resolved all issues, the next step is to publish it.
Publishing IAP
Here are the detailed guides to publish your IAP on the respective platform, App Store or Google Play Store:
Now you’re all set and ready to make money!
Best practices for in-app purchases in Unity
Designing and implementing IAP
Designing and implementing a shopping experience requires careful planning, the whole process should be seamless for the user and profitable for the developer. Here are some of the best practices to follow:
- Offer meaningful purchases. Your in-app purchases should add value to the user experience, not detract from it. They should be relevant to your app and provide real value.
- Keep it simple. Don’t overwhelm users with too many options.
- Get the pricing right. You need to research the market and price your products accordingly. Don’t make purchases too expensive or too cheap, and don’t over- or under-price the product.
- Use clear and honest descriptions. Do not mislead users with false statements about products.
Optimizing IAP
Optimizing the Unity IAP system can help maximize revenue and increase user engagement. Here are some tips to consider:
- Analyze data to identify trends and patterns in user behavior. Tailor your in-app purchases accordingly.
- Promote in-app purchases. Make sure users are aware of the in-app purchases in the game store and the benefits of purchasing each item.
- Regularly test and improve your in-app purchasing system to optimize its efficiency and maximize revenues.
- Work with your marketing team to create new items. Follow trends and new features. Make your game exciting for long-time players.
Conclusion
Developers can use this guide to easily integrate IAP functionality into their Unity games.
This guide covers the process of setting up the Unity IAP package and configuring its settings, creating product catalogs, and integrating IAP functionality into the game. It also includes tips for testing the IAP functionality and optimizing in-game sales.
Using in-app purchases together with Adapty to monetize Unity games is a powerful and effective way to generate revenue. For a closer look at how Adapty can optimize your monetization strategies, elevate user experiences and accelerate your revenue growth, schedule a free demo call with us. Dive deep into the world of enhanced conversions and seamless integrations with Adapty SDK.
By following the instructions outlined in the guide, developers will be able to ensure a smooth user experience and maximize their revenue potential.
FAQs
Recommended posts
Tutorial
Android
iOS
13 min read
January 10, 2022


