Mobile paywall A/B testing guide: How to approach split-testing and avoid mistakes
Your paywall is the single most important screen in your subscription app. It's the moment where a user either commits to paying or leaves forever. And yet, many app teams treat paywall optimization as guesswork: changing a button color here, tweaking a headline there, hoping something sticks.
A/B testing removes the guesswork. It lets you make data-driven decisions about every element of your paywall, from pricing and plan structure to copy and visual design. But running a useful A/B test is harder than it looks. Poor experiment design, wrong metrics, and premature conclusions can waste weeks of effort or, worse, lead you to roll out changes that actually hurt revenue.
This guide covers everything you need to run effective paywall experiments: which metrics to track, how to form a strong hypothesis, what to test first, and the most common mistakes that invalidate results. Whether you're running your first experiment or refining an established testing program, you'll find a practical framework to follow.
This article is part of our series on paywall A/B testing:
- Paywall A/B testing guide: how to run experiments, avoid mistakes, and maximize revenue (this article)
What is paywall A/B testing?
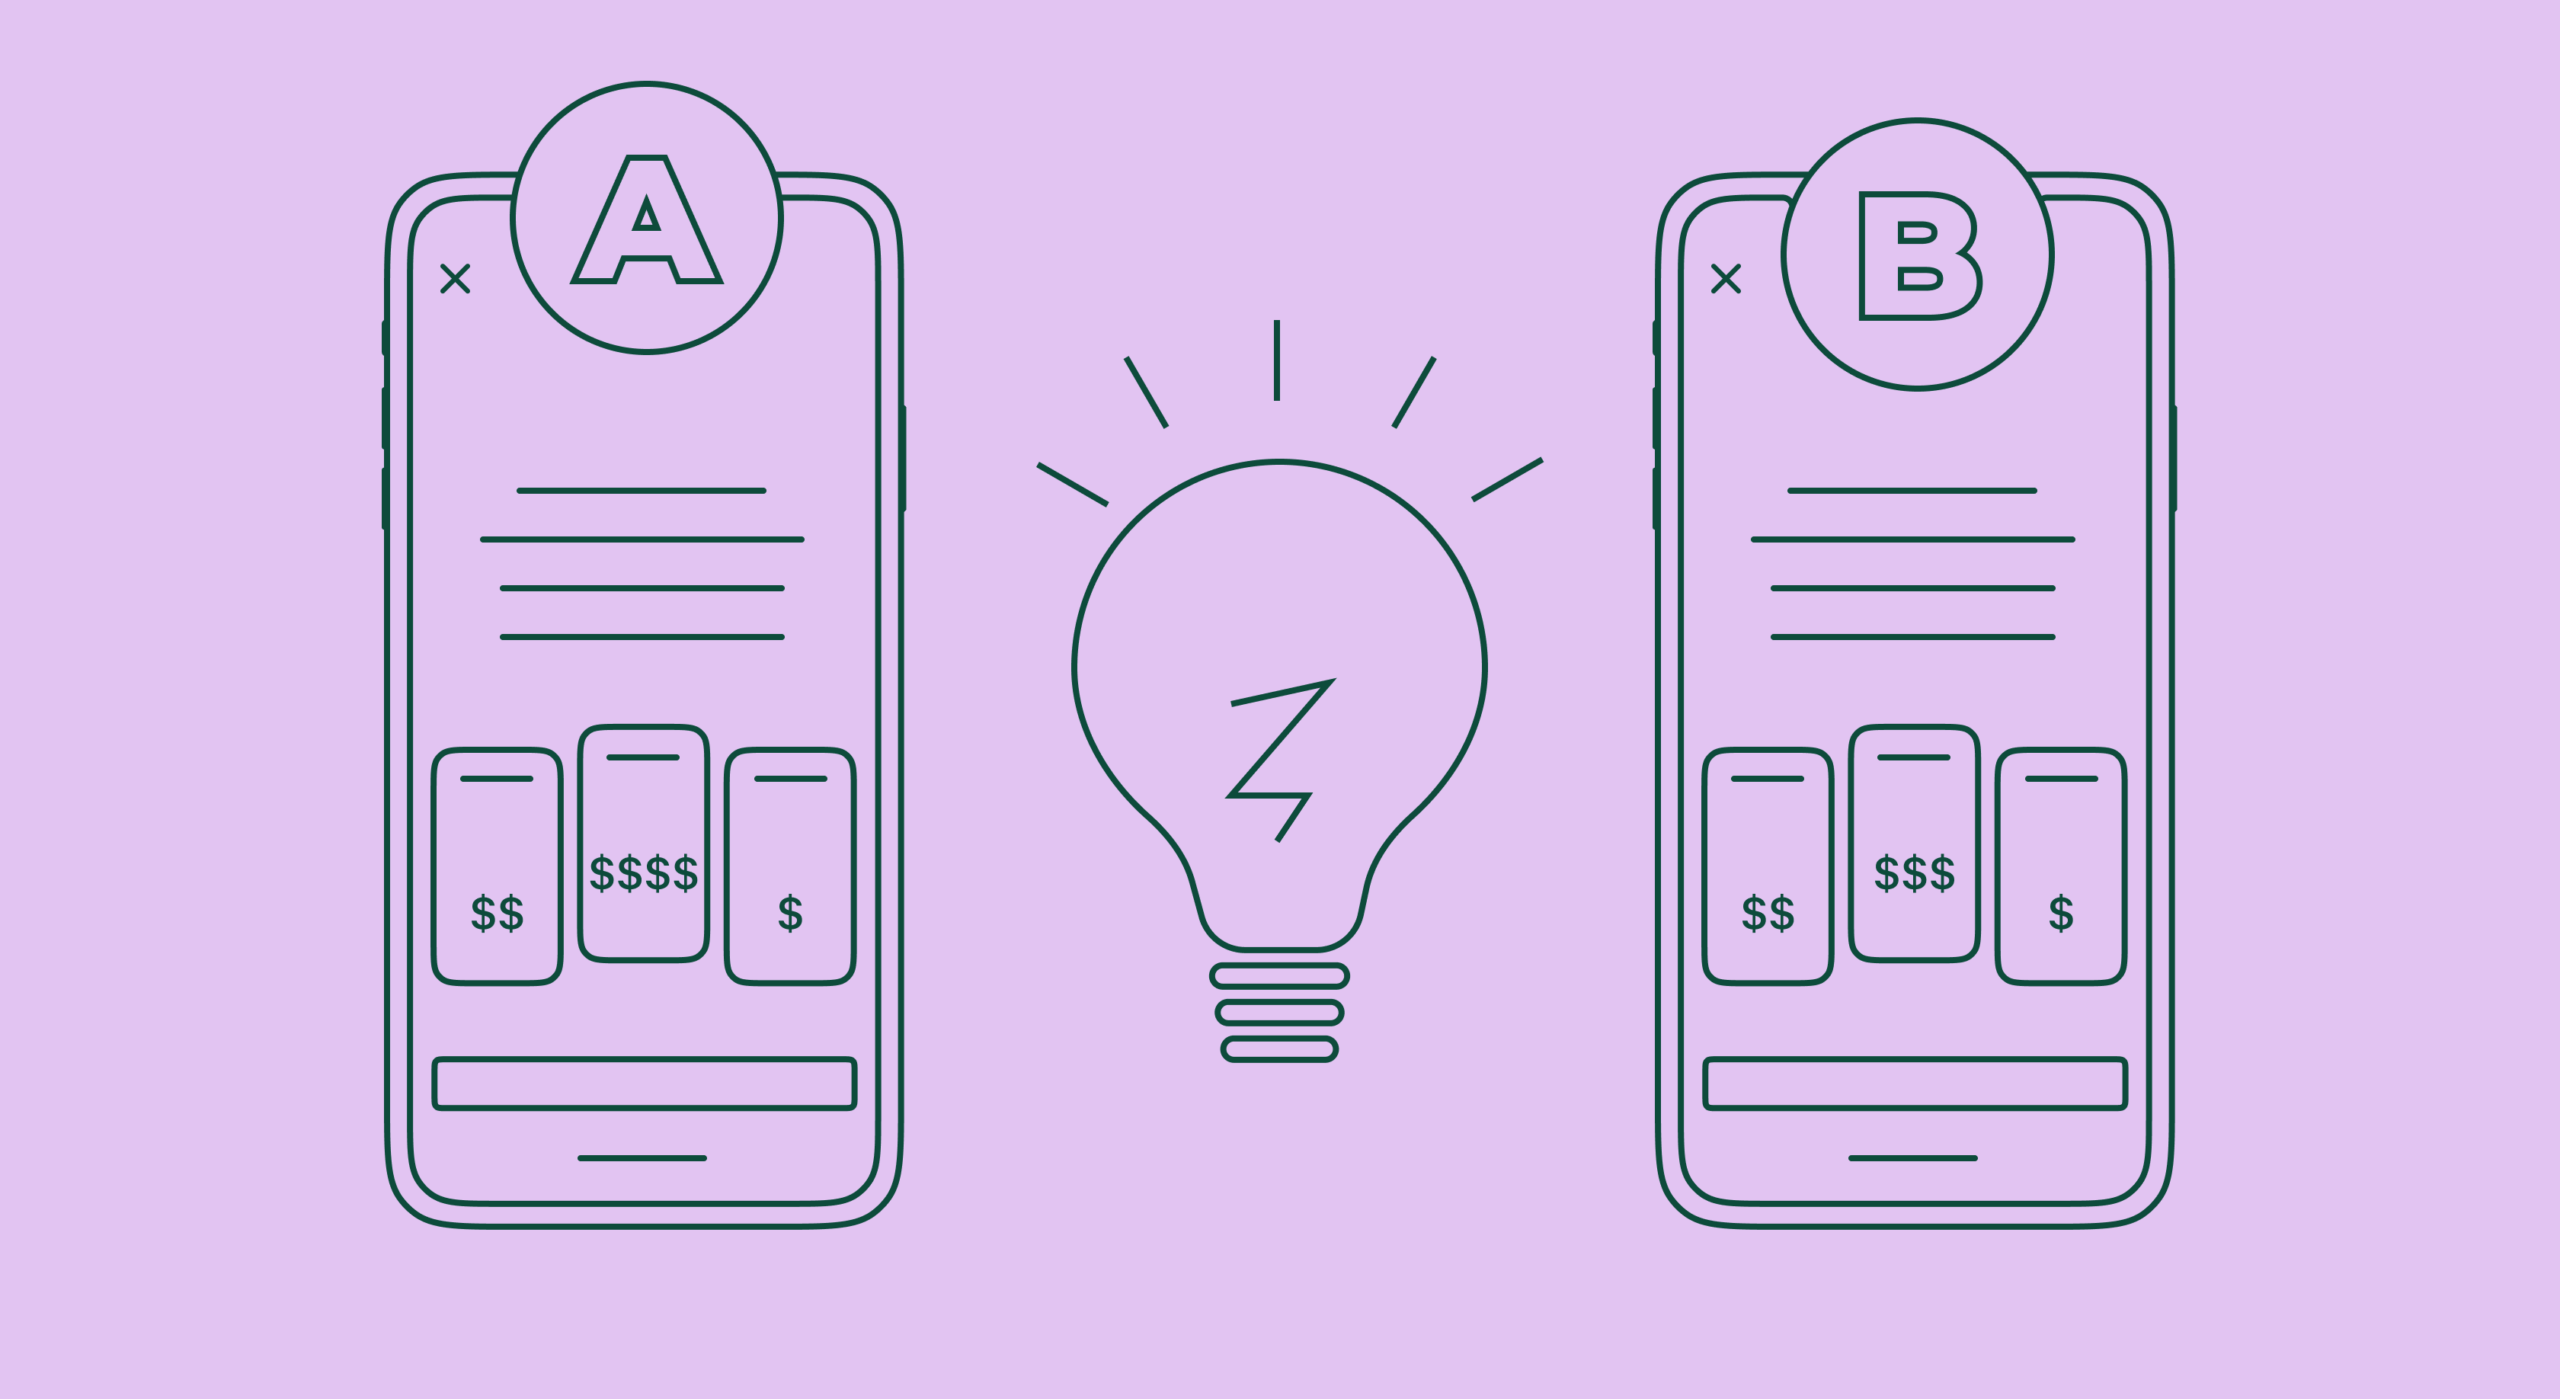
A paywall A/B test is an experiment where two or more versions of your paywall are shown to different groups of users simultaneously. One version (the "control") is your current paywall. The other (the "variant" or "challenger") includes a specific change you want to evaluate. By comparing how each group behaves, you can determine which version generates more revenue, higher conversion rates, or better long-term subscriber retention.
The concept is simple, but paywall testing differs from standard web A/B testing in important ways. In a subscription app, the impact of a change often takes weeks or months to become visible. A pricing change might lower short-term conversions but dramatically increase lifetime value (LTV) over 6–12 months. That's why paywall experiments require more patience, more nuanced metrics, and a longer evaluation window than a typical landing page test.
Key metrics to track in paywall A/B tests
Before launching any experiment, you need to define what success looks like. Tracking the wrong metric is one of the fastest ways to draw the wrong conclusion from a perfectly good test. Here are the metrics that matter most for paywall experiments:
| Metric | What it measures | When to prioritize | Typical benchmark |
| Paywall conversion rate | % of users who see the paywall and start a trial or purchase | Design, CTA, and layout tests | 2–12% depending on paywall type and category |
| Trial-to-paid conversion | % of trial users who convert to a paid subscription | Trial length and offer type tests | ~10% average; 4–10% varies by price tier |
| ARPU / ARPPU | Average revenue per user (or per paying user) | Pricing and plan structure tests | Varies significantly by category and region |
| Churn rate | % of subscribers who cancel within a given period | Pricing changes and plan duration tests | ~3% weekly plans (annual); ~56% annual plans (annual) |
| Lifetime value (LTV) | Total expected revenue from a subscriber over their entire relationship | Long-term pricing decisions | Depends on retention × ARPU; track cohorts over 3–12 months |
The critical takeaway: conversion rate alone is not enough. A cheaper plan might convert better but generate less revenue overall. A higher-priced subscription might convert fewer users but attract subscribers who stick around much longer. That's why ARPU — not conversion rate — should be your primary success metric for most paywall experiments. The variant with the highest ARPU is usually the winner, because it accounts for both conversion and revenue per subscriber.
How to form a testing hypothesis
Every good experiment starts with a hypothesis: a specific, testable prediction about what will happen when you make a change. Running tests without a hypothesis is like navigating without a map — you might end up somewhere interesting, but you won't know why you got there or how to replicate the result.
A strong paywall testing hypothesis has three components:
- An observation (what you've noticed in your data or user behavior)
- A proposed change (what you want to test)
- A predicted outcome (what you expect to happen and by how much)
Here are examples of well-formed hypotheses for paywall A/B tests:
| Goal | Observation | Hypothesis |
| Increase ARPU | Conversion rate is above the category average, suggesting room for a price increase | Increasing the monthly price from $9.99 to $12.99 will raise ARPU by 15%+ without reducing conversion by more than 10% |
| Improve trial-to-paid rate | Users abandon trials before experiencing core features | Extending the trial from 3 days to 7 days will increase trial-to-paid conversion by 20% |
| Boost paywall conversion | Users hesitate at the paywall due to lack of social proof | Adding app store ratings and a testimonial to the paywall will increase conversion rate by 10–15% |
| Increase annual plan share | Most subscribers choose the monthly plan; annual retention is much higher | Pre-selecting the annual plan and adding a "save 40%" badge will shift 15% more users to annual, improving LTV |
| Reduce bounce rate | Hard paywall causes high drop-off among new users | Adding a close button (soft paywall) will reduce paywall bounce by 20% and increase net conversion |
Don't skip this step. Without a hypothesis, you won't know whether a "winning" result was caused by your change or by random chance, and you won't be able to build on it for your next experiment.
What to test on your paywall (and in what order)
Not all paywall changes deliver equal impact. Data from thousands of subscription apps consistently shows that pricing experiments deliver 2–3× more revenue uplift than visual changes. Yet most teams start with button colors and copy tweaks because pricing changes feel risky. Here's the testing sequence that works, ordered by typical revenue impact:
| Priority | What to test | Potential uplift | Evaluation timeframe |
| 1 | Pricing and plan structure (price points, number of plans, plan durations) | Up to 70% revenue uplift | 4–8 weeks (track LTV cohorts) |
| 2 | Trial offers (trial length, trial presence, opt-in vs. opt-out, introductory pricing) | Up to 20% conversion uplift | 3–4 weeks |
| 3 | Paywall placement and timing (onboarding vs. feature-gated, hard vs. soft paywall) | Up to 20% uplift | 2–4 weeks |
| 4 | Copy, CTA wording, and social proof elements | Up to 5–10% conversion uplift | 2 weeks |
| 5 | Visual design, layout, and animation | Up to 8–15% conversion uplift | 2 weeks |
The logic behind this order: visual changes improve how many people convert at your current price, but pricing changes determine how much each conversion is worth. If you optimize visual conversion before pricing, you're just getting more people to buy something that may be underpriced. Find the optimal price point first, then optimize how many people convert at that price.
For a deeper breakdown with specific experiment ideas for each category, see our paywall experiments playbook.
Step-by-step process for running a paywall A/B test
Once you have a hypothesis and know what you want to test, follow this five-step process:
Step 1: Research and baseline
Before changing anything, document your current performance. What's your paywall conversion rate? Trial-to-paid rate? ARPU? You need a clear baseline to measure improvement against. Also review qualitative data: user reviews, support tickets, and session recordings can reveal why users aren't converting, not just that they aren't.
Step 2: Build your variants
Create your control (existing paywall) and one challenger variant. Resist the temptation to test more than one change at a time — if you change the price and the layout simultaneously, you won't know which change drove the result. With a dedicated tool like Adapty's A/B testing, you can build and deploy new paywall variants without an app store update.
Step 3: Set up the experiment
Split your audience randomly into control and variant groups, typically 50/50. If you're testing a risky change (like a significant price increase), you can start with a smaller allocation (e.g., 80/20) and increase it once you confirm the variant isn't causing harm. Make sure to segment by geography — mixing users from different countries with different purchasing power will pollute your results.
Step 4: Run the test and don't touch it
Let the experiment run for at least 2 weeks to account for day-of-week variation. For pricing tests, plan to follow cohorts for 4–8 weeks to capture renewal and churn behavior. During this time, don't change anything: no new features, no other experiments on the same audience, no mid-test adjustments. If you find a bug, stop the experiment and start over rather than fixing it mid-test.
Step 5: Analyze and implement
When the test reaches statistical significance, evaluate results using your primary metric (usually ARPU, not just conversion rate). If you have a clear winner with 15%+ improvement, roll it out. If results are ambiguous, you may need more traffic or a longer test. Document everything — what you tested, the hypothesis, the outcome — so your team can build on these learnings in the next experiment.
A/B testing different elements requires different approaches
One of the most overlooked aspects of paywall testing is that different types of changes need to be evaluated differently.
When you test design elements — button shapes, colors, copy, or layout — the effect is visible almost immediately. These elements affect how users interact with the paywall right now. If your new CTA button text increases taps, you'll see it in the conversion rate within days. A statistically significant result on conversion rate is enough to declare a winner.
But changes that directly affect your app's economics — pricing, plan durations, trial offers — require a fundamentally different approach. A higher price will almost certainly reduce your immediate conversion rate. That's expected. The question isn't whether fewer people buy; it's whether the people who do buy generate enough additional revenue to more than compensate.
For example, if you raise your annual subscription price by 20% and your conversion rate drops by 10%, you might initially think the test failed. But if the subscribers who do convert at the higher price retain better and produce higher LTV, the change could be a significant revenue win. You won't know this until you follow the cohorts for months.
The practical rule: for design and copy tests, optimize for conversion rate with a 2-week evaluation window. For pricing and product tests, optimize for ARPU and LTV with a 4–8 week evaluation window that includes at least one renewal cycle.
Common paywall A/B testing mistakes (and how to avoid them)
1. Testing without a clear hypothesis
If users aren't tapping the purchase button, the solution might not be a new button design — maybe the paywall loads slowly, the pricing is confusing, or the value proposition isn't clear. Look at your analytics and user feedback first. A hypothesis grounded in data will produce far more useful results than random experimentation.
2. Changing multiple variables at once
When you change the price, the headline, and the layout in a single test, you can't isolate what caused the result. Keep tests focused on one variable. If you want to test a completely new paywall concept, that's fine — just understand that you're testing the overall concept, not individual elements, and you'll need follow-up experiments to optimize further.
3. Running the test for too short (or too long)
Calling a winner after 3 days because one variant is ahead is a classic mistake. Short test periods don't account for day-of-week variation, small sample effects, or early adopter bias. Run tests for a minimum of 2 weeks. On the other hand, don't let a test run for 3 months hoping for significance — external factors like seasonality, marketing campaigns, and competitor activity will contaminate your data. Cap experiments at 30 days for design tests. For pricing tests, follow cohorts longer but stop the traffic split after 4–6 weeks.
4. Insufficient sample size
Statistical significance requires enough data. As a rough guide, you need at least 500 conversions per variant to draw reliable conclusions. If your paywall has a 2% conversion rate, that means approximately 25,000 users need to see each variant. If you're getting 500 new users per day, a simple two-variant test will need about 7 weeks to complete. Plan your experiment duration before you start — if the numbers don't work, simplify the test (fewer variants) or narrow the audience (one country instead of all).
5. Evaluating pricing tests on conversion rate alone
This is the single most common analytical error. A lower price will almost always convert better — that doesn't make it the right choice. Always evaluate pricing experiments on ARPU. The variant with fewer conversions but higher revenue per user is usually the winner. For long-term decisions, track LTV across cohorts from each variant for at least 2–3 renewal cycles.
6. Ignoring platform and geographic differences
iOS and Android users behave differently. Users in the US, Germany, and Brazil have different purchasing power and expectations. Running a single global test across all platforms and countries produces blended results that may not be accurate for any specific segment. Segment experiments by platform and by major geographic market. If your traffic is too small to segment, at least be aware that your results represent an average, not a universal truth.
7. Interfering with a running test
Never change a parameter mid-experiment. If you discover a bug, find a better idea, or want to adjust the traffic split, stop the experiment and start a new one. Even small changes to the test conditions invalidate the statistical framework that your results depend on.
8. Running overlapping tests on the same audience
If you're running an onboarding flow test and a paywall pricing test simultaneously on the same users, the results of both experiments become unreliable. A user who saw onboarding variant B and paywall variant A had a different experience from someone who saw both variant A versions. The number of possible combinations multiplies quickly: two simultaneous tests with 3 variants each produce 9 different user experiences. Either target different user segments for each test, or run experiments sequentially.
9. Being afraid of failed experiments
On average, the majority of A/B tests don't produce a winning variant — some industry estimates put the failure rate at 70–90%. This is normal. A "failed" test that confirms your current paywall is already well-optimized is valuable information. A test that shows a higher price hurts revenue tells you where the price ceiling is. Every experiment adds to your understanding of your users. The real failure is not testing at all.
10. Skipping A/A validation
Before running your first real experiment, consider an A/A test: show two identical paywalls to different user groups and verify that your testing setup doesn't produce false differences. If your A/A test shows a statistically significant difference between two identical variants, something is wrong with your experiment infrastructure — audience segmentation, data collection, or traffic allocation. Fix it before running real tests.
AI and automation in paywall testing
The biggest shift in paywall experimentation over the past year has been the rise of AI-powered tooling. Instead of manually designing every variant, planning every experiment, and waiting weeks for significance, modern platforms are automating much of this process.
AI paywall generators can create multiple paywall variants from your app's metadata and branding in seconds, giving you a starting point that's already tailored to your category and audience. This eliminates the bottleneck of needing a designer for every experiment.
Predictive analytics tools like Adapty Autopilot take this further. Instead of guessing what to test next, Autopilot analyzes your current metrics, compares them to category benchmarks, and recommends specific experiments in priority order. When one test concludes, it suggests the next one — creating a continuous testing program without requiring a dedicated growth team to manage it.
Contextual targeting is another frontier. Rather than showing the same paywall to every user, advanced systems can adapt the paywall — its timing, plan emphasis, and messaging — based on user behavior, session context, and engagement signals. This moves paywall optimization beyond simple A/B testing into personalized monetization at scale.
Choosing a paywall testing solution
You have three main options for running paywall A/B tests, each with trade-offs:
| Solution | Pros | Cons | Best for |
| In-house solution | Full control and customization | High engineering cost; requires statistical expertise to build correctly | Large teams with deep in-house analytics expertise |
| General tools (e.g., Firebase) | Free; good for simple UI tests | Requires app updates to change variants; limited subscription analytics; no built-in revenue tracking across the funnel | Early-stage apps doing basic experiments |
| Specialized platforms (e.g., Adapty) | No-code paywall builder; server-side testing without app updates; full subscription revenue analytics; AI-powered variant generation and recommendations | Paid plans for advanced features | Teams serious about subscription revenue growth |
The key advantage of a specialized platform is speed: you can launch, iterate, and conclude experiments without waiting for app store review cycles. When your testing loop is days instead of weeks, you can run significantly more experiments per quarter, and compounding small improvements is how the fastest-growing apps pull ahead.