Implement in-app purchases using Expo

If you searched for "Expo in-app purchases" before 2024, most tutorials told you to install expo-in-app-purchases, run expo init, and "eject if you need anything serious." All three of those steps are now obsolete. expo-in-app-purchases is unmaintained and no longer listed in the official Expo guides. expo init and expo eject were replaced by create-expo-app and prebuild. And the modern Expo workflow doesn't require ejecting at all — you ship native code through EAS Build and a Dev Client.
This guide walks through the current way to add in-app purchases and subscriptions to an Expo app: which library to choose, how to set up products in the stores, how to wire up the Adapty SDK, how to render a no-code paywall from the Adapty Paywall Builder, how to test purchases in Expo Go without a Dev Client (using mock mode), and how to ship the build with EAS.
Expo and in-app purchases in 2026: what changed
Three things changed in the Expo ecosystem that directly affect how IAPs are implemented today:
- expo-in-app-purchases is deprecated. The package's last release on npm was three years ago and the Expo team removed it from the recommended libraries page. The current Expo guide on in-app purchases lists only two options:
react-native-purchasesandexpo-iap. Adapty's React Native SDK works with both Expo and bare React Native and is also a fully supported option. - Expo Go can't run native modules — but you don't need to eject. Any IAP library uses native code (StoreKit on iOS, Google Play Billing on Android), and Expo Go is a sandbox app with a fixed set of native modules. The modern answer isn't to eject — it's to create a custom development build via EAS Build and use it in place of Expo Go.
- Continuous Native Generation (CNG) replaced ejection. Running
npx expo prebuildgenerates theios/andandroid/folders on demand from yourapp.jsonandpackage.json. You no longer commit those folders or maintain them by hand, and config plugins handle most of what bridging headers and manual Podfile edits used to do.
The result: setting up IAPs in Expo today is faster than it was in 2023, but the steps look completely different.
Choosing an in-app purchase library for Expo
Four libraries are realistic candidates in 2026. The right choice depends on whether you need server-side receipt validation, a paywall builder, A/B testing, and how much backend you want to maintain yourself.
| Feature | react-native-adapty | react-native-purchases | expo-iap | react-native-iap |
| Server-side receipt validation | Built-in | Built-in (third-party backend) | Build it yourself | Build it yourself |
| No-code paywall builder | Yes | Yes | No | No |
| Paywall A/B testing | Yes | Yes | No | No |
| Expo Go support | Mock mode for UI/logic | Dev build only | Dev build only | Dev build only |
| Consumables and non-subscriptions | Yes | Yes (since v7.11) | Yes | Yes |
| Web subscriptions sync | Yes | Yes | No | No |
| New Architecture / Turbo Modules | Yes | Yes | Yes | Yes (Nitro Modules, RN 0.79+) |
| OpenIAP-compatible | No (proprietary) | No (proprietary) | Yes | Yes |
If your goal is to ship subscriptions or one-time purchases in days rather than weeks, with a managed paywall, A/B testing, analytics, and no backend code to maintain, Adapty is what the rest of this guide builds on. If you specifically need a low-level wrapper around StoreKit and Play Billing and you'll write your own backend, expo-iap is the OpenIAP-compliant choice. We have a separate React Native in-app purchases tutorial for projects that aren't using Expo at all.
Prerequisites
Before you write any code, you need accounts and access in five places:
- Apple Developer Program — $99/year, required to create paid apps on iOS.
- App Store Connect API key — required so Adapty can connect to App Store Connect to read subscription status and verify receipts. Generate it under Users and Access → Integrations.
- Google Play Console — $25 one-time fee, required to ship Android apps and publish IAP products.
- Real-Time Developer Notifications (RTDN) — must be enabled in Google Play Console so Adapty receives subscription state changes (renewals, cancellations, refunds) in real time.
- An Adapty account — free tier covers up to $10K MTR; sign up at app.adapty.io.
Local environment: Node 18 or newer, npm or yarn, Xcode 15+ (macOS only) for iOS, Android Studio with Android SDK 34+ for Android, and an EAS account for cloud builds (free tier available).
Setting up the Expo project
Forget expo init. The current command is:
npx create-expo-app@latest my-iap-app
cd my-iap-appInstall the Adapty SDK and the Expo build properties plugin (you'll need it for iOS deployment target and Android Kotlin version):
npx expo install react-native-adapty expo-build-properties expo-dev-clientOpen app.json and add the build properties config plugin so the iOS deployment target meets Adapty's requirements (iOS 13+ for the SDK; iOS 15+ if you'll use Paywall Builder paywalls), and so the Android project uses Kotlin 2.0+:
{
  "expo": {
    "name": "my-iap-app",
    "slug": "my-iap-app",
    "plugins": [
      [
        "expo-build-properties",
        {
          "ios": { "deploymentTarget": "15.0" },
          "android": { "kotlinVersion": "2.1.20" }
        }
      ]
    ]
  }
}Generate the native projects so the SDK's pods and Gradle dependencies get linked:
npx expo prebuildThis is the modern equivalent of expo eject — except the generated ios/ and android/ folders are regenerated on every prebuild from your config, so you typically don't commit them. If you ever need to clear them, run npx expo prebuild --clean.
Open the generated ios/Podfile and confirm RNAdapty appears in the dependency list. On Android, check android/app/build.gradle for the same.
Configuring products in App Store Connect and Google Play
You can either link existing store products to Adapty or push new products directly to App Store Connect and Google Play from the Adapty dashboard — the latter is faster because Adapty fills in pricing, localizations, and product groups for you. Either way, the actual product IDs always live in the stores.
iOS (App Store Connect)
Create a new app in App Store Connect, then go to Features → In-App Purchases or Subscriptions. For subscriptions, create a Subscription Group first (users can only own one subscription per group at a time, which is how upgrades and downgrades work). For one-time purchases, choose between Consumable and Non-Consumable. Each product needs a Reference Name, a Product ID (used in code — keep it stable forever), price tier, and at least one localization. The first product you create has to be submitted for review manually; subsequent ones don't.
For details on pricing tiers, intro offers, promotional offers, and review screenshots, see the App Store products documentation.
Android (Google Play Console)
In Google Play Console, the structure is slightly different. Subscriptions contain Base Plans (auto-renewing monthly, prepaid yearly, etc.), and Base Plans can contain Offers (free trial, intro pricing). Adapty products map to base plans, not to subscription products — that's the unit users actually purchase. One-time products live under In-app products. Make sure you've enabled Google Play Billing Library 8.x compatibility; older Adapty SDKs (≤2.5) can only see base plans marked as "backwards compatible."
The Android products documentation covers RTDN setup, base plan offers, and the backward-compatibility flag in detail.
Activating the Adapty SDK
Find your public SDK key in the Adapty dashboard under App Settings → General. Create an AdaptyService.js file at the root of your project:
// AdaptyService.js
import { adapty } from "react-native-adapty";

export const PUBLIC_SDK_KEY = "public_live_xxxxxxxxxxxxxxxxxxxxx";

export const activationPromise = (async () => {
  try {
    await adapty.activate(PUBLIC_SDK_KEY, {
      // Prevents duplicate activation calls when Fast Refresh fires in dev mode
      __ignoreActivationOnFastRefresh: __DEV__,
    });
  } catch (error) {
    console.error("Adapty activation failed:", error);
  }
})();Import the activation promise wherever you call SDK methods, and await it before the first call. This pattern avoids race conditions where a paywall fetch fires before the SDK is ready.
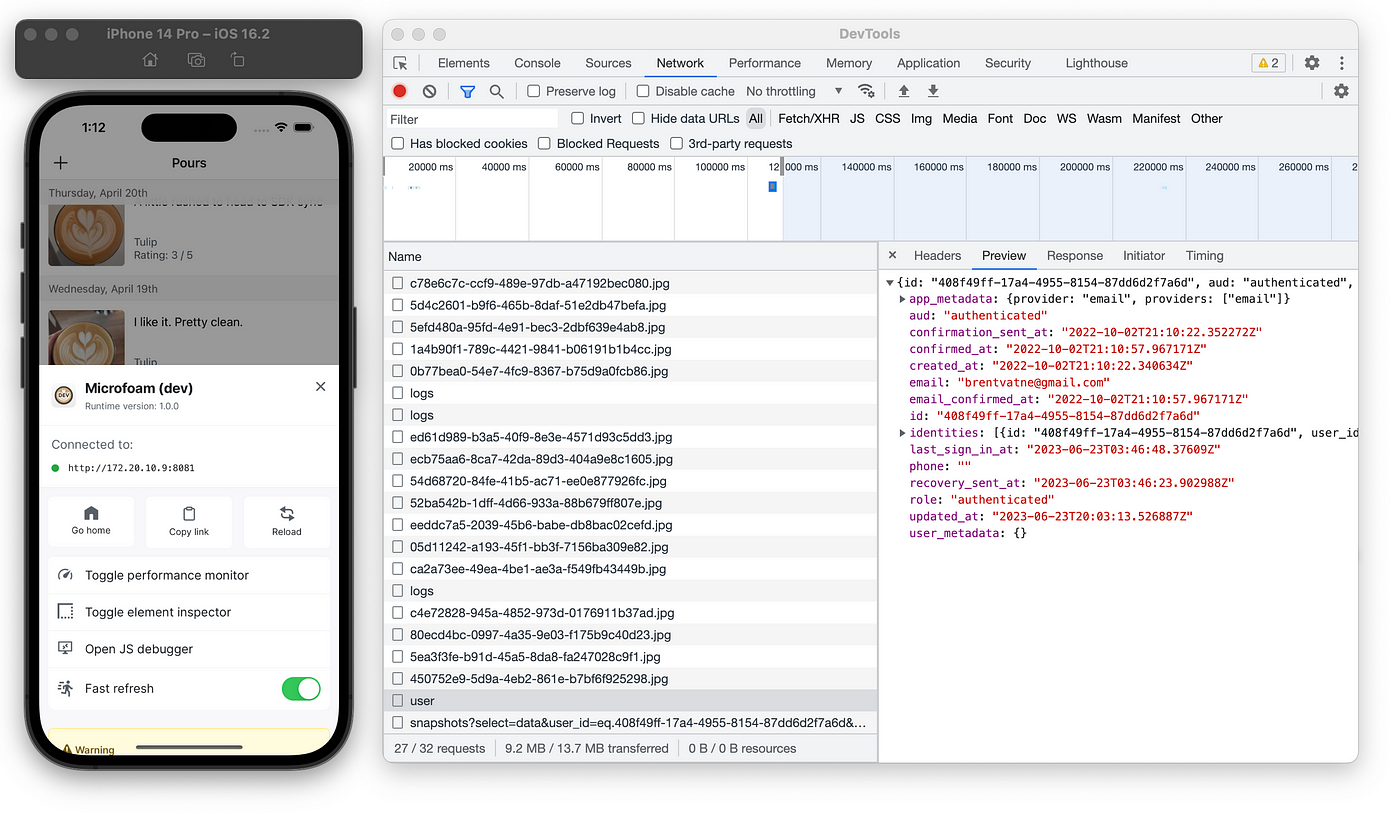
Running in Expo Go with mock mode
You can build your Expo app with the Adapty SDK installed and run it in Expo Go for UI and logic development, but Expo Go can't test real in-app purchases — it doesn't include Adapty's native code. To make this useful instead of broken, the Adapty SDK ships with a built-in mock mode that activates automatically when it detects an Expo Go or web environment.
In mock mode, every SDK method returns mock data without hitting Adapty's servers. makePurchase() simulates a successful transaction and grants premium access; getProfile() returns a mock profile (no active subscriptions by default). You can customize the mock profile via mockConfig:
await adapty.activate(PUBLIC_SDK_KEY, {
  mockConfig: {
    // Customize mock profile, products, paywalls
  },
  __ignoreActivationOnFastRefresh: __DEV__,
});The catch: AdaptyUI rendering (Paywall Builder paywalls) is not available in mock mode because it needs the native paywall view. For UI work on Paywall Builder paywalls, you'll need a Dev Client build (see the EAS section below). For real purchases, you always need a Dev Client or production build — mock mode is automatically disabled there.
Showing a Paywall Builder paywall
The fastest way to ship a working paywall is to design one in the Paywall Builder no-code editor in the Adapty dashboard, then render it natively in your app. The SDK exposes AdaptyUIPaywallView for the rendered paywall and AdaptyUIPaywallsEventsObserver for callbacks like onPurchaseCompleted, onRestoreCompleted, and onRenderingFailed.
Here's a screen that fetches a paywall, presents it, and updates premium state on a successful purchase:
// HomeScreen.js
import React from "react";
import { View, Button } from "react-native";
import { adapty } from "react-native-adapty";
import { createPaywallView } from "react-native-adapty/dist/ui";
import { activationPromise } from "../AdaptyService";

const PLACEMENT_ID = "main_paywall";
const ACCESS_LEVEL = "premium";

export default function HomeScreen({ navigation }) {
  async function handleShowPaywall() {
    await activationPromise;

    try {
      const paywall = await adapty.getPaywall(PLACEMENT_ID, "en");

      if (!paywall.hasViewConfiguration) {
        // This paywall was not built in Paywall Builder.
        // Fall back to your custom UI here.
        return;
      }

      const view = await createPaywallView(paywall);

      view.registerEventHandlers({
        onCloseButtonPress() {
          return true; // close the paywall
        },
        onPurchaseCompleted(purchaseResult, product) {
          if (purchaseResult.type === "success") {
            const isActive = !!purchaseResult.profile
              ?.accessLevels?.[ACCESS_LEVEL]?.isActive;
            if (isActive) {
              navigation.navigate("Premium");
            }
            return true;
          }
          return false;
        },
        onRestoreCompleted(restoredProfile) {
          if (restoredProfile.accessLevels?.[ACCESS_LEVEL]?.isActive) {
            navigation.navigate("Premium");
          }
          return true;
        },
        onPurchaseFailed(error) {
          console.error("Purchase failed:", error);
          return false;
        },
        onRenderingFailed(error) {
          console.error("Rendering failed:", error);
          return false;
        },
      });

      await view.present();
    } catch (error) {
      console.error("Could not show paywall:", error);
    }
  }

  return (
    <View>
      <Button title="Upgrade" onPress={handleShowPaywall} />
    </View>
  );
}The Paywall Builder paywall is rendered natively, which means you can change layouts, copy, prices, products, and offers from the Adapty dashboard without releasing a new app version. For a step-by-step walkthrough including state management and the GitHub starter project, follow the Adapty quickstart for React Native with Expo.
Building a custom paywall (no Paywall Builder)
If you'd rather build the paywall UI yourself, fetch the products from the placement and call makePurchase directly:
// CustomPaywall.js
import React, { useEffect, useState } from "react";
import { View, Text, Button, Alert } from "react-native";
import { adapty } from "react-native-adapty";
import { activationPromise } from "../AdaptyService";

export default function CustomPaywall({ onSuccess }) {
  const [products, setProducts] = useState([]);

  useEffect(() => {
    (async () => {
      await activationPromise;
      const paywall = await adapty.getPaywall("main_paywall", "en");
      const items = await adapty.getPaywallProducts(paywall);
      setProducts(items);
    })();
  }, []);

  async function buy(product) {
    try {
      const result = await adapty.makePurchase(product);
      if (result.type === "success" &&
          result.profile.accessLevels?.premium?.isActive) {
        onSuccess?.();
      }
    } catch (error) {
      Alert.alert("Purchase failed", error.message);
    }
  }

  return (
    <View>
      {products.map((p) => (
        <Button
          key={p.vendorProductId}
          title={`${p.localizedTitle} — ${p.price.localizedString}`}
          onPress={() => buy(p)}
        />
      ))}
    </View>
  );
}To check premium status anywhere in the app, call adapty.getProfile() and look at profile.accessLevels[ACCESS_LEVEL]. The flags you typically check are isActive, isInGracePeriod, and isLifetime.
Consumables, non-subscriptions, and access levels
One question that comes up often: does Adapty support consumables, or only subscriptions? It supports all four product types — auto-renewable subscriptions, non-renewing subscriptions, non-consumables (including lifetime), and consumables. The nuance worth understanding:
- Subscriptions, non-consumables, and lifetime products grant access levels. The SDK exposes them via
profile.accessLevels[id].isActive. - Consumables do not affect access levels by design — they're meant to be re-purchased and consumed. You track them yourself: validate the purchase event, then update your own counter (a Firestore field, a Postgres column, an in-memory state). The Adapty event still gets sent through analytics and webhooks; it just doesn't flip a permanent flag.
If you're unsure which type to use, our guide to in-app purchase types walks through consumables vs. non-consumables vs. subscriptions with concrete examples.
Building with EAS
To test or release with real native code, you build through EAS — Expo's cloud build service. Install the CLI and log in:
npm install -g eas-cli
eas login
eas build:configureThat last command writes an eas.json with three default profiles: development, preview, and production. The development profile builds a Dev Client, which replaces Expo Go for local development of native code.
Build a Dev Client for both platforms:
eas build --profile development --platform android
eas build --profile development --platform iosEach command will ask for your application identifier (bundle ID on iOS, package name on Android), and on iOS, for credentials (Apple ID, app-specific password). EAS can manage the keystore and provisioning profiles for you, or you can bring your own.
When the builds finish, install the resulting binaries on a real device. From then on, run npx expo start --dev-client and the JS bundle will load into your custom build instead of Expo Go. You only need to rebuild when you change native code (adding a library with a config plugin, changing app.json permissions, etc.) — JS-only changes ship instantly.
For production builds, change the profile:
eas build --profile production --platform android
eas build --profile production --platform ios

eas submit --platform android
eas submit --platform iosTesting in-app purchases
You cannot test real purchases in Expo Go (use mock mode), in the iOS Simulator without a StoreKit configuration file, or with a non-tester Apple ID. The reliable testing paths are:
iOS
- Sandbox testers. In App Store Connect → Users and Access → Sandbox, create a tester email. Sign out of your sandbox account on the device under Settings → App Store → Sandbox Account, then sign in as the tester. Sandbox subscriptions renew on accelerated timelines (a 1-month sub renews every 5 minutes, up to 6 times).
- StoreKit Configuration files. In Xcode, you can add a
.storekitfile with mock products and run the app in the iOS Simulator. Useful for UI iteration; doesn't talk to App Store Connect at all. - TestFlight. Closer to production behaviour than sandbox; requires an internal or external testing build.
Android
- License testers. In Google Play Console → Settings → License testing, add tester emails. Testers can purchase products without being charged.
- Internal Test Track. Upload an AAB (signed release build, same version code as your dashboard product) to the internal track. Products won't appear at all unless the testing build is published, even just to the internal track. Sign in to the device with a tester account.
Adapty also supports test devices in the dashboard — assign a device by IDFA, IDFV, GAID, or custom user ID, and paywall and placement changes bypass the 20-minute cache so you can iterate without waiting.
Receipt validation
Adapty validates receipts server-side automatically. When a purchase completes on the device, the SDK sends the receipt (iOS) or purchase token (Android) to Adapty's backend, which calls Apple's verifyReceipt or App Store Server API and Google Play Developer API, decrypts the result, and updates the user's access levels. You don't need a Google Cloud service account, you don't need to call androidpublisher.googleapis.com directly, and you don't need to keep an access token alive on your own backend.
If you're integrating with a custom store (not App Store, Google Play, or Stripe), Adapty exposes a server-side API set_transaction method to register the purchase manually.
Common errors and how to fix them
"AdaptyNativeModule is not defined"
This usually means the native module wasn't linked because npx expo prebuild wasn't run after installing react-native-adapty, or you're building locally with expo run: on an old Expo SDK that doesn't pick up the autolinking. Fix: rerun npx expo prebuild --clean, then either npx expo run:ios/run:android or build a Dev Client with EAS.
iOS build fails on deployment target
Paywall Builder paywalls require iOS 15.0+. If your Podfile defaults to a lower target, add the expo-build-properties plugin to app.json with "deploymentTarget": "15.0" instead of editing the Podfile by hand — prebuild will overwrite manual edits.
Android build fails on Kotlin version
Recent Adapty SDKs and several other Expo modules require Kotlin 2.0+. Set "kotlinVersion": "2.1.20" (or newer) under the Android section of expo-build-properties in app.json.
Products are empty in production but visible in sandbox
Common causes: paid agreements not signed in App Store Connect, products not approved or not yet propagated, app version mismatch between the build and the Google Play product, or a placement that points to a paywall with no products attached. Confirm in the Adapty dashboard that the paywall has products, and check the placement audience and traffic split.
Purchase succeeds in dev but the user isn't unlocked
This almost always means you're checking the wrong access level ID. Adapty creates a premium access level by default, but if you renamed it or created a new one, the lookup profile.accessLevels[id] will return undefined. Log the full profile once and confirm the access level ID exactly matches what you query.
Migrating from expo-in-app-purchases
If you're working in a codebase that still uses expo-in-app-purchases, the migration is straightforward because the old API was thin:
- Remove
expo-in-app-purchasesfrompackage.json. - Install
react-native-adaptyand runnpx expo prebuild --clean. - Replace
connectAsync+getProductsAsyncwithadapty.activate()+adapty.getPaywallProducts(paywall). - Replace
purchaseItemAsync+setPurchaseListenerwithadapty.makePurchase(product). The promise resolves with the updated profile, so you don't need a separate listener for one-shot flows. - Replace your custom acknowledge/finish-transaction logic with Adapty's automatic acknowledgement (which it does after server-side validation).
Existing users with active subscriptions are picked up automatically on the next getProfile() call — Adapty queries their store accounts and recreates their subscription state on the backend.
Conclusion
The shortest version of this whole guide: scaffold with create-expo-app, install react-native-adapty, run prebuild, build a Dev Client with EAS, and render a Paywall Builder paywall via AdaptyUIPaywallView. Mock mode covers the Expo Go gap so you can keep iterating on UI and logic without rebuilding every time.
If you want a complete, working starter project that walks through the same flow with full state management and the Focus Journal example app, follow the Adapty quickstart guide for React Native with Expo. For non-Expo projects, the React Native in-app purchases tutorial covers the bare workflow. If you're shipping native iOS instead of cross-platform, see the iOS in-app purchase tutorial, and for Flutter, the Flutter in-app purchases guide.