How to enable developer options in Android?


TL;DR:
Unlock the full potential of your Android device with our step-by-step guide on configuring developer options. Enhance your user experience with advanced settings, debugging, and more. Perfect for developers and tech enthusiasts!
Android has a secret. We’re letting you in on that…
Every single Android device around you is equipped with a special and hidden setting within the Settings app. It’s called “Developer Options,” or sometimes Developer Mode.
This side of Android’s setting isn’t for any average Joe because it can tweak and forever alter your device’s behavior, performance, and much more. If you’re an app developer wanting to test out your app performance before launching it, Developer Mode is also where it’s at.
So in this guide, let’s walk you through the magical way of enabling and disabling Developer Options on your Android devices. I’m not kidding; it comes with a specific knock and all!
But for those who are hearing about Developer Mode for the first time today, let’s tackle the basics.
What is Android developer mode?
Android Developer Mode is a special setting on Android devices that grants users access to a wide range of advanced features and Android developer options, primarily aimed at app developers, tech enthusiasts, and power users.
Consider it a backstage pass to your Android device, allowing you to tinker, customize, and optimize your experience in ways not possible in the standard user mode.
Now, I know what you’re thinking, “how many developer options can I even have if I enable developer mode?” That was one of my first questions before I got into it myself.
So, here’s an overview of the Android developer options:
- USB Debugging: Allows you to connect your device to a computer and debug apps, ideal for developers.
- Mock Locations: Simulate your device's location for testing location-based apps or services.
- Drawing Stats on Screen: Visualize how your device's CPU and GPU are performing in real time.
- OEM Unlocking: Enables unlocking the bootloader, a prerequisite for flashing custom ROMs.
- Developer Options: Access various settings and tweaks for customization and performance optimization. Some notable options within Developer Options include:
- Limit Background Processes: You can restrict the number of background processes to conserve system resources and improve performance.
- Force 4x MSAA (Multi-Sample Anti-Aliasing): Enhances graphics rendering quality, although it may impact performance.
- Show Touches: Displays visual feedback on the screen when you touch it, which can be useful for creating tutorials or demonstrating app functionality.
- Stay Awake: Keeps the device's screen on while it's charging, which can be handy during development or testing.
- USB Configuration: Lets you specify how your device behaves when connected to a computer via USB (e.g., file transfer, charging only, etc.).
- Enable Wi-Fi Verbose Logging: Useful for diagnosing Wi-Fi issues and monitoring network activity in detail.
These are just the key features which means there’s a ton more available when you enable developer options! Now that we know the potential of Android developer options, let’s talk about…
Who needs Android developer mode?
With so many incredible Android developer options hidden right in your setting apps, this mode is particularly useful for:
App Developers
For those creating Android apps, Developer Mode provides essential tools for testing and debugging, helping to ensure that their apps run smoothly on a variety of devices.
Tech Enthusiasts
If you enjoy exploring the inner workings of your Android device, Developer Mode is your gateway to a treasure trove of advanced settings and features. If I’m honest, there’s nothing quite like fiddling around in this mode!
Power Users
Users who want to take more control of their device's performance and appearance, optimize battery life, or customize the user interface will know that Developer mode is where it’s at. No matter how you want to alter the workings of your device, Developer Mode will be the efficient way to make it happen.
Do developer options drain phone battery?
No, enabling Developer Options itself does not directly drain the phone battery. However, certain settings within Developer Options, like increased animation scales or background process monitoring, may affect battery life if modified.
Developer Options are primarily intended for app development and debugging, so keeping them enabled without tweaking settings typically has no noticeable impact on battery consumption.
How to turn on developer options on your Android device?
Developer Options is quite an exciting concept if you’re a tech-savvy person. So if you’re already jumping on how to enable it, I get you!
Here are 6 steps to turn on Developer Mode on your phone within this minute:
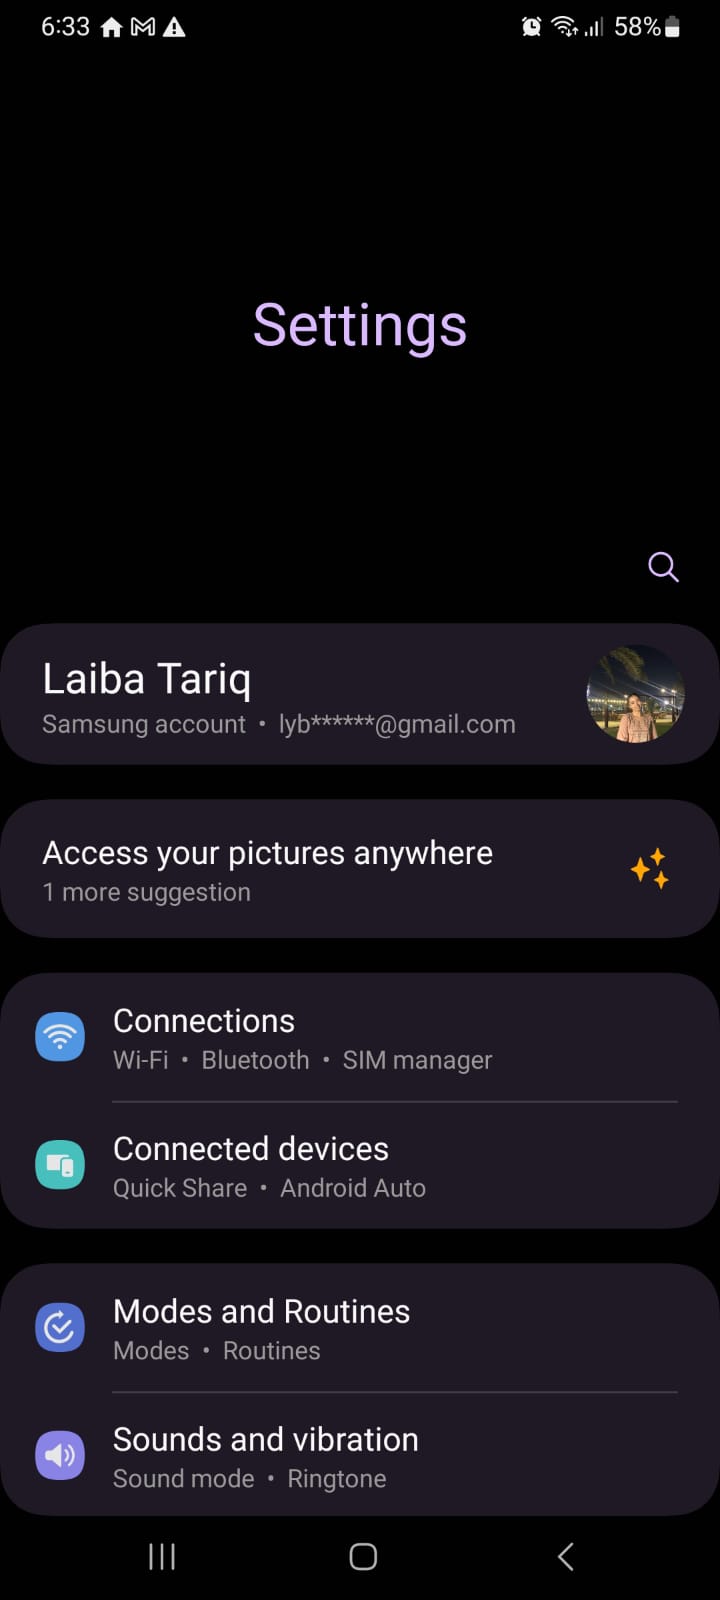
- Open your device's Settings app.
- Scroll down and tap on "About phone" or "About device."

- Tap on the menu item stating, “Software information.”

- Find the "Build number" entry and tap on it seven times. You'll see a message like "Developer Mode has been enabled," on a Samsung Galaxy device.
- Go back to the main Settings app menu. You should now see a new menu item called "Developer options" or "System" where you'll find it.
- Tap on the toggle at the top of Developer Options to turn on Developer Mode on your Android device!
As soon as your toggle is on, you’ve activated Developer Mode on your Android phone and have access to a range of tech-savvy options. One of the top ones within that developer options menu is USB debugging.
What Is USB Debugging on Android?
USB Debugging mode is a developer mode in Android phones that allows newly programmed apps to be copied via USB to the device for testing. In other words, USB Debugging on Android is like giving your phone a backstage pass to communicate with a computer.
When you enable USB Debugging, you're essentially opening up a special channel between your Android device and your computer through a USB cable. This feature is particularly handy for developers and tech enthusiasts because it enables communication for development and troubleshooting purposes.
When USB Debugging is enabled, it opens up a pathway for your computer to interact with your Android device at a deeper level. This connection is crucial for various tasks related to:
- app development,
- system debugging, and
- Customization.
I know what you’re thinking, “how does it do all that?” Let’s talk about them all!
One of the primary use cases for USB Debugging is app development. Imagine you're a developer working on a new Android app. With USB Debugging, you can connect your phone to your computer and test the app directly on your device. It provides a real-time preview and helps you catch and fix bugs more efficiently than emulators.
Beyond app development, USB Debugging plays a crucial role in the world of Android customization. If you're into installing custom ROMs—alternative versions of the Android operating system—you'll likely need USB Debugging.
This feature facilitates the smooth transfer of files and commands between your computer and Android device during installation.
Is USB debugging risky?
Yes, USB debugging can be quite risky if not used appropriately. While USB Debugging is a powerful tool, it comes with potential security risks.
Enabling it grants elevated privileges, making your device more susceptible to unauthorized access. When connecting to a new computer, a security dialog box will prompt you to authorize the connection— only grant access to trusted computers!
How to enable the USB Debugging feature?
If you want to enable USB debugging, it’s no tougher than enabling developer mode. In fact, it’s just 2 more added steps to set up the USB debugging feature! If you want to enable the USB debugging feature, you’ll have to enable Developer Mode from the previous steps first.
Got that done? Alright, here’s how you enable USB debugging from the Android developer options:
- Open your device's Settings app. Scroll down and tap on “Developer Mode.”


- In the Developer Options menu, scroll down to find "USB debugging." Toggle the switch to enable it. And there you have it!

Upon connecting your device to a computer for the first time with USB Debugging enabled, a security dialog box may appear. It usually asks if you want to allow USB debugging for the connected computer.
Check the box that says "Always allow from this computer" for convenience.
If you don't have the Android Debug Bridge (ADB) installed on your computer, you'll need to install it. You can find the necessary files and instructions on the official Android developer website.
Remember, enabling USB Debugging grants elevated privileges to your device, so be cautious about connecting to unknown computers or allowing debugging access to unfamiliar apps. Always make sure you trust the source before enabling USB Debugging.
Before we move on from this, I also want to bring special attention to one advice. You should only enable USB debugging when you have active use for it. Don’t let it stay on when you don’t need it and disable it whenever it’s not in use.
This brings us to one last question to close this blog for today…
How to disable developer options on Android?
Disabling Developer Mode is just as easy as turning it on. Here are 3 quick steps to turn it right off without any hassle:
- Head to the Developer Options within your Settings app.
- Turn the toggle off at the top, disabling Developer Mode instantly.
- Once you turn Developer Mode off, restart your phone so all of your Android apps can reconfigure and not crash.
Voila, you’re done disabling your phone’s developer mode!
Final thoughts
Unlocking the Developer Options in Android unveils a realm of possibilities for both tech enthusiasts and app developers. This accessible yet hidden menu empowers users to customize their devices, enhance app development, and troubleshoot with advanced tools.
This step-by-step guide is written so that even those unfamiliar with technical jargon can tap into the potential of their Android devices. While the process is straightforward, you should exercise caution, especially when enabling USB Debugging, considering the security risks of granting elevated privileges.
Developer Options is more than just a set of hidden settings—it's a gateway to a deeper understanding and control of your Android device. So, whether you're tweaking settings for personalization or delving into the world of app development, unlocking Developer Options is the key to unlocking the full potential of your Android experience!