Onboardings are deprecated in SDK v4 and will be removed in a future release. They no longer receive fixes or improvements. Use flows instead: unlike onboardings, which run inside a WebView, flows render natively on the device — giving you smoother animations, a consistent native look and feel, faster load times, and no WebView runtime dependency. See Get flows & paywalls and Display flows & paywalls to get started.
Onboardings configured with the builder generate events your app can respond to. The way you handle these events depends on which presentation approach you’re using:
Modal presentation: Requires setting up event handlers that handle events for all onboarding views
React component: Handles events through inline callback parameters directly in the widget
For modal presentation, implement the event handlers method.
Calling setEventHandlers multiple times will override the handlers you provide, replacing both default and previously set handlers for those specific events.
The following sections describe the different types of events you can handle, regardless of which presentation approach you’re using.
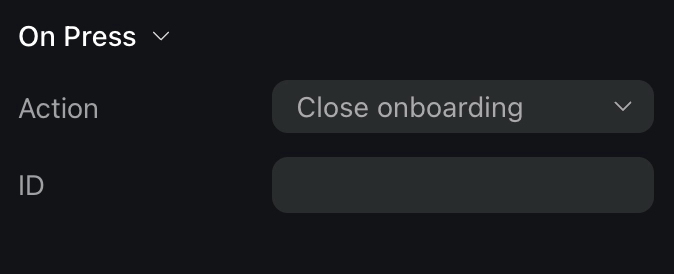
Handle custom actions
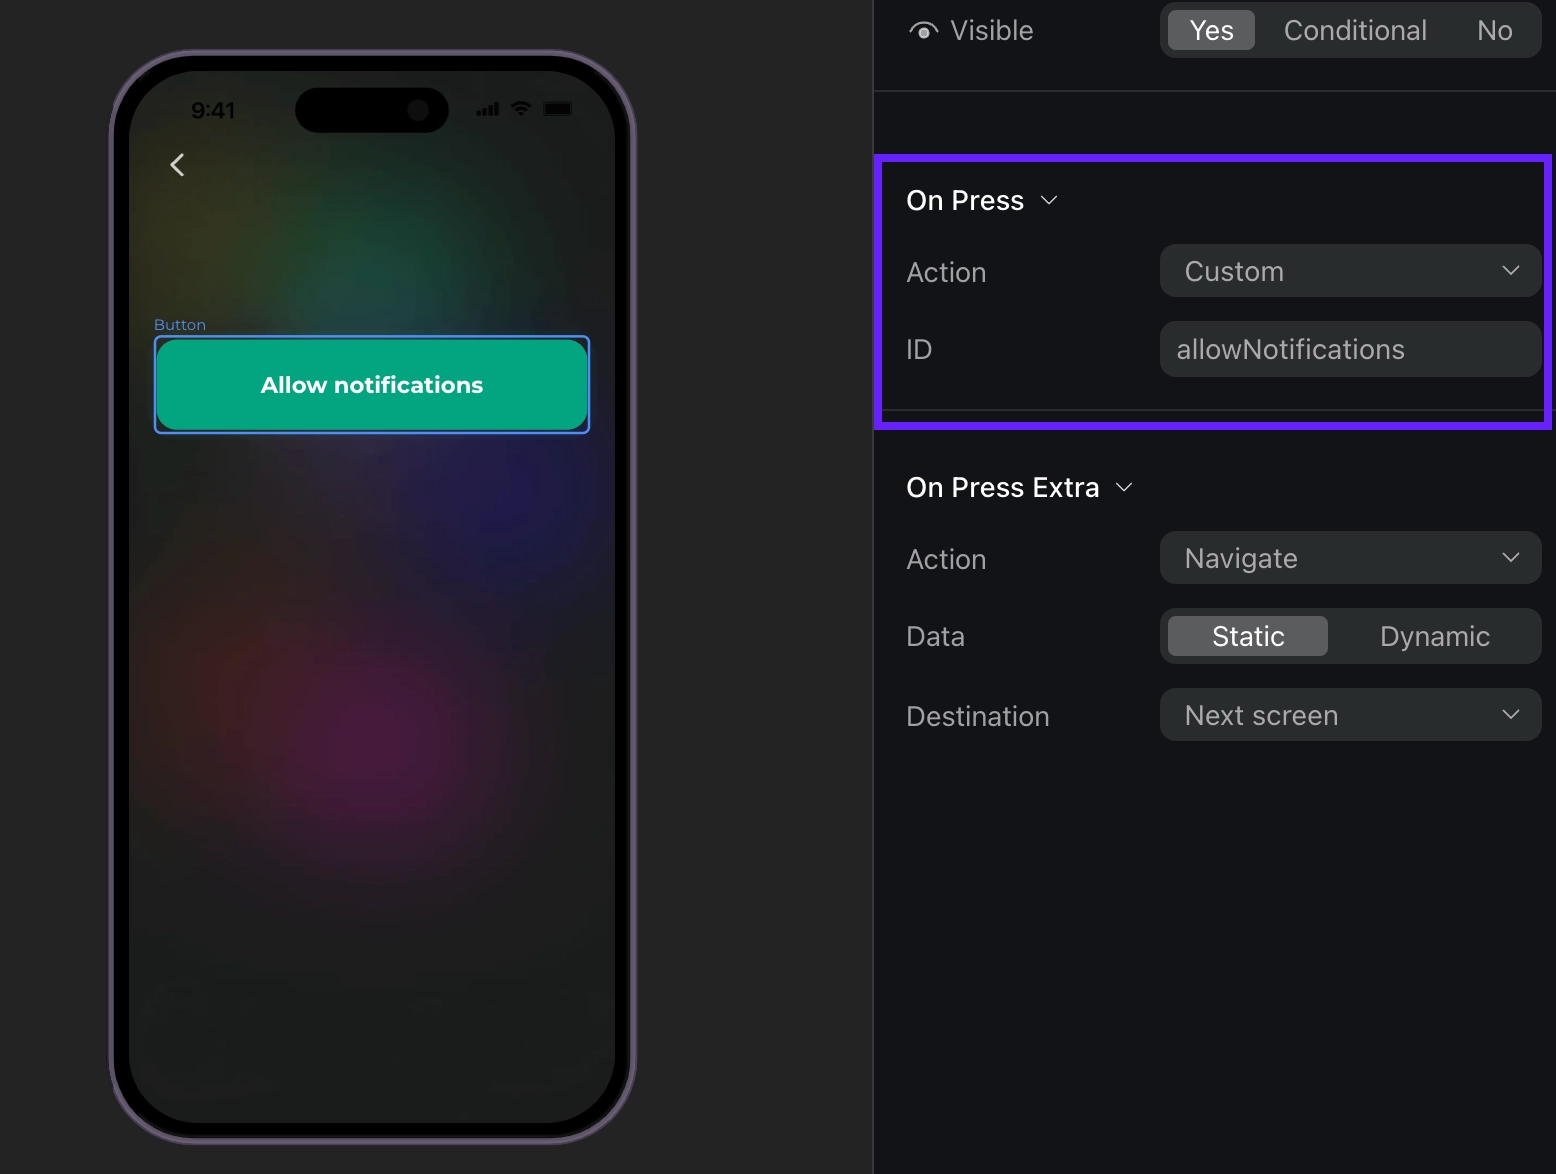
In the builder, you can add a custom action to a button and assign it an ID.
Then, you can use this ID in your code and handle it as a custom action. For example, if a user taps a custom button, like Login or Allow notifications, the event handler will be triggered with the actionId parameter that matches the Action ID from the builder. You can create your own IDs, like “allowNotifications”.
import React, { useCallback } from 'react';import { AdaptyOnboardingView } from 'react-native-adapty';import type { OnboardingEventHandlers } from 'react-native-adapty';function MyOnboarding({ onboarding }) { const onCustom = useCallback<OnboardingEventHandlers['onCustom']>((actionId, meta) => { switch (actionId) { case 'login': login(); break; case 'allow_notifications': allowNotifications(); break; } }, []); return ( <AdaptyOnboardingView onboarding={onboarding} style={styles.container} onCustom={onCustom} /> );}
import { createOnboardingView } from 'react-native-adapty';const view = await createOnboardingView(onboarding);const unsubscribe = view.setEventHandlers({ onCustom(actionId, meta) { switch (actionId) { case 'login': login(); break; case 'allow_notifications': allowNotifications(); break; } },});
import { createOnboardingView } from 'react-native-adapty/dist/ui';const view = await createOnboardingView(onboarding);const unsubscribe = view.registerEventHandlers({ onCustom(actionId, meta) { switch (actionId) { case 'login': login(); break; case 'allow_notifications': allowNotifications(); break; } },});
Handle this event to open a paywall if you want to open it inside the onboarding. If you want to open a paywall after it is closed, there is a more straightforward way to do it – handle the close action and open a paywall without relying on the event data.
The most seamless way to work with paywalls in onboardings is to make the action ID equal to a paywall placement ID.
Note that, for iOS, only one view (paywall or onboarding) can be displayed on screen at a time. If you present a paywall on top of an onboarding, you cannot programmatically control the onboarding in the background. Attempting to dismiss the onboarding will close the paywall instead, leaving the onboarding visible. To avoid this, always dismiss the onboarding view before presenting the paywall.
Note that, for iOS, only one view (paywall or onboarding) can be displayed on screen at a time. If you present a paywall on top of an onboarding, you cannot programmatically control the onboarding in the background. Attempting to dismiss the onboarding will close the paywall instead, leaving the onboarding visible. To avoid this, always dismiss the onboarding view before presenting the paywall.
The event object can be one of the following types:
Type
Description
onboardingStarted
When the onboarding has been loaded
screenPresented
When any screen is shown
screenCompleted
When a screen is completed. Includes optional elementId (identifier of the completed element) and optional reply (response from the user). Triggered when users perform any action to exit the screen.
secondScreenPresented
When the second screen is shown
userEmailCollected
Triggered when the user’s email is collected via the input field