 3. **Issuer ID** をコピーして、Adapty ダッシュボードの **In-app purchase Issuer ID** フィールドに貼り付けます。
 4. **Key ID** をコピーして、Adapty ダッシュボードの **In-app purchase Key ID** フィールドに貼り付けます。
## ステップ 3. アプリ内購入キーファイルをアップロードする \{#step-3-upload-in-app-purchase-key-file\}
[App Store Connect でアプリ内購入キーを生成する](generate-in-app-purchase-key)セクションでダウンロードした **In-App Purchase Key** ファイルを
4. **Key ID** をコピーして、Adapty ダッシュボードの **In-app purchase Key ID** フィールドに貼り付けます。
## ステップ 3. アプリ内購入キーファイルをアップロードする \{#step-3-upload-in-app-purchase-key-file\}
[App Store Connect でアプリ内購入キーを生成する](generate-in-app-purchase-key)セクションでダウンロードした **In-App Purchase Key** ファイルを
 Adapty ダッシュボードの **Private key (.p8 file)** フィールドにアップロードします。
 ## ステップ 4. トライアルと特別オファー向け – プロモーションオファーを設定する \{#step-4-for-trials-and-special-offers--set-up-promotional-offers\}
:::important
このステップは、アプリに[トライアルやその他のプロモーションオファー](offers)がある場合に必要です。
:::
1. [ステップ 2](#step-2-provide-issuer-id-and-key-id) で使用したのと同じキー ID を、**App Store promotional offers** セクションの **Subscription key ID** フィールドにコピーします。
2. [ステップ 3](#step-3-upload-in-app-purchase-key-file) で使用したのと同じ **In-App Purchase Key** ファイルを、**App Store promotional offers** セクションの **Subscription key (.p8 file)** エリアにアップロードします。
## ステップ 4. トライアルと特別オファー向け – プロモーションオファーを設定する \{#step-4-for-trials-and-special-offers--set-up-promotional-offers\}
:::important
このステップは、アプリに[トライアルやその他のプロモーションオファー](offers)がある場合に必要です。
:::
1. [ステップ 2](#step-2-provide-issuer-id-and-key-id) で使用したのと同じキー ID を、**App Store promotional offers** セクションの **Subscription key ID** フィールドにコピーします。
2. [ステップ 3](#step-3-upload-in-app-purchase-key-file) で使用したのと同じ **In-App Purchase Key** ファイルを、**App Store promotional offers** セクションの **Subscription key (.p8 file)** エリアにアップロードします。
 ## ステップ 5. App Store 共有シークレットを入力する \{#step-5-enter-app-store-shared-secret\}
**App Store shared secret**(App Store Connect Shared Secret とも呼ばれます)は、アプリ内購入とサブスクリプションのレシート検証に使用される 32 文字の16進数文字列です。
1. [App Store Connect](https://appstoreconnect.apple.com/apps) を開きます。アプリを選択し、**General** → **App Information** セクションに進みます。
2. **App-Specific Shared Secret** サブセクションまでスクロールします。
## ステップ 5. App Store 共有シークレットを入力する \{#step-5-enter-app-store-shared-secret\}
**App Store shared secret**(App Store Connect Shared Secret とも呼ばれます)は、アプリ内購入とサブスクリプションのレシート検証に使用される 32 文字の16進数文字列です。
1. [App Store Connect](https://appstoreconnect.apple.com/apps) を開きます。アプリを選択し、**General** → **App Information** セクションに進みます。
2. **App-Specific Shared Secret** サブセクションまでスクロールします。
 :::info
**App-Specific Shared Secret** サブセクションが表示されない場合は、Account Holder または Admin ロールを持っているか確認してください。Admin ロールを持っているにもかかわらず **App-Specific Shared Secret** サブセクションが表示されない場合は、アプリの Account Holder(App Store Connect でアプリケーションを作成した人)に App Store 共有シークレットを生成するよう依頼してください。その後、Admin にもサブセクションが表示されるようになります。
:::
3. **Manage** ボタンをクリックします。
:::info
**App-Specific Shared Secret** サブセクションが表示されない場合は、Account Holder または Admin ロールを持っているか確認してください。Admin ロールを持っているにもかかわらず **App-Specific Shared Secret** サブセクションが表示されない場合は、アプリの Account Holder(App Store Connect でアプリケーションを作成した人)に App Store 共有シークレットを生成するよう依頼してください。その後、Admin にもサブセクションが表示されるようになります。
:::
3. **Manage** ボタンをクリックします。
 4. 開いた **App-Specific Shared Secret** ウィンドウで、**Shared Secret** をコピーします。共有シークレットが表示されていない場合は、まず **Manage** または **Generate** のどちらか利用可能なボタンをクリックしてから、**Shared Secret** をコピーします。
5. コピーした **Shared Secret** を、Adapty ダッシュボードの **App Store shared secret** フィールドに貼り付けます。
4. 開いた **App-Specific Shared Secret** ウィンドウで、**Shared Secret** をコピーします。共有シークレットが表示されていない場合は、まず **Manage** または **Generate** のどちらか利用可能なボタンをクリックしてから、**Shared Secret** をコピーします。
5. コピーした **Shared Secret** を、Adapty ダッシュボードの **App Store shared secret** フィールドに貼り付けます。
 6. Adapty ダッシュボードの **Save** ボタンをクリックして変更を確定します。
## ステップ 6. App Store Connect API キーを追加する \{#step-6-add-app-store-connect-api-key\}
App Store Connect API キーを生成して Adapty に追加すると、[Adapty ダッシュボードから App Store のプロダクトを管理](create-product#create-product-and-push-to-store)できるようになります。
1. App Store Connect で [**Users and Access > Integrations > Team keys**](https://appstoreconnect.apple.com/access/integrations/api) に移動し、**+** をクリックします。
6. Adapty ダッシュボードの **Save** ボタンをクリックして変更を確定します。
## ステップ 6. App Store Connect API キーを追加する \{#step-6-add-app-store-connect-api-key\}
App Store Connect API キーを生成して Adapty に追加すると、[Adapty ダッシュボードから App Store のプロダクトを管理](create-product#create-product-and-push-to-store)できるようになります。
1. App Store Connect で [**Users and Access > Integrations > Team keys**](https://appstoreconnect.apple.com/access/integrations/api) に移動し、**+** をクリックします。
 2. **Generate API key** ウィンドウで、キーの名前を入力し、**Admin** アクセス権を付与します。
 3. キーの横にある **Download** をクリックします。ダウンロードは一度しか行えません。
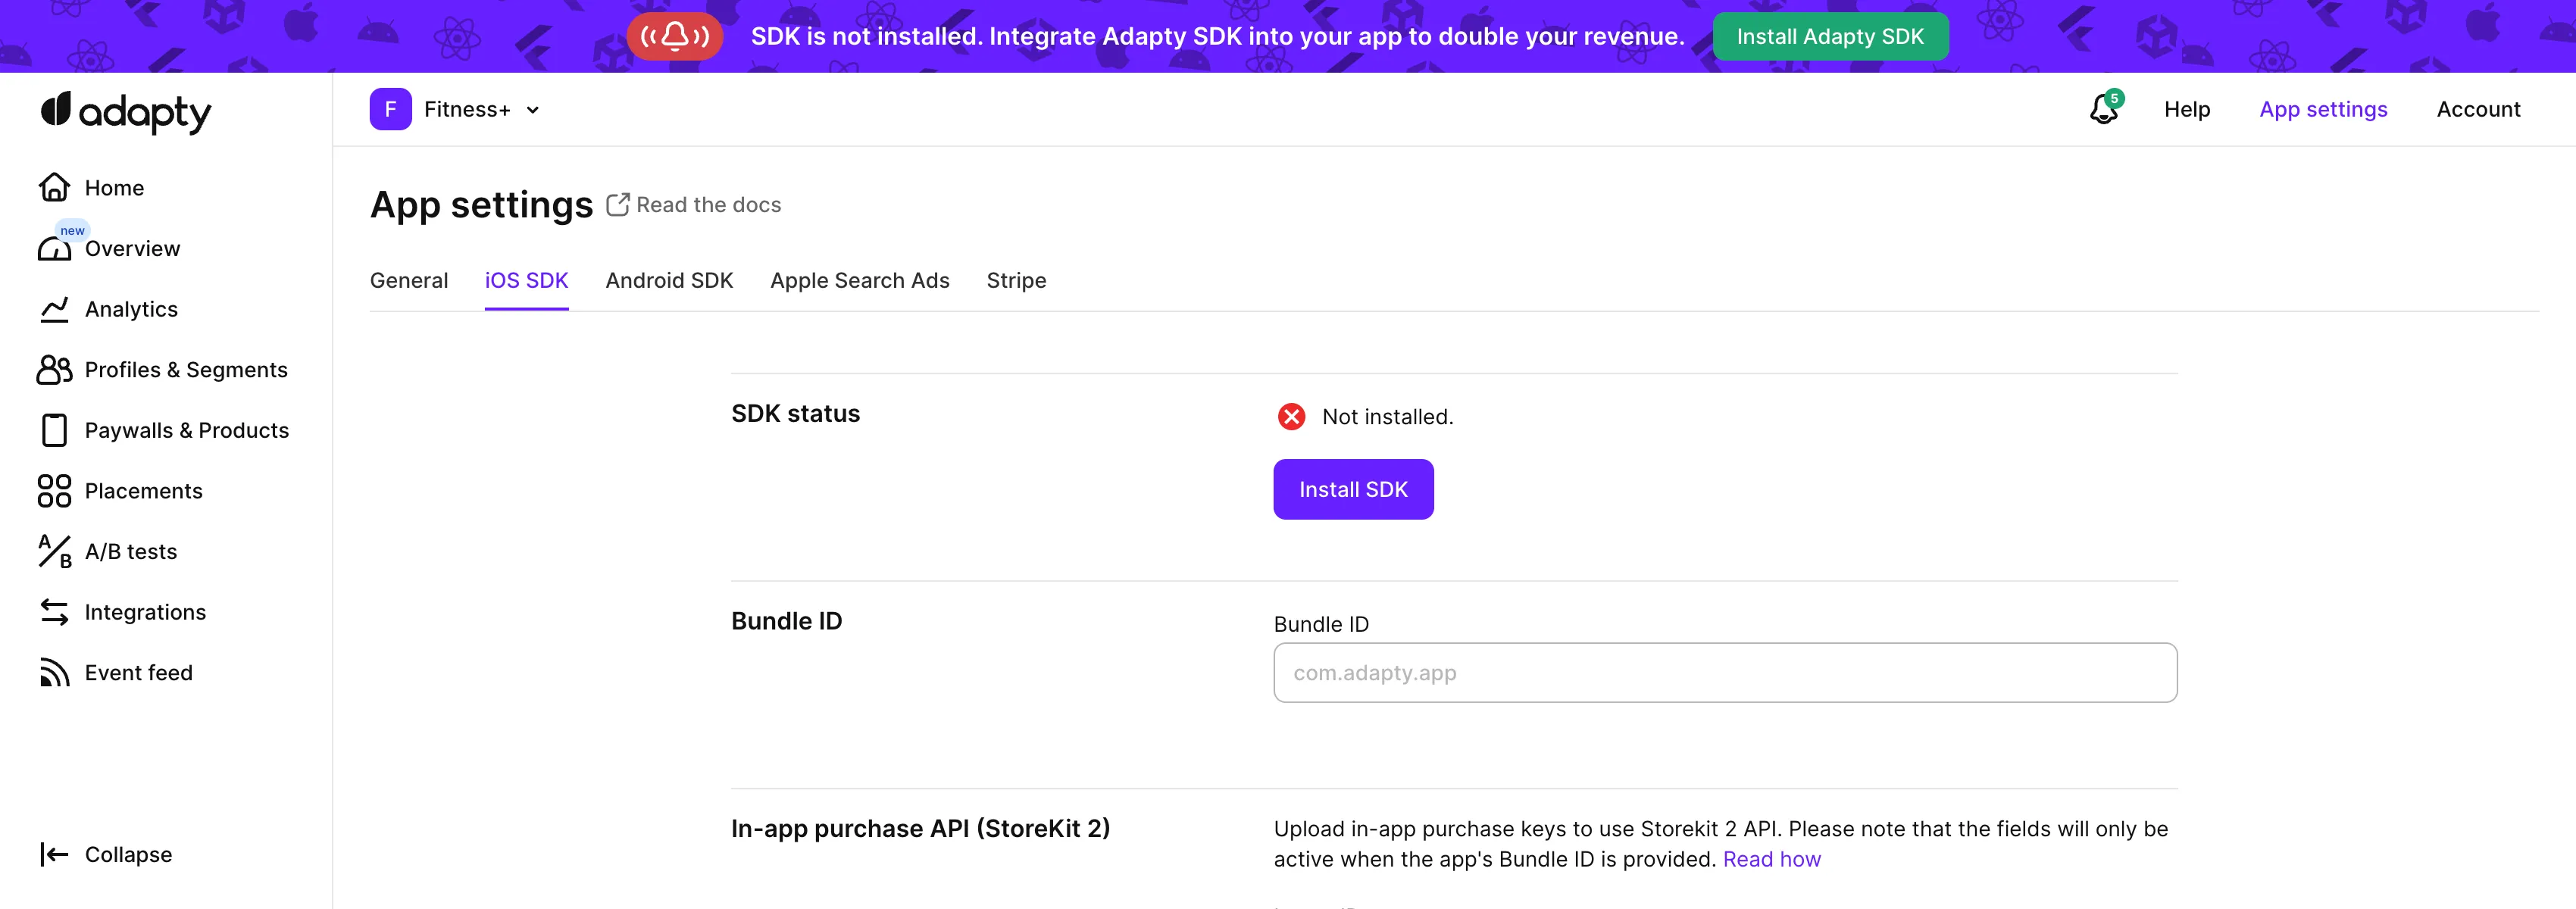
 4. Adapty ダッシュボードで [**App settings > iOS SDK**](https://app.adapty.io/settings/ios-sdk) に移動し、**Connect API key** をクリックします。
 5. ウィンドウの各フィールドに入力します:
- **Issuer ID**:[**Users and Access > Integrations > Team keys**](https://appstoreconnect.apple.com/access/integrations/api) からコピーします。**API keys** テーブルの上に表示されています。
5. ウィンドウの各フィールドに入力します:
- **Issuer ID**:[**Users and Access > Integrations > Team keys**](https://appstoreconnect.apple.com/access/integrations/api) からコピーします。**API keys** テーブルの上に表示されています。
 - **Key ID**:[**Users and Access > Integrations > Team keys**](https://appstoreconnect.apple.com/access/integrations/api) からコピーします。**API keys** テーブルのキーの横に表示されています。
 - **API key**:App Store Connect からダウンロードした API キーファイルをアップロードします。
 6. **Connect** をクリックします。
**次のステップ**
- [App Store サーバー通知を有効にする](enable-app-store-server-notifications)
6. **Connect** をクリックします。
**次のステップ**
- [App Store サーバー通知を有効にする](enable-app-store-server-notifications)